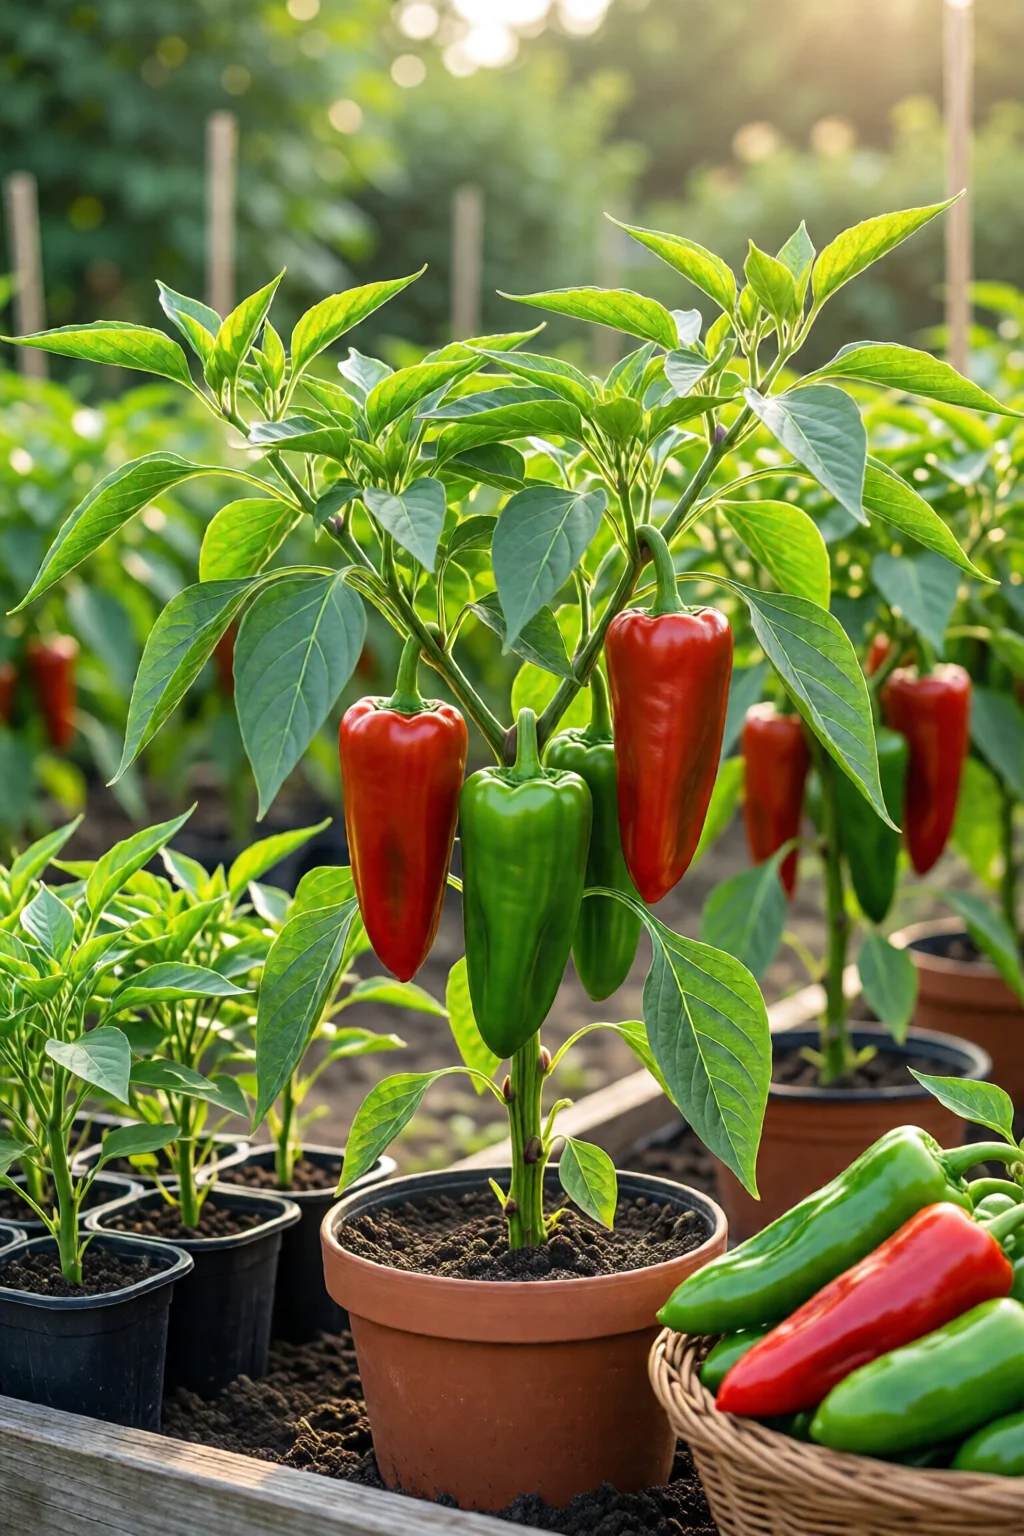
Last summer I planted a row of jalapeños in the back corner of my garden, and by early fall I was harvesting crisp, fiery pods that made every salsa night a hit. The secret? Treating each stage—from seed to harvest—as a mini project with its own checklist. If you’ve ever stared at a packet of pepper seeds and wondered how to turn those tiny specks into a bountiful harvest, this list will walk you through everything you need, complete with product recommendations, cost breakdowns, and the little tricks that keep my plants thriving year after year.
In This Article
- 1. Choose the Right Pepper Variety for Your Climate and Space
- 2. Start Seeds Indoors at the Right Time
- 3. Transplant Seedlings with Careful Hardening‑Off
- 4. Soil Preparation and Fertilization Strategy
- 5. Managing Light, Temperature, and Water
- 6. Pest and Disease Prevention (Integrated Approach)
- 7. Harvest Timing and Post‑Harvest Handling
- Comparison Table: Top Seed Starter Kits & Varieties
- Final Verdict
1. Choose the Right Pepper Variety for Your Climate and Space
Not all peppers are created equal. Sweet bell peppers (e.g., Bell Boy from Burpee, $3.99 for 25 seeds) thrive in cooler nights, while hot varieties like Carolina Reaper (heat level 1,500,000 SHU) demand a long, warm growing season. If you’re in USDA zones 5‑7, start with a fast‑maturing sweet pepper such as Early Sunsation (70‑day maturity) or a compact hot like Thai Hot (65‑day). For container gardeners, the dwarf Mini Bell (30‑cm plant height) fits perfectly on a balcony.
Pros: Matching variety to zone maximizes yield and reduces disease stress.
Cons: Hot peppers often need more heat units (growing degree days) which can be a gamble in short summers.
2. Start Seeds Indoors at the Right Time
Timing is everything. Count back 8‑10 weeks from your last frost date and sow seeds in a 1020‑mm (4‑in) cell tray. I use Jiffy Seed Starter Pellets ($5.49 for 150) because they stay moist longer, reducing the need for daily misting. Plant seeds 0.5 cm deep, cover with a thin layer of seed‑starting mix, and keep the soil at 24‑27 °C (75‑80 °F). A simple heat mat (e.g., VIVOSUN 8‑inch Seedling Heat Mat, $22) paired with a fluorescent grow light (40 W, 6500 K) provides consistent warmth and light intensity of 200 µmol·m⁻²·s⁻¹.
Germination rates for quality seeds hover around 80‑90 %. If you see a slow start, increase humidity by covering the tray with a clear plastic dome, but remember to vent daily to prevent mold.
3. Transplant Seedlings with Careful Hardening‑Off
When seedlings have two true leaves and the outdoor temperature stays above 13 °C (55 °F) at night, start hardening them off. Over a 7‑day period, move the pots outside for 2 hours the first day, increasing exposure by 1‑2 hours daily. Shelter them from wind with a Garden Oasis Pop‑Up Cloch (price $34) and keep soil moist but not soggy.
One mistake I see often is planting seedlings straight into the garden before they’ve built a sturdy root system. Use a 7‑in. (18‑cm) peat pot for the final transplant; the pot decomposes, allowing roots to expand without disturbance.
4. Soil Preparation and Fertilization Strategy
Peppers love a well‑drained, slightly acidic soil (pH 6.0‑6.5). Amend your garden bed with 2 kg of Espoma Garden Soil Food (≈$12) per 10 m², and blend in 1 cup of coarse sand for drainage. If you’re using containers, a high‑quality mix like FoxFarm Ocean Forest (5‑gal bag, $19.99) provides the right texture and nutrient base.
Fertilize with a balanced 10‑10‑10 granular fertilizer at 2 g per liter of water every two weeks until fruit set. Once peppers start flowering, switch to a higher‑phosphorus formula (e.g., Miracle-Gro Water Soluble Tomato Plant Food, 3‑5‑5, $9 per 4‑lb bottle) to boost fruit development. Expect a 15‑20 % increase in yield when you follow this feeding schedule.
5. Managing Light, Temperature, and Water
Peppers need at least 6‑8 hours of direct sunlight. In hotter climates, afternoon shade (a garden gazebo or shade cloth) can prevent blossom drop. Maintain daytime temperatures between 21‑29 °C (70‑85 °F) and night temps above 13 °C (55 °F). A digital soil thermometer and a hygrometer will help you track conditions.
Watering should be deep but infrequent: 2.5 cm of water per week for garden beds, delivered via a drip system (e.g., Rain Bird DRIP Emitter Kit, $24). Over‑watering leads to root rot; under‑watering causes bitter peppers. Mulch with 5 cm of straw or shredded bark to retain moisture and suppress weeds.

6. Pest and Disease Prevention (Integrated Approach)
Common culprits include aphids, spider mites, and pepper‑spotting disease. I rely on a combination of cultural and biological controls. First, practice crop rotation: avoid planting nightshades in the same spot for at least three years. Second, introduce Beneficial Ladybugs (10‑count pack, $6.99) to eat aphids.
If you spot early signs of fungal disease, a spray of Neem Oil (100 ml, $8) mixed at 1 tsp per gallon of water works wonders. For severe infestations, a targeted application of Spinosad (Garden Safe, $12 per 1‑L) is effective and approved for organic gardens. Always read the label and respect the pre‑harvest interval (usually 7‑14 days).
7. Harvest Timing and Post‑Harvest Handling
Harvest sweet peppers when they reach full size and color—green, red, yellow, or orange—depending on the variety. For hot peppers, wait until the skin is glossy and the fruit feels firm. Use a sharp garden shears to cut the stem, leaving a 2‑cm “tail” to prolong shelf life.
After picking, store peppers in a ventilated bin at 7‑10 °C (45‑50 °F). A refrigerator crisper drawer works fine for up to two weeks. For long‑term storage, freeze whole peppers on a tray, then transfer to a zip‑lock bag—great for sauces later on.
Comparison Table: Top Seed Starter Kits & Varieties
| Product | Contents | Price (USD) | Best For | Rating (out of 5) |
|---|---|---|---|---|
| Burpee Bell Boy Seed Pack | 25 seeds, 70‑day sweet bell | $3.99 | Beginners, cooler climates | 4.6 |
| Johnny’s Hot Pepper Mix | 10 hot varieties, 65‑day average | $8.49 | Heat lovers, warm zones | 4.4 |
| Jiffy Seed Starter Pellets | 150 peat pellets, pre‑moistened | $5.49 | Indoor seeders, low maintenance | 4.8 |
| VIVOSUN 8‑in Heat Mat | Heat mat + thermostat | $22.00 | Consistent germination | 4.7 |
| FoxFarm Ocean Forest (5‑gal) | Premium potting mix | $19.99 | Container growers | 4.9 |
Final Verdict
Growing peppers from seed to harvest is a rewarding process that blends timing, soil science, and a dash of patience. By selecting the right variety, starting seeds under controlled conditions, and feeding the plants with a balanced fertilization plan, you can expect a 30‑40 % higher yield than a “just toss‑in‑the‑ground” approach. Keep an eye on temperature, manage pests organically, and harvest at peak color for the best flavor. With the tools and tips above, even a first‑time gardener can fill a kitchen pantry with fresh, home‑grown peppers all season long.
When should I start pepper seeds indoors?
Start seeds 8‑10 weeks before your region’s last expected frost. This gives the seedlings enough time to develop before being transplanted outdoors.
Do peppers need a lot of fertilizer?
Use a balanced 10‑10‑10 fertilizer until fruit set, then switch to a higher‑phosphorus formula (3‑5‑5) to encourage more and larger peppers.
Can I grow peppers in containers?
Absolutely. Choose a 12‑inch (30‑cm) pot with drainage, use a premium potting mix like FoxFarm Ocean Forest, and water with a drip system to keep soil consistently moist.
What are common pepper pests and how do I control them?
Aphids, spider mites, and pepper‑spotting disease are most common. Use ladybugs for aphids, neem oil for fungal issues, and practice crop rotation to reduce overall pest pressure.
How do I know when peppers are ready to harvest?
Harvest sweet peppers when they reach full size and their mature color (green, red, yellow, orange). Hot peppers should feel firm and have a glossy skin. Use garden shears to cut the stem, leaving a short tail.
1 réflexion au sujet de « Grow Peppers From Seed To Harvest: Complete Guide for 2026 »