Imagine pulling a fresh, aromatic bulb from your own kitchen garden and tossing it into a sizzling pan—no store‑bought garlic needed. That’s exactly what you’ll achieve when you learn how to grow garlic at home.
In This Article
- What You Will Need (or Before You Start)
- Step 1 – Choose the Right Garlic Variety
- Step 2 – Prepare the Planting Site
- Step 3 – Separate and Prepare the Cloves
- Step 4 – Plant the Cloves
- Step 5 – Watering and Mulching
- Step 6 – Care Through the Growing Season
- Step 7 – Harvesting and Curing
- Common Mistakes to Avoid
- Troubleshooting or Tips for Best Results
- Summary Conclusion
What You Will Need (or Before You Start)
Gather these items before you break ground. Having everything on hand cuts down the guesswork and lets you focus on the actual planting.
- Garlic seed cloves – I swear by Johnny’s Selected Seeds “Early Italian Hardneck” (about $4.95 per 2‑oz bag) for a robust flavor. Softneck varieties like “California Early” are cheaper (≈$3.50 per bag) but store less well.
- Soil – A light, well‑draining mix is crucial. I use Espoma Garden Soil, 5 qt ($6.99) combined with 1 qt of perlite for extra aeration.
- Compost or aged manure – Jobe’s Organics All‑Purpose Fertilizer (4 lb) at $7.99 adds nitrogen and micronutrients.
- Mulch – Straw is cheapest (≈$2 per bale) but shredded pine bark works too (≈$4 per 15‑lb bag).
- Tools – A garden trowel, a 12‑inch hand fork, and a garden hose with a gentle spray nozzle. If you’re planting in containers, a 12‑inch pot (≥12 in diameter) filled with the same soil mix works fine.
- pH tester – A cheap digital meter (≈$12) helps you keep soil between 6.0‑6.8.
- Labels or plant markers – Recycled plastic tags cost $2 for a pack of 25.
Optional but helpful: a garden row cover (e.g., Gardener’s Supply Company 4×6 ft, $14) for early spring planting in colder zones.
Step 1 – Choose the Right Garlic Variety
Garlic comes in two main families: hardneck and softneck. Hardneck (e.g., Rocambole, Porcelain) produces a flowering stalk called a scape; it stores better in colder climates and yields larger cloves. Softneck (e.g., Silverskin, Artichoke) is milder, stores longer, and is ideal for mild winters.
In my Colorado garden, I plant hardneck in Zone 5 because the cold “vernalization” period triggers larger bulbs. If you’re in USDA Zone 9, stick with softneck to avoid premature bolting.
Step 2 – Prepare the Planting Site
Garlic hates soggy feet. Choose a spot that receives at least 6 hours of full sun daily. Loosen the top 12‑in of soil with a fork, then work in 2‑3 in of compost or aged manure. Aim for a soil texture similar to a damp kitchen sponge—neither too compact nor too fluffy.
Check the pH. If it reads below 6.0, spread 1 lb of garden lime per 100 sq ft and retest after 48 hours. Over‑liming can lock up nutrients, so stick to the recommended amount.
For raised‑bed enthusiasts, see my guide on the best vegetables to grow in raised beds. A 12‑in deep raised bed filled with the soil mix above gives garlic an extra drainage advantage.
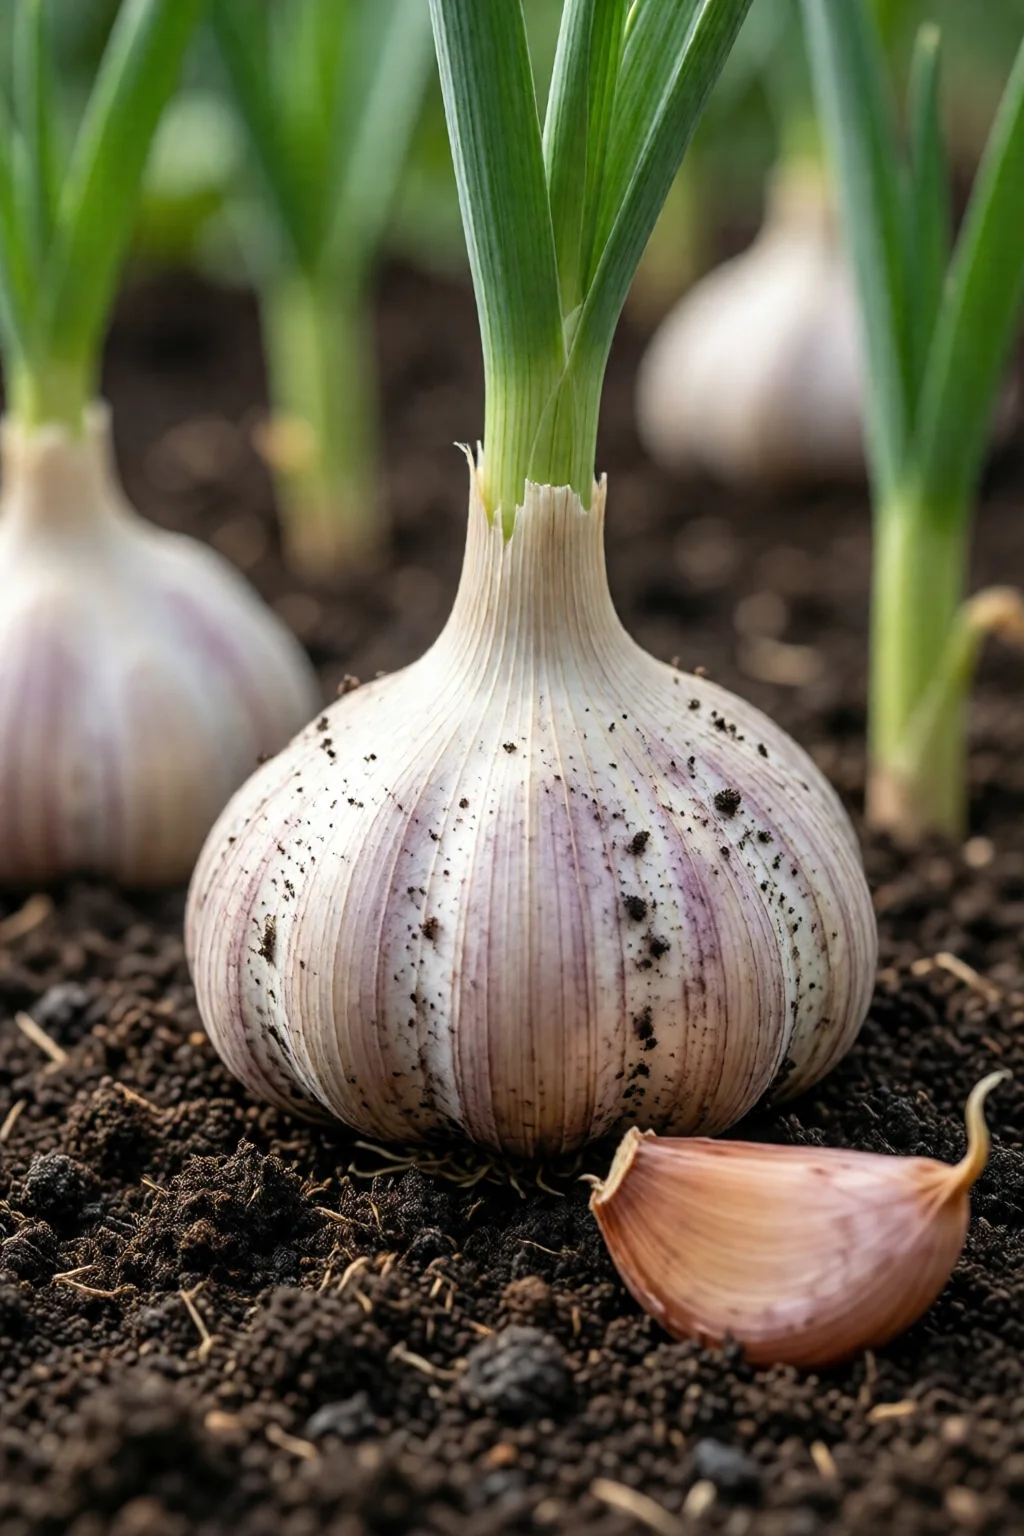
Step 3 – Separate and Prepare the Cloves
Do not plant whole bulbs. Gently pry apart the cloves, keeping the papery skins intact. Discard any that are soft, shriveled, or show signs of mold. In my experience, a single healthy clove yields a bulb weighing 2‑3 oz after a full season.
Optional pre‑plant treatment: soak the cloves for 2 hours in a solution of 1 tbsp Epsom salt per gallon of water. This supplies magnesium, which helps prevent chlorosis.
Step 4 – Plant the Cloves
Space the cloves 4‑6 in apart, pointy end up, at a depth of 2‑3 in. For larger varieties, increase spacing to 8 in to give each bulb room to expand.
Mark each row with a plant label indicating the variety and planting date. This simple habit saves you from mixing up harvest times later.
If you’re using containers, choose a pot at least 12 in deep and 12 in wide. Fill with the prepared soil, then plant the cloves as you would in the ground. Container garlic can be harvested 10‑12 weeks after planting, perfect for a quick summer crop.
Step 5 – Watering and Mulching
Immediately after planting, give the bed a thorough watering—enough to moisten the soil to a depth of 6 in but not saturate it. Thereafter, water lightly once a week, adding more during dry spells. Over‑watering is a common mistake that leads to rot.
Apply a 2‑inch layer of straw mulch. Mulch conserves moisture, suppresses weeds, and keeps the soil temperature stable. In my backyard, mulching cuts irrigation needs by roughly 30 % during midsummer.
Step 6 – Care Through the Growing Season
Fertilizing: About 4 weeks after planting, side‑dress with 1 lb of a balanced organic fertilizer (e.g., 10‑10‑10) per 100 sq ft. Repeat once in early summer if the foliage looks pale.
Weeding: Keep the bed weed‑free. Even a single dandelion competes for nutrients and can introduce pests.
Scape Management (hardneck only): When the scapes curl, cut them at the base. This redirects energy back to bulb development. I love the harvested scapes sautéed with butter—they’re a tasty bonus.
Watch for pests such as onion maggots or thrips. A light spray of neem oil (≈$5 per 8‑oz bottle) every two weeks keeps them at bay without harming beneficial insects.
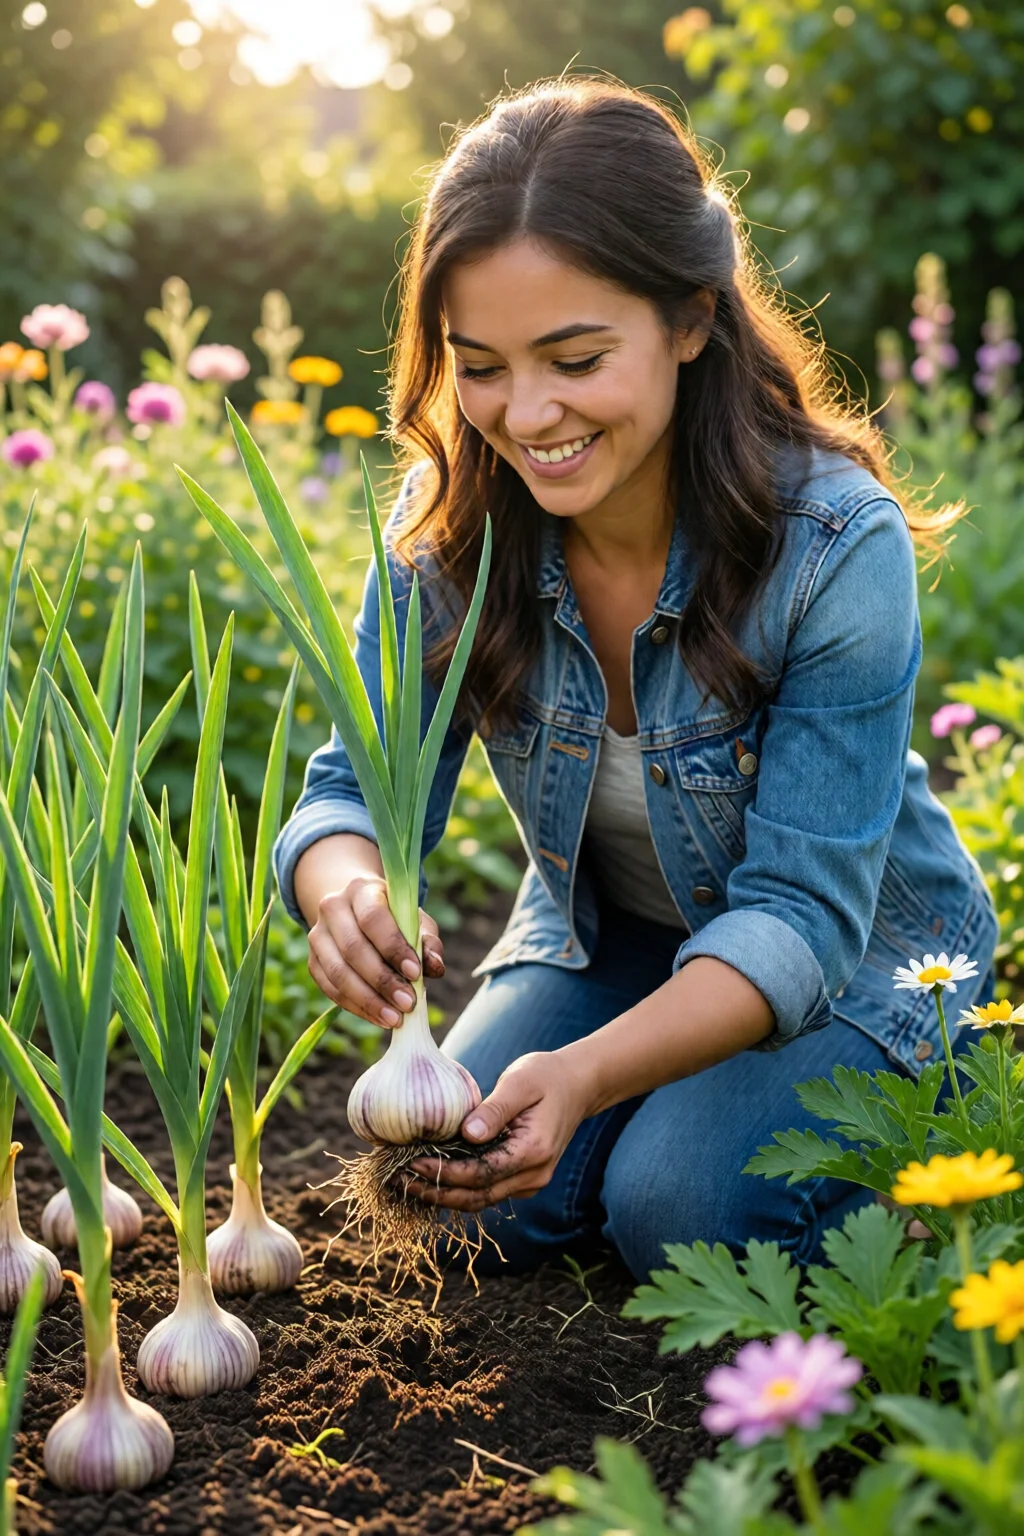
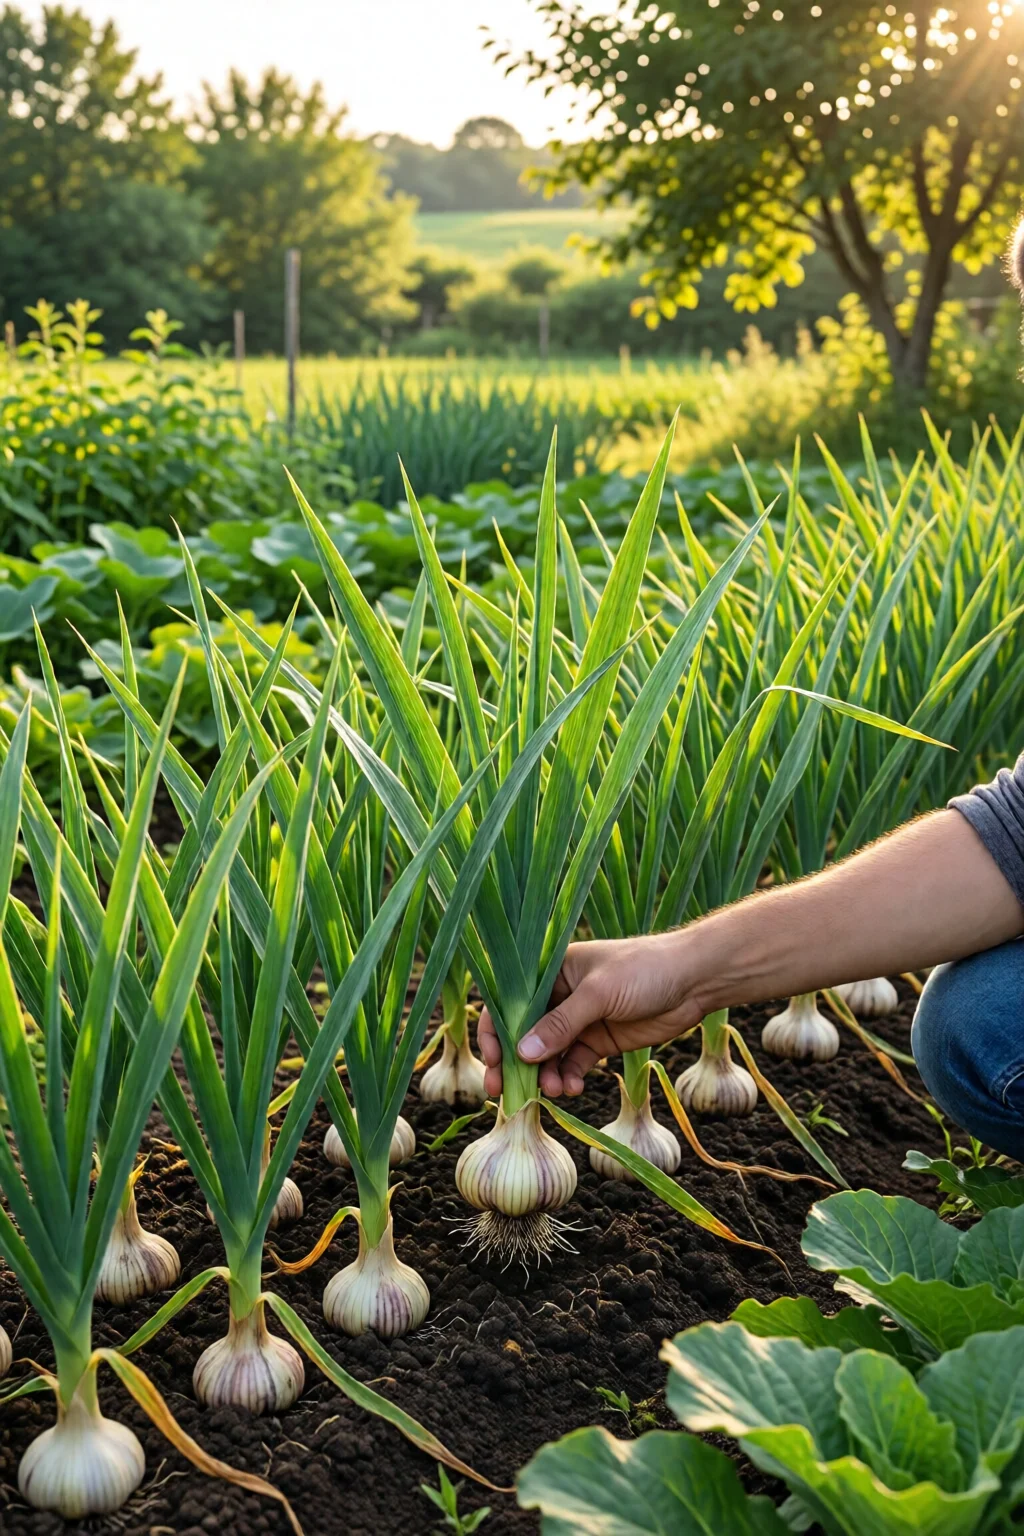
Step 7 – Harvesting and Curing
Garlic is ready to harvest when the lower leaves turn brown and crumble, usually 7‑9 months after planting. For softneck, this often occurs in late June; hardneck may linger until early July.
Loosen the soil with a fork, then lift the bulbs gently. Brush off excess soil but keep the outer skins intact.
Curing: Hang the bulbs in a well‑ventilated, shaded area (e.g., a garage rafters or a screened porch) for 2‑3 weeks. Ideal curing temperature is 75‑80 °F with 50‑60 % relative humidity. After curing, trim the roots and cut the stalks about 1 in above the bulb.
Store cured garlic in a cool (45‑55 °F), dry place. My pantry shelf stays at 50 °F, and the bulbs keep their flavor for up to 8 months.
Common Mistakes to Avoid
- Planting too early in warm soils. Garlic needs a cold period; planting before the soil drops below 50 °F can stunt bulb formation.
- Over‑crowding cloves. Tight spacing forces smaller bulbs and invites disease.
- Using fresh, un‑cured garlic as seed. Fresh store‑bought garlic often contains sprouted cloves that produce poor yields.
- Neglecting soil pH. Acidic soil (pH < 5.5) leads to yellowing leaves and reduced bulb size.
- Excessive watering. soggy soil encourages fungal rot, especially in humid climates.
Troubleshooting or Tips for Best Results
Bulbs are tiny: Check that the planting depth was correct (2‑3 in). Shallow planting reduces bulb size. Also, ensure the cloves were spaced at least 4 in apart.
Leaves turn yellow: This usually signals nitrogen deficiency. Apply a side‑dressing of blood meal (½ lb per 100 sq ft) and water in.
Bulbs split or rot: Over‑watering or poor drainage is the culprit. Amend heavy clay soils with coarse sand (¼ by volume) and consider raised beds.
Scapes keep flowering: If you want larger bulbs, cut the scapes as soon as they start to curl. If you love the scapes, let a few remain; just expect slightly smaller bulbs.
For gardeners interested in companion planting, garlic repels many pests. Plant it near deer resistant plants for landscaping like lavender or rosemary for added protection.
Summary Conclusion
Growing garlic at home is a low‑maintenance, high‑reward project that fits into almost any garden size—from a sunny raised‑bed corner to a modest balcony container. By selecting the right variety, preparing well‑draining soil, spacing cloves properly, and giving them consistent but moderate water, you’ll harvest flavorful bulbs in under a year. Remember to cure them correctly, and you’ll have a pantry staple that lasts months.
Whether you’re aiming for culinary perfection or a natural pest‑deterrent, the steps above turn a simple clove into a garden triumph. Happy planting!
When is the best time to plant garlic at home?
The ideal planting window is early fall (mid‑September to early October) for most temperate zones, allowing the cloves a chilling period. In warmer zones (USDA 8‑9), plant in late winter (February‑March) to ensure vernalization.
Do I need to fertilize garlic during growth?
A light feeding 4‑weeks after planting and another in early summer boosts bulb size. Use a balanced organic fertilizer (10‑10‑10) at 1 lb per 100 sq ft each time.
Can I grow garlic in containers?
Yes. Choose a container at least 12 in deep, fill with a well‑draining mix, and follow the same spacing and depth guidelines. Expect a slightly earlier harvest (10‑12 weeks) compared to in‑ground planting.
What are signs of garlic disease and how do I treat them?
Yellowing leaves, soft rot at the bulb base, or white fungal growth indicate disease. Improve drainage, remove affected plants, and apply a copper‑based fungicide if needed. Crop rotation (avoid planting garlic or onions in the same spot for at least 3 years) reduces recurrence.
How long can I store cured garlic?
When cured and stored in a cool (45‑55 °F), dry environment, softneck varieties last 8‑10 months, while hardneck can keep for 6‑8 months before sprouting.
2 réflexions au sujet de “How To Grow Garlic At Home: Complete Guide for 2026”