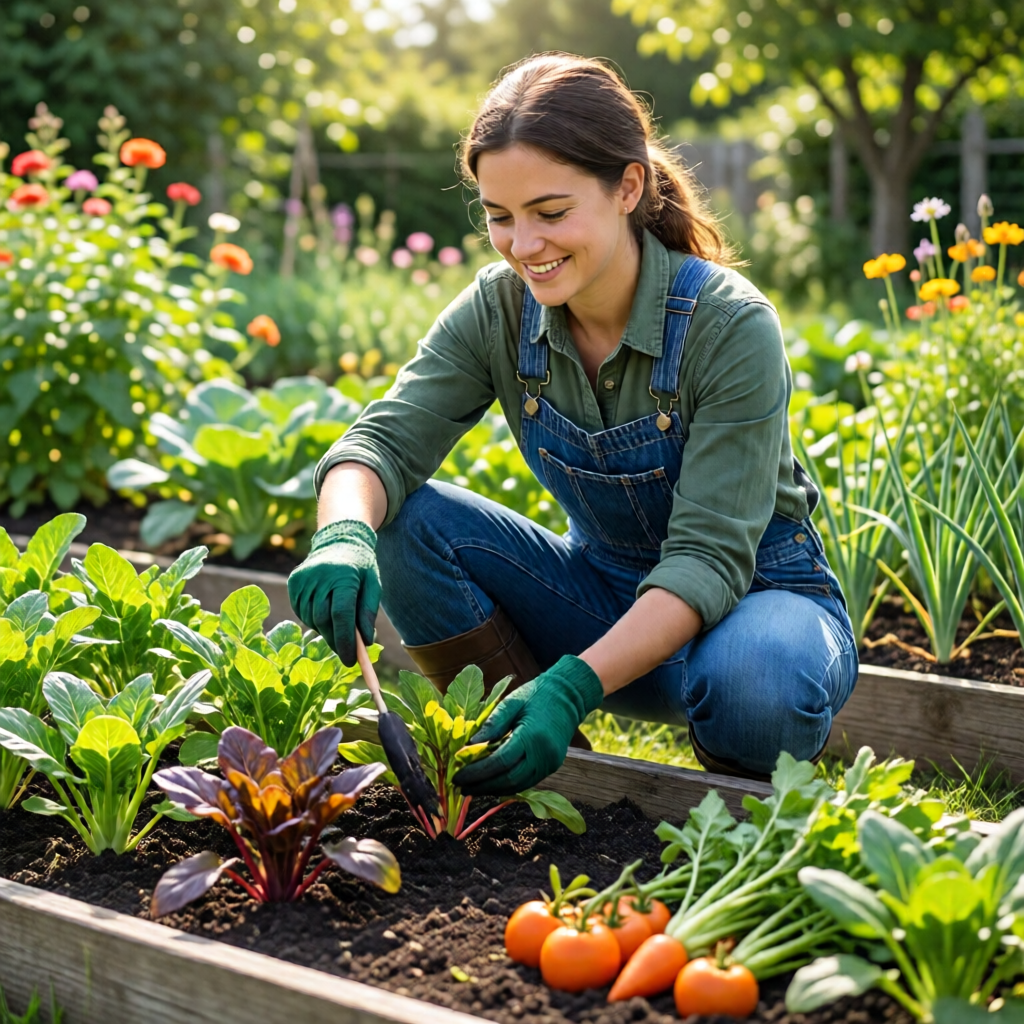
Starting a vegetable garden from scratch is one of the most rewarding projects you can undertake, whether you have a sprawling backyard, a modest patio, or even a sunny balcony. Not only does growing your own food provide fresh, nutrient‑dense produce, it also connects you to the seasons, reduces grocery expenses, and offers a therapeutic escape from daily stress. In this comprehensive guide we’ll walk you through every step—from selecting the perfect site and preparing the soil, to planting, caring for seedlings, managing pests, and harvesting your bounty. By the end, you’ll have a clear, actionable plan that turns a blank patch of earth into a thriving vegetable oasis.
1. Planning Your Garden: Setting Goals and Expectations
Before you break ground, take the time to define what you want from your garden. Are you aiming for a continuous harvest of salad greens, a handful of heirloom tomatoes, or a mix of root vegetables for winter storage? Understanding your goals helps you choose the right varieties, design an efficient layout, and allocate time and resources wisely.
Consider the following questions:
- How much space do you have (square footage, raised beds, containers)?
- What is your climate zone (USDA hardiness zone) and typical growing season?
- How much time can you commit weekly for watering, weeding, and harvesting?
- Do you have any dietary preferences or favorite vegetables you’d like to grow?
Answering these will guide the selection of crops that suit your environment and lifestyle. Remember, starting small and expanding as you gain confidence is a smart approach for beginners.
2. Choosing the Right Site: Sunlight, Soil, and Access
Vegetables need at least six to eight hours of direct sunlight each day for optimal growth. Observe your yard at different times to pinpoint the sunniest spots. South‑facing areas generally receive the most light, while east‑ and west‑facing zones can still be suitable for leafy greens that tolerate a bit of shade.
Other site considerations include:
- Water source: Proximity to a hose or rain barrel makes regular watering easier.
- Drainage: Soil that pools after rain can lead to root rot. If drainage is poor, consider raised beds or amending the soil with sand and organic matter.
- Wind protection: Strong winds can damage delicate seedlings. Use a temporary windbreak such as a burlap screen or plant taller, hardy shrubs on the windward side.
If you’re limited on ground space, think about vertical gardening, trellises, or container gardening on a patio. The key is ensuring that each plant gets the light, water, and airflow it needs to thrive.
3. Soil Preparation: Building a Healthy Foundation
Good soil is the cornerstone of a productive vegetable garden. Most garden soils are lacking in essential nutrients and organic matter, so a simple soil test can reveal pH levels and nutrient deficiencies. You can purchase a test kit at a garden center or send a sample to a local extension service.
Based on the results, amend the soil as follows:
- pH adjustment: Most vegetables prefer a slightly acidic to neutral pH (6.0–7.0). Add lime to raise pH or sulfur to lower it, following test recommendations.
- Organic matter: Incorporate well‑rotted compost, leaf mold, or aged manure to improve structure, water retention, and nutrient content.
- Balanced fertilization: A 5‑10‑5 (N‑P‑K) granular fertilizer can provide a quick nutrient boost, but avoid over‑fertilizing which can lead to lush foliage with few fruits.
For raised beds, fill them with a mix of two parts topsoil, one part compost, and one part coarse sand or perlite for drainage. This blend creates a light, fluffy medium ideal for root development.
4. Selecting Vegetables: Choosing Varieties for Success
When selecting seeds or transplants, prioritize varieties that are proven performers in your USDA zone. Look for labels such as “early,” “disease‑resistant,” or “heat‑tolerant.” Below is a quick guide to staple vegetables and recommended types for common zones:
Cool‑Season Crops (Plant early spring or fall)
- Leafy greens: ‘Buttercrunch’ lettuce, ‘Bloomsdale’ kale, ‘Lindo’ spinach.
- Root vegetables: ‘Nantes’ carrots, ‘Red Pontiac’ potatoes, ‘Early Girl’ radishes.
- Brassicas: ‘Calabrese’ broccoli, ‘Waltham 29’ cauliflower, ‘Dee Dee’ cabbage.
Warm‑Season Crops (Plant after the last frost)
- Tomatoes: ‘Better Boy’ (hybrid), ‘Brandywine’ (heirloom).
- Peppers: ‘California Wonder’ bell pepper, ‘Jalapeño Early Girl’.
- Squash: ‘Yellow Crookneck’ summer squash, ‘Butternut’ winter squash.
- Beans: ‘Blue Lake’ bush beans, ‘Kentucky Wonder’ pole beans.
Companion planting can boost yields and deter pests. For example, planting basil alongside tomatoes improves flavor and repels whiteflies, while marigolds near beans deter nematodes.
5. Starting Seeds Indoors: Giving Your Garden a Head Start
For many warm‑season vegetables, starting seeds indoors 6–8 weeks before the last expected frost gives you a competitive edge. This is especially true for tomatoes, peppers, and eggplants, which have long growing periods.
Follow these steps for successful indoor seedling production:
- Choose containers: Use peat pots, seed trays, or recycled yogurt cups with drainage holes.
- Use a quality seed‑starting mix: Avoid garden soil, which can be too dense and may harbor pathogens.
- Sow at the proper depth: As a rule of thumb, plant seeds at a depth twice their thickness.
- Provide warmth: Most seeds germinate best at 65‑75°F (18‑24°C). A heat mat can help maintain consistent temperatures.
- Ensure light: Once germinated, seedlings need 12–16 hours of bright light daily. A south‑facing window may suffice, but grow lights offer more reliable results.
- Transplant carefully: Harden off seedlings by gradually exposing them to outdoor conditions over a week before planting them in the garden.
For a step‑by‑step walkthrough, check out our guide on how to start seeds indoors step by step. Proper indoor seedling management reduces transplant shock and sets the stage for vigorous growth.
6. Direct Sowing: Planting Seeds Straight into the Garden
Many root vegetables, beans, peas, and leafy greens thrive when sown directly into the garden soil. Here’s how to do it effectively:
- Timing: Plant as soon as the soil can be worked (usually 2–3 weeks before the last frost for cool‑season crops).
- Soil preparation: Loosen the soil to a depth of 6–8 inches and rake smooth.
- Sowing depth: Follow seed packet instructions; most seeds need a shallow covering of soil.
- Spacing: Use a grid or ruler to maintain recommended spacing, which ensures adequate air circulation and reduces disease pressure.
- Watering: Gently water with a fine spray to avoid washing seeds away.
Direct sowing eliminates the need for transplanting, which can be especially useful for small‑scale gardeners or those using raised beds where space is limited.
7. Watering, Mulching, and Irrigation Strategies
Consistent moisture is vital for vegetable production, yet over‑watering can cause root rot and nutrient leaching. The goal is to keep the soil evenly moist, especially during fruit set and root development.
Efficient Watering Techniques
- Drip irrigation: Delivers water directly to the root zone, reduces evaporation, and minimizes foliage wetness that can lead to disease.
- Soaker hoses: An affordable alternative to drip lines, perfect for raised beds.
- Hand watering: Use a watering can with a rose attachment to gently water at the base of plants.
Mulching for Moisture Retention
Applying a 2–3 inch layer of organic mulch—such as straw, shredded leaves, or wood chips—helps retain soil moisture, suppress weeds, and gradually adds organic matter as it decomposes. Mulch also moderates soil temperature, protecting roots from extreme heat in midsummer.
For gardeners interested in sustainable practices, compost can double as mulch, enriching the soil while conserving water.
8. Pest and Disease Management: Keeping Your Crop Healthy
Even the most carefully planned garden will face pests and diseases. An integrated approach—combining cultural, mechanical, biological, and, when necessary, chemical controls—offers the best protection while minimizing environmental impact.
Cultural Practices
- Rotate crops annually to break pest cycles.
- Plant disease‑resistant varieties.
- Space plants properly to ensure good air circulation.
- Remove diseased leaves promptly to prevent spread.
Mechanical and Biological Controls
- Use row covers to shield seedlings from insects like cabbage moths.
- Introduce beneficial insects such as ladybugs and lacewings to control aphids.
- Apply neem oil or insecticidal soap for soft‑bodied pests, following label directions.
Organic Remedies
DIY sprays made from garlic, hot pepper, or rosemary can deter many insects. For fungal issues, a copper or sulfur spray applied early in the season can be effective.
If you need a deeper dive into sustainable gardening practices, explore our article on how to compost at home for beginners—compost not only feeds your soil but also supports a healthy microbial ecosystem that naturally suppresses disease.
9. Harvesting: Timing for Maximum Flavor and Yield
Harvesting at the right moment ensures the best taste, texture, and nutritional value. Here are general guidelines for common vegetables:
- Leafy greens: Cut outer leaves when they reach 4–6 inches, allowing the plant to continue producing.
- Root vegetables: Harvest carrots and radishes when they reach the recommended size; larger carrots can become woody.
- Tomatoes: Pick when fully colored and slightly soft to the touch. For larger varieties, allow a few days of ripening on the vine for maximum sweetness.
- Beans: Harvest snap beans when pods are firm and before seeds bulge.
- Squash: Summer squash should be harvested when 6–8 inches long; winter squash is ready when the rind hardens and the skin is uniform.
Use clean, sharp scissors or garden shears to avoid damaging plants. Regular harvesting also encourages continuous production, especially for indeterminate tomatoes and pole beans.
10. Extending the Growing Season: Season Extenders and Cold Frames
To get a head start in spring or keep harvesting into late fall, consider using season‑extending tools:
- Cold frames: Simple structures that trap solar heat, protecting crops from early frosts.
- Row covers: Lightweight fabric that insulates plants while allowing light penetration.
- High tunnels (hoop houses): Larger structures that provide a microclimate for extended growing periods.
These devices are especially useful in northern zones where the frost-free window is short. They also allow you to grow heat‑loving crops like peppers and tomatoes earlier in the season.
11. Garden Maintenance: Ongoing Care for Long‑Term Success
Consistent maintenance keeps your garden productive year after year. Key tasks include:
- Weeding: Remove weeds promptly to reduce competition for water and nutrients.
- Staking and trellising: Support vines, tomatoes, and beans to improve air flow and ease harvesting.
- Soil feeding: Apply a side‑dressing of compost or balanced fertilizer after each major harvest.
- Crop rotation: Move plant families to new beds each season to prevent soil‑borne diseases.
If you have extra space or want to diversify, you might also explore how to grow herbs at home outdoors for fresh seasonings, or how to propagate plants from cuttings outdoors to expand your garden without buying new seeds.
12. Bringing It All Together: Your First-Year Timeline
Below is a month‑by‑month checklist for a typical USDA zone 5–7 garden, which you can adapt to your local climate:
- January–February: Plan garden layout, order seeds, start indoor seedlings for tomatoes and peppers.
- March: Test soil, amend with compost, begin direct sowing of peas, lettuce, and carrots.
- April: Harden off seedlings, transplant early‑season crops, install drip irrigation.
- May: Transplant tomatoes and peppers after danger of frost passes; mulch beds.
- June–July: Monitor for pests, water consistently, harvest early crops, sow succession plantings.
- August: Plant a second round of cool‑season crops (broccoli, kale) for fall harvest.
- September–October: Harvest remaining warm‑season vegetables, apply mulch for winter protection.
- November–December: Clean beds, add a thick layer of compost, plan for next year.
Following this schedule helps you stay organized and maximizes your garden’s productivity from spring through winter.
13. Inspiring Ideas: From Backyard to Rooftop
Even if you lack a traditional yard, you can still enjoy fresh vegetables. Rooftop gardens, balcony containers, and vertical towers make use of limited space while adding greenery to urban settings. For design inspiration, check out rooftop garden design ideas—they showcase creative ways to layer pots, trellises, and raised beds for a bountiful harvest.
Remember, the most important ingredient in any garden is patience. Each seed you plant is a promise of future nourishment, and with the right preparation, care, and enthusiasm, your vegetable garden will flourish year after year.
When is the best time to start seeds indoors for tomatoes?
Start tomato seeds 6–8 weeks before the average last frost date in your area. This gives seedlings enough time to develop strong roots and true leaves before being transplanted outdoors.
How can I improve soil drainage in a heavy clay garden?
Incorporate coarse sand, perlite, or well‑rotted compost into the top 12 inches of soil. Building raised beds filled with a loamy mix also provides excellent drainage for clay soils.
What are the most effective natural pest controls for a vegetable garden?
Introduce beneficial insects like ladybugs and lacewings, use row covers to keep insects off seedlings, and apply neem oil or insecticidal soap for soft‑bodied pests. Companion planting with herbs such as basil and marigold also helps deter many common pests.
How often should I water my vegetable garden?
Aim for consistent moisture—typically 1–1.5 inches of water per week, either from rainfall or irrigation. Early morning watering with a drip system or soaker hose reduces evaporation and keeps foliage dry, minimizing disease risk.
Can I grow vegetables in containers on a balcony?
Yes! Choose large containers with drainage holes, use a high‑quality potting mix, and select compact or dwarf varieties of vegetables. Provide at least six hours of sunlight and water frequently, as containers dry out faster than ground soil.