When I first rescued a wilted ZZ plant from a dusty corner of a friend’s office, I was amazed at how quickly it perked up with just a few tweaks. That experience taught me that the ZZ (Zamioculcas zamiifolia) isn’t a “set‑and‑forget” monster; it thrives when you understand its subtle preferences and give it the right kind of love. Below is the ultimate, no‑fluff guide to ZZ plant care and propagation, packed with the exact steps, tools, and timelines you need to grow a healthy, glossy‑leafed specimen that can even become a starter for new plants.
In This Article
- 1. Light – The Sweet Spot Between Shade and Sun
- 2. Watering & Soil – Getting Moisture Right Without Drowning
- 3. Temperature & Humidity – Keeping the Tropical Vibe
- 4. Potting & Repotting – Choosing the Right Home
- 5. Feeding – Nutrients Without Overdoing It
- 6. Pests & Diseases – Staying Ahead of Trouble
- 7. Propagation Techniques – Multiplying Your ZZ
- 8. Common Mistakes & Quick Fixes – Learn From My Slip‑Ups
- Comparison Table – Best Tools & Products for ZZ Plant Care and Propagation
- Final Verdict – Should You Add a ZZ to Your Collection?
1. Light – The Sweet Spot Between Shade and Sun
ZZ plants are native to the understory of East African forests, so they’re accustomed to low‑to‑moderate light. In practice, aim for 100–500 foot‑candles (≈10–50 lux) – roughly the light you’d get an arm’s length from an east‑facing window. Direct afternoon sun can scorch the waxy leaves, while a dim hallway will stunt growth.
- Best locations: East‑ or north‑facing windows, a few feet from a south‑facing window with a sheer curtain, or under fluorescent office lighting (≈400 lux).
- Artificial lighting: A 12‑watt LED grow light (e.g., Spider Farmer SF‑1000) placed 24‑30 inches above the plant for 12 hours a day supplies the equivalent of bright indirect light.
Pro: Low light tolerance makes the ZZ perfect for offices.
Con: Too little light results in slower leaf emergence—expect a new leaf every 6‑8 weeks instead of every 3‑4 weeks.
2. Watering & Soil – Getting Moisture Right Without Drowning
The biggest mistake I see is overwatering. ZZ plants store water in rhizomatous tubers, so they can go weeks without a drink.
- Water schedule: Water when the top 2‑3 inches of soil feel dry—typically every 10‑14 days in winter and every 7‑10 days in summer. Use a moisture meter set at 30 % – 40 % for precision.
- Water amount: Pour enough to wet the soil thoroughly, then let excess drain out of the pot’s bottom. A 6‑inch pot (≈2 L) needs about 250 ml of water per watering.
- Soil mix: A well‑draining blend of 50 % peat moss, 30 % perlite, and 20 % pine bark works wonders. Commercially, Espoma Organic Potting Mix (≈$8 per 1‑gal bag) is a reliable choice.
Pro: Low water demand reduces the risk of root rot.
Con: Under‑watering for extended periods (>4 weeks) leads to leaf curl and brown tips.
3. Temperature & Humidity – Keeping the Tropical Vibe
ZZ plants enjoy average indoor temperatures between 65 °F and 80 °F (18 °C–27 °C). They tolerate occasional dips to 50 °F, but prolonged exposure below 45 °F can cause leaf discoloration.
- Ideal range: 70–75 °F (21–24 °C) with 40‑60 % relative humidity.
- Heating tips: Place the plant away from drafty windows and heating vents. A small tabletop humidifier set to 45 % helps in dry winter homes.
- Cold shock: If you notice a sudden yellowing of lower leaves after a cold night, move the pot to a warmer spot within 24 hours.
Pro: Tolerates typical home heating/cooling cycles.
Con: Sensitive to sudden temperature swings—avoid moving from a warm room to a chilly garage.
4. Potting & Repotting – Choosing the Right Home
Because the ZZ stores water underground, a pot with good drainage is non‑negotiable.
- Pot material: Terracotta (porous) or unglazed ceramic pots of 6‑8 inches (≈15‑20 cm) diameter are ideal. A Lechuza self‑watering pot (≈$45) provides extra safety for busy owners.
- Drainage: Ensure at least two ¼‑inch holes; add a layer of 1‑inch pea gravel at the bottom before soil.
- Repotting schedule: Every 2‑3 years or when the plant outgrows its pot by >2 inches in diameter. Spring (March‑April) is the best time to minimize stress.
- Procedure: Gently loosen the soil, trim any dead roots, place the plant in the new pot, fill with fresh soil mix, and water lightly.
Pro: Self‑watering pots drastically cut the risk of overwatering.
Con: Heavy ceramic pots can retain moisture too long if you forget to empty the saucer.
5. Feeding – Nutrients Without Overdoing It
ZZ plants are light feeders. Over‑fertilizing can cause leaf burn.
- Fertilizer type: A balanced 20‑20‑20 water‑soluble fertilizer (e.g., Miracle‑Gro Indoor Plant Food) diluted to ¼ strength.
- Application schedule: Feed once a month during the active growth period (April‑September). In winter, skip feeding.
- Quantity: For a 6‑inch pot, use 2 ml of concentrate per liter of water.
Pro: Minimal feeding reduces cost—one 1‑L bottle of Miracle‑Gro (~$8) lasts a full year for a 3‑plant household.
Con: Excess nitrogen leads to weak, floppy stems.

6. Pests & Diseases – Staying Ahead of Trouble
While ZZ plants are relatively pest‑resistant, a few culprits still show up.
- Common pests: Spider mites, mealybugs, and scale insects. Spot them early by checking the undersides of leaves weekly.
- Treatment: For spider mites, spray a neem oil solution (2 % neem oil mixed with water) every 5‑7 days for three applications. For mealybugs, dab cotton swabs in 70 % isopropyl alcohol and wipe directly.
- Root rot: Caused by overwatering and poor drainage. If you notice a foul smell and mushy roots, trim affected roots and repot in fresh, dry soil.
Pro: Early detection keeps the plant healthy with minimal chemical use.
Con: Severe infestations can spread to nearby houseplants within a week.
7. Propagation Techniques – Multiplying Your ZZ
ZZ plants are among the easiest indoor plants to propagate, and you have three reliable methods to choose from.
7.1 Leaf Cutting in Water
- Success rate: 70‑80 % when using a healthy, mature leaf.
- Procedure: Cut a 4‑inch leaf segment with a sterile knife, remove the lower ½ inch of the petiole, place the cut end in a glass of distilled water, and change water every 2‑3 days.
- Timeline: Roots appear in 2‑4 weeks; once roots are 2‑3 inches long, transplant into a 4‑inch pot with the same soil mix.
- Cost: A 16‑oz glass jar costs <$2; water is free.
7.2 Leaf Cutting in Soil
- Success rate: 55‑65 % (slightly lower than water method).
- Procedure: Plant the cut leaf directly into a moist potting mix, keep the soil lightly damp, and cover with a clear plastic bag to maintain humidity.
- Timeline: Rooting occurs in 3‑6 weeks; new shoots emerge after 8‑10 weeks.
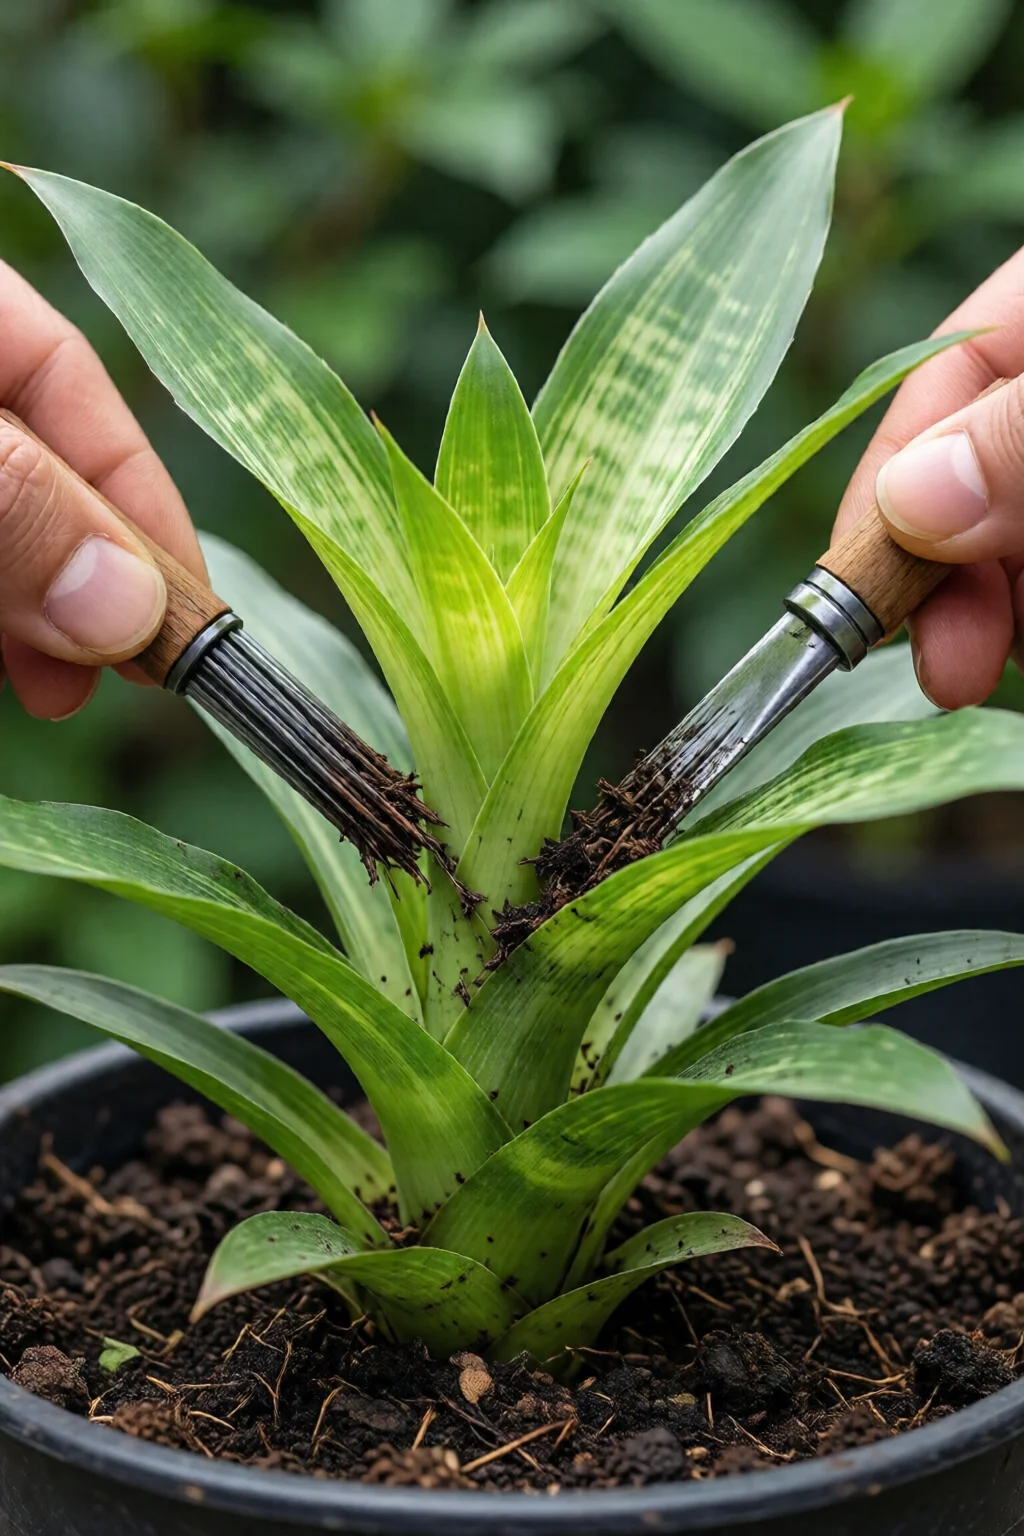
7.3 Division (Rhizome Split)
- Success rate: 90 % for mature plants with multiple rhizomes.
- Procedure: Gently remove the plant from its pot, locate natural division points where rhizomes cluster, cut with a clean knife, dust the cuts with cinnamon (antifungal), and repot each section.
- Timeline: New growth visible within 4‑6 weeks if placed in bright indirect light.
- Cost: Only the price of a new pot (≈$12 for a 6‑inch fabric pot).
Pro: Division yields the fastest, most vigorous new plants.
Con: Leaf cuttings can take longer to develop a robust root system, and they may produce smaller offspring.
8. Common Mistakes & Quick Fixes – Learn From My Slip‑Ups
Even seasoned growers stumble. Here are the top three and how to remedy them.
- Overwatering: Leaves turn yellow, soil stays soggy. Fix by letting the soil dry for 5‑7 days, repot in fresh mix if roots are mushy.
- Insufficient light: Stunted growth, pale leaves. Move the plant closer to a window or add a 12‑watt LED grow light.
- Neglecting humidity: Brown leaf edges appear. Increase humidity to 45‑55 % with a tabletop humidifier or a pebble tray.
One mistake I see often is using decorative “soil rocks” that retain water—swap them for perlite or orchid bark to improve drainage.
Comparison Table – Best Tools & Products for ZZ Plant Care and Propagation
| Category | Top Pick | Price | Why It Works | Rating (out of 5) |
|---|---|---|---|---|
| Potting Mix | Espoma Organic Potting Mix (1 gal) | $8.99 | 50 % peat, 30 % perlite, 20 % pine bark – excellent drainage | 4.8 |
| Self‑Watering Pot | Lechuza Classic 31.5 cm (1.5 L) | $45.00 | Built‑in reservoir prevents overwatering | 4.6 |
| Grow Light | Spider Farmer SF‑1000 100 W LED | $119.00 | Full spectrum, 12‑hour timer, covers 4 ft² | 4.9 |
| Fertilizer | Miracle‑Gro Indoor Plant Food (1 L) | $7.99 | 20‑20‑20 formula, safe at ¼ strength | 4.5 |
| Propagation Kit | Rooting Hormone Gel (3 ml) | $5.49 | Boosts root initiation by up to 30 % | 4.7 |
Final Verdict – Should You Add a ZZ to Your Collection?
If you crave an almost‑indestructible houseplant that tolerates low light, infrequent watering, and still looks sleek, the ZZ is a winner. Mastering the modest nuances—right light, proper soil, and cautious watering—turns a resilient survivor into a thriving focal point. And with the three propagation methods outlined, a single plant can quickly become a mini‑collection for your office, living room, or gifting friends.
In my experience, treating the ZZ with the same respect you’d give a tropical orchid (but without the drama) yields the best results. Follow the steps above, keep an eye on moisture levels, and you’ll enjoy glossy, dark‑green foliage for years to come.
How often should I water a ZZ plant in winter?
In winter, water only when the top 2‑3 inches of soil are completely dry, typically every 14‑21 days. Reduce the amount to about 150 ml for a 6‑inch pot and ensure excess drains away.
Can I propagate a ZZ plant from a leaf that’s already turned yellow?
It’s best to use healthy, green leaves. Yellowed leaves have reduced energy reserves and root‑forming hormones, dropping the success rate to under 30 %.
What fertilizer concentration is safe for a ZZ plant?
Dilute a balanced 20‑20‑20 fertilizer to ¼ strength (e.g., 2 ml concentrate per liter of water) and apply once a month during the growing season.
Is the ZZ plant safe for pets?
ZZ contains calcium oxalate crystals and can cause mild oral irritation if ingested. Keep it out of reach of cats and dogs, especially curious puppies.
Where can I find more indoor plant care guides?
Check out our calathea care guide for beginners, indoor fern varieties and care, or explore indoor herb garden ideas for the kitchen for more tips.