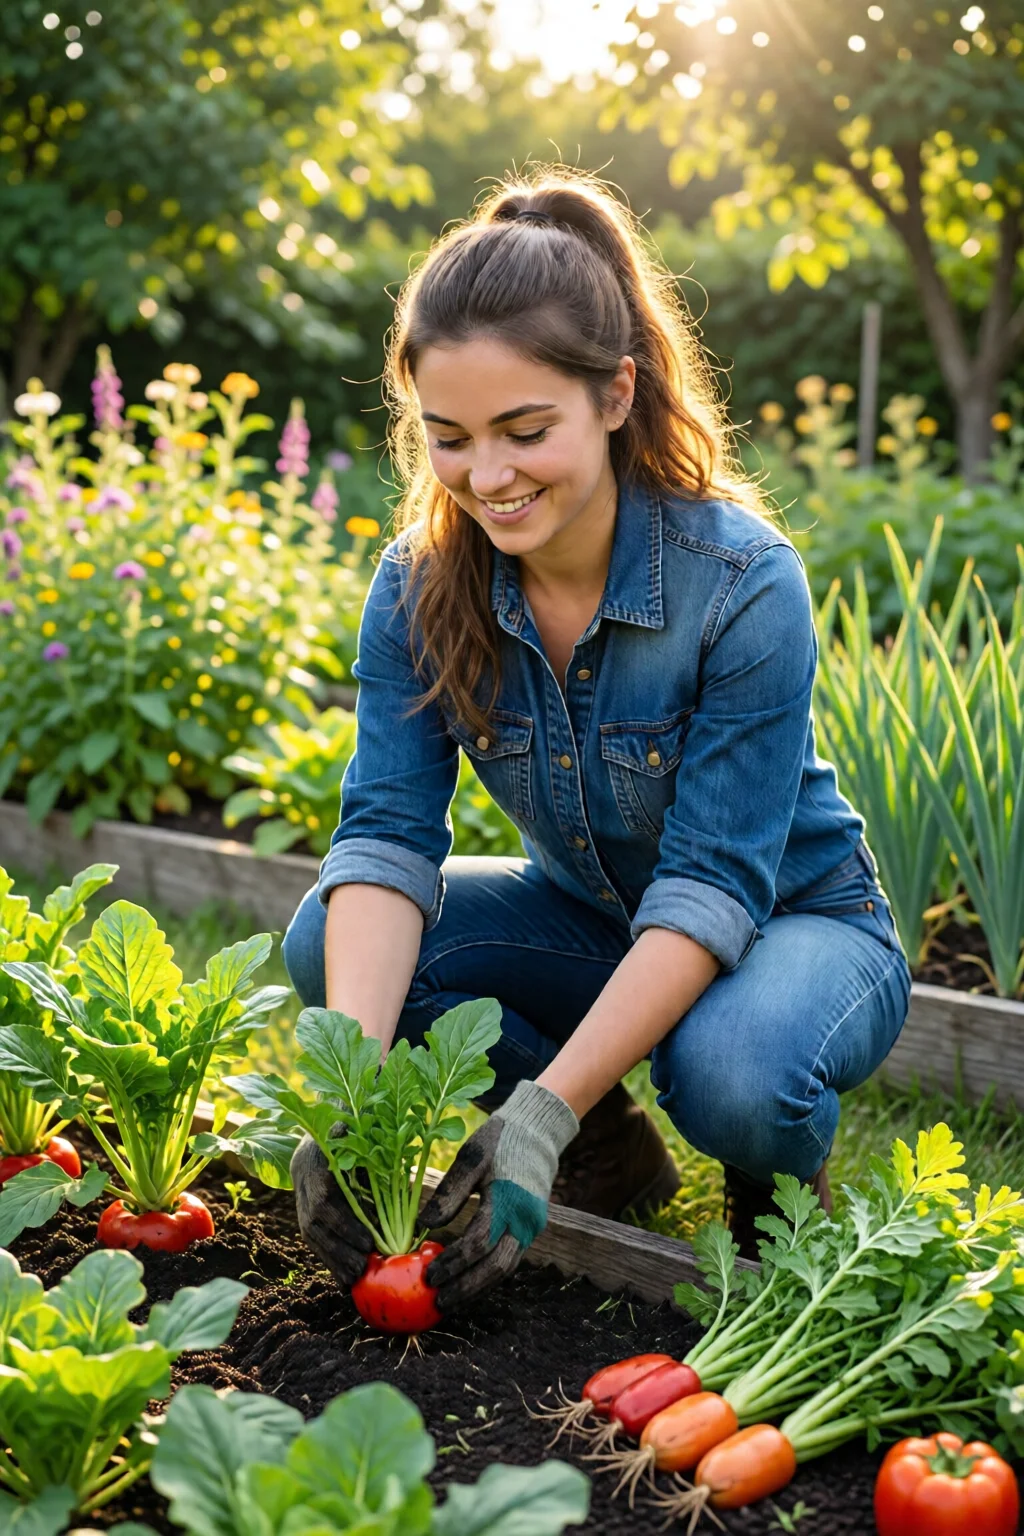
Ready to turn a blank patch of earth into a bounty of fresh veggies? Let’s break down how to start a vegetable garden from scratch—step by step, no fluff.
In This Article
- 1. Scout the Perfect Site (and Sunlight Hours)
- 2. Test, Amend, and Structure Your Soil
- 3. Choose a Layout That Matches Your Lifestyle
- 4. Pick Your First Crops Wisely
- 5. Gather Essential Tools and Materials
- 6. Plant with Precision and Follow a Calendar
- 7. Ongoing Care: Water, Feed, and Harvest
- Top Picks Comparison Table
- Final Verdict
Whether you have a sunny balcony, a suburban backyard, or a sliver of lawn, the right plan can turn that space into a productive, low‑maintenance garden. In my ten‑year career as a garden consultant, I’ve watched beginners make the same three mistakes: ignoring soil health, over‑planting, and neglecting watering schedules. This list‑style guide gives you the exact actions, tools, and budget numbers you need to avoid those pitfalls and harvest your first tomatoes within 70 days.
1. Scout the Perfect Site (and Sunlight Hours)
Vegetables need 6‑8 hours of direct sun daily. Walk around your property between 10 am and 2 pm and use a smartphone light meter app (free on iOS and Android) to record sunlight intensity. Aim for a spot that gets at least 5 kLux during peak hours.
Pros: Sun‑rich locations boost photosynthesis, leading to larger yields.
Cons: North‑facing spots may require supplemental grow lights.
In my experience, a south‑facing fence that receives 7.5 hours of sun is ideal for tomatoes, peppers, and beans. If you only have 4‑5 hours, focus on shade‑tolerant greens like spinach, lettuce, and kale.
2. Test, Amend, and Structure Your Soil
Grab a DIY soil test kit from Home Depot (Soil Test Kit – $12.97) and take a sample from 6‑8 inches deep. Look for pH 6.0‑6.8 and a balanced N‑P‑K ratio (around 10‑10‑10 for beginners).
If your pH is low, spread 2 lb of lime per 100 sq ft; if high, add 1 lb of elemental sulfur per 100 sq ft. For texture, mix in 2‑3 inches of compost (I recommend Espoma Garden‑Tone, $19.99/4 lb) and 1 inch of coconut coir for drainage.
One mistake I see often is skipping the raised‑bed option on heavy clay soils. Building a 4 × 8 ft raised bed with 12‑inch depth costs about $150 for cedar boards (4 × 8‑ft panel, $45 each) and 2 cubic yards of premium potting mix (FoxFarm Ocean Forest, $24.99/4 qt). This eliminates compaction and gives you a clean, fertile medium right away.
3. Choose a Layout That Matches Your Lifestyle
Three common layouts work for most beginners:
- Traditional rows: Best for large backyards; allows easy mechanized weeding.
- Raised beds: Ideal for limited space, poor soil, or wheelchair access.
- Container gardens: Perfect for balconies or renters.
My personal favorite is the “U‑shaped raised bed” because it maximizes edge planting (where most vegetables thrive) while keeping a central pathway only 2 feet wide—easy to reach from either side.
Pros and cons table:
| Layout | Pros | Cons | Typical Cost (USD) |
|---|---|---|---|
| Traditional rows | Scalable, low material cost | Weeds can be aggressive, requires tilling | $0‑$30 (tilling tools) |
| Raised beds | Improved drainage, soil control | Higher upfront cost, heavier to move | $150‑$300 (cedar kit) |
| Containers | Mobility, perfect for renters | Limited root volume, more frequent watering | $30‑$120 (5‑gal pots) |
If you’re unsure, start with a 4 × 4‑ft raised bed; you can later expand into rows as confidence builds.
4. Pick Your First Crops Wisely
For a first season, choose fast‑growing, disease‑resistant varieties. Here’s a quick starter list with average days to harvest and seed cost per packet:
- Radish (Cherry Belle): 22 days, $2.50/packet (10 g)
- Lettuce (Buttercrunch): 45 days, $3.00/packet (15 g)
- Bush beans (Provider): 55 days, $2.80/packet (12 g) – see our growing beans in raised beds guide
- Cherry tomatoes (Sweet 100): 70 days, $4.20/packet (15 g)
- Zucchini (Black Beauty): 55 days, $3.50/packet (12 g)
Companion planting tip: place basil next to tomatoes to deter whiteflies, and plant carrots beside onions to break up pest cycles.
One mistake novices make is planting a full garden of the same family (e.g., all nightshades). Rotate families each year to keep soil‑borne diseases at bay.
5. Gather Essential Tools and Materials
Below is my “starter toolbox” that fits in a single garage shelf and stays under $200:
- Garden fork (steel, 24‑inch): Fiskars X27, $39.95
- Hand trowel (stainless steel): Spear & Jackson, $12.99
- Watering can (5‑liter, brass): Haws, $28.50
- Soil thermometer: Ambient Weather, $19.95
- Seedling trays (102 cells, biodegradable): Jiffy, $9.99
- Mulch (black plastic, 6 × 100 ft roll): Gardener’s Supply, $24.95
Invest in a cheap drip‑irrigation kit (Rain Bird DRIPMATIC, $59.99) if you have more than 30 sq ft of planting area; it saves up to 30 % water compared to hand watering.

6. Plant with Precision and Follow a Calendar
Mark out planting rows with a garden line marker (a simple garden hose with a spray nozzle works). Space seeds according to the packet instructions—usually 2‑3 inches apart for leafy greens, 12‑18 inches for root crops, and 24‑30 inches for vining vegetables.
Here’s a month‑by‑month planting calendar for USDA zones 5‑7 (the most common in the U.S.):
| Month | What to Sow Indoors | What to Direct‑Sow |
|---|---|---|
| Feb | Tomatoes, Peppers, Eggplant (start 6‑8 weeks before last frost) | None |
| Mar | Broccoli, Cabbage (start 4‑6 weeks before frost) | Peas, Spinach, Radish |
| Apr | None | Beans, Corn, Squash, Basil |
| May | Transplant seedlings | Okra (zone 7), Sweet potatoes (cuttings) |
| Jun | None | Second planting of carrots, lettuce for fall harvest |
After planting, gently firm the soil, water to saturation (about 1 inch of water per week), and lay a 2‑inch layer of straw mulch to conserve moisture.
One mistake I see: planting too deep. A general rule—seed depth equals twice the seed’s diameter. If you’re unsure, start shallow; you can always cover later.

7. Ongoing Care: Water, Feed, and Harvest
Watering: Use a soil moisture meter; aim for a reading of 40‑60 % for most veg. Early morning is best to reduce fungal risk.
Feeding: Apply a balanced organic fertilizer (e.g., Espoma Garden‑Tone, $19.99/4 lb) at 1 lb per 100 sq ft when seedlings develop true leaves, then again every 4‑6 weeks.
Pest Management: Hand‑pick pests, use neem oil (7 ml per gallon of water) for aphids, and encourage beneficial insects by planting dill and yarrow.
Harvest Timing: Pick greens when they’re 4‑6 inches tall; this encourages continuous growth. For fruiting crops, harvest when the color is fully developed but before the skin softens (e.g., tomatoes when they turn deep red).
Finally, keep a simple garden journal—date of sowing, varieties, fertilizer applications, and yields. Over a few seasons, the data will tell you exactly what works in your micro‑climate.
Top Picks Comparison Table
| Product | Category | Key Feature | Price | Rating (out of 5) |
|---|---|---|---|---|
| FoxFarm Ocean Forest Potting Soil | Soil Mix | pH‑balanced, high organic matter | $24.99 / 4 qt | 4.8 |
| Espoma Garden‑Tone Organic Fertilizer | Fertilizer | 10‑10‑10 NPK, slow‑release | $19.99 / 4 lb | 4.6 |
| Rain Bird DRIPMATIC Controller | Irrigation | Programmable, water‑saving | $59.99 | 4.5 |
| Fiskars Steel Garden Fork | Tool | 24‑inch, rust‑resistant | $39.95 | 4.7 |
| Jiffy Biodegradable Seedling Tray | Seed Starting | 102 cells, compostable | $9.99 | 4.4 |
Final Verdict
Starting a vegetable garden from scratch is less about buying the most expensive gear and more about understanding soil health, sunlight, and crop timing. By following the seven steps above—site selection, soil amendment, layout planning, smart variety choices, essential tools, precise planting, and disciplined care—you’ll move from a barren patch to a thriving harvest in under three months. Remember, the garden is a living experiment; keep notes, adjust based on results, and enjoy the fresh flavors you’ve earned.
How long does it take to see the first harvest?
Fast‑growing crops like radishes and lettuce can be harvested in 3‑4 weeks, while tomatoes and beans take 60‑80 days from sowing to first pick.
Can I start a vegetable garden without a raised bed?
Yes. Traditional rows work if the soil is well‑drained and you incorporate compost. However, raised beds simplify soil control and weed management, especially on heavy clay.
Do I need a separate compost pile to start?
Not immediately. You can buy quality compost (how to compost at home for beginners) or use store‑bought organic matter. Over time, building a small bin will reduce your reliance on purchased soil amendments.
What’s the best way to water a small garden?
A drip‑irrigation system with a timer provides consistent moisture and saves water. If a kit is beyond your budget, a soaker hose placed at the base of plants works well.
How can I extend the harvest season?
Use cold frames or row covers (vertical vegetable garden ideas) to protect crops from early frosts, and stagger plantings every 2‑3 weeks.
3 réflexions au sujet de “How To Start A Vegetable Garden From Scratch – Everything You Need to Know”