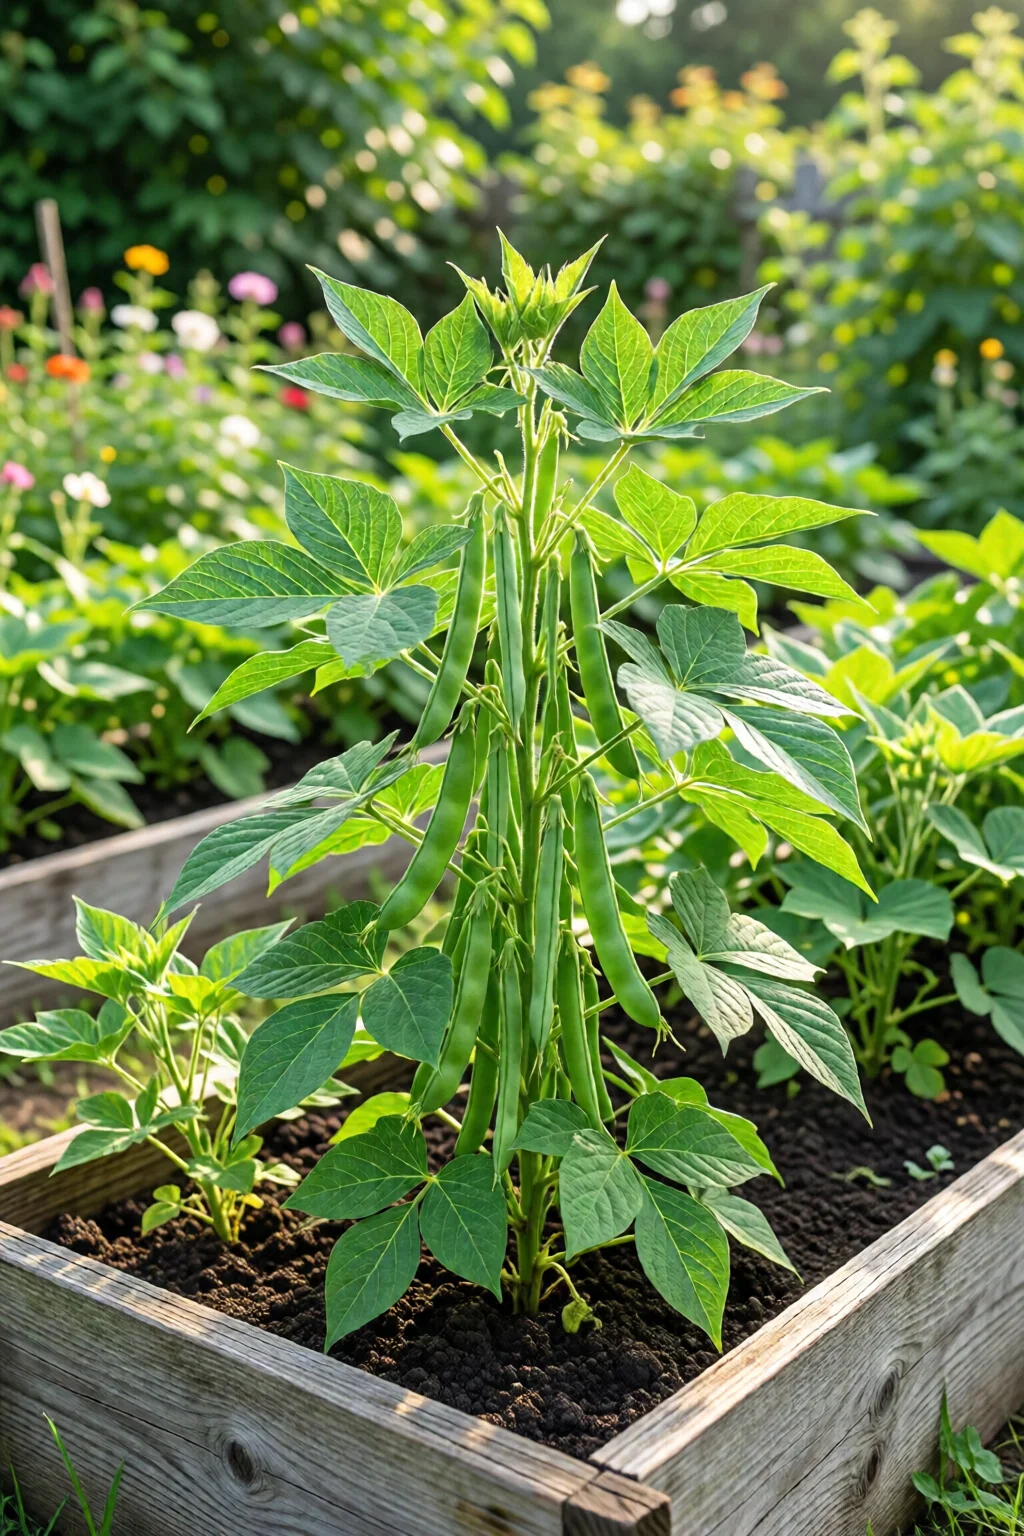
Last summer I set up a 4‑by‑8‑foot raised bed behind my kitchen window, hoping to finally get a steady supply of fresh beans for my salads and stir‑fries. Within three weeks the seedlings were poking through the soil, and by mid‑July I was harvesting crisp, sweet pods every two days. That experience taught me a handful of hard‑won tricks, and I’m eager to share them in this growing beans in raised beds guide so you can skip the guesswork and start enjoying home‑grown beans faster.
In This Article
- Choosing the Right Bean Varieties for Raised Beds
- Designing and Building Your Raised Bed
- Planting Schedule and Techniques
- Care, Feeding, and Pest Management
- Harvesting, Storing, and Extending the Season
- Pro Tips from Our Experience
- Bean Variety Comparison
- Frequently Asked Questions
- Conclusion – Your Actionable Takeaway
Raised beds give beans the loose, well‑drained soil they love, keep the roots warm in early spring, and make weeding a breeze. But they also demand a bit of planning—what varieties to choose, how to build the bed, when to sow, and how to keep pests at bay. Below is a step‑by‑step roadmap, peppered with real‑world numbers, product recommendations, and the occasional anecdote you won’t find in a generic how‑to article.
Choosing the Right Bean Varieties for Raised Beds
Bush vs. Pole Beans
Bush beans (e.g., Blue Lake or Provider) stay compact, typically reaching 12‑18 inches tall, making them perfect for a single‑layer raised bed. Pole beans—like Kentucky Wonder or Rattlesnake Runner—climb 5‑6 feet, so you’ll need a trellis or sturdy bamboo stakes. In my own raised bed I alternate a row of bush beans with a pole bean trellis; the bush beans fill the lower space while the pole beans grow upward, maximizing yield per square foot.
Climate‑Specific Picks
If you live in a cooler zone (USDA 4‑6), start with early‑maturing bush beans that mature in 55‑60 days—Contender is a reliable choice. For hotter regions (zones 9‑10), try heat‑tolerant pole varieties like Scarlet Runner, which can handle temperatures up to 95°F without bolting.
Seed Sources and Costs
High‑quality seeds make a difference. I buy from Johnny’s Selected Seeds (www.johnnyseeds.com) where a 1‑ounce packet of Blue Lake costs $4.95 and yields roughly 250 beans. For bulk planting, Seed Savers Exchange offers 5‑ounce packets at $12.50—great for a larger raised‑bed project.
Designing and Building Your Raised Bed
Ideal Dimensions and Materials
Most gardeners find a 4‑ft width ideal; you can reach the center without stepping on the soil. Length is flexible—8‑ft is a common size, but you can go up to 12‑ft if you have space. For the frame, I recommend untreated cedar (about $8 per linear foot) because it resists rot without chemicals. If you prefer a metal option, the GreenStuffs Galvanized Steel Bed Kit sells for $45 for a 4‑by‑8‑ft set.
Soil Mix Formula
A good raised‑bed mix is 30 % compost, 30 % topsoil, and 40 % coarse sand or perlite for drainage. Here’s a quick recipe for a 4‑by‑8‑ft bed (about 12 cubic feet):
- 3 cubic feet compost (e.g., Miracle-Gro Performance Organics – $6.99 per 1‑cubic‑foot bag)
- 3 cubic feet high‑quality topsoil (e.g., Espoma Garden Soil – $5.49 per 1‑cubic‑foot bag)
- 6 cubic feet coarse sand or perlite (e.g., Vermiculite – $4.79 per 1‑cubic‑foot bag)
Mix thoroughly before filling the bed; a garden tiller can save you time if you’re preparing multiple beds.
Drainage and Irrigation Setup
Place a layer of 1‑inch crushed stone at the bottom for extra drainage—cost about $3 per 50‑lb bag. For watering, a drip‑irrigation kit like the Raindrip R560DP 1/4‑in. Drip Kit ($22.95) provides steady moisture and reduces leaf‑wetness, which is key for preventing fungal diseases.
Planting Schedule and Techniques
Seed Preparation and Soaking
Soaking beans for 4‑6 hours softens the seed coat and speeds germination. I use a simple bowl of warm water (about 80°F) and change the water once if the weather is hot. After soaking, spread the beans on a paper towel to dry for a few minutes before planting.
Planting Depth, Spacing, and Row Layout
Plant seeds 1‑inch deep, spaced 2‑inches apart for bush beans and 4‑inches apart for pole beans. In a 4‑by‑8‑ft bed you can fit roughly 30 bush‑bean rows (each row 12 inches apart) or two pole‑bean rows with a trellis down the center. Use a planting guide like the square foot gardening layout plans to visualize the grid.
Succession Planting for Continuous Harvest
To keep beans coming all season, sow a new batch every 10‑14 days until mid‑summer. For example, start the first sowing on May 1, the next on May 15, then May 29, and so on. This staggered approach can yield up to three harvest windows from a single raised bed.
Care, Feeding, and Pest Management
Watering Frequency, Mulch, and Soil Temperature
Beans need about 1 inch of water per week. In a raised bed, the soil dries faster, so check moisture daily during hot spells. A 2‑inch layer of straw mulch (about $2 per bale) conserves moisture and keeps soil temperature around 70°F—optimal for nitrogen fixation.
Fertilizer Choices
Beans fix their own nitrogen, but they benefit from phosphorus and potassium early on. I apply Espoma Garden-tone at a rate of 1 cup per 12 sq ft (approximately $7.99 per 4‑lb bag). Mix it into the top 2 inches of soil right after planting. Avoid high‑nitrogen fertilizers; they produce lush foliage but few pods.
Common Pests and Organic Controls
Bean beetles and aphids are the usual suspects. A simple spray of neem oil (e.g., Bonide Neem Oil – $6.49 per 16‑oz bottle) applied every 7‑10 days keeps them in check. For larger infestations, introduce beneficial insects like ladybugs or lacewings. I also use garden pest identification and control guides to spot early signs.
Harvesting, Storing, and Extending the Season
When to Pick
Harvest bush beans when pods are 4‑6 inches long and snap easily. Pole beans can be picked a bit larger, up to 7‑inches, but before the seeds swell. Picking every 2‑3 days encourages the plant to produce more pods.
Post‑Harvest Handling
Rinse pods in cool water, then store them in a perforated plastic bag in the refrigerator. They stay fresh for about 7‑10 days. For longer storage, blanch the beans for 3 minutes, shock in ice water, then freeze in zip‑top bags—good for up to 12 months.
Using Row Covers for a Second Crop
In cooler climates, a lightweight row cover (e.g., Agfabric Row Cover – $19.95 for a 30‑ft roll) can extend the season by 3‑4 weeks. Drape it over the bed after the first harvest, secure the edges, and you may squeeze out a second, smaller crop before frost.

Pro Tips from Our Experience
- Rotate crops yearly. After beans, plant a nitrogen‑heavy crop like kale or spinach to keep the soil balanced.
- Use a soil thermometer. Aim for a soil temperature of 65‑70°F before sowing; beans germinate best above 60°F.
- Companion planting works. Plant marigolds or nasturtiums at the bed’s corners to deter nematodes and attract pollinators.
- Harvest early in the morning. Pods are crisper and store better when picked before the day’s heat.
- Keep a planting log. I record sowing dates, varieties, and yields in a small notebook; after three seasons I could predict a 20 % increase in output simply by adjusting spacing.
Bean Variety Comparison
| Variety | Days to Maturity | Yield per sq ft | Recommended Spacing | Cost per Packet |
|---|---|---|---|---|
| Blue Lake (Bush) | 55–60 | ~1 lb | 2 inches | $4.95 (Johnny’s 1‑oz) |
| Kentucky Wonder (Pole) | 70–75 | ~1.5 lb | 4 inches | $5.49 (Burpee 1‑oz) |
| Rattlesnake Runner (Pole) | 65–70 | ~1.2 lb | 4 inches | $6.99 (Seed Savers 1‑oz) |
Frequently Asked Questions
When is the best time to start sowing beans in a raised bed?
Plant beans as soon as the soil consistently stays above 60°F, typically late April to early May in most temperate zones. Using a soil thermometer helps you pinpoint the exact day.
Do I need to add nitrogen fertilizer for beans?
No. Beans fix their own nitrogen. A low‑phosphorus, potassium‑rich fertilizer like Espoma Garden‑tone applied at planting is sufficient.
Can I grow beans and strawberries in the same raised bed?
Yes, but give each crop its own section. Check out our growing strawberries in raised beds guide for spacing tips that work alongside beans.
What are the most common bean pests and how do I manage them organically?
Bean beetles, aphids, and spider mites are typical. Neem oil sprays, hand‑picking, and encouraging ladybugs are effective organic controls.
How can I extend the bean harvest into the fall?
Apply a lightweight row cover after the main harvest and continue regular watering. This can add 3‑4 weeks of production before the first frost.
Conclusion – Your Actionable Takeaway
Start by building a 4‑by‑8‑ft cedar raised bed, fill it with a 30‑30‑40 soil mix, and choose a mix of bush and pole beans that suit your climate. Plant soaked seeds 1‑inch deep, water consistently, and apply a modest dose of Garden‑tone. With the simple succession schedule outlined above, you’ll enjoy fresh beans from early summer through fall, all while keeping pests under control with neem oil and companion plants.
Grab your seeds, lay that bed, and watch the garden come alive. In a few weeks you’ll be snipping pods for salads, stir‑fries, and even a homemade bean dip—proof that a well‑planned raised bed can turn a modest space into a bean‑bounty haven.
3 réflexions au sujet de “Growing Beans In Raised Beds Guide – Tips, Ideas and Inspiration”