Did you know that in 2023 the USDA recorded a 37 % jump in kale yields from home gardens, and the biggest driver was gardeners switching to raised beds? If you’ve ever wondered how to tap into that boost, you’ve come to the right place. In the next few minutes you’ll learn exactly how to set up, plant, and harvest a thriving kale patch in a raised bed, with the tools, timing, and tricks that turn a modest space into a leafy super‑food powerhouse.
In This Article
What You Will Need (Before You Start)
- Raised bed frame: A 4 ft × 8 ft cedar or composite kit (e.g., Velora® Raised Garden Bed, $149.99) works well for a family‑size harvest.
- Soil mix: 60 % high‑quality topsoil, 30 % compost (e.g., Black Kow® Premium Compost, $6.99 per 1‑cu ft bag), and 10 % coarse sand or perlite for drainage.
- Kale seed or transplants: Choose a cold‑hardy variety such as ‘Winterbor’ or ‘Lacinato’ (also called dinosaur kale). Packets run $3.49 for 5 g (≈150 seeds).
- Tools: Garden fork, hand trowel, drip‑irrigation kit (Rain Bird DRIPKIT, $39.95), and a sturdy garden hose with a shut‑off valve.
- Amendments: Balanced organic fertilizer (e.g., Espoma Garden Food 10‑10‑10, $4.79 per 2‑lb bag), lime (if pH is below 6.0), and a mulch material like straw or shredded leaves.
- Protection: Row covers or floating hoops for frost, and a garden netting if you’re battling aphids.
Having these items on hand ensures you won’t be scrambling mid‑season for a missing component.
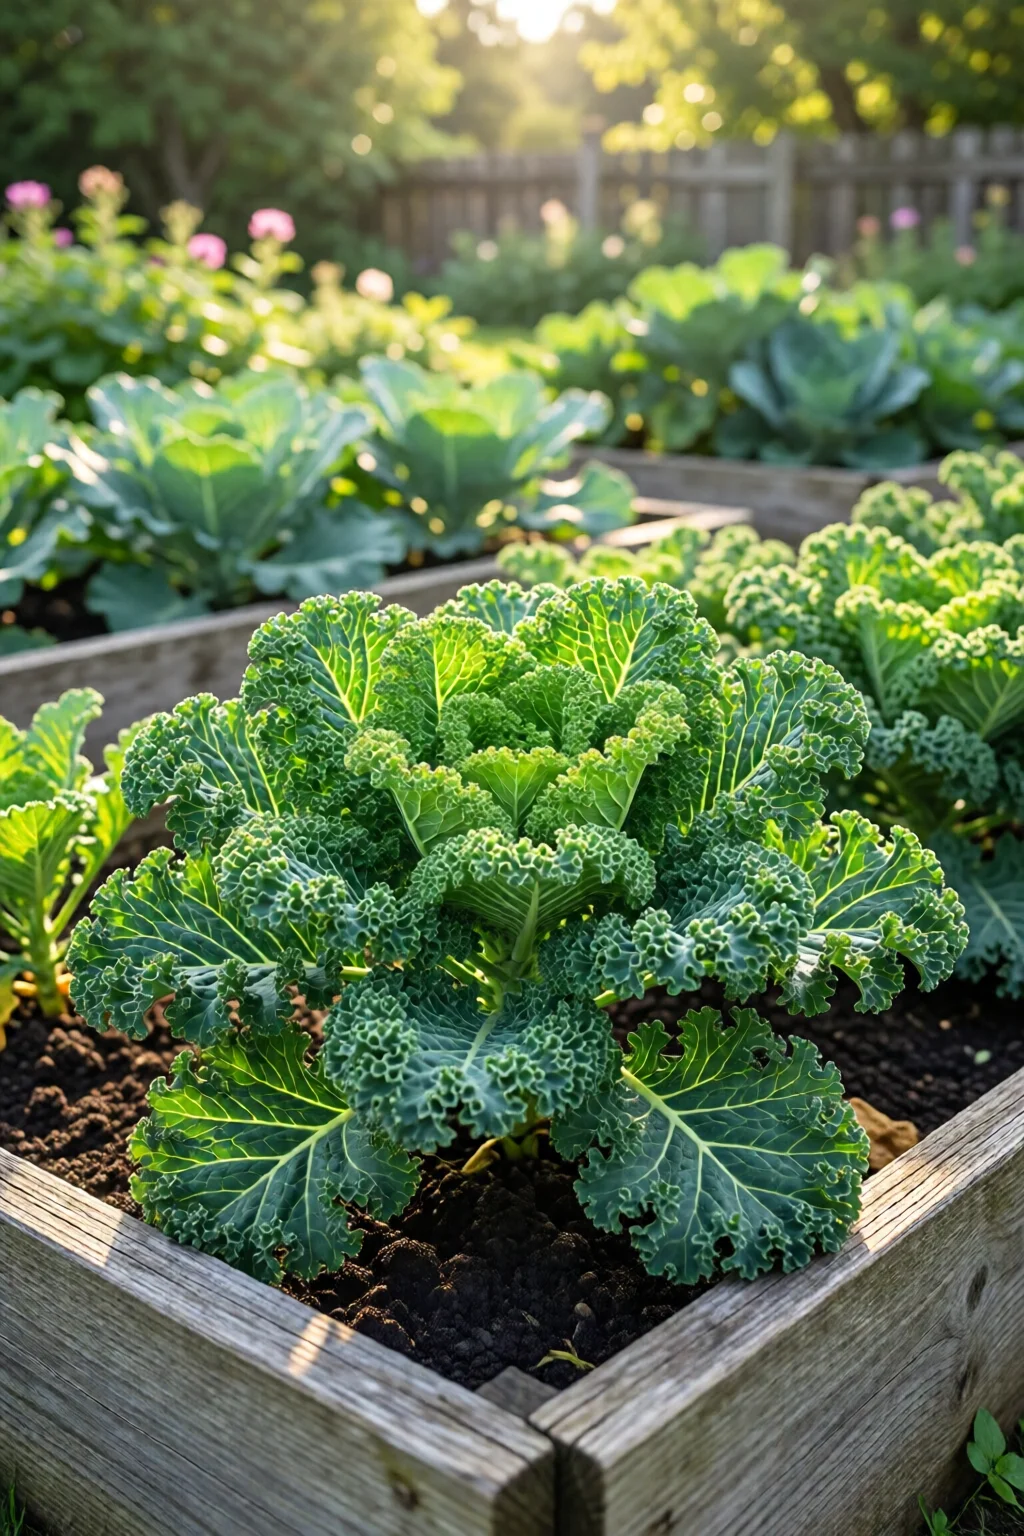
Step 1 – Choose the Site and Build Your Bed
Location is half the battle. Kale thrives in full sun to partial shade (at least 5–6 hours of direct light). If your garden gets intense afternoon heat, orient the bed east‑west so the plants get morning sun and afternoon shade.
Measure and level the ground where the bed will sit. A compacted base can turn your otherwise perfect soil into a water‑logged mess. I always lay down a 2‑inch layer of cardboard to suppress weeds, then top it with a thin (½‑inch) layer of crushed stone for drainage.
Assemble the frame according to the manufacturer’s instructions. For a 4 ft × 8 ft bed, you’ll need roughly 40 linear feet of lumber, which translates to about $30 in raw cedar if you prefer a DIY approach. Secure the corners with stainless‑steel brackets to prevent warping over time.
Fill the bed to within 2 inches of the top edge, mixing soil, compost, and sand as you go. The final depth should be at least 12 inches; kale’s deep‑rooted nature loves that extra room.
Step 2 – Prepare the Soil and Amendments
Before planting, test the pH. Kale prefers a range of 6.0–7.5. A quick garden‑soil test kit (e.g., Luster Leaf 1601, $9.95) will tell you if you need lime. In my backyard, adding 1 cup of garden lime per 20 sq ft raised bed raised the pH from 5.8 to 6.3 within a week.
Next, spread a thin (¼‑inch) layer of Espoma 10‑10‑10 fertilizer across the surface and work it into the top 4 inches with a garden fork. This provides a balanced source of nitrogen, phosphorus, and potassium—critical for rapid leaf development.
Finally, lay down a 2‑inch mulch of straw. Mulch conserves moisture (reducing watering needs by up to 30 %), suppresses weeds, and keeps the soil temperature steady—especially valuable during early spring cold snaps.
Step 3 – Sowing Seeds or Planting Transplants
If you’re starting from seed, sow directly into the raised bed as soon as the soil temperature reaches 45 °F (7 °C). Space seeds ½ inch apart in rows spaced 12 inches apart. Lightly cover with soil and water gently using a fine‑spray nozzle.
For a quicker start, plant 3‑week‑old transplants. Space them 12–18 inches apart, depending on the variety. ‘Winterbor’ can be a bit bushier, so give it the full 18‑inch spacing; ‘Lacinato’ does fine at 12 inches.
Water the newly planted kale thoroughly—aim for 1 inch of water per week, either from rainfall or a drip‑irrigation system set to deliver 0.5 gallons per hour per emitter. In my experience, a drip line placed 6 inches from the plant base reduces stem rot compared with overhead watering.
Cover the rows with a floating row cover if you’re planting before the last frost. The cover should be secured with garden staples and removed once night temperatures stay above 40 °F (4 °C) for a week.
Step 4 – Ongoing Care: Water, Feed, and Harvest
Consistent moisture is key. Check the soil daily during the first two weeks; the top 2 inches should feel damp, not soggy. A simple finger test works: if the soil sticks to your finger, it’s good.
Feed the kale every 4–6 weeks with a side‑dressing of compost tea (1 cup of compost steeped in 1 gallon of water for 24 hours). This provides a slow release of micronutrients that keep the leaves dark green and tender.
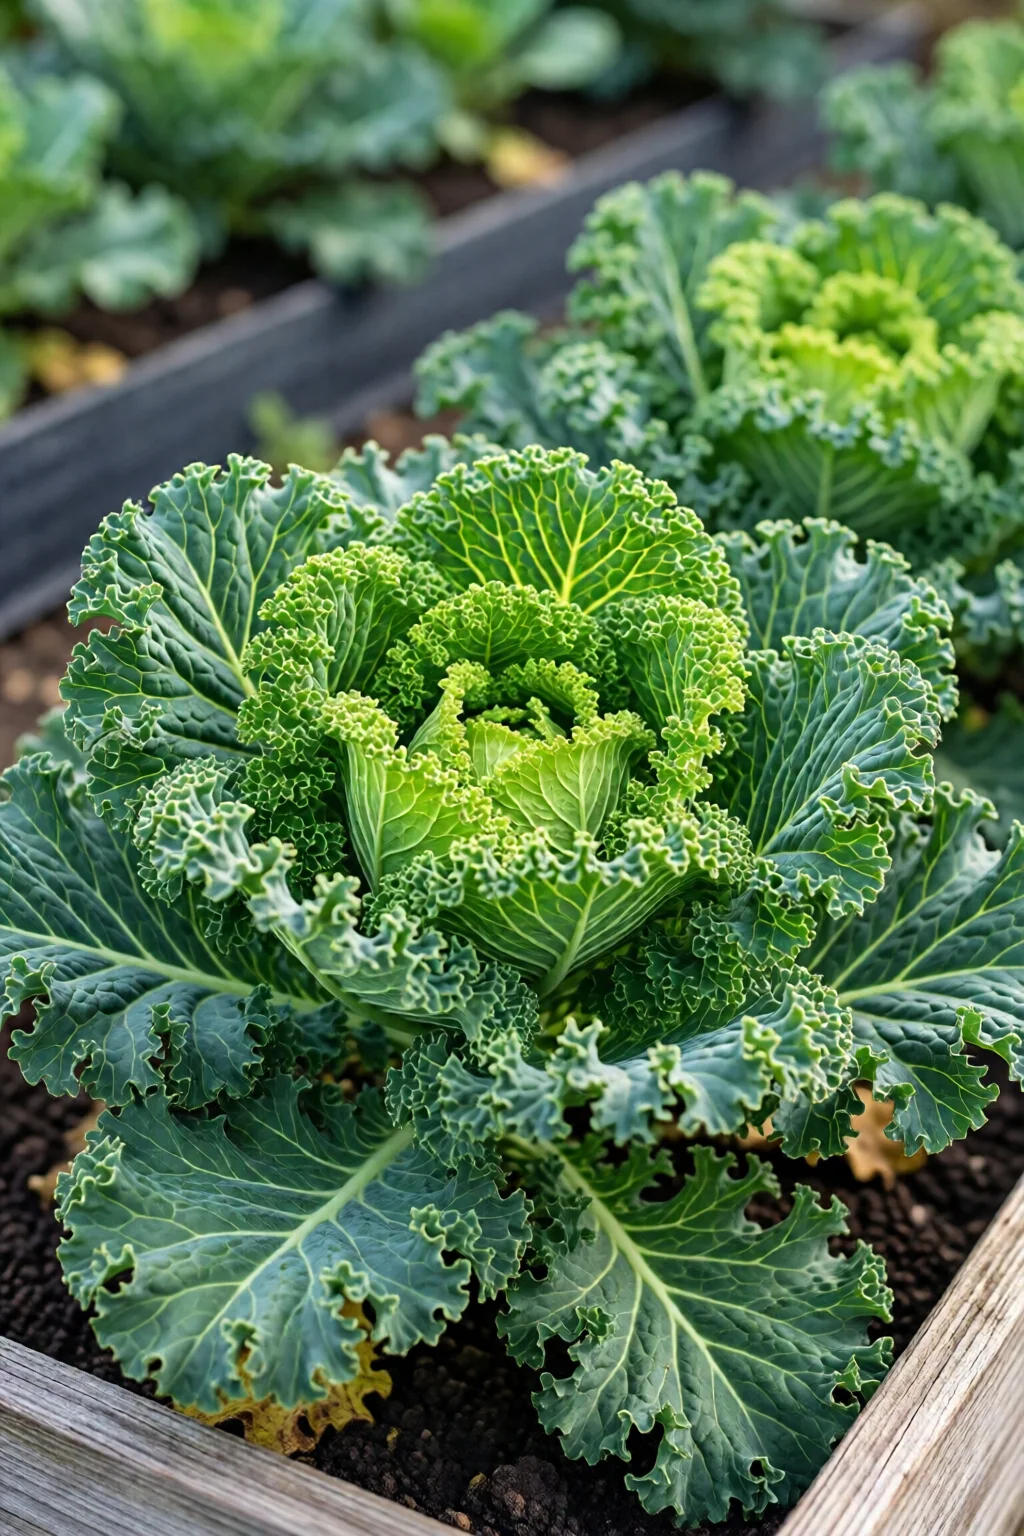
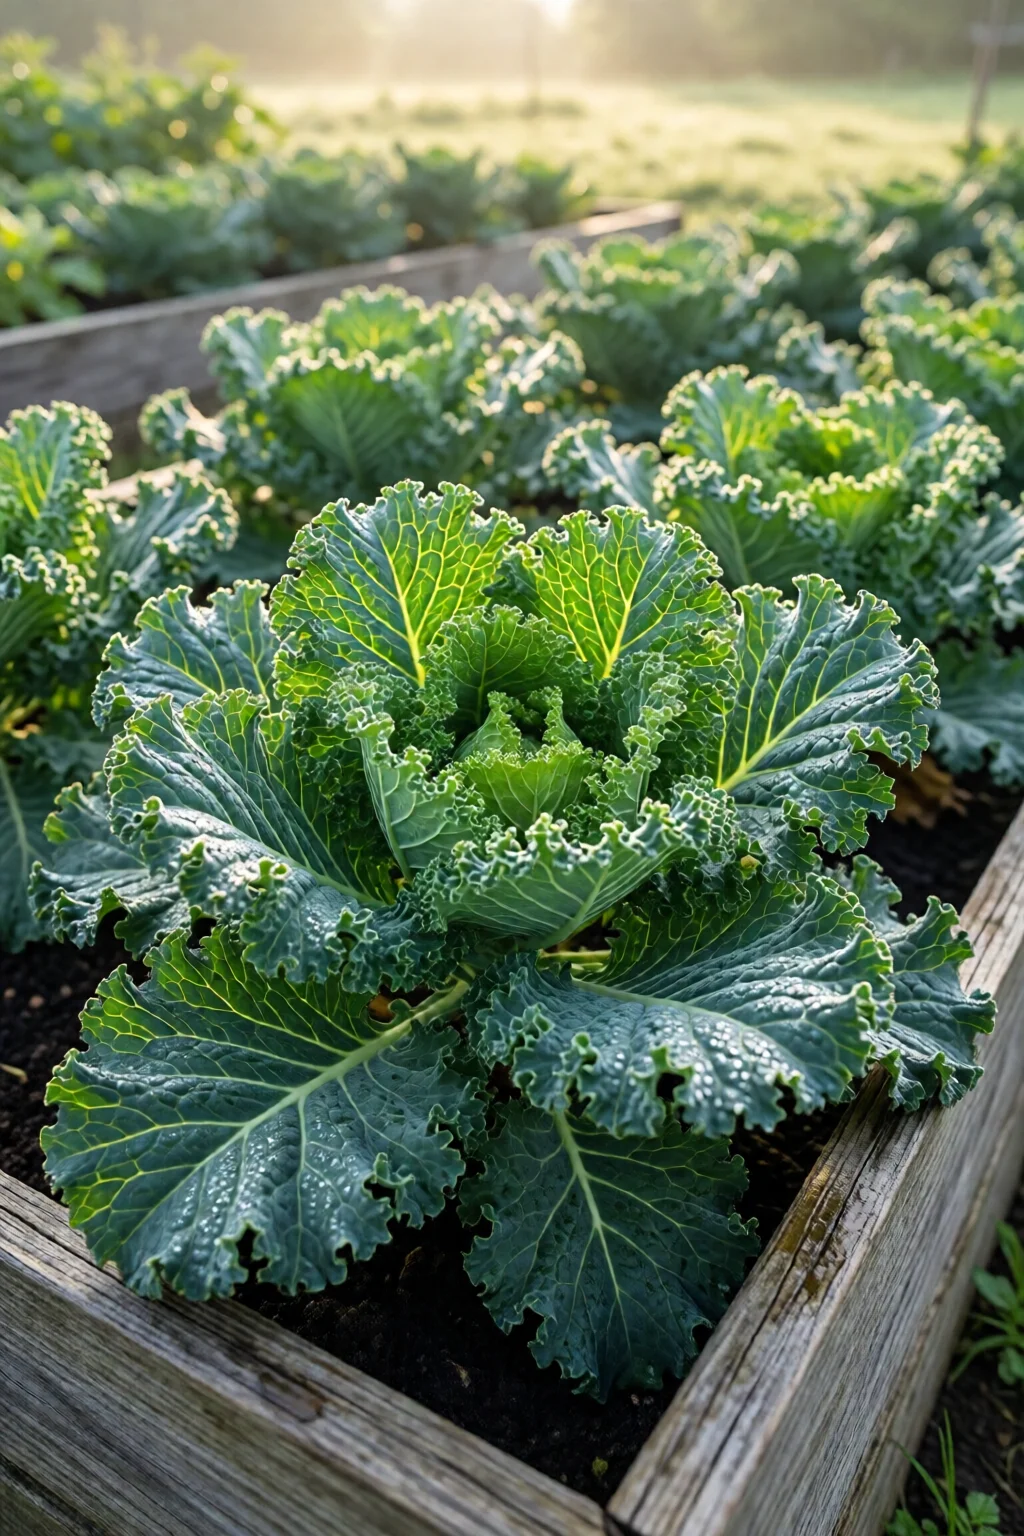
Harvest when the leaves reach 6–8 inches in length. Use a sharp kitchen or garden shears, cutting the outer leaves first and leaving the central bud intact. This “cut‑and‑come‑again” method can yield a harvest every 2–3 weeks throughout the season.
Watch for pests: aphids love kale, especially under warm conditions. A quick spray of neem oil (e.g., Bonide Neem Oil, $8.99 per 16‑oz bottle) every 10 days keeps them at bay without harming beneficial insects.
When frost threatens in late fall, simply cover the bed with a 4‑mil frost blanket. Kale can survive temperatures down to 20 °F (‑6 °C) and will keep producing sweet, tender leaves well into winter.
Common Mistakes to Avoid
- Planting too deep: Seeds buried more than ¼ inch often fail to germinate. Keep them shallow.
- Skipping soil testing: A pH below 6.0 locks up nitrogen, leading to yellowing leaves.
- Over‑watering: Waterlogged soil encourages root rot. Use a moisture meter or the finger test.
- Ignoring spacing: Crowded plants compete for light and nutrients, resulting in stunted growth and increased disease pressure.
- Neglecting mulch: Without mulch, soil temperature swings can stress plants, especially in early spring.
Tips for Best Results (Troubleshooting)
Yellow leaves? Check nitrogen levels. A quick side‑dress of a nitrogen‑rich fertilizer (e.g., 30‑0‑0 fish emulsion, $5.49 per quart) can revive the foliage within a week.
Bolting (going to seed) early? Kale bolts when days get long and temperatures exceed 75 °F (24 °C). Provide a light shade cloth and keep soil cool with extra mulch.
Leaf spots or mildew? Improve air circulation by thinning the canopy and avoid overhead watering. A copper‑based fungicide (e.g., Bonide Copper Fungicide, $7.99 per 16‑oz) applied early can halt the spread.
For a continuous supply, stagger planting every 2–3 weeks. This “succession planting” technique ensures that as the first batch matures, a second batch is just getting started.
Finally, consider companion planting. A row of garlic or onions on the north side of the bed can deter aphids, while a few nasturtiums attract beneficial insects that prey on pests.
Summary
Growing kale in raised beds is a low‑maintenance, high‑reward venture that fits perfectly into small‑space gardening, urban rooftops, or traditional backyards. By choosing the right site, building a sturdy bed, preparing a nutrient‑rich soil mix, and following a disciplined watering and feeding schedule, you can expect a harvest that lasts from early spring well into winter. Avoid the common pitfalls—over‑watering, crowding, and neglecting soil health—and you’ll enjoy tender, nutrient‑dense leaves for salads, smoothies, and soups all season long.
How long does it take for kale to mature in a raised bed?
From seed, kale typically reaches a harvestable size in 55–65 days, depending on the variety and temperature. Transplants can be ready in as little as 30 days.
Can I grow kale year‑round in a raised bed?
Yes. With proper frost protection and a cool‑season variety, kale can produce throughout winter in most USDA zones 4–9.
What is the best soil pH for kale?
Aim for a pH between 6.0 and 7.5. Adjust with garden lime if the soil is too acidic.
How much water does kale need in a raised bed?
Kale requires about 1 inch of water per week. Using a drip‑irrigation system helps deliver consistent moisture without over‑watering.
Should I use row covers for kale?
Row covers are beneficial for early spring planting and protecting against late‑season frosts. They also help keep bolting at bay by moderating temperature.