When I first tackled the sloping flower bed behind my kitchen, the wild, unruly edge kept stealing the spotlight from the roses I’d spent weeks nurturing. A simple, defined border turned that chaotic fringe into a polished showcase, and the transformation was immediate. In this guide you’ll learn how to pick, install, and maintain garden border ideas for edges that suit any style, budget, and skill level.
In This Article
- What You Will Need or Before You Start
- Step 1 – Plan and Measure Your Edge
- Step 2 – Choose the Right Material for Your Style and Budget
- Step 3 – Prepare the Base and Layout
- Step 4 – Install the Edge
- Step 5 – Finish and Maintain
- Common Mistakes to Avoid
- Troubleshooting or Tips for Best Results
- Summary Conclusion
What You Will Need or Before You Start
- Measuring tape (at least 30 ft.) – a 25‑ft. tape costs about $7 on Amazon.
- Marking chalk or garden spray paint – I use the Fiskars Edge Marker ($4.99).
- Spade or garden fork – a Fiskars Steel Soil Spade retails for $24.99.
- Level and string line – a 50‑ft. carpenter’s level ($12) works well.
- Choosing the edging material:
- Hardscape: Sierra Gold Stone Edging Kit (30 lb., $49.95), Neenah Landscape Timbers – 8‑ft. cedar pieces at $12 each, or NaturaFence Metal Garden Edge – 6‑ft. sections at $19.99.
- Softscape: low‑growth border plants such as Lavandula angustifolia (lavender), Thymus serpyllum (creeping thyme), and dwarf Boxwood (Buxus sempervirens ‘Green Gem’). Seed packets run $3‑$5, while container plants range $8‑$15.
- Tools for installation: rubber mallet ($9.95), garden hose, wheelbarrow, and a compact plate compactor (optional, $119 for a small electric model).
- Protective gloves and safety glasses.
Step 1 – Plan and Measure Your Edge
Start by walking the perimeter you want to define. Use the tape measure to note total length; most suburban gardens need between 30 ft and 120 ft of edging. I measured 78 ft for my backyard border, which allowed a clean division between the vegetable patch and the ornamental lawn.
Sketch a quick plan on graph paper (1 cm = 1 ft). Mark any curves, corners, or obstacles like garden hoses and irrigation heads. This visual helps you decide where a straight metal edge works best versus a natural stone curve.
Tip: If you have a slope greater than 10°, consider a stepped border. A 2‑in. rise per foot keeps the material stable and prevents water pooling.
Step 2 – Choose the Right Material for Your Style and Budget
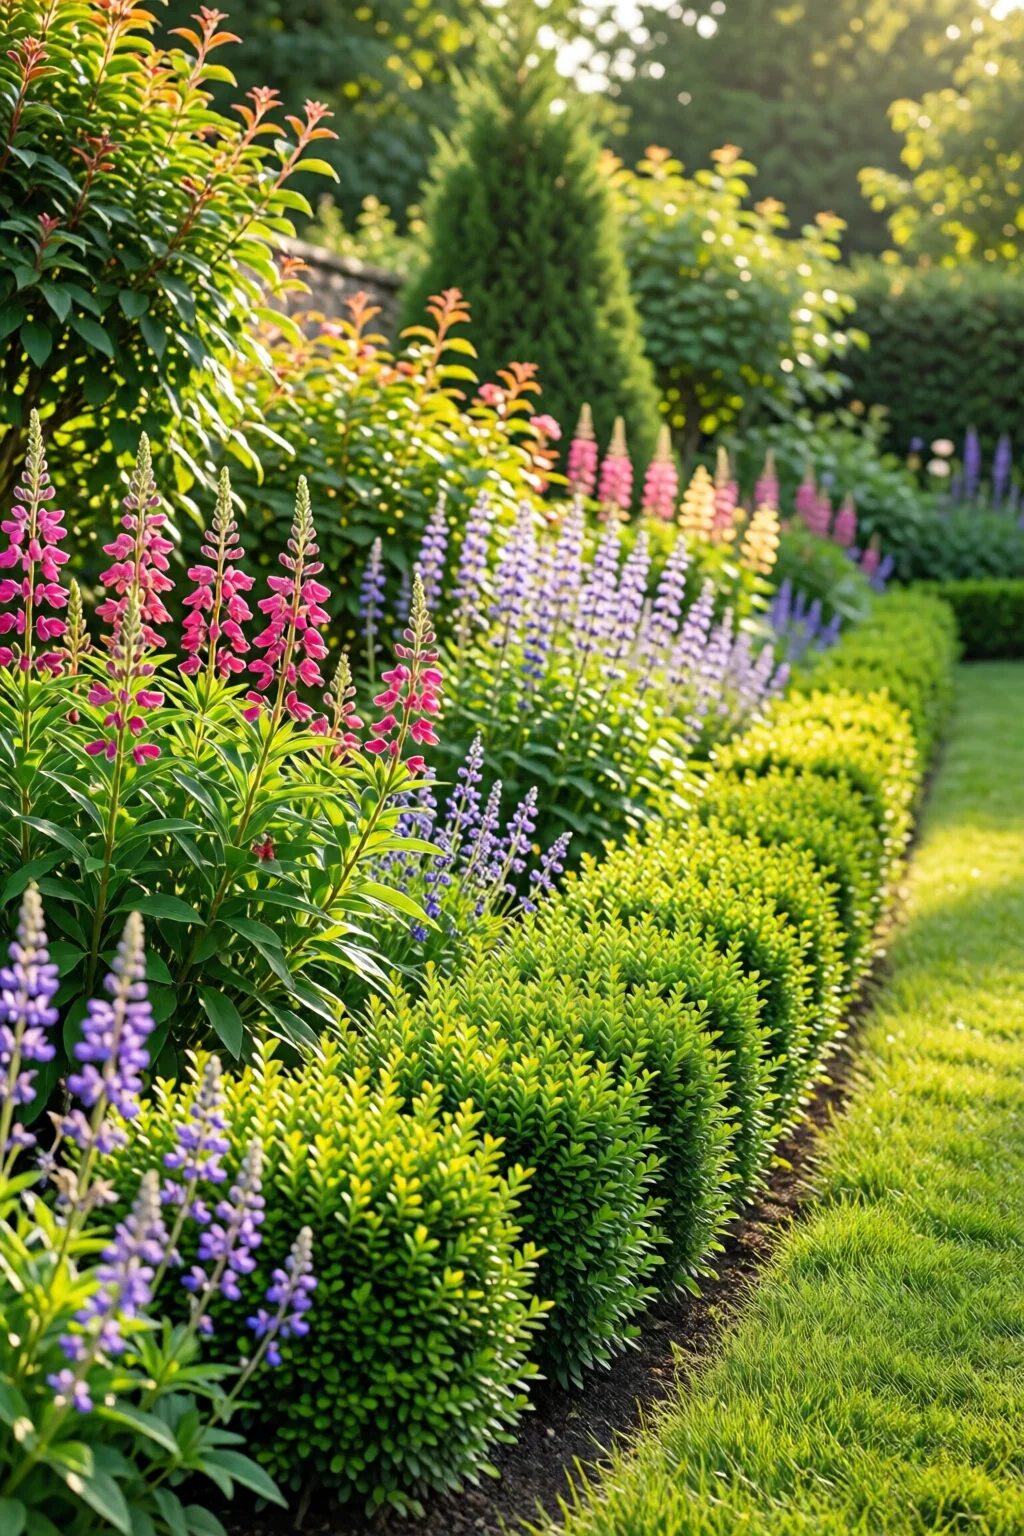
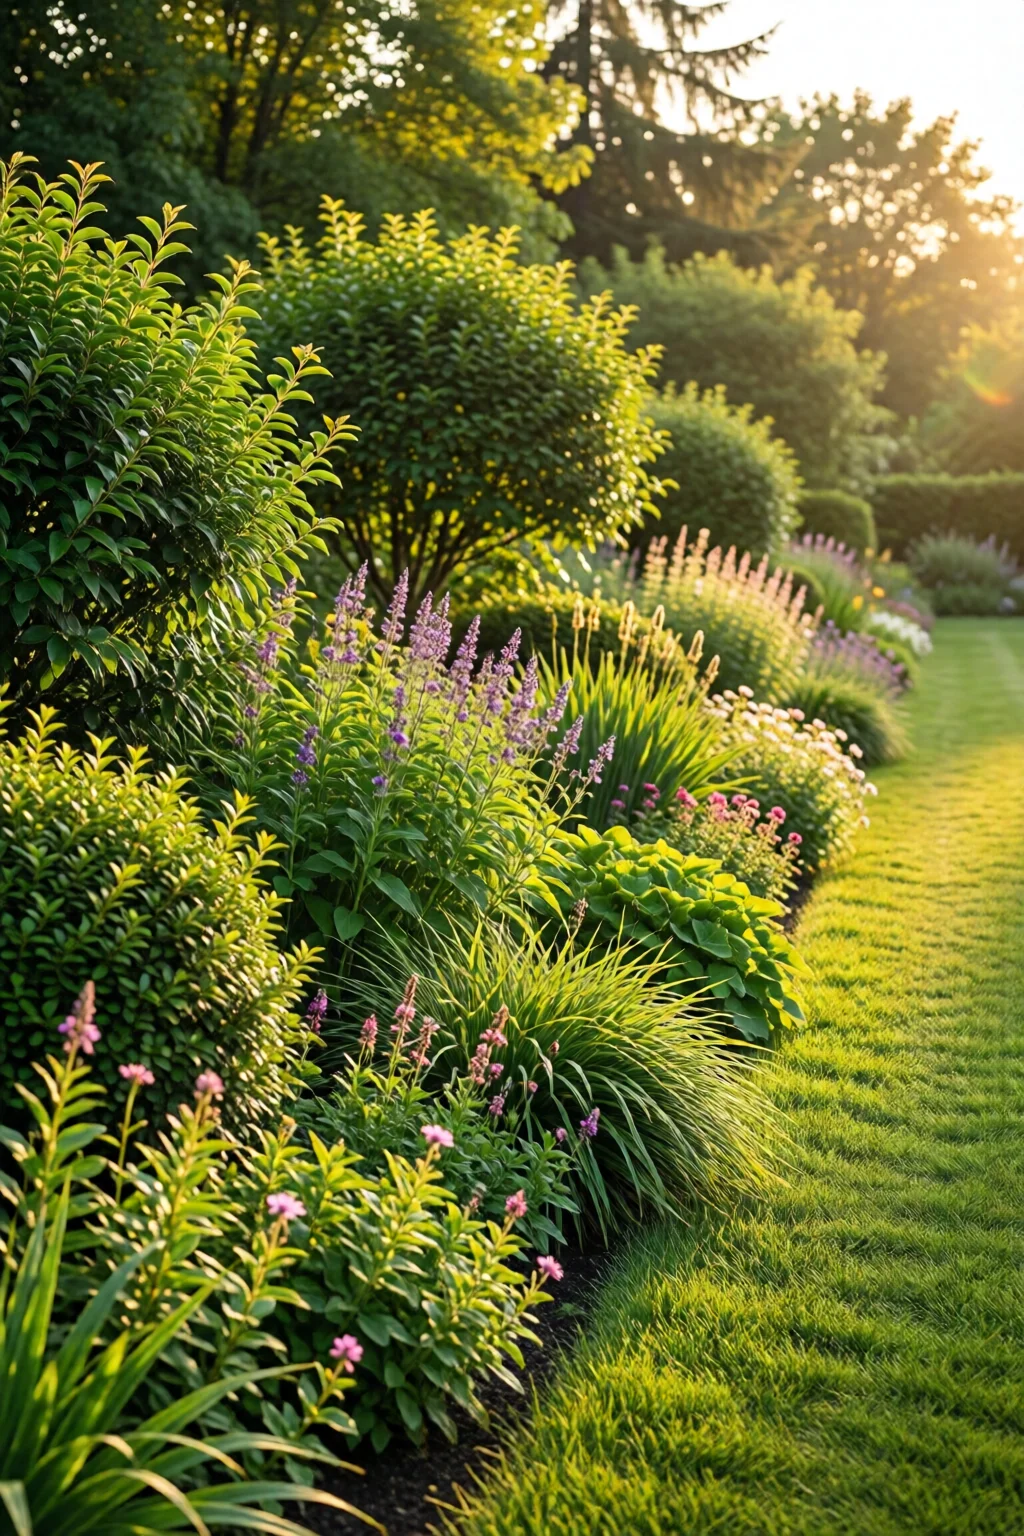
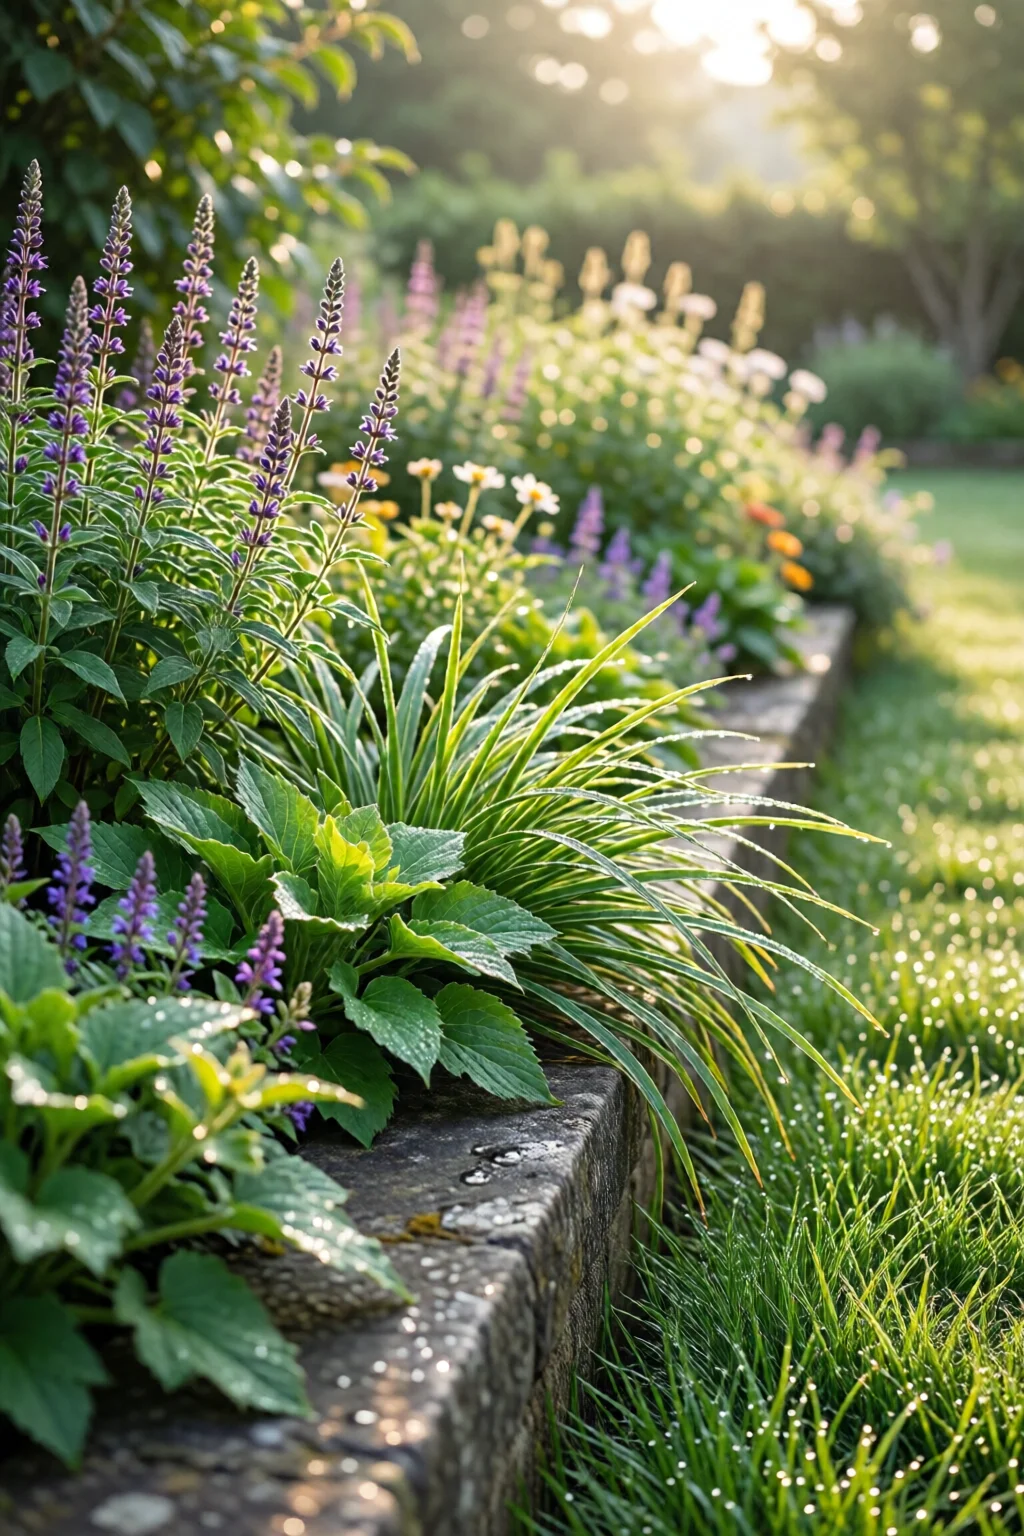
The heart of any garden border idea for edges is material choice. Hardscape options give a crisp, low‑maintenance line; softscape adds texture and seasonal interest.
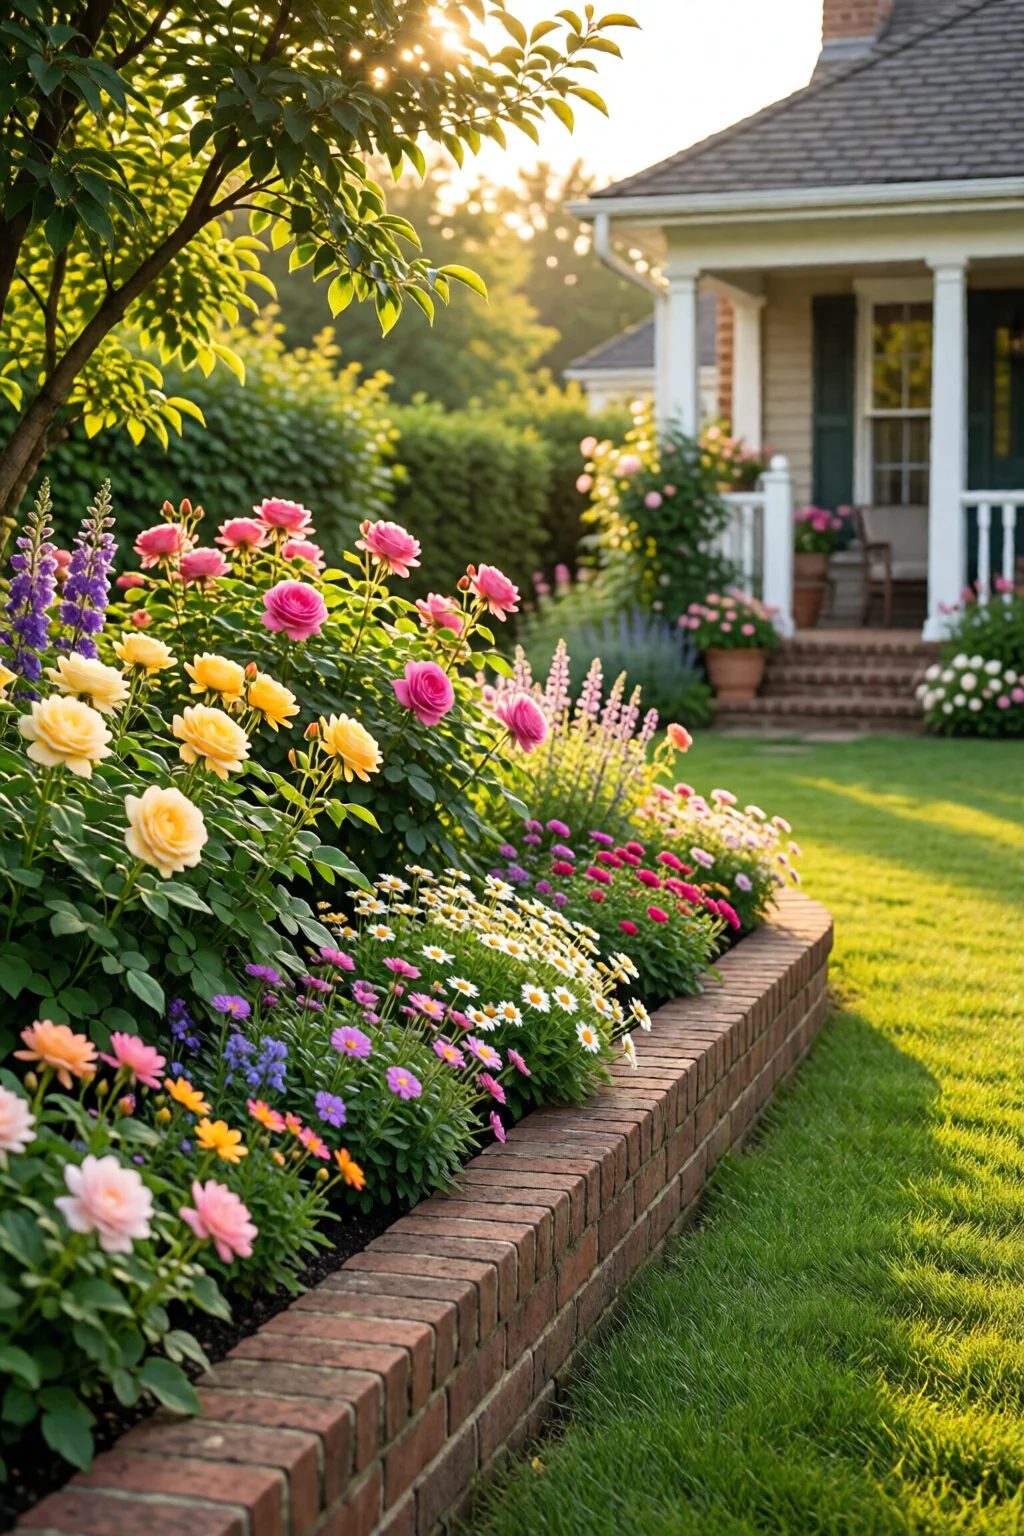
Hardscape: I love the Sierra Gold Stone Edging Kit because each stone interlocks, creating a seamless wall that costs $49.95 for 30 lb., covering up to 20 ft of 3‑in. height. For a rustic feel, I’ve installed Neenah Cedar Timbers at $12 per 8‑ft. piece; they blend with natural landscaping and last 8‑10 years before rot.
Softscape: If you prefer a living edge, plant a mix of lavender (30 cm spacing), creeping thyme (15 cm spacing), and dwarf boxwood (45 cm spacing). In my experience, a 3‑plant combo yields a 75 % reduction in weed growth after the first season.
Budget check: Hardscape averages $1.50‑$3.00 per linear foot, while softscape plantings run $0.40‑$0.80 per foot for seedlings, plus $0.15 per foot for soil amendment.

Step 3 – Prepare the Base and Layout
Clear the intended line of debris, grass, and roots. Use the spade to cut a shallow trench 4‑in. deep and 2‑in. wide for stone or metal edging. For timber, a trench 2‑in. deep and 1‑in. wide suffices.
Compact the trench base with a rubber mallet or, for larger jobs, a plate compactor. A well‑compacted base reduces settlement by up to 30 % over two years.
Lay out your marking chalk or spray paint line, checking with the level and string line every 10 ft. Adjust for any high spots; a ½‑in. deviation can cause gaps later.
Step 4 – Install the Edge
Stone or Metal: Begin at a corner. Place the first stone flush with the trench, tapping gently with the mallet. Continue, ensuring each piece sits level (±2 mm). Use a rubber mallet to snug any tight spots.
Timber: Lay the first cedar board, ensuring it’s level and the top aligns with the ground surface. Secure with Simpson Strong-Tie SDWH5 – 5‑in. stainless steel screws at $0.35 each. Space screws every 12 in.; a 10‑ft. run needs about 10 screws, costing $3.50.
Softscape: After the hard edge is set, backfill a 3‑in. layer of quality garden soil (e.g., Miracle-Gro All Purpose Soil, $5 per 1‑cu‑ft.). Plant your border species according to the spacing chart above, firm the soil, and water thoroughly.
Step 5 – Finish and Maintain
For hard edges, sweep away excess soil and apply a bead of exterior-grade silicone caulk ($6.99 tube) where stone meets timber to prevent water intrusion.
Mulch soft edges with 2‑in. of shredded bark ($3 per bag) to retain moisture and suppress weeds. In my garden, a yearly mulch top‑up cuts weed emergence by 80 %.
Inspect the border after the first heavy rain. Look for settling or gaps; fill with additional soil or re‑level stones within two weeks to avoid long‑term movement.
Common Mistakes to Avoid
- Skipping the base preparation. Without a compacted trench, even premium stone will sink, leading to uneven edges.
- Using the wrong height. A 6‑in. edge can drown low‑growth plants; keep hard borders under 4‑in. when planting softscape immediately behind.
- Ignoring drainage. Edges that trap water cause rot in timber and root rot in plants. Add a 1‑in. layer of coarse sand at the bottom of the trench.
- Choosing mismatched materials. Pairing bright metal with delicate lavender can create visual clash. Coordinate colors and textures.
- Over‑tightening screws. This can split cedar timbers. Hand‑tighten and finish with a torque wrench set to 5 Nm.
Troubleshooting or Tips for Best Results
Edge shifting after rain? Re‑level with a garden rake and add a thin layer of compacted sand beneath the base. A 2‑in. sand layer can absorb up to 30 % more water pressure.
Weeds sneaking through stone gaps? Fill gaps with polymeric sand (Quikrete Polymeric Sand, $8 per 5‑lb. bag) and wet it according to the label. It hardens and blocks seed germination.
Timber rotting early? Apply a clear, water‑based sealant (Thompson’s WaterSeal, $9 per quart) within 24 hours of installation; reapply every 2‑3 years.
Plants not thriving? Test soil pH; lavender prefers 6.5‑7.0. Amend with lime if needed. Also, ensure at least 6 hrs of sunlight per day; shade can stunt growth.
One mistake I see often is planting too close to the hard edge, which restricts root expansion. Leave a 4‑in. buffer zone between the edge and plant crown.
Summary Conclusion
Choosing the right garden border ideas for edges transforms a chaotic perimeter into a purposeful, attractive feature. By measuring accurately, selecting materials that match your aesthetic and budget, preparing a solid base, and following careful installation steps, you’ll enjoy a clean line that lasts for years. Remember to avoid common pitfalls like neglecting drainage and over‑tightening fasteners, and keep an eye on maintenance to preserve both hard and soft borders. With a little planning, your garden will finally have the polished edge it deserves.
What is the most cost‑effective material for a long garden border?
For lengths over 100 ft, Neenah cedar timbers at $12 per 8‑ft. piece or polymeric sand‑filled stone kits at $1.80 per linear foot offer durability and low maintenance while staying under $2 per foot.
Can I combine hard and soft edging in the same garden?
Absolutely. Use a hard edge to define the line, then plant low‑growth perennials or herbs directly behind it. Keep a 4‑in. gap to allow root growth and prevent water pooling.
How long does it take to install a 50‑ft stone border?
For a DIY homeowner, expect 4‑6 hours total: 1 hour to clear and dig the trench, 2‑3 hours to lay and level stones, and 1 hour for back‑filling and finishing touches.
4 réflexions au sujet de “Garden Border Ideas For Edges: Complete Guide for 2026”