Ever stood in your backyard and wondered why the neighbor’s patio feels like an extension of your own space?
In This Article
- What You’ll Need Before You Start
- Step 1: Assess Your Space and Privacy Goals
- Step 2: Choose the Right Material
- Step 3: Design the Layout
- Step 4: Build or Install Your Screen
- Step 5: Add Decorative and Functional Touches
- Common Mistakes to Avoid
- Troubleshooting and Tips for Best Results
- Summary
- Frequently Asked Questions
With the right outdoor privacy screen ideas, you can turn that open view into a cozy, secluded oasis without sacrificing style or function. In this step‑by‑step guide I’ll walk you through everything you need—from planning and material selection to installation and finishing touches—so you can create a screen that blocks prying eyes, adds character, and even boosts property value.
What You’ll Need Before You Start
- Measuring tape (at least 150 cm, preferably a 30‑foot retractable model)
- Level and carpenter’s square for ensuring straight lines
- Drill and impact driver – a DEWALT DCD771C2 20‑V cordless set costs around $99 and is perfect for outdoor work.
- Saw – a circular saw with a 7‑inch blade (e.g., Bosch CS10) runs about $120.
- Fasteners – galvanized 3‑in. deck screws ($8 per box), stainless‑steel brackets ($12 each), and optional hidden‑clip hardware for fabric screens.
- Materials – see Step 2 for options (wood planks, metal lattices, bamboo, fabric, or living plant panels).
- Protective gear – safety glasses, earplugs, and work gloves.
- Finishing supplies – exterior stain or paint (e.g., Behr Premium DeckFinish, $35 / gal), sealant, and optional lighting fixtures.
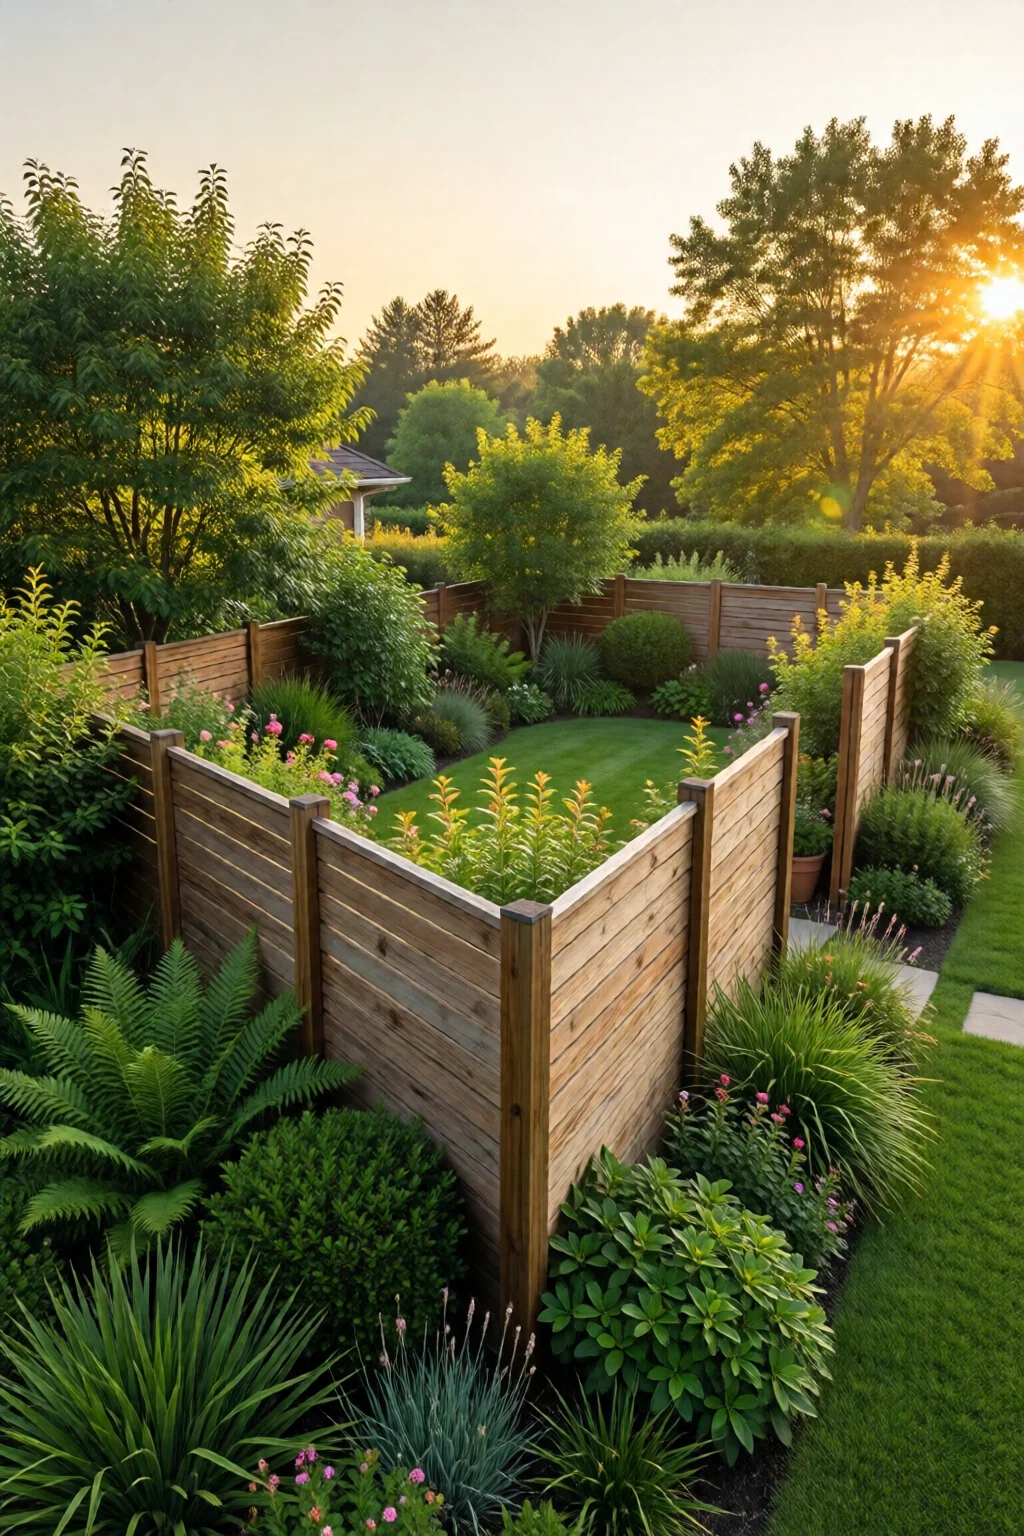
Step 1: Assess Your Space and Privacy Goals
Start by measuring the length and height of the area you want to screen. Most homeowners aim for a height of 6–8 ft to block sightlines while staying within most local zoning codes. If you have a 12‑ft wide patio, a 6‑ft tall screen will require roughly 72 sq ft of material.
Ask yourself:
- Do I need total privacy (e.g., a backyard garden) or just a visual break (e.g., a poolside divider)?
- Will the screen support climbing vines or need to hold planters?
- What’s my budget? A basic wooden lattice can be $2–$4 per square foot, while a high‑end metal screen with a powder‑coat finish can exceed $12 per square foot.
In my experience, sketching a simple diagram on graph paper (1 sq ft = 1 square) saves hours of guesswork later.
Step 2: Choose the Right Material
Material choice drives cost, durability, and aesthetic. Below are my top picks for 2024, complete with brand names, typical dimensions, and price ranges.
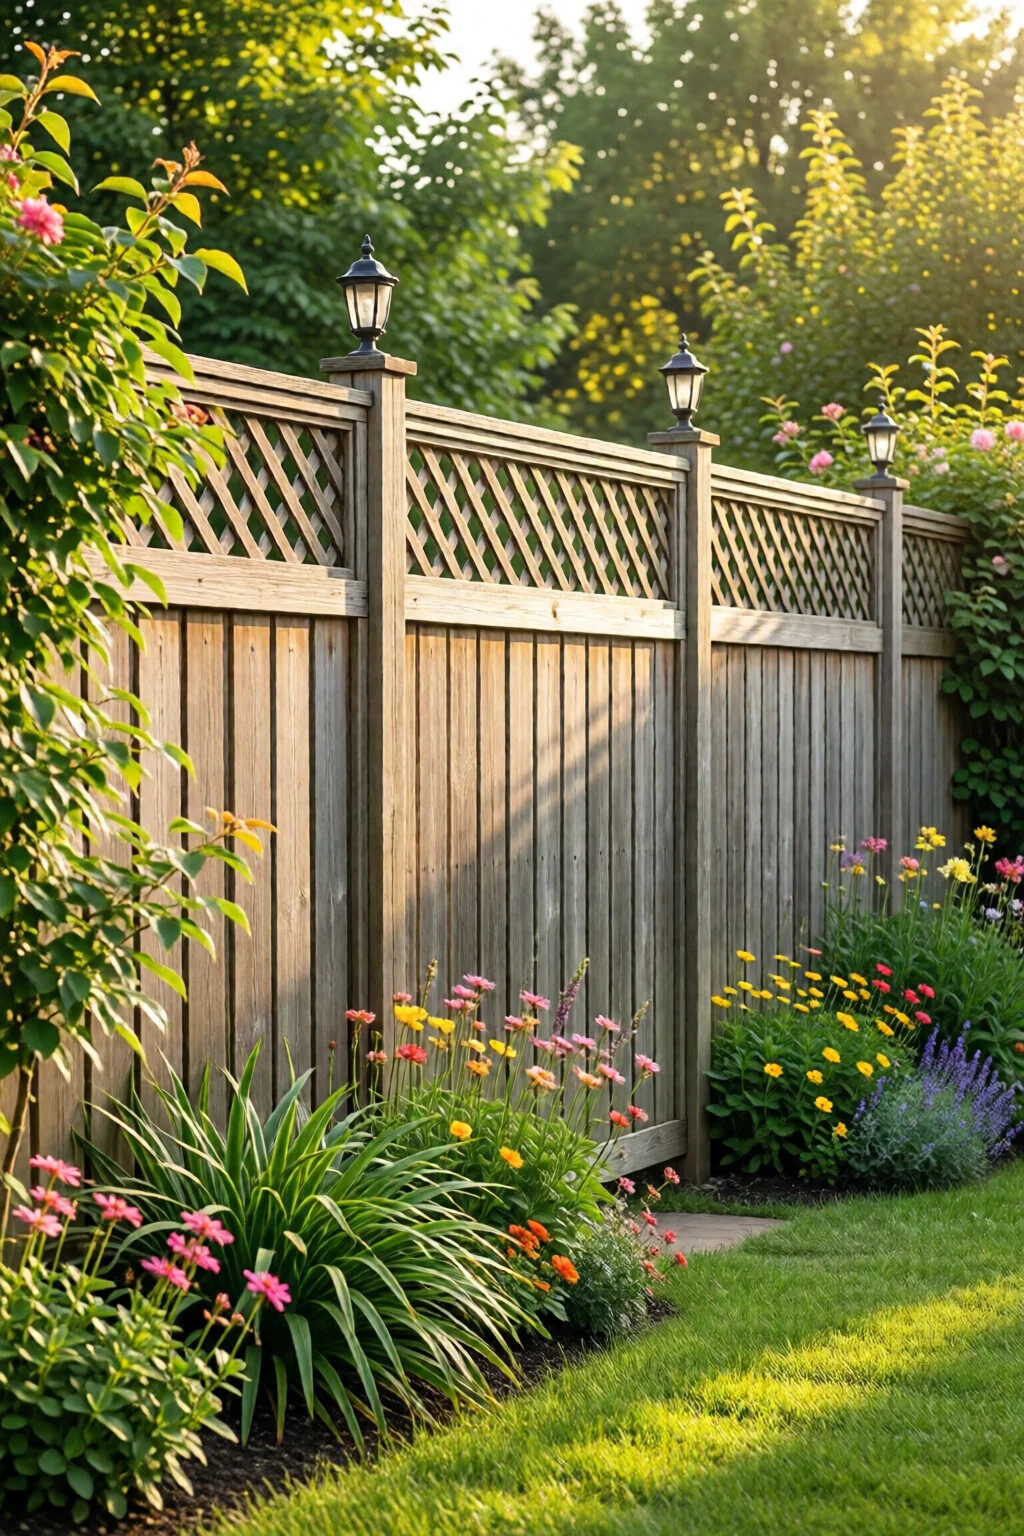
Wood
Western Red Cedar (e.g., TimberTech 1‑in. × 6‑in. planks) offers natural resistance to rot and insects. A 6‑ft‑high, 12‑ft‑wide screen built from 1‑by‑6 cedar costs about $350 for materials, plus $35 for stain.
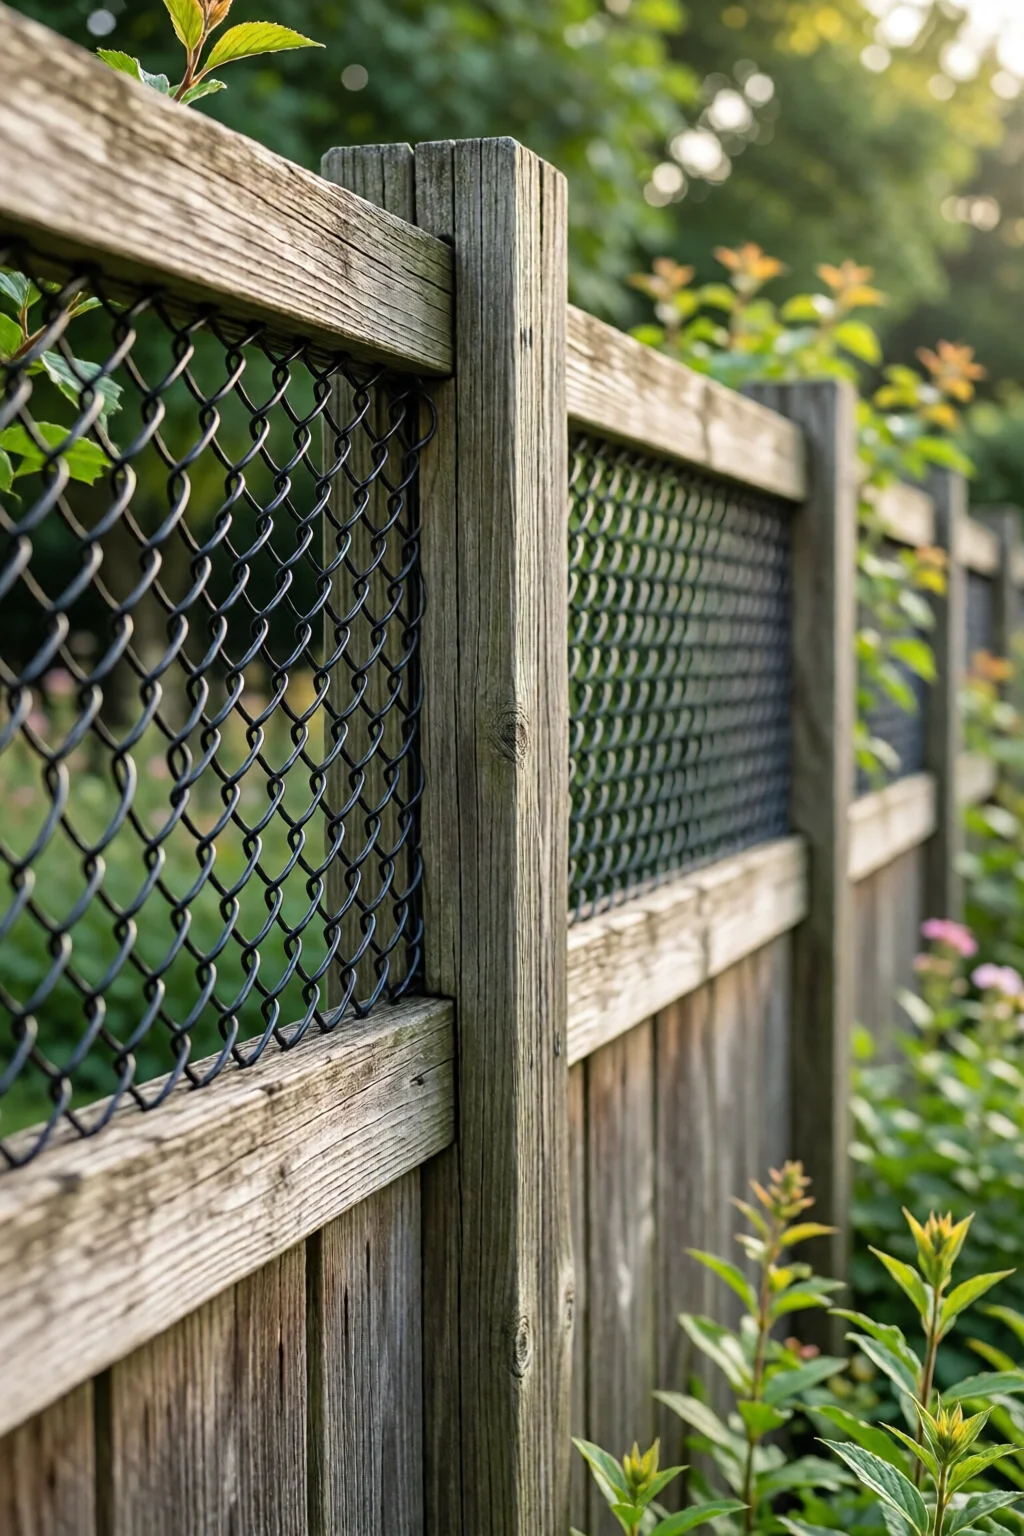
Metal
Aluminum lattices from Trex (e.g., Trex Lattice 18‑in. × 24‑in.) are lightweight and require no paint. Pricing sits at $8 / sq ft, so a 72‑sq‑ft screen runs roughly $576.
Bamboo
Natural bamboo rolls (e.g., EcoBamboo 4‑ft × 10‑ft, $120 per roll) provide a tropical vibe. They’re best used in shaded areas; direct sun can cause discoloration after a few years.
Outdoor Fabric
Solution‑dye polyester screens like Sunbrella Outdoor Canvas (54‑in. × 84‑in., $45 per panel) are waterproof and UV‑stable. Pair them with hidden‑clip brackets ($12 per set) for a sleek, removable option.
Living Screens
Fast‑growing vines such as Star Jasmine or Climbing Hydrangea can be trained on a trellis. Budget $25 per plant, plus $30 for a metal trellis (e.g., Garden Trellis Co. 6‑ft × 8‑ft). Expect a 2‑year establishment period before full coverage.
Step 3: Design the Layout
With your material selected, draft a scaled plan. Here’s a quick formula:
- Total area = length × height (in feet)
- Number of panels = total area ÷ panel area (including overlap of 2‑in.)
For a cedar screen using 1‑by‑6 planks spaced 2 in. apart:
- Each plank covers 0.5 sq ft (1 ft × 6 in.).
- 72 sq ft ÷ 0.5 ≈ 144 planks.
- At $3 per plank, material cost ≈ $432.
Remember to factor in post spacing. For a sturdy frame, place vertical posts every 4 ft. A 12‑ft span needs three posts (including end posts). Simpson Strong‑Tie post anchors cost $9 each.
Adding Features
Consider integrating:
- LED strip lighting (e.g., Philips Hue Outdoor Lightstrip, $45 per 6‑ft roll) for evening ambiance.
- Built‑in shelves for potted herbs—great if you love spring vegetable garden planting schedules.
- Hooks for hammocks or swing chairs.
Step 4: Build or Install Your Screen
Follow these steps for a DIY wooden screen; metal or fabric options use similar principles.
- Mark post locations using stakes and a string line. Verify each spot is level.
- Dig post holes 24 in. deep (or per local frost line). Use a post‑hole digger—$30 for a 12‑in. model.
- Set posts in concrete mix (Quikrete 5000 lb. bag, $4). Allow 24 hours to cure.
- Attach horizontal rails (2 × 6 cedar) using 3‑in. deck screws. Space rails 2 ft apart for stability.
- Install planks vertically, starting at the bottom. Use a level every 3 planks to prevent warping.
- Apply finish within 48 hours of construction. A two‑coat stain (30 min per coat) protects wood for up to 5 years.
If you’re using a metal lattice, skip the staining step and simply bolt the lattice to the frame with stainless‑steel clips.
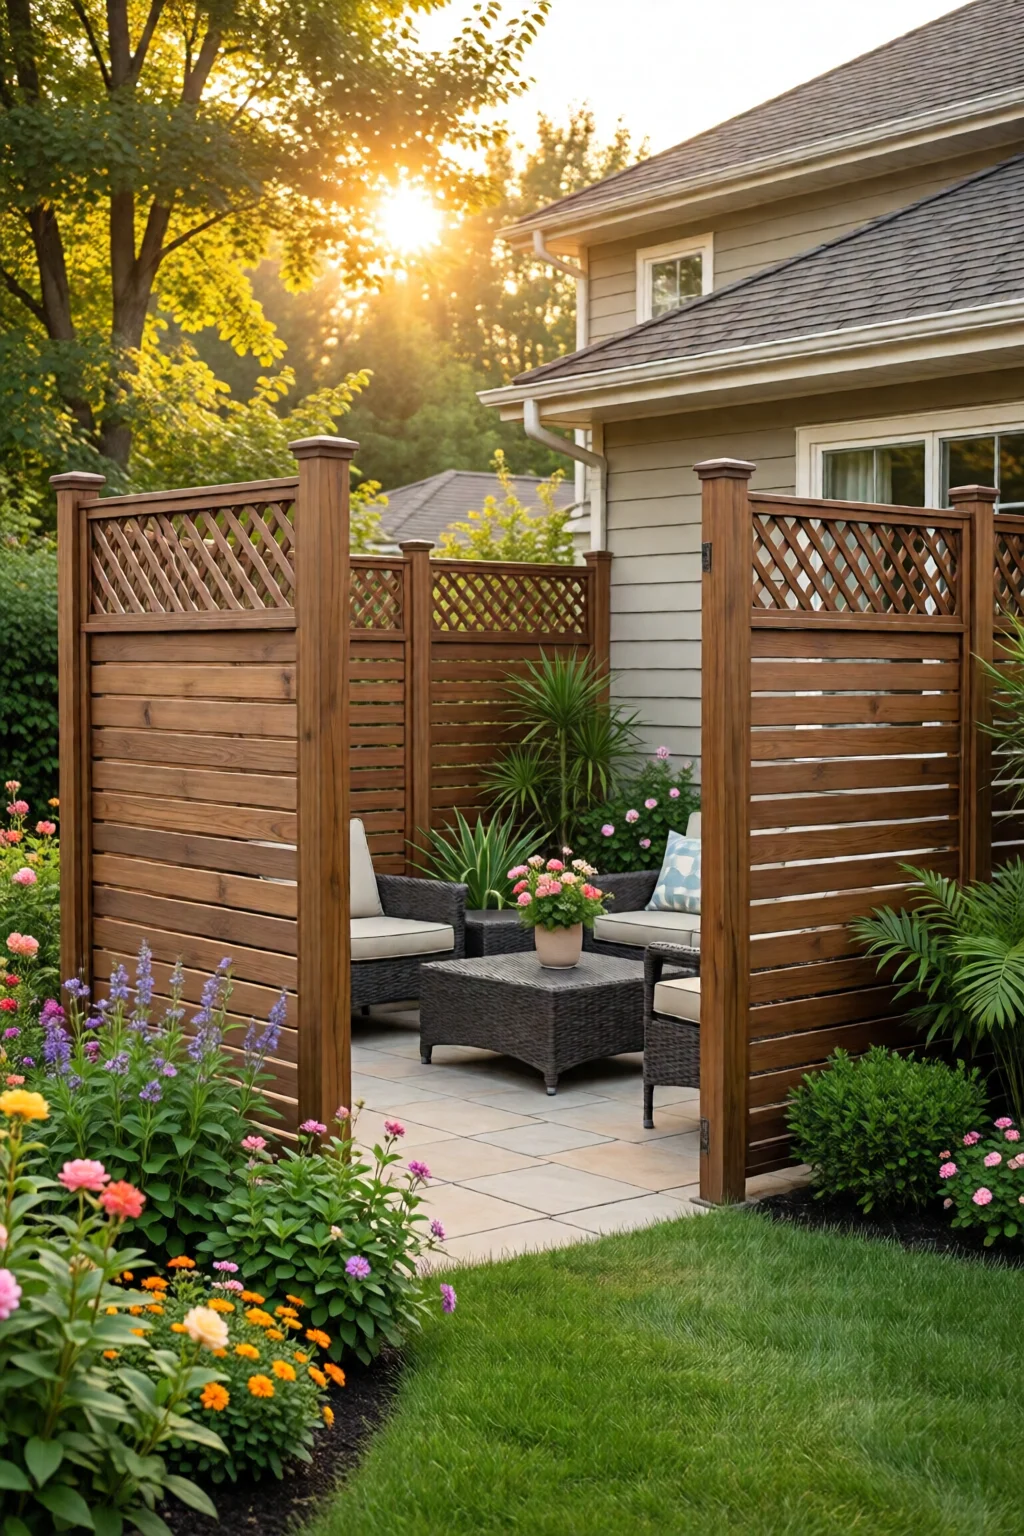
Step 5: Add Decorative and Functional Touches
Now the fun begins. Here are three upgrades that elevate any screen:
- Climbing vines—Plant Star Jasmine at the base and guide growth with soft ties. Expect 4–6 ft of coverage per season.
- Planter boxes—Attach GreenWorks 12‑in. × 12‑in. recycled plastic boxes ($15 each) to the lower rails. Fill with drought‑tolerant succulents for low‑maintenance color.
- Solar-powered lanterns—Mount Goal Zero 5‑W solar lanterns (≈ $30 each) onto the top rail for night‑time glow without wiring.
These details not only enhance privacy but also create a multi‑sensory garden space that invites you to linger.
Common Mistakes to Avoid
- Ignoring local codes—Many municipalities limit screen height to 8 ft. Check with your planning department before ordering materials.
- Undersizing posts—Using 2‑in. posts for a 6‑ft screen can lead to wobble. Opt for 4‑in. pressure‑treated posts for stability.
- Skipping a moisture barrier—Directly attaching wood to metal brackets without a rubber gasket can cause rot at the contact points.
- Overlooking wind load—In windy zones (e.g., coastal areas), add diagonal bracing every 4 ft to reduce sway.
- Choosing the wrong plant—Fast‑growing vines like English Ivy can become invasive; prefer non‑aggressive climbers for easy maintenance.
Troubleshooting and Tips for Best Results
Screen sagging after a year? Tighten any loose screws and apply a fresh coat of exterior sealant. Wood expands and contracts with humidity, so a flexible sealant like Flex Seal (≈ $12 per tube) helps maintain tight joints.
Uneven plant growth? Prune vines evenly every 6 weeks and fertilize with a balanced 10‑10‑10 granule (½ cup per 100 sq ft) to promote uniform foliage.
Lighting flickers? Verify that solar lanterns receive at least 6 hours of direct sun. If shading is an issue, switch to a low‑voltage AC transformer ($25) and wire LEDs directly to a timer.
One mistake I see often is installing a screen too close to a fence, limiting airflow and causing mildew on wood. Leave at least a 2‑in. gap for ventilation.
Summary
By following these outdoor privacy screen ideas—assessing your space, selecting the right material, designing a functional layout, building with sturdy components, and adding personalized touches—you’ll create a private retreat that looks intentional, lasts for years, and enhances your home’s curb appeal. Remember, the best screens blend form and function: they block unwanted views, invite the right amount of light, and become a canvas for your garden’s personality.
Frequently Asked Questions
How tall can a backyard privacy screen be without a permit?
Most U.S. municipalities allow screens up to 8 ft tall in residential zones without a permit, but you should verify local zoning ordinances before construction.
Which material is most durable for a coastal garden?
Marine‑grade aluminum lattices (e.g., Trex) with a powder‑coat finish resist salt spray and require virtually no maintenance, making them ideal for coastal settings.
Can I combine a privacy screen with a garden trellis?
Absolutely. Build a sturdy frame first, then attach a trellis or lattice to the back for vines. This hybrid approach offers both shade and visual privacy.
What’s the average cost per square foot for a high‑end privacy screen?
High‑end options—such as powder‑coated aluminum or custom cedar with premium stain—typically run $12–$18 per sq ft, including hardware and installation.
How do I maintain a wooden privacy screen?
Apply a fresh coat of exterior stain or sealant every 3–5 years, inspect for loose fasteners annually, and keep the area free of standing water to prevent rot.
2 réflexions au sujet de “Outdoor Privacy Screen Ideas That Actually Work”