Ever wondered whether you can harvest a bountiful crop of potatoes without ever stepping into a traditional garden plot?
In This Article
- What You Will Need (Before You Start)
- Step 1: Choose the Right Container
- Step 2: Prepare a Light, Loose Soil Mix
- Step 3: Select and Prep Your Seed Potatoes
- Step 4: Planting Technique – The “Layer‑and‑Hill” Method
- Step 5: Watering and Feeding Schedule
- Step 6: Harvesting Your Container‑Grown Potatoes
- Common Mistakes to Avoid
- Troubleshooting & Tips for Best Results
- Summary
What You Will Need (Before You Start)
- Container: A 12‑inch‑diameter, 10‑inch‑deep fabric grow bag (Gardener’s Supply Company 5‑gal bag, $24.95) or a 5‑gal plastic bucket with drainage holes ($12 at Home Depot).
- Potting Mix: 5 gal of Miracle‑Gro Potting Mix blended with 1 gal of coarse sand and 1 gal of composted leaf mold. This mix provides the loose, well‑draining medium potatoes love.
- Seed Potatoes: Certified disease‑free seed potatoes (e.g., Russet Burbank or Yukon Gold). Aim for 200 g (≈7 oz) per plant; a 5‑lb bag costs about $8.
- Fertilizer: Espoma Organic Tomato‑Tone, 4 lb bag ($9). Use 1 Tbsp per 5 gal of soil at planting, then side‑dress with ½ Tbsp every 3 weeks.
- Watering Tools: A 1‑gal watering can with a rose head for gentle watering, or a drip‑irrigation kit ($15).
- Support Materials: Chicken wire or a 12‑inch PVC pipe to create a “hilling” cage, plus a garden trowel and a sharp knife for cutting seed potatoes.

Step 1: Choose the Right Container
Potatoes need room to expand underground, so the container must hold at least 5 gal of soil. Fabric grow bags are ideal because they breathe, preventing waterlogging—a common cause of rot. If you opt for a rigid bucket, drill ½‑inch holes every 2 inches along the bottom and sides to improve drainage.
Step 2: Prepare a Light, Loose Soil Mix
Combine 5 gal of Miracle‑Gro with 1 gal of sand and 1 gal of compost. The sand ensures the mix stays gritty, allowing tubers to push through easily. Moisten the blend until it feels like a wrung‑out sponge—about 1 inch of water per week, adjusted for climate.
Mix in 1 Tbsp of Tomato‑Tone now; this starter dose supplies phosphorus for strong root development. Let the soil sit for 24 hours before planting.

Step 3: Select and Prep Your Seed Potatoes
Choose seed potatoes that are firm and free of green spots. In my experience, cutting larger tubers into 2‑inch pieces with at least one “eye” each yields the best sprouting rate. Let the cut pieces cure for 2 hours in a cool, dry spot; this forms a protective callus and reduces rot risk.
Step 4: Planting Technique – The “Layer‑and‑Hill” Method
- Fill the container with 4 inches of prepared soil mix.
- Place seed pieces 4‑inches apart, eyes facing upward. For a 5‑gal container, 3–4 pieces is optimal.
- Cover the potatoes with another 2‑inches of soil. This is the first “hill.”
- Water gently until the soil is evenly moist.
- Every 2‑weeks, add another 2‑inches of soil, covering the stems as they grow. This “hilling” encourages tuber formation and keeps the potatoes out of direct sunlight, which would turn them green and produce solanine.
By the time the plant reaches 12‑inches tall (usually after 4 weeks), you’ll have added 6‑inches of soil total.
Step 5: Watering and Feeding Schedule
Potatoes love consistent moisture but hate soggy roots. Aim for 1‑inch of water per week, delivered in 2–3 sessions. In hot, dry climates, increase to 1½‑inches weekly. Use a moisture meter (around $10) to avoid over‑watering.
Side‑dress with ½ Tbsp of Tomato‑Tone every 3 weeks after the second hilling. This supplies a slow‑release nitrogen boost, keeping foliage vigorous without encouraging excessive leaf growth at the expense of tubers.
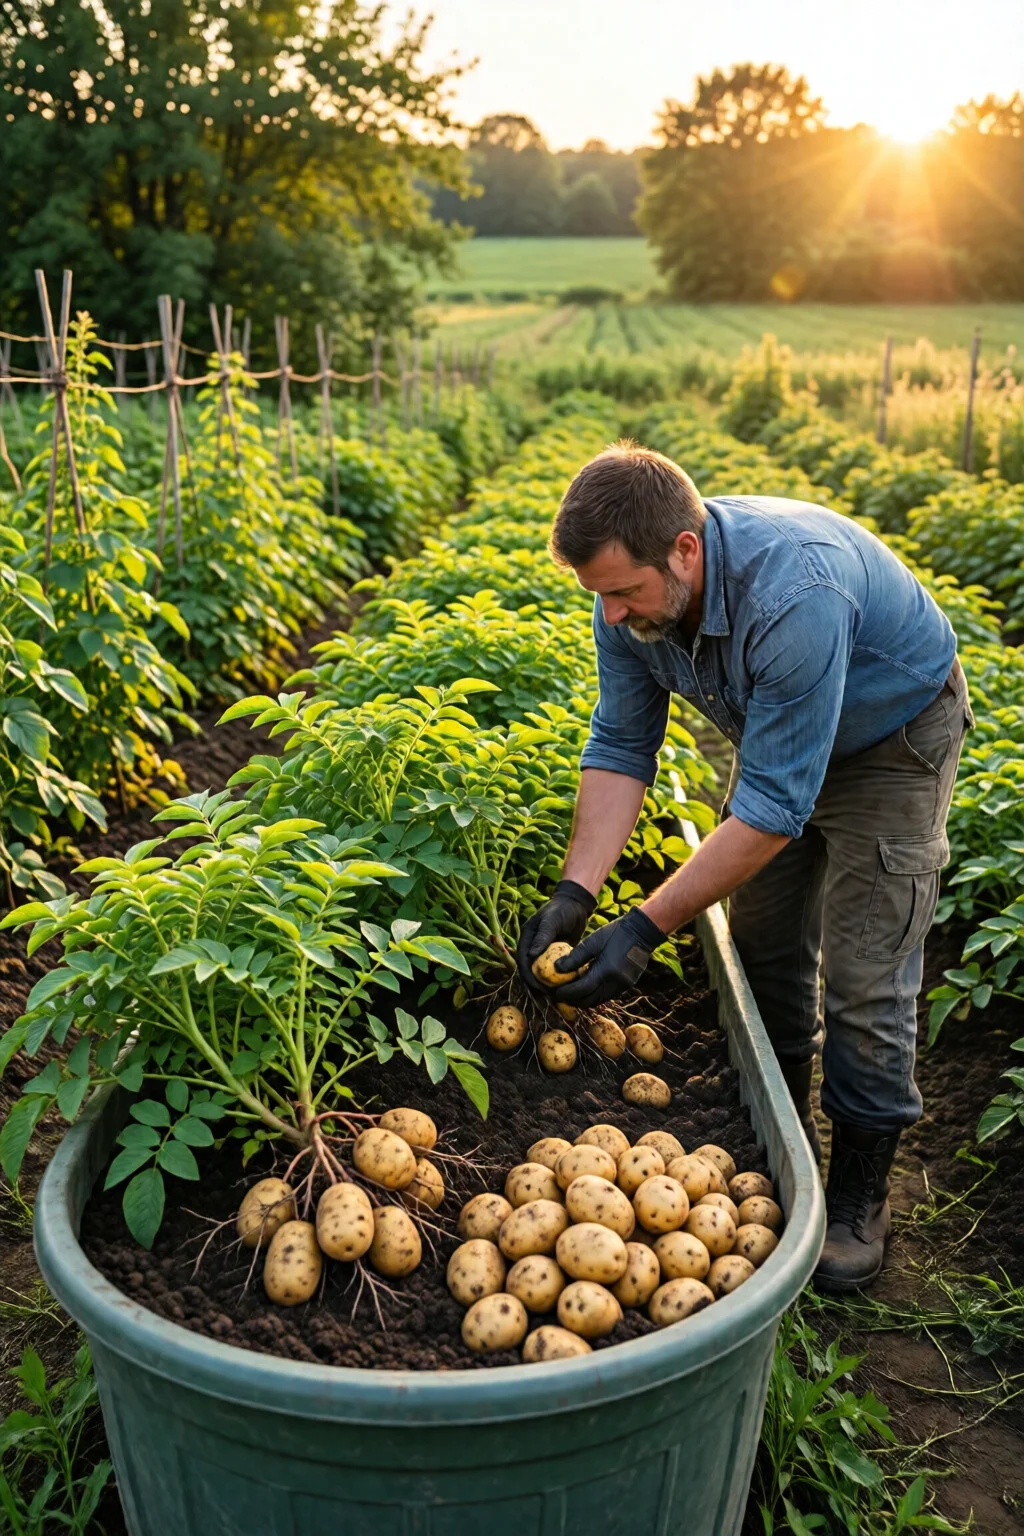
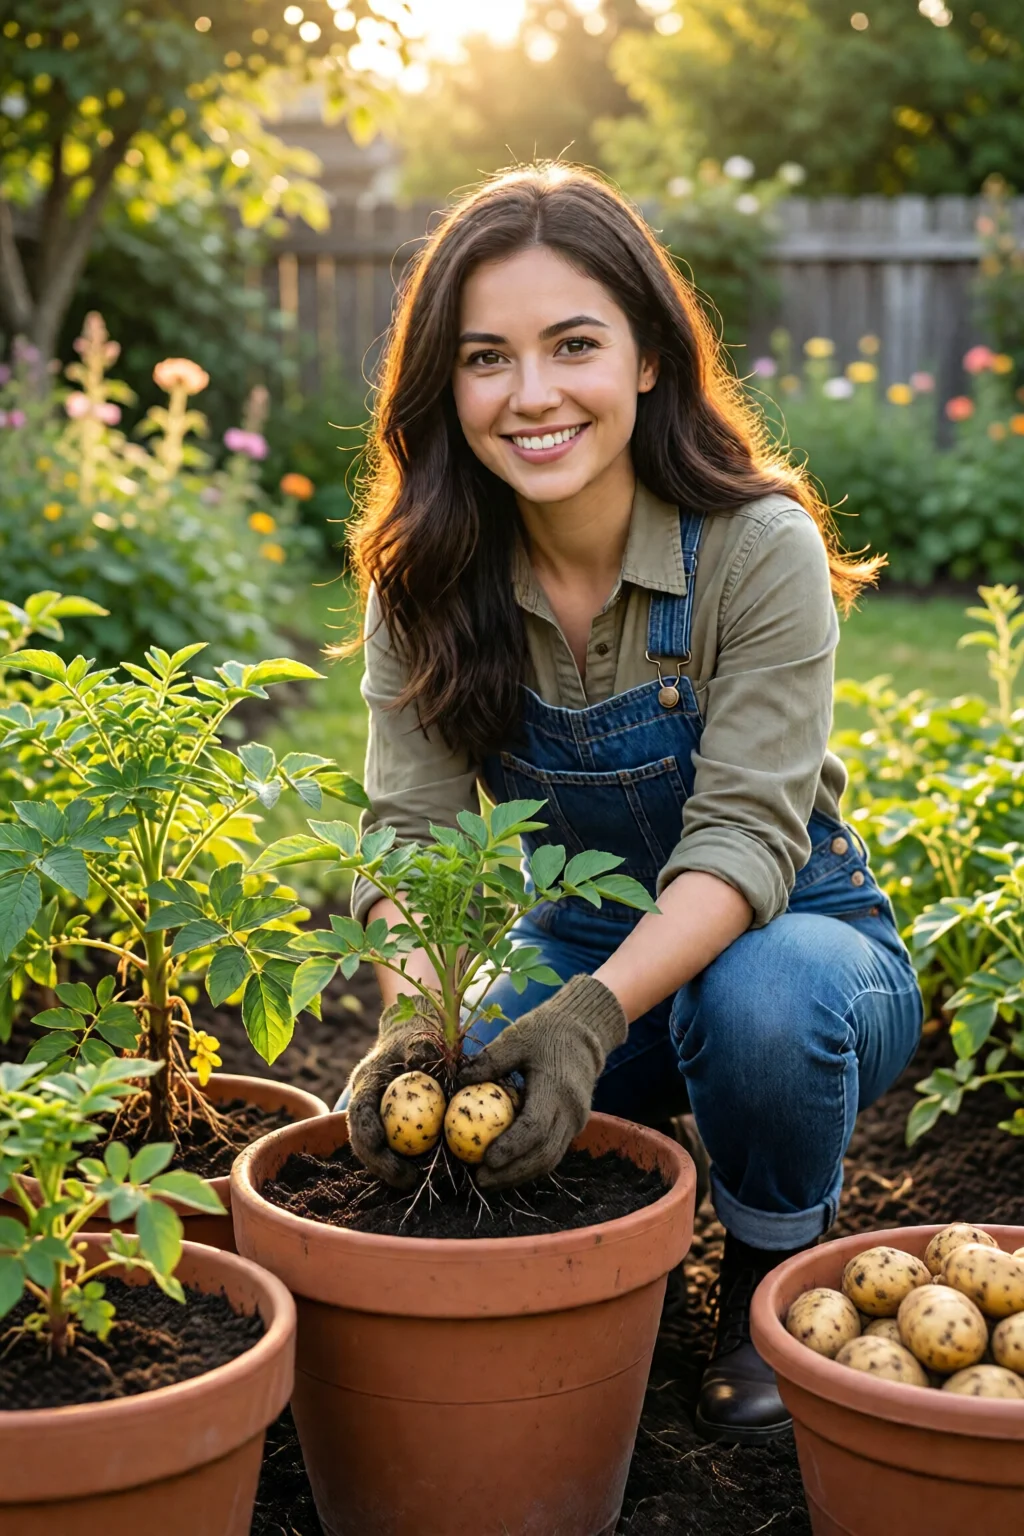
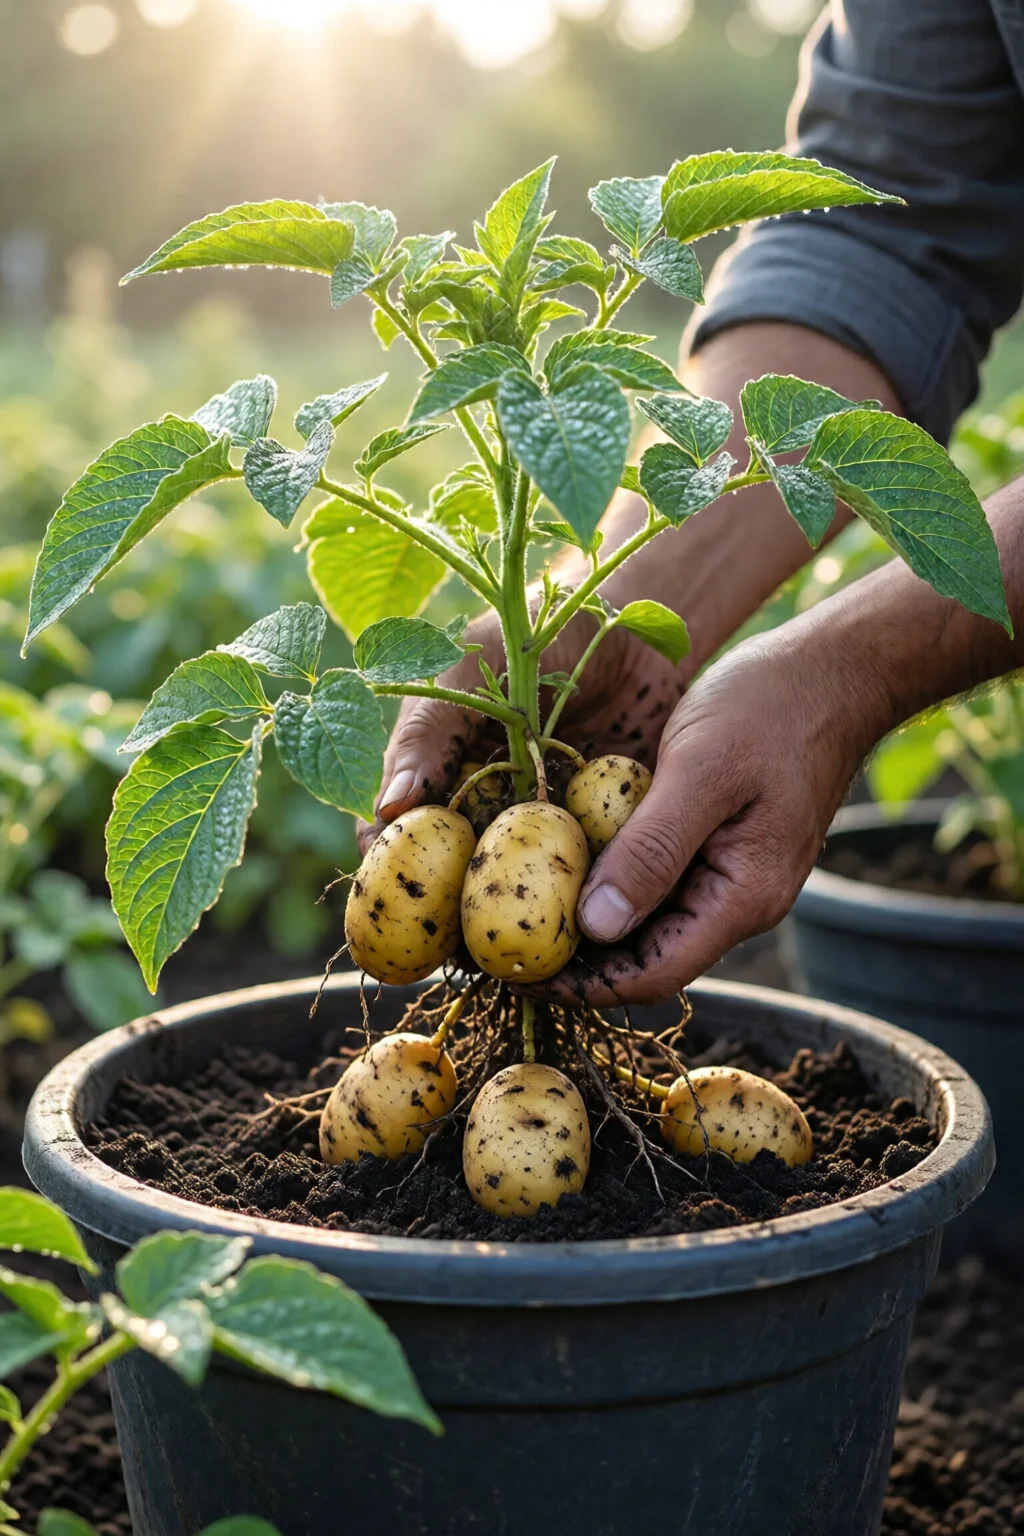
Step 6: Harvesting Your Container‑Grown Potatoes
Potatoes are ready when the foliage begins to yellow and die back—typically 70‑90 days after planting. Gently tip the container or pull back the soil with a trowel. Harvest “new” potatoes (smaller, tender) after the first yellowing, or wait a week longer for larger, storage‑type tubers.
Yield averages 2‑3 lb per 5‑gal container if you start with 4 seed pieces. That’s roughly 0.5 lb per plant—a respectable return for a balcony or patio.
Common Mistakes to Avoid
- Planting Too Deep: If the seed pieces sit more than 6 inches below the surface, sprouts may struggle to reach the light.
- Insufficient Hilling: Skipping the 2‑week soil additions forces tubers to develop near the surface, where they’re prone to sunburn and greening.
- Over‑watering: Waterlogged soil invites fungal diseases like early blight. Stick to the 1‑inch‑per‑week rule and ensure drainage holes stay clear.
- Using Non‑Certified Seed Potatoes: Grocery store potatoes often carry disease and may sprout poorly. Invest in certified seed for consistent results.
- Neglecting Fertilizer Timing: Adding high‑nitrogen fertilizer after tuber initiation can produce lush foliage but tiny potatoes. Switch to a low‑nitrogen, high‑phosphorus feed once plants flower.
Troubleshooting & Tips for Best Results
Yellow Leaves & Stunted Growth: Check soil pH; potatoes prefer 5.5‑6.5. Amend with lime (1 Tbsp per 5 gal) if pH is low.
Green Tubers: This means exposure to light. Re‑hille the soil, cover the container with a dark cloth, and harvest promptly.
Pests: Aphids and Colorado potato beetles can appear on balcony plants. A spray of neem oil ($8 per 16‑oz bottle) every 7 days controls them without harming beneficial insects.
For a cooler season, refer to our winter vegetable gardening guide and grow potatoes in a insulated grow bag. Pair them with onions using the how to grow onions from seed article for a classic kitchen combo.
If you’re already cultivating cucumbers, you’ll appreciate the cucumber growing tips and problems page for cross‑pollination advice—although potatoes are self‑fertile, good airflow helps.
Want to add color around your potato container? Check out wildflower garden ideas for low‑maintenance companions that attract pollinators.
And for a tropical twist, see our tropical garden ideas—you can pair container potatoes with dwarf banana plants for a lush balcony oasis.
Summary
Growing potatoes in containers is surprisingly straightforward: choose a well‑draining 5‑gal container, use a light, airy soil mix, plant certified seed potatoes using the layer‑and‑hill method, water consistently, and side‑dress with a balanced organic fertilizer. By avoiding common pitfalls—over‑watering, shallow planting, and neglecting hilling—you’ll enjoy a harvest of 2‑3 lb per container within three months. Whether you have a balcony, a sunny patio, or just a spare kitchen balcony, this method brings fresh, home‑grown potatoes to your table without a single garden plot.
How deep should I plant seed potatoes in a container?
Place seed pieces 4 inches deep for the first planting, then add 2‑inch soil layers every 2‑weeks as the stems grow. This hilling method encourages tuber development while keeping them out of sunlight.
Can I use regular garden soil for container potatoes?
Regular garden soil is often too dense and may contain pests. A blend of potting mix, sand, and compost (as outlined in the guide) provides the loose texture potatoes need to expand.
What’s the best fertilizer schedule for container potatoes?
Mix 1 Tbsp of a balanced organic fertilizer (e.g., Espoma Tomato‑Tone) into the soil at planting. Then side‑dress with ½ Tbsp every 3 weeks after the second hilling until the foliage begins to yellow.
How can I prevent potatoes from turning green?
Keep the tubers covered with soil or a dark cloth at all times. If any potatoes do turn green, peel away the green layer before cooking, as solanine is concentrated in the skin.
1 réflexion au sujet de « How To Grow Potatoes In Containers – Everything You Need to Know »