Ever wondered how you can turn a patch of dirt into a stylish outdoor retreat without blowing your savings?
In This Article
- What You Will Need (or Before You Start)
- Step 1 – Planning and Layout
- Step 2 – Preparing the Ground
- Step 3 – Installing Landscape Fabric
- Step 4 – Adding Edging
- Step 5 – Laying the Gravel
- Step 6 – Finishing Touches
- Common Mistakes to Avoid
- Troubleshooting or Tips for Best Results
- Summary
- Frequently Asked Questions
What You Will Need (or Before You Start)
Gathering the right tools and materials is half the battle. Here’s a concise checklist that keeps costs low while ensuring durability:
- Landscape fabric – 10‑by‑50‑ft roll, 60 lb, approx. $22 (e.g., DEWITT Weed‑Barrier Fabric).
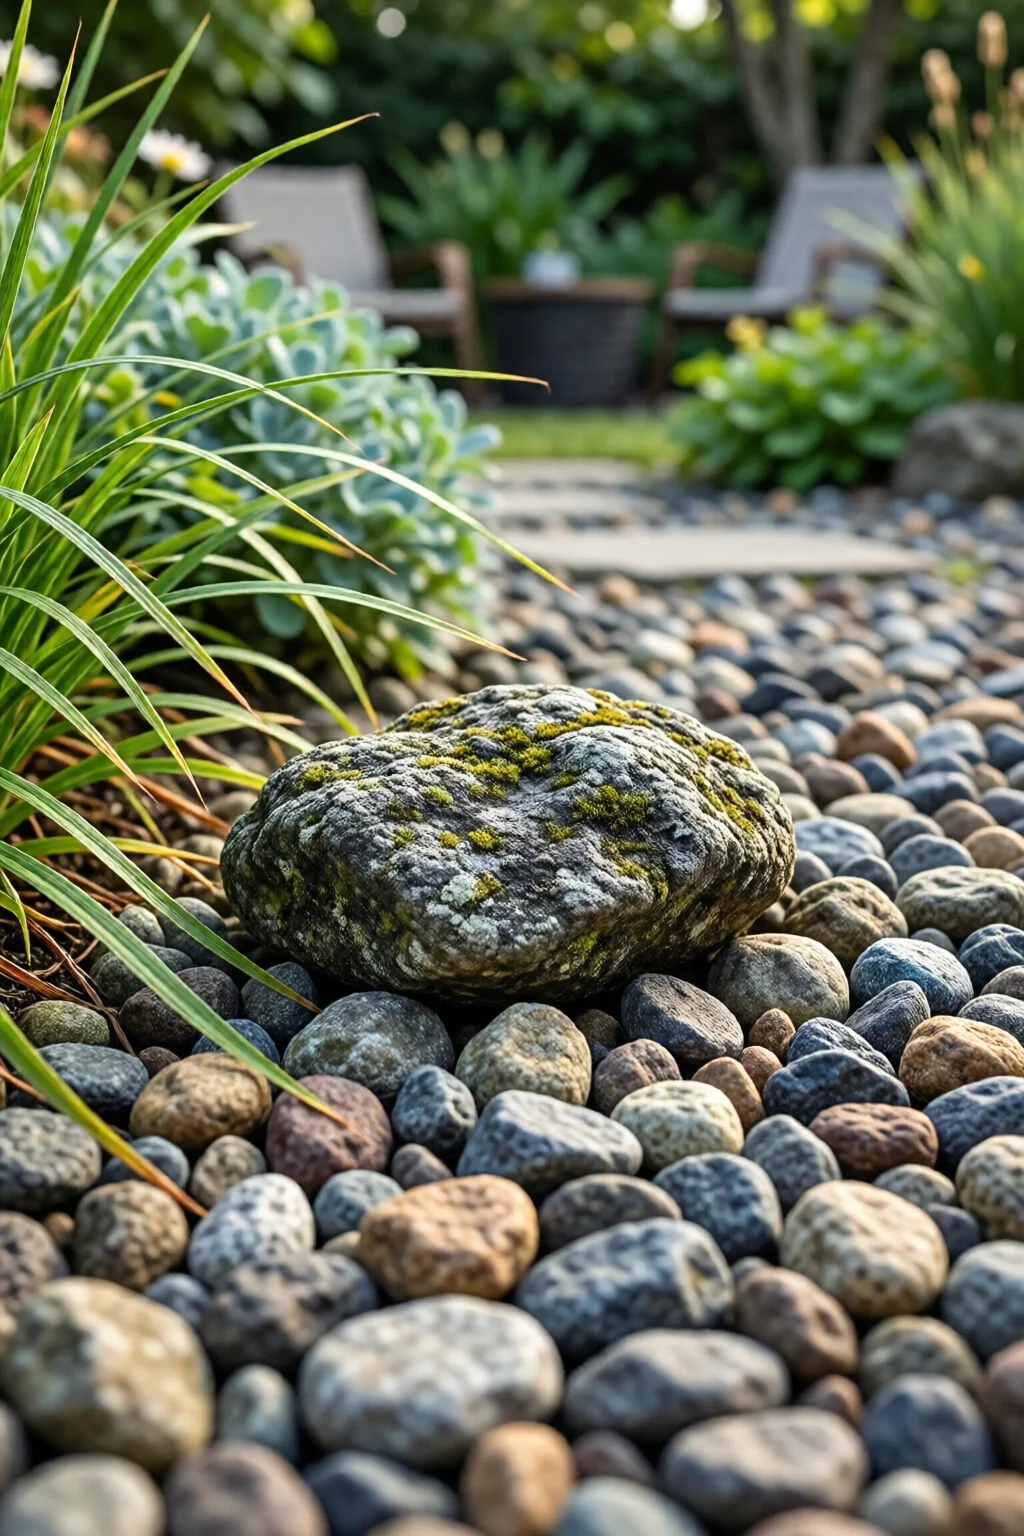
- Gravel – Choose between pea‑rock (½‑inch) at $45 per cubic yard or river rock (¾‑inch) at $55 per cubic yard. For a 10 × 12 ft patio 4 in deep you’ll need about 1.5 cubic yards, roughly $70‑$85.
- Edging – Plastic snap‑in edging (12‑ft sections, $12 each) or reclaimed brick pavers (about $0.75 per brick).
- Shovel, rake, and tamper – A 16‑in. round‑point shovel ($15) and a 24‑in. garden tamper ($20) are sufficient.
- Level – 2‑ft carpenter’s level ($10) or a laser level ($30) for larger jobs.
- Companion plants – Low‑maintenance succulents or lavender ($3‑$5 each) for a pop of color.
- Optional: concrete paver base – If you want extra stability, a ½‑in. concrete slab (mix, $4 per bag) covering the same area costs under $15.
In my experience, starting with a clear budget sheet prevents surprise expenses. A simple spreadsheet with columns for quantity, unit price, and total lets you see the project stay under $250, which is realistic for most DIY homeowners.
Step 1 – Planning and Layout
Sketch your patio on graph paper using a 1‑inch = 1‑foot scale. Mark the location of existing utilities, overhead wires, and any garden beds you intend to keep. A 10 × 12 ft rectangle works well for a small family table; larger squares (12 × 12 ft) accommodate a lounge set.
One mistake I see often is ignoring drainage. Gravel is porous, but water will pool at low spots. Use a level to find the highest point of your intended area, then plan a 1‑2 % slope away from the house. For a 12‑ft span, that’s a drop of about 2‑2.5 inches—just enough to guide runoff without creating a trench.
Step 2 – Preparing the Ground
Clear the site of grass, weeds, and debris. A sod cutter rents for $30 per day; alternatively, a flat shovel can do the job in 2‑3 hours for a 120‑sq‑ft area.
Next, dig down 4‑6 inches. For a 10 × 12 ft patio, you’ll remove roughly 0.5 cubic yards of soil—about 1/3 of a standard bag of topsoil, saving you a few dollars.
Compact the sub‑soil with the tamper. A well‑compacted base prevents future settling, which is a common cause of uneven gravel surfaces.
Step 3 – Installing Landscape Fabric
Roll out the DEWITT weed‑barrier fabric, overlapping edges by at least 6 inches. Secure with landscape staples ($0.25 each, pack of 100 for $6). The fabric blocks weeds while still allowing water to percolate.
Trim excess with garden shears. If you’re using the patio for a fire pit, cut a circular opening (diameter 36 in.) and reinforce the edge with a metal fire‑pit ring.
Step 4 – Adding Edging
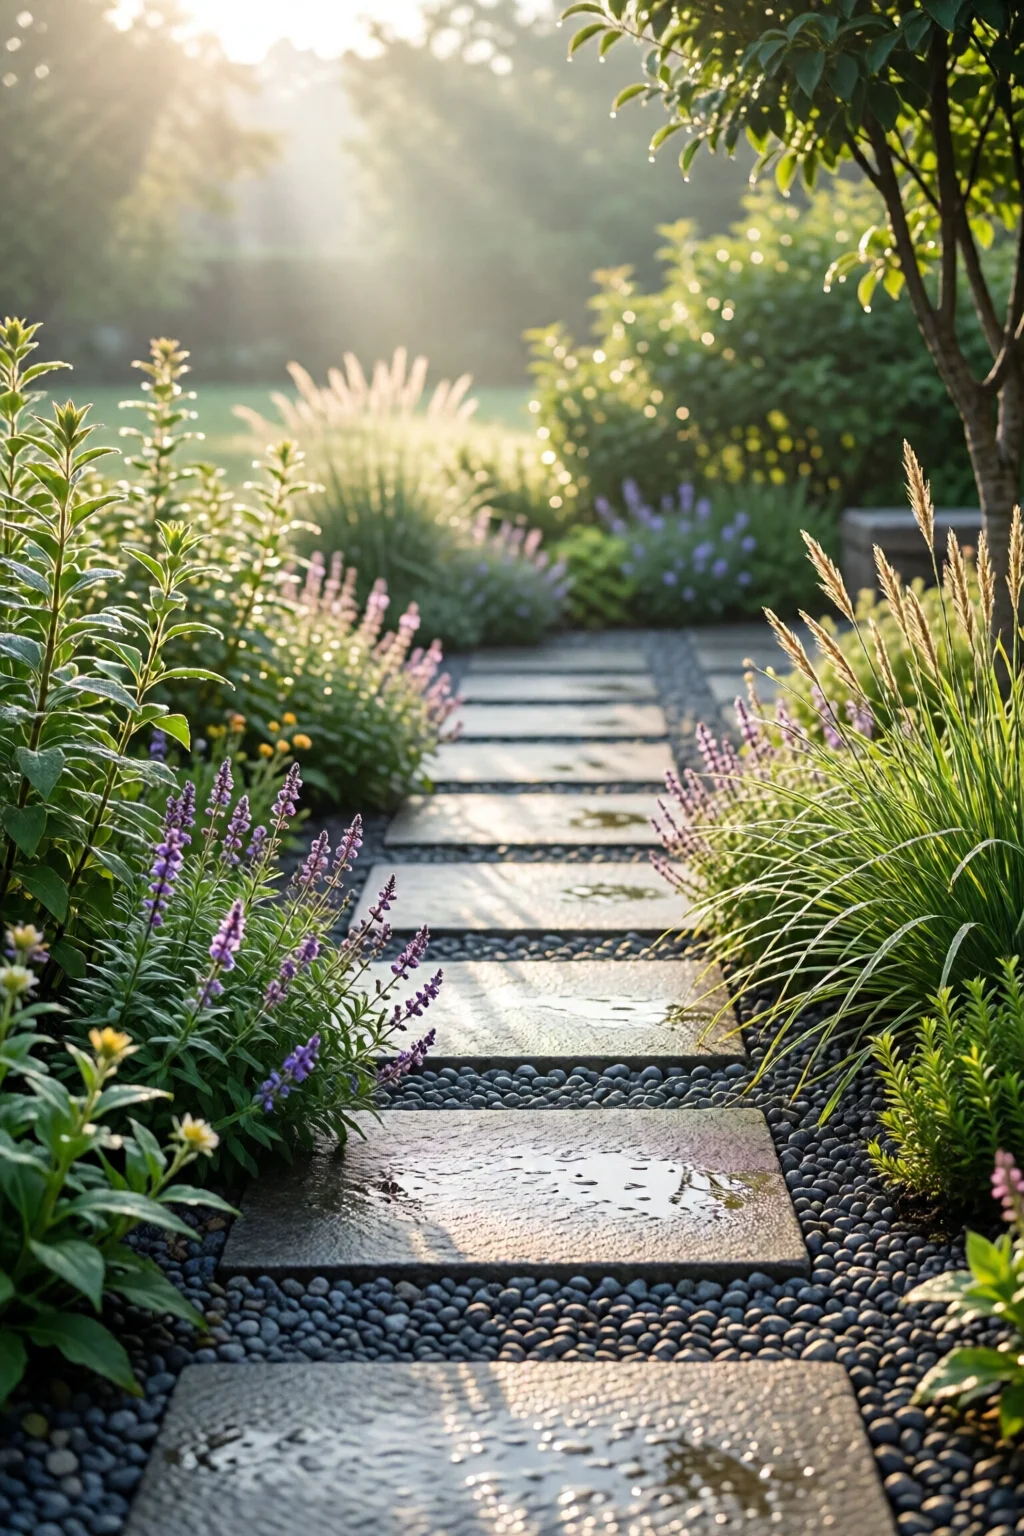
Snap‑in plastic edging is quick: insert the stakes, then bend the plastic into a tight seal. For a more rustic look, lay reclaimed bricks on their sides, staggering them for stability. Brick costs $0.75 each; you’ll need roughly 30 bricks for a 10 × 12 ft perimeter, totaling $22.50.
Press the edging into the fabric, ensuring it’s flush with the ground. This keeps the gravel contained and defines clean lines—essential for that polished look in any outdoor dining area ideas for backyard project.
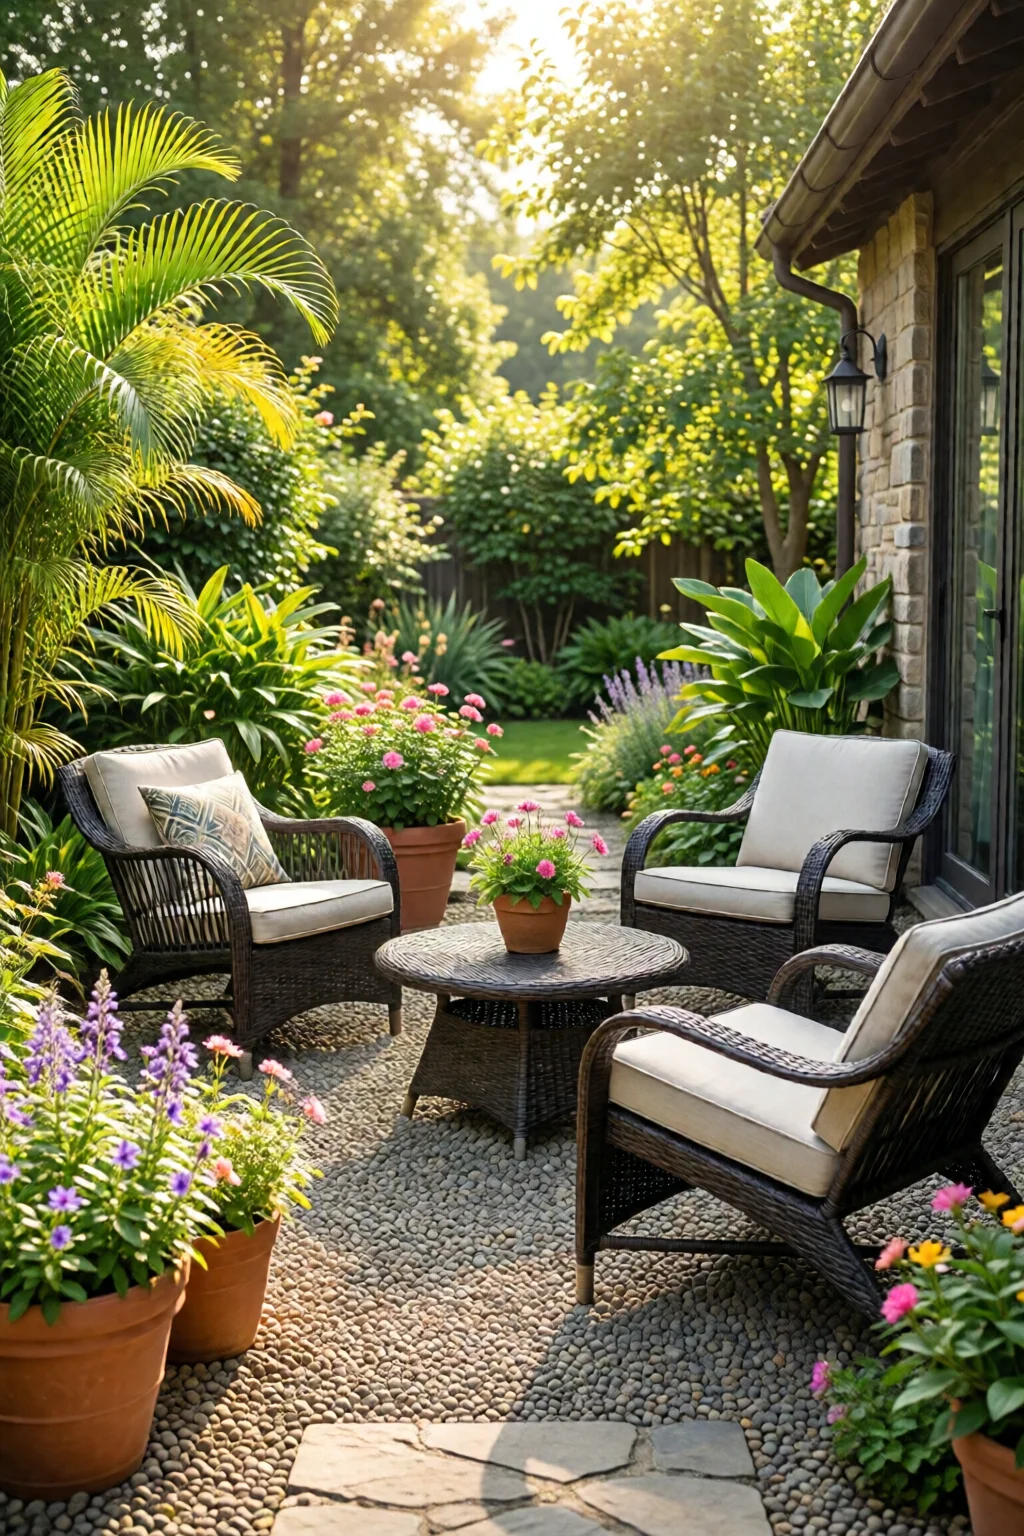
Step 5 – Laying the Gravel
Spread the chosen gravel evenly using a rake, aiming for a depth of 4 inches. For river rock, the larger stones create a dramatic, natural feel; pea‑rock offers a smoother, more formal surface.
Compact the gravel in sections with the tamper, then re‑rake to fill low spots. The goal is a level surface within ±½ inch across the entire patio. If you notice dips, add a thin layer of sand (½‑inch) and re‑compact—this helps lock the stones together.
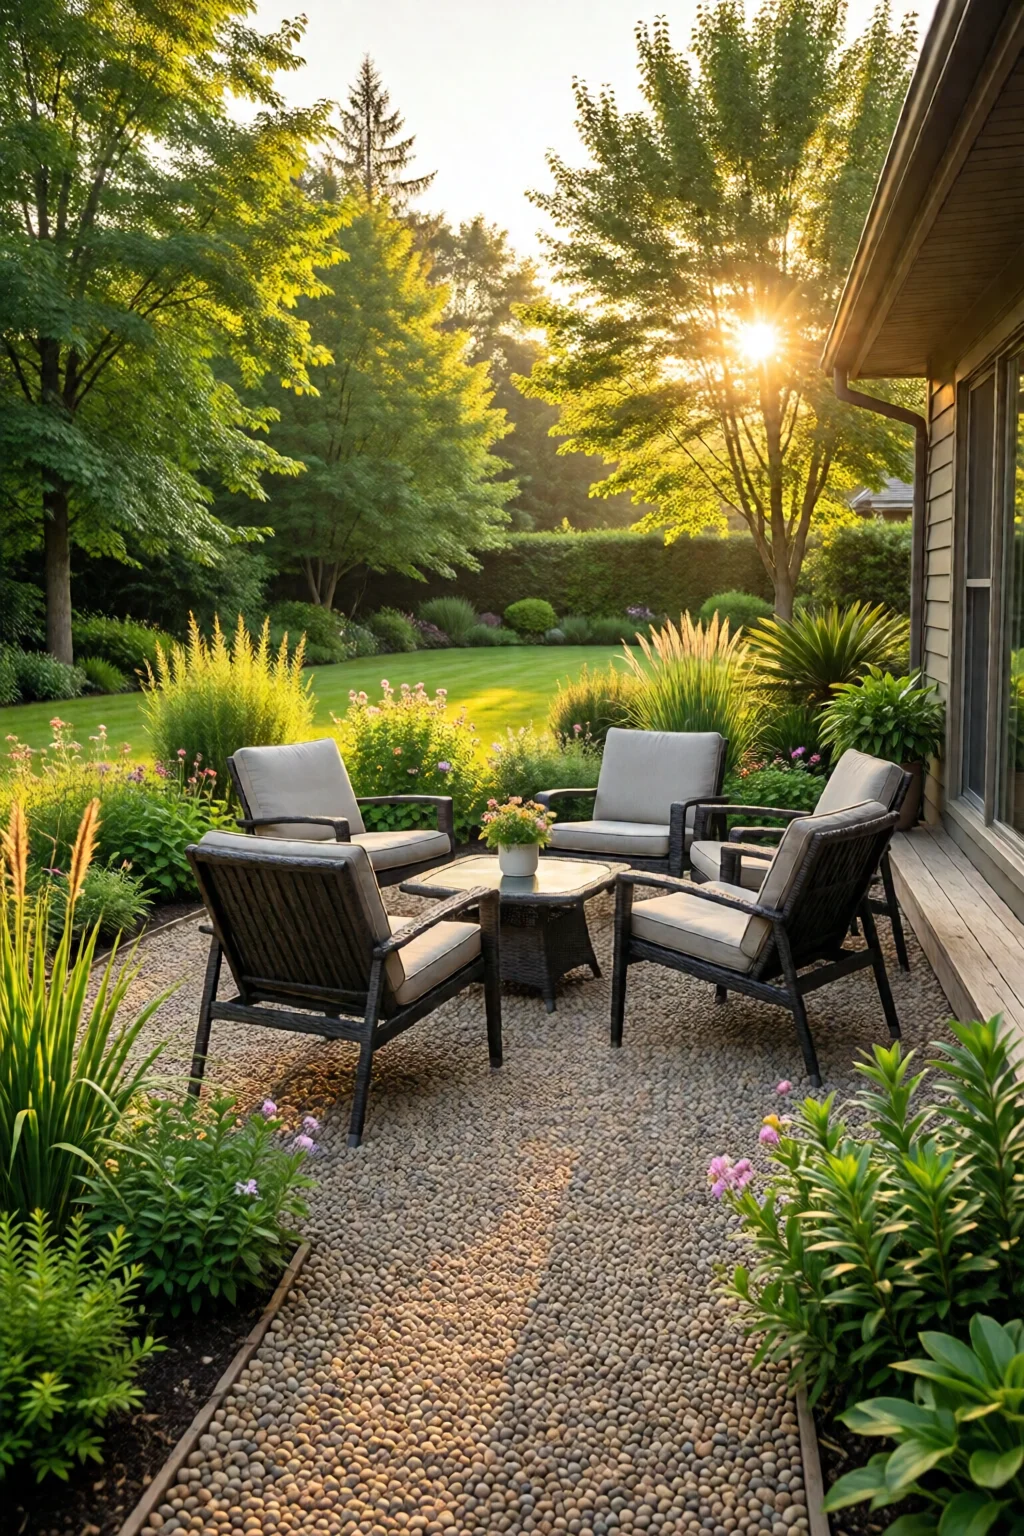
Step 6 – Finishing Touches
Scatter low‑maintenance plants along the edges—lavender, Sedum, or dwarf ornamental grasses. A few pots of succulents ($4 each) add texture without demanding water.
Consider a simple pergola or a tension‑fabric canopy for shade. A 10 × 12 ft shade sail kit (≈$70) can be installed with a few eye bolts, providing UV protection while keeping the budget intact.
Finally, sweep away excess gravel and give the patio a light wash with a garden hose. Your new outdoor space is now ready for coffee, barbecues, or quiet evenings under the stars.
Common Mistakes to Avoid
- Skipping the slope – Flat patios become soggy; a 1‑2 % grade is essential.
- Using the wrong gravel size – Fine sand‑like gravel washes away; aim for ½‑to‑¾‑inch stones.
- Neglecting compaction – Uncompacted bases settle, causing uneven surfaces.
- Over‑buying material – Order 10 % extra gravel; you can always return unused bags.
- Ignoring edging – Without a border, gravel spreads, increasing maintenance.
Troubleshooting or Tips for Best Results
Water pooling after rain? Re‑check the slope; add a few inches of sand under the gravel to re‑grade the low spot.
Gravel shifting under foot traffic? Increase the depth to 5‑6 inches and add a ½‑in. layer of crushed stone (often called “base rock”) before the top gravel.
Weeds breaking through? Pull the offending weed, then lay an additional strip of landscape fabric and cover with a thin layer of gravel.
For a touch of luxury on a shoestring, incorporate reclaimed materials: old concrete slabs cut into stepping stones, or repurposed wooden pallets as low benches. These ideas blend seamlessly with tropical garden ideas if you love a lush vibe.

Summary
With careful planning, the right materials, and a few hours of elbow grease, you can create a beautiful, functional gravel patio without exceeding $250. The process—from layout to edging, from compaction to planting—ensures longevity and curb appeal. Remember, the secret to success lies in proper drainage, adequate compaction, and thoughtful edging. Now you have the confidence to start your own project and enjoy countless evenings outdoors, all while staying on budget.
Frequently Asked Questions
How deep should the gravel be for a patio?
A 4‑inch depth provides a stable surface for most residential uses. For heavier furniture or high traffic, increase to 5‑6 inches and add a base layer of crushed stone.
Can I install a gravel patio over a concrete slab?
Yes. Lay a thin layer of landscape fabric over the slab, then spread your chosen gravel. This creates a softer feel and improves drainage.
What are the cheapest types of gravel?
Pea‑rock (½‑inch) and crushed limestone are typically the most affordable, ranging from $40‑$45 per cubic yard at big‑box stores like Home Depot or Lowe’s.
Do I need a weed barrier under the gravel?
A weed barrier isn’t mandatory but highly recommended. It reduces maintenance, prevents weed growth, and costs as little as $20 for a 10 × 50‑ft roll.
How can I add privacy to my gravel patio?
Consider planting fast‑growing hedges (privacy hedge ideas for backyard), installing bamboo screens, or hanging outdoor curtains from a pergola.
2 réflexions au sujet de “Gravel Patio Ideas On A Budget – Your Complete Resource”