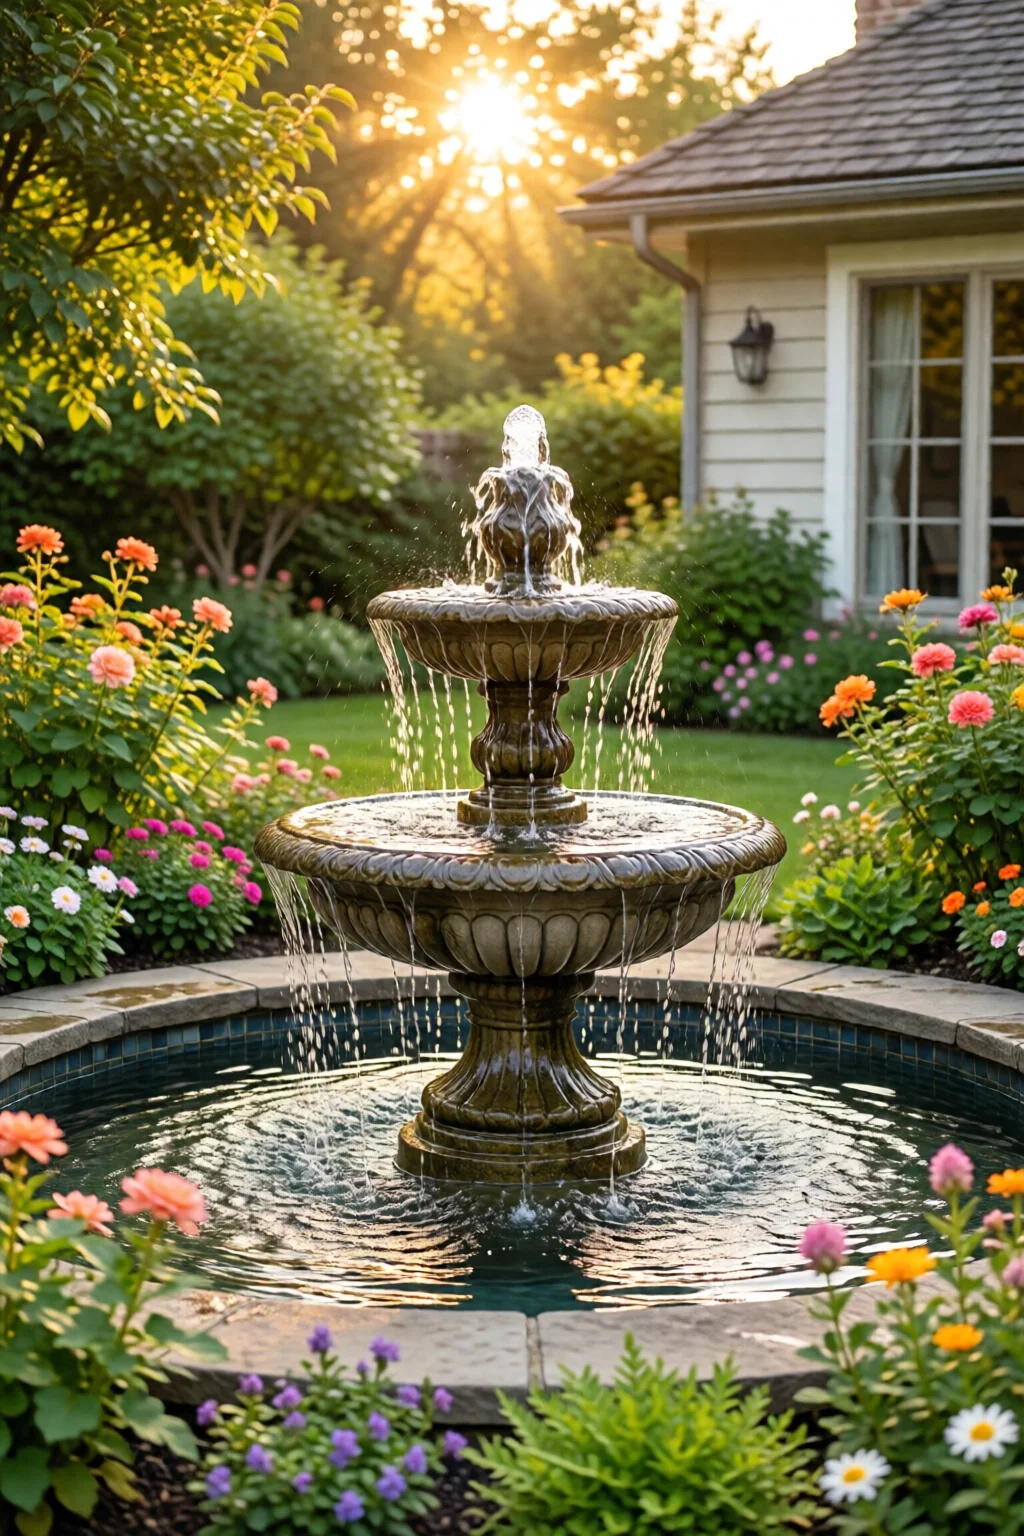
According to a 2023 survey by the National Association of Home Builders, 42% of homeowners who added a water feature reported a 15% increase in property value, and 68% said it became the “favorite spot” for family gatherings.
In This Article
What You Will Need (Before You Start)
- Design tools: graph paper or a free app like SketchUp (free tier) to map out dimensions.
- Excavation equipment: a small skid‑steer loader (rental $85/day) or a manual garden spade for DIY plots under 4 ft deep.
- Water feature kit: for beginners, the Aquascape Waterfall Kit (includes pump, tubing, and rocks) costs $299 and handles up to 1,500 gph.
- Filtration: a submersible filter like the Sunnydaze 300‑Liter Pond Filter ($149) to keep algae at bay.
- Sealant & liner: EPDM pond liner (10 mm thick, 10 sq yd roll at $2.30/yd²) or a pre‑formed liner from Voss Water Features for smaller basins.
- Landscaping materials: river rocks (12 lb bag $7), decorative pebbles, and hardy plants such as Hosta or Japanese Iris.
- Electrical safety: GFCI‑protected outlet, waterproof conduit, and a licensed electrician if you’re installing a pump over 1 HP.
Having these items on hand prevents mid‑project trips to the hardware store and keeps the timeline realistic—most DIY installations finish in 2–3 days of active work.
Step 1: Planning Your Space
Begin by asking yourself what you want the water feature to do. Do you need a tranquil backdrop for meditation, a playful splash zone for kids, or a low‑maintenance statement piece?
Measure and Sketch
Mark the intended footprint on the lawn with spray paint. A 4 ft × 6 ft rectangular pond works well for a midsize backyard; a 3‑ft diameter round basin fits a patio corner. Note the distance to the nearest power source—ideally no more than 15 ft to keep wiring costs under $30.
Sunlight & Wind Considerations
In my experience, placing a feature on the leeward side of a fence reduces evaporation by up to 20 %. If the site receives full sun, plan for a solar‑powered pump (e.g., SolarPump 500 gph at $119) to offset electricity use.
Step 2: Choosing the Right Type
There’s a spectrum of water feature ideas for garden that suit different budgets and skill levels.
1. Simple Recirculating Fountain
Best for tight spaces. A Alpine Mist Tabletop Fountain (6 in. × 6 in., $79) sits on a patio table and recirculates 200 gph.
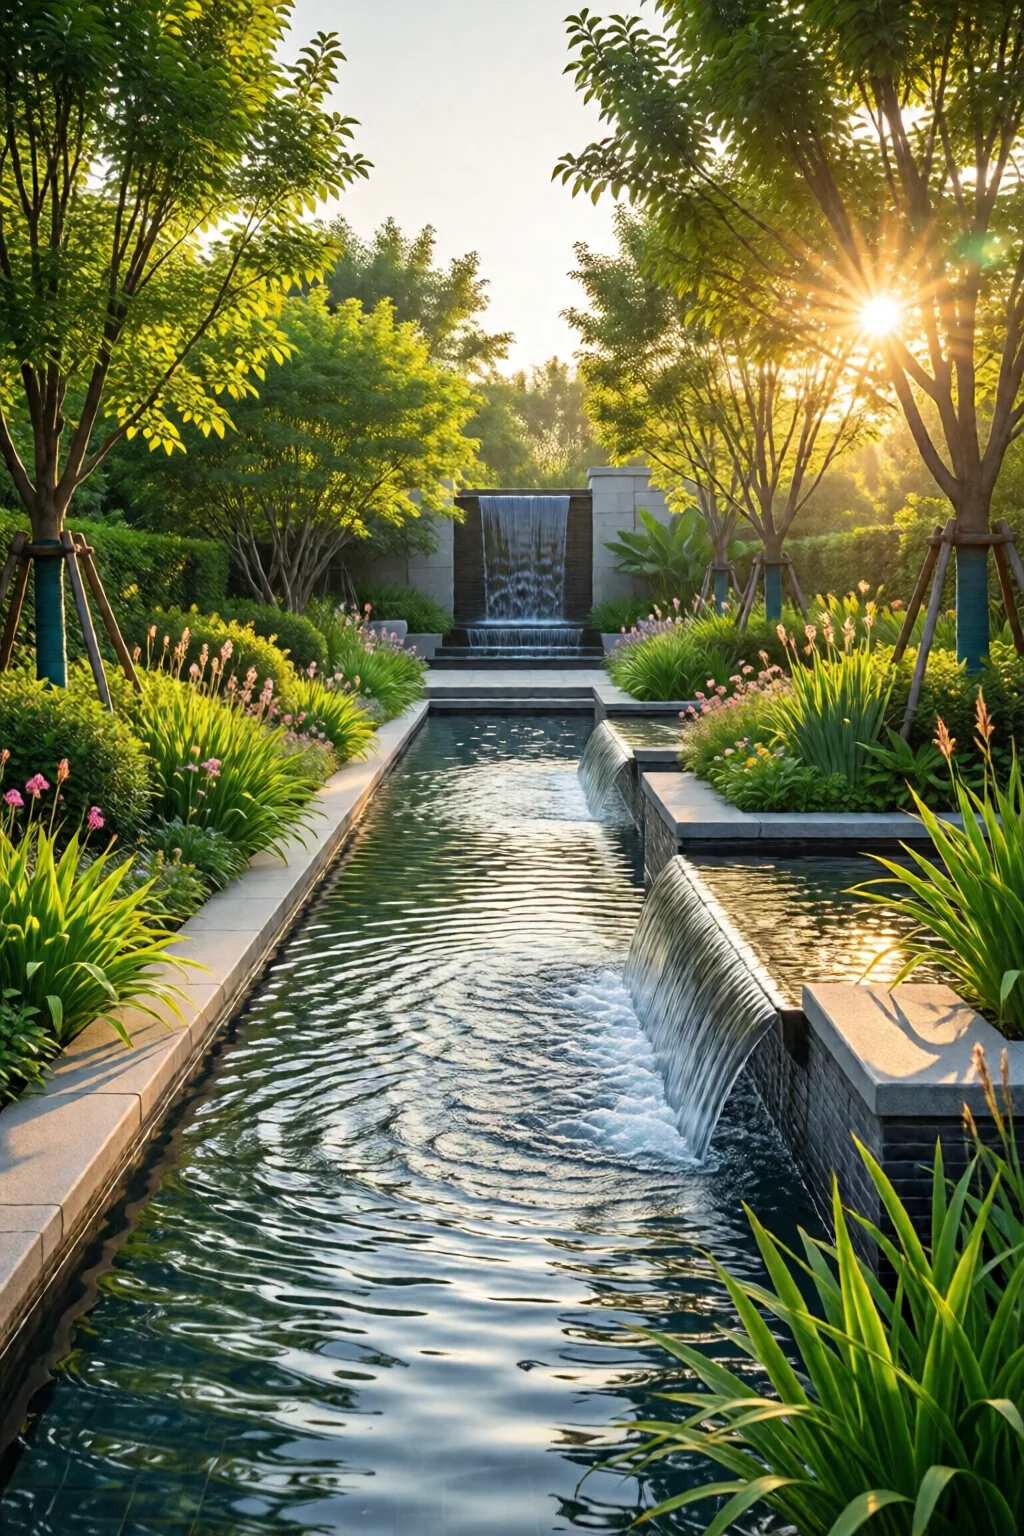
2. DIY Pebble Creek
Excavate a shallow trench (6‑in. deep, 2 ft wide) and line it with EPDM. Add a small submersible pump (e.g., MiniPump 400 gph, $45) and arrange river rocks to create a soothing cascade.
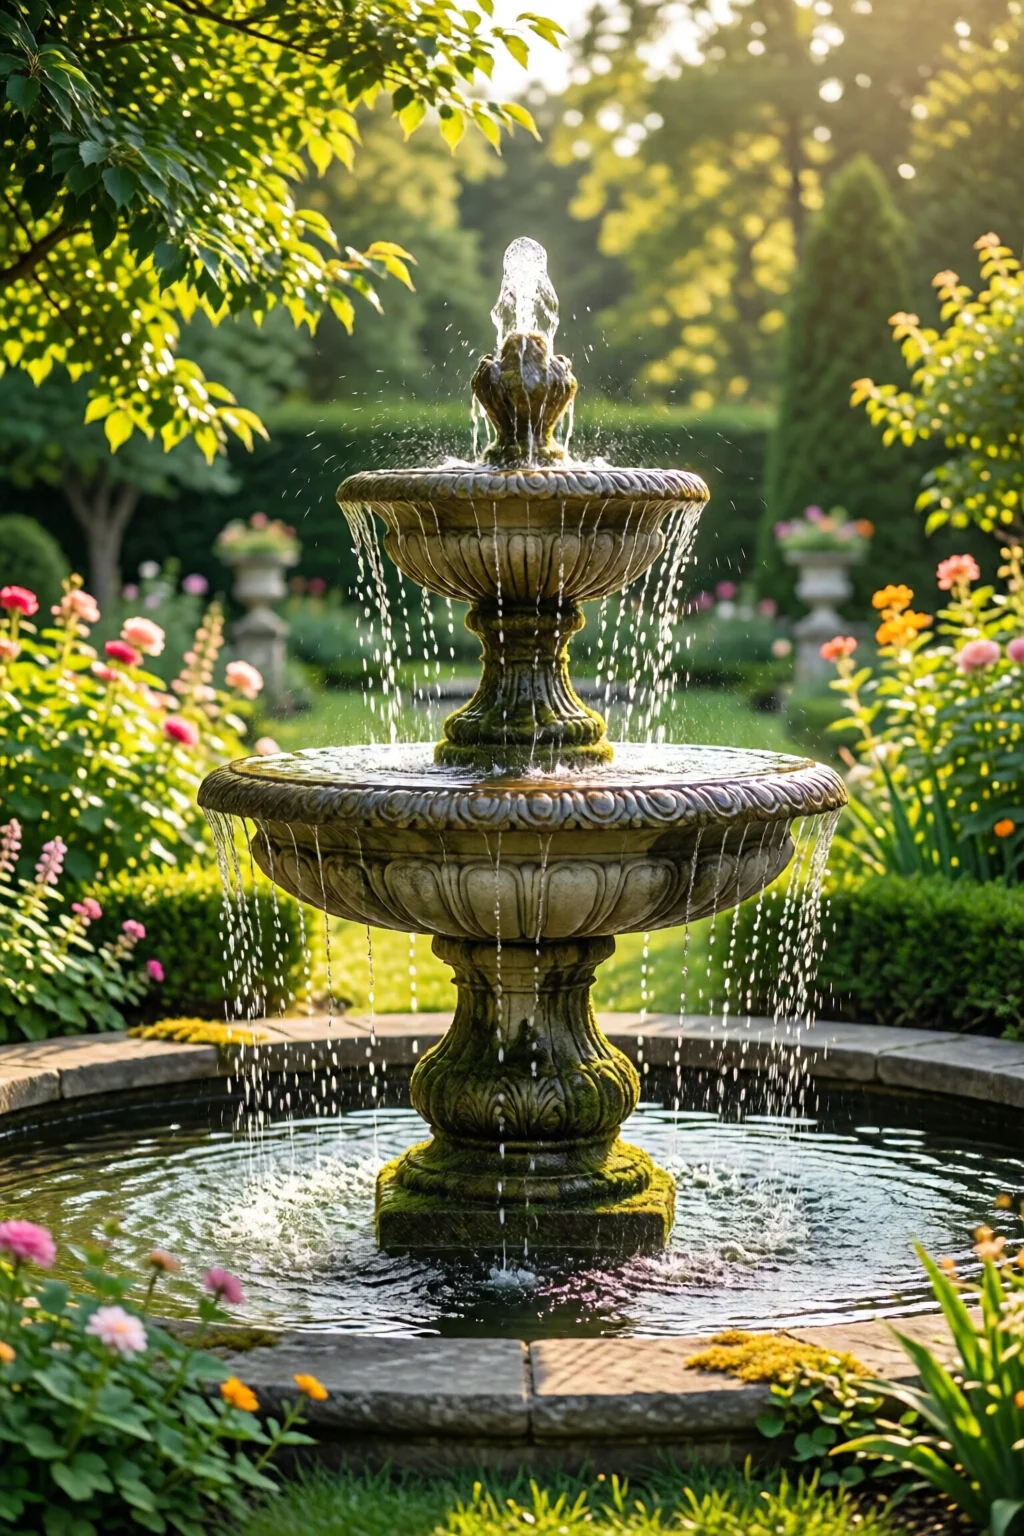
3. Full‑Size Pond with Waterfall
For a backyard focal point, the Aquascape kit mentioned earlier can handle a 6‑ft × 8‑ft basin with a 3‑ft waterfall drop. Expect a total cost of $1,200–$1,500 including liner, pump, and rocks.
4. Rain Chain & Basin
Aesthetic and functional, a copper rain chain (12 ft, $68) feeds water into a decorative basin (30 gal, $49). This is perfect for homes with existing gutter systems.
One mistake I see often is choosing a pump that’s too small; it will run constantly, wear out faster, and increase electricity costs by up to 40 %.
Step 3: Preparing the Site
Excavation
Mark the outline with a garden hose, then dig to the depth specified by your liner (usually 12–18 in. for ponds). If you’re installing a stream, create a gentle slope of 1‑2% to encourage flow.
Base Layer
Lay a 2‑in. layer of crushed stone (cost $35 per cubic yard) for drainage, then smooth with a hand tamper. This prevents liner punctures and extends its life by at least 5 years.
Liner Placement
Unroll the EPDM liner, allowing it to sit for 10 minutes to relax. Center it, then trim excess with a utility knife leaving a 6‑in. overhang for securing with rocks.
Step 4: Installing the Feature
Pump and Filter Setup
Place the pump at the lowest point. Connect tubing to the filter, then run the hose to the highest point where you want water to emerge (e.g., a rock lip). Secure with hose clamps (included in most kits).
Rock & Plant Arrangement
Start with larger boulders to create a “backbone,” then fill gaps with smaller pebbles. Plant moisture‑loving perennials like Aquilegia or Japanese Sweet Flag in pockets of soil to soften the hardscape.
Testing
Fill the basin with water, turn on the pump, and watch for leaks. Adjust rock placement until water flows smoothly. A well‑tuned system should circulate the entire volume every 1–2 hours.
Step 5: Finishing Touches & Planting
After the mechanics are solid, focus on aesthetics.
Lighting
Install submersible LED lights (e.g., GardenGlow 300 lm, $39) to highlight the water at night. Pair with garden lighting ideas for night like uplights on surrounding trees.
Edge Detailing
Border the water’s edge with low‑growers such as Thyme or Carex. This creates a natural transition and reduces algae growth by shading the water.
Seasonal Care
During fall, add a leaf net to keep debris out. In winter (zones 6–8), use a pond heater (e.g., Pumptastic 500 W, $79) to maintain a 40°F temperature and protect fish if you decide to stock them later.
Common Mistakes to Avoid
- Oversizing the pump: Larger pumps create turbulent flow, which can drown delicate plants. Choose a pump rated for 1‑1.5 × the basin volume.
- Ignoring slope: A flat basin leads to stagnant water and mosquito breeding. A 1‑2% gradient is enough to keep water moving.
- Using the wrong liner: PVC liners can tear under UV exposure; EPDM is UV‑stable for at least 10 years.
- Skipping a filter: Even a small bio‑filter reduces algae by up to 70 % and cuts cleaning time from weekly to monthly.
- Planting too close to the edge: Roots can puncture the liner. Keep plants at least 6 in. away from the waterline.
Troubleshooting & Tips for Best Results
Algae Blooms
If you see green slime, first check pump flow—low flow encourages growth. Add a UV clarifier (e.g., ClearWater UV 200 W, $199) or introduce floating plants like Water Hyacinth to shade the surface.
Low Water Levels
Evaporation can reduce volume by up to 1 gal per day in hot climates. Install a rain barrel overflow to automatically replenish the basin after rain.
Noise Issues
Place rubber grommets between pump and basin to dampen vibration. A silicone seal around the pump housing also reduces humming.
Winter Freeze
In colder regions, use a pond heater and a floating de‑icer. Keep the pump running at low speed (30 % capacity) to prevent the water from becoming still.
Summary & Next Steps
Integrating a water feature into your garden transforms a simple yard into a living oasis. By planning carefully, choosing the right scale, and following the step‑by‑step guide above, you can create a durable, eye‑catching installation for under $2,500 in most cases.
Ready to dive deeper? Explore zen garden design for backyard to pair your water element with calming stone arrangements, or check out wildflower garden ideas to add seasonal color around your splash zone.
How deep should a garden pond be?
A minimum depth of 18–24 in. prevents most aquatic weeds and provides enough water volume for a pump to operate efficiently. Deeper ponds (30–36 in.) are better if you plan to keep fish.
Can I install a water feature on a slope?
Yes, but you’ll need a retaining wall or terraced basin to hold the water. Use a flexible liner and reinforce with compacted stone to prevent seepage.
What maintenance schedule keeps a fountain looking its best?
Clean the pump and filter every 2–4 weeks, skim debris daily, and replace 10% of the water monthly to maintain clarity and prevent mineral buildup.
Do I need a permit to dig a pond?
Many municipalities require a permit for excavations deeper than 12 in. or larger than 100 sq ft. Check local codes before you start.
1 réflexion au sujet de « Water Feature Ideas For Garden – Your Complete Resource »