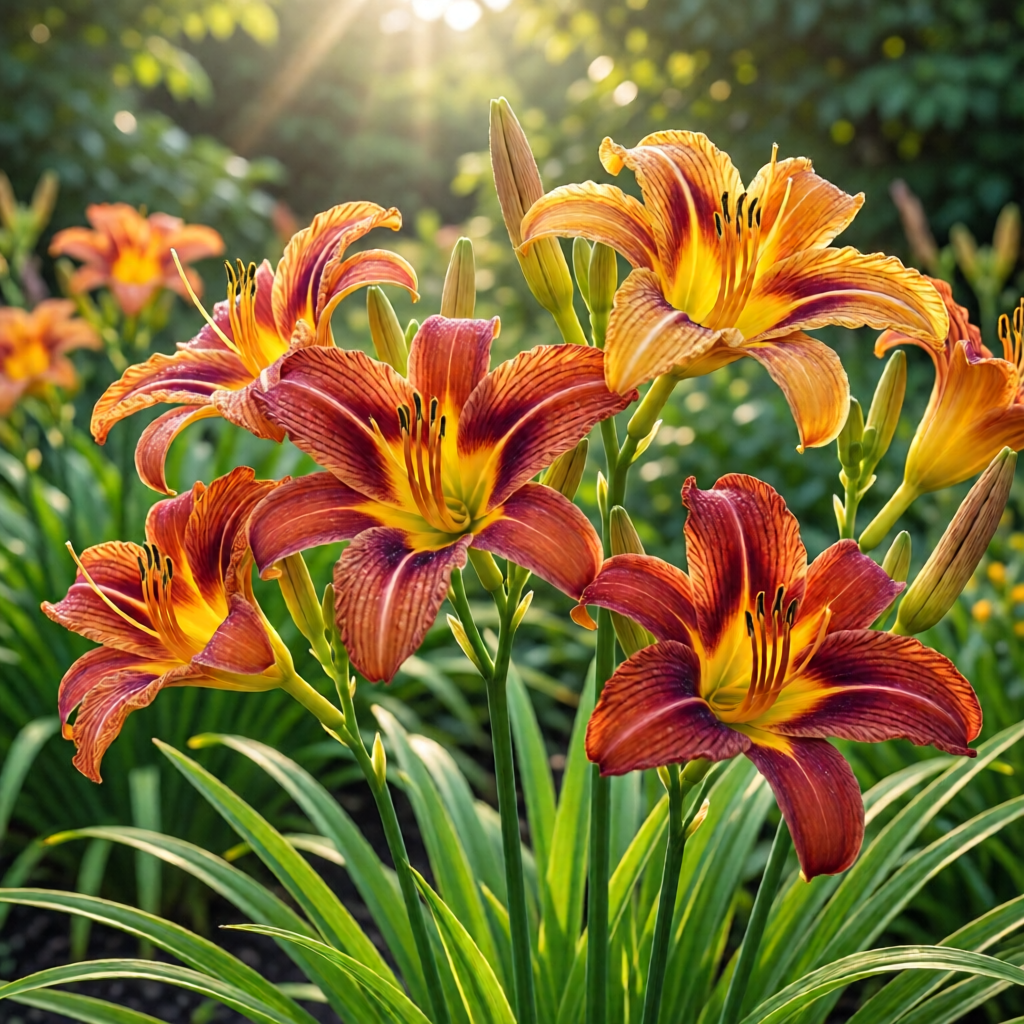
Daylilies (Hemerocallis spp.) are among the most versatile, low‑maintenance perennials you can plant in a U.S. garden, and their dazzling range of colors, sizes, and bloom times makes them a favorite for both novice and seasoned gardeners. Whether you’re looking to fill a sunny border, add texture to a shady nook, or create a vibrant poolside backdrop, the right daylily varieties combined with smart care can deliver show‑stopping displays year after year. In this comprehensive guide we’ll explore the most popular daylily cultivars, walk you through site selection, soil preparation, watering, fertilizing, and seasonal maintenance, and share expert tips for propagating and troubleshooting common issues.
Understanding Daylily Basics
Daylilies are herbaceous perennials that grow from fleshy, tuberous roots called crowns. Each plant typically produces a single flower per stem, lasting just one day—hence the name—though each stalk often carries multiple buds that open sequentially, extending the visual impact for weeks. Native to Asia, daylilies have been cultivated for centuries, resulting in thousands of hybrids that thrive across USDA hardiness zones 3–9. Their adaptability, disease resistance, and tolerance of heat, drought, and poor soil make them ideal for a wide range of American landscapes.
Key characteristics to keep in mind:
- Growth habit: Most varieties form clumps that expand 2–4 feet wide, though some “tall” types can reach 5 feet in height.
- Bloom cycle: Most daylilies flower from late June through August; “rebloomers” can produce additional flushes in early fall.
- Sun requirements: Full sun (6+ hours) yields the biggest, most vibrant blooms, but many cultivars tolerate light shade, especially in hotter regions.
Top Daylily Varieties for Every Garden Style
Choosing the right cultivar depends on color preferences, bloom size, height, and garden function. Below are some of the most beloved and widely available daylilies, grouped by performance traits.
Classic Large‑Floral Hybrids
‘Stella de Oro’ – A garden staple, this golden‑yellow bloom measures up to 5 inches across, with a sweet fragrance that attracts pollinators. Its sturdy stems make it ideal for borders and cut‑flower arrangements.
‘Stargazer’ – Known for its deep magenta petals edged in white, this variety delivers a dramatic splash of color and is excellent for focal points in a mixed perennial bed.
Compact and Dwarf Forms
‘Little Pixie’ – Reaching only 12‑18 inches tall, this dwarf daylily produces an abundance of small, orange‑red flowers perfect for container gardens, rock gardens, and front‑border plantings.
‘Mimi’s Sunburst’ – A compact plant with bright orange blooms, ideal for edging and small patios where space is at a premium.
Reblooming and Continuous‑Flowering Types
‘Happy Returns’ – A true rebloomer, it offers a first flush of orange‑yellow flowers in early summer and a second wave of pink‑tinged blooms in September, extending visual interest well into fall.
‘Summer Breeze’ – This cultivar boasts lavender‑blue flowers and reliably repeats its bloom cycle, making it a favorite for gardeners who want color throughout the growing season.
Fragrant Selections
‘Moonshine’ – Features creamy white petals with a subtle citrus scent that intensifies in the evening, perfect for planting near patios or walkways.
‘Pale Moon’ – Offers pale pink to white blooms with a sweet fragrance, ideal for sensory gardens and attracting butterflies.
Hardy and Heat‑Tolerant Cultivars
‘Mooch’ – A deep orange, heat‑tolerant variety that thrives in the Southwest’s scorching summers while maintaining robust growth.
‘Red Velvet’ – With velvety, ruby‑red blooms, this cultivar withstands high temperatures and is a top pick for southern gardens.
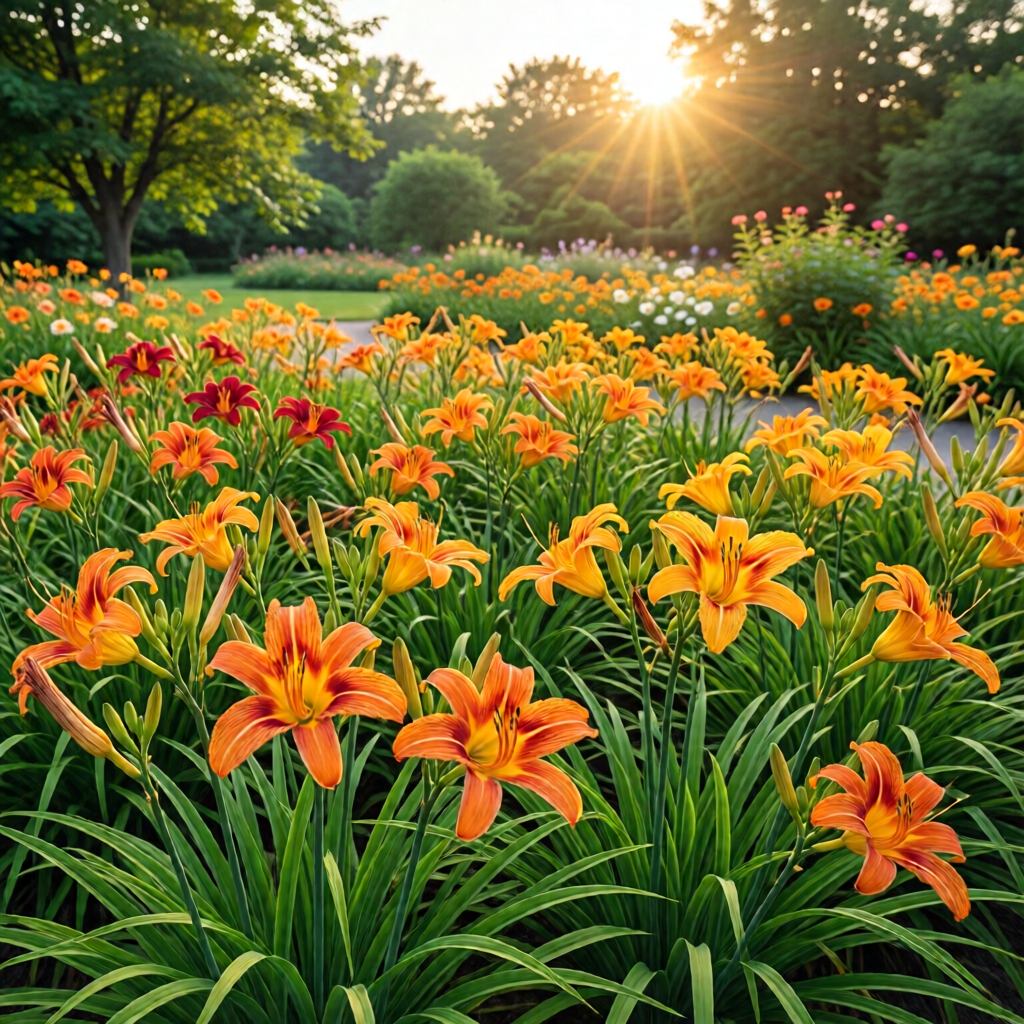
By mixing tall, medium, and dwarf varieties, you can create layered, dynamic plantings that stay in bloom for weeks. For inspiration, see how poolside landscaping ideas incorporate daylilies for a splash of color that complements water features.
Site Selection and Planting Basics
Successful daylily growth starts with choosing the right location. While they are forgiving, a few guidelines ensure optimal performance:
- Sunlight: Aim for at least 6 hours of direct sun. In hotter climates (Zone 7–9), a little afternoon shade can prevent scorching.
- Soil drainage: Daylilies dislike waterlogged roots. Well‑draining loam or sandy soil is ideal; amend heavy clay with coarse sand or organic matter.
- Air circulation: Good airflow reduces fungal pressure, especially during humid summers.
When planting, dig a hole twice the width of the crown and just as deep. Place the crown shallowly—no more than 1–2 inches below the soil surface—to encourage vigorous leaf growth. Backfill with a mixture of native soil and compost, firm gently, and water thoroughly to settle the soil around the roots.
Spacing for Health and Aesthetics
Allow 12–24 inches between plants depending on the mature size of the variety. Dwarf types can be spaced closer (12 inches), while taller hybrids need up to 24 inches to prevent overcrowding and ensure air movement.
Planting Time
The best planting windows are early spring (after the last frost) and early fall (when soil is still warm). In colder regions, fall planting allows roots to establish before winter, leading to a stronger spring display.
Soil Preparation and Nutrient Management
Daylilies thrive in slightly acidic to neutral soils (pH 5.5–7.0). Conduct a soil test if you’re unsure; many local extension services offer kits. Amend the soil based on test results:
- Low pH: Add garden lime to raise pH.
- High pH: Incorporate elemental sulfur or peat moss.
Organic matter is a daylily’s best friend. Incorporate 2–3 inches of well‑rotted compost or aged manure into the planting hole. This improves structure, water retention, and nutrient availability.
Fertilizing Schedule
While daylilies are modest feeders, a balanced fertilizer (10‑10‑10) applied in early spring encourages robust growth. Follow these steps:
- Apply 1 pound of fertilizer per 10 square feet at the start of the growing season.
- Side‑dress with a slow‑release granular fertilizer after the first flush of blooms.
- For rebloomers, a light top‑dressing of a high‑potash fertilizer (e.g., 5‑10‑20) in mid‑summer supports a second bloom cycle.
Avoid over‑fertilizing, which can produce lush foliage at the expense of flowers and may increase susceptibility to leaf spot diseases.
Watering Practices for Healthy Blooms
Consistent moisture is key, especially during the first year as plants establish. Follow these guidelines:
- Newly planted daylilies: Water deeply 2–3 times per week until the crowns are well‑rooted (usually 4–6 weeks).
- Established plants: Provide 1 inch of water per week, increasing frequency during hot, dry spells.
- Mulching: Apply a 2–3 inch layer of shredded bark or pine needles to retain moisture, suppress weeds, and moderate soil temperature.
Over‑watering can lead to crown rot, while drought stress may cause premature flower drop. Use a soil moisture meter if you’re uncertain.
Seasonal Care and Maintenance
Daylilies benefit from a few seasonal tasks that keep them vigorous and blooming year after year.
Spring: Early Growth and Division
As shoots emerge, remove any dead or damaged foliage. This is an excellent time to divide mature clumps—generally every 3–5 years—to rejuvenate the plant and propagate new specimens. Follow our how to transplant plants without shock guide for a stress‑free division process.
To divide, gently lift the clump, shake off excess soil, and use a clean, sharp knife to separate crowns with at least one healthy fan of leaves and a portion of the root system. Re‑plant the divisions at the same depth as the original plant.
Summer: Deadheading and Pest Management
While daylily blooms are short‑lived, removing spent flowers (deadheading) encourages the plant to funnel energy into leaf development and root growth, enhancing next year’s vigor. Use clean pruners to cut the stem just above the first set of healthy leaves.
Common pests include aphids, daylily beetles, and slugs. Treat infestations early with insecticidal soap or neem oil, and consider hand‑picking beetles in the early morning when they are less active.
Fall: Preparing for Dormancy
After the final bloom, cut back foliage to about 6 inches above ground. This tidy “clean‑up” reduces overwintering sites for pests and disease. In colder zones, apply a generous layer of mulch (3–4 inches) to insulate crowns from freeze‑thaw cycles.
Winter: Minimal Intervention
Daylilies are hardy, but extreme cold can damage crowns. Avoid excessive foot traffic on mulched beds, and in regions with severe winters (zones 3–4), consider a protective burlap screen for particularly tall varieties.
Propagation Techniques for Expanding Your Daylily Garden
Daylilies are among the easiest perennials to propagate, offering several methods to multiply your collection.
Division (the most reliable)
As mentioned, divide mature clumps every few years. This method preserves the exact cultivar’s characteristics and ensures vigorous growth.
Seed Propagation
Collect seeds from fully opened flowers after they fade. Sow them in late fall or early spring in a seed‑starting mix, lightly covering the tiny seeds. Keep the medium moist and provide bright, indirect light. Seedlings may take 2–3 years to flower, but they can produce unique color variations.
Root Cuttings
In late summer, dig up a healthy crown, slice a 3‑inch section of the fleshy root, and plant it horizontally about 2 inches deep in a pot of well‑draining soil. Maintain consistent moisture, and new shoots should emerge within 4–6 weeks.
Bulb Scaling (Advanced)
For the dedicated enthusiast, scaling involves separating the smaller “bulblets” that form around the main crown. This technique is more labor‑intensive but can yield a large number of new plants from a single mature specimen.
Common Problems and How to Fix Them
Even hardy daylilies can encounter issues. Below are the most frequent challenges and practical solutions.
Leaf Spot and Fungal Diseases
Symptoms include brown or black spots on leaves, often with a yellow halo. To manage:
- Improve air circulation by spacing plants properly.
- Apply a copper‑based fungicide at the first sign of disease.
- Remove and destroy infected foliage.
Stem Rot
Caused by overly wet soil, stem rot appears as soft, mushy stems near the crown. Remedy by:
- Improving drainage (add sand or organic matter).
- Reducing watering frequency.
- Using a fungicidal dip for affected stems if caught early.
Pest Damage
Aphids cause curling leaves; daylily beetles chew holes in foliage. Control measures include:
- Introducing beneficial insects like ladybugs.
- Applying neem oil or horticultural oil.
- Hand‑picking larger beetles.
Poor Blooming
If plants produce abundant foliage but few flowers, consider these adjustments:
- Reduce nitrogen fertilizer; excess nitrogen promotes leaf growth over blooms.
- Ensure at least 6 hours of direct sun.
- Deadhead spent blooms to encourage new flower buds.
Design Ideas: Using Daylilies in Different Garden Settings
Daylilies are adaptable to a variety of landscape designs. Here are a few inspirational concepts:
Border and Edge Plantings
Mix tall varieties like ‘Stargazer’ with dwarf types such as ‘Little Pixie’ for a tiered effect. Pair with ornamental grasses for movement and texture.
Container Gardens
Choose compact cultivars and plant them in large ceramic pots with well‑draining potting mix. Add a layer of decorative stones on top for a polished look.
Shade Gardens
While full sun is ideal, many daylilies tolerate light shade, especially in hot climates. Combine with shade‑loving perennials like hostas or ferns for a balanced palette.
Pollinator-Friendly Landscapes
Fragrant varieties such as ‘Moonshine’ attract bees, butterflies, and hummingbirds. Plant them near a water feature or along a walkway to create an interactive garden experience.
Poolside and Patio Settings
Daylilies add bursts of color without the maintenance demands of annuals. Their low water needs make them perfect for poolside landscaping ideas. Pair with a low‑maintenance groundcover like creeping thyme for a cohesive look.
Daylily Care Checklist for the Busy Gardener
Keep this quick reference handy to ensure your daylilies stay thriving throughout the year:
- Plant in full sun with well‑draining soil.
- Water deeply during establishment; then 1 inch per week.
- Apply balanced fertilizer in early spring; side‑dress after first bloom.
- Deadhead spent flowers to promote foliage growth.
- Divide clumps every 3–5 years in early spring.
- Mulch annually to conserve moisture and suppress weeds.
- Monitor for aphids, beetles, and leaf spot; treat early.
- Provide winter protection in zones 3–4 with extra mulch.
Conclusion: Embrace the Daylily’s Endless Possibilities
From the bold, sunny hues of ‘Stella de Oro’ to the delicate fragrance of ‘Pale Moon,’ daylilies offer an astonishing range of colors, forms, and performance traits that can elevate any garden style. By selecting the right varieties for your climate, preparing the soil thoughtfully, and following a simple seasonal care routine, you’ll enjoy a spectacular, low‑maintenance display year after year. Whether you’re expanding an existing perennial bed, creating a vibrant container garden, or seeking pollinator‑friendly plantings for a poolside oasis, daylilies are the reliable, versatile choice that will keep you smiling every time they bloom.

Which daylily varieties are best for hot, dry climates?
Heat‑tolerant cultivars such as ‘Mooch’, ‘Red Velvet’, and ‘Stella de Oro’ thrive in hot, dry regions. Choose a sunny, well‑drained site, mulch generously, and water deeply but infrequently to encourage deep root growth.
How often should I fertilize my daylilies?
Apply a balanced 10‑10‑10 fertilizer once in early spring at a rate of 1 pound per 10 sq ft. After the first bloom, side‑dress with a slow‑release fertilizer, and for rebloomers, add a high‑potash feed in midsummer to support a second flush.
Can I grow daylilies in containers?
Yes. Choose compact varieties like ‘Little Pixie’ or ‘Mimi’s Sunburst’. Use a high‑quality potting mix with good drainage, water when the top inch of soil feels dry, and fertilize monthly with a balanced liquid feed.
What is the best time to divide daylilies?
Early spring, just as new shoots emerge, is ideal. Gently lift the clump, separate crowns with a sharp knife, and replant at the same depth. This rejuvenates the plant and produces new plants for your garden.
How can I prevent leaf spot on my daylilies?
Improve air circulation by spacing plants properly, avoid overhead watering, and apply a copper‑based fungicide at the first sign of disease. Removing and destroying infected leaves also helps stop the spread.