Turn your empty backyard into a year‑round gathering spot with fire pit ideas for backyard DIY projects that anyone can build.
In This Article
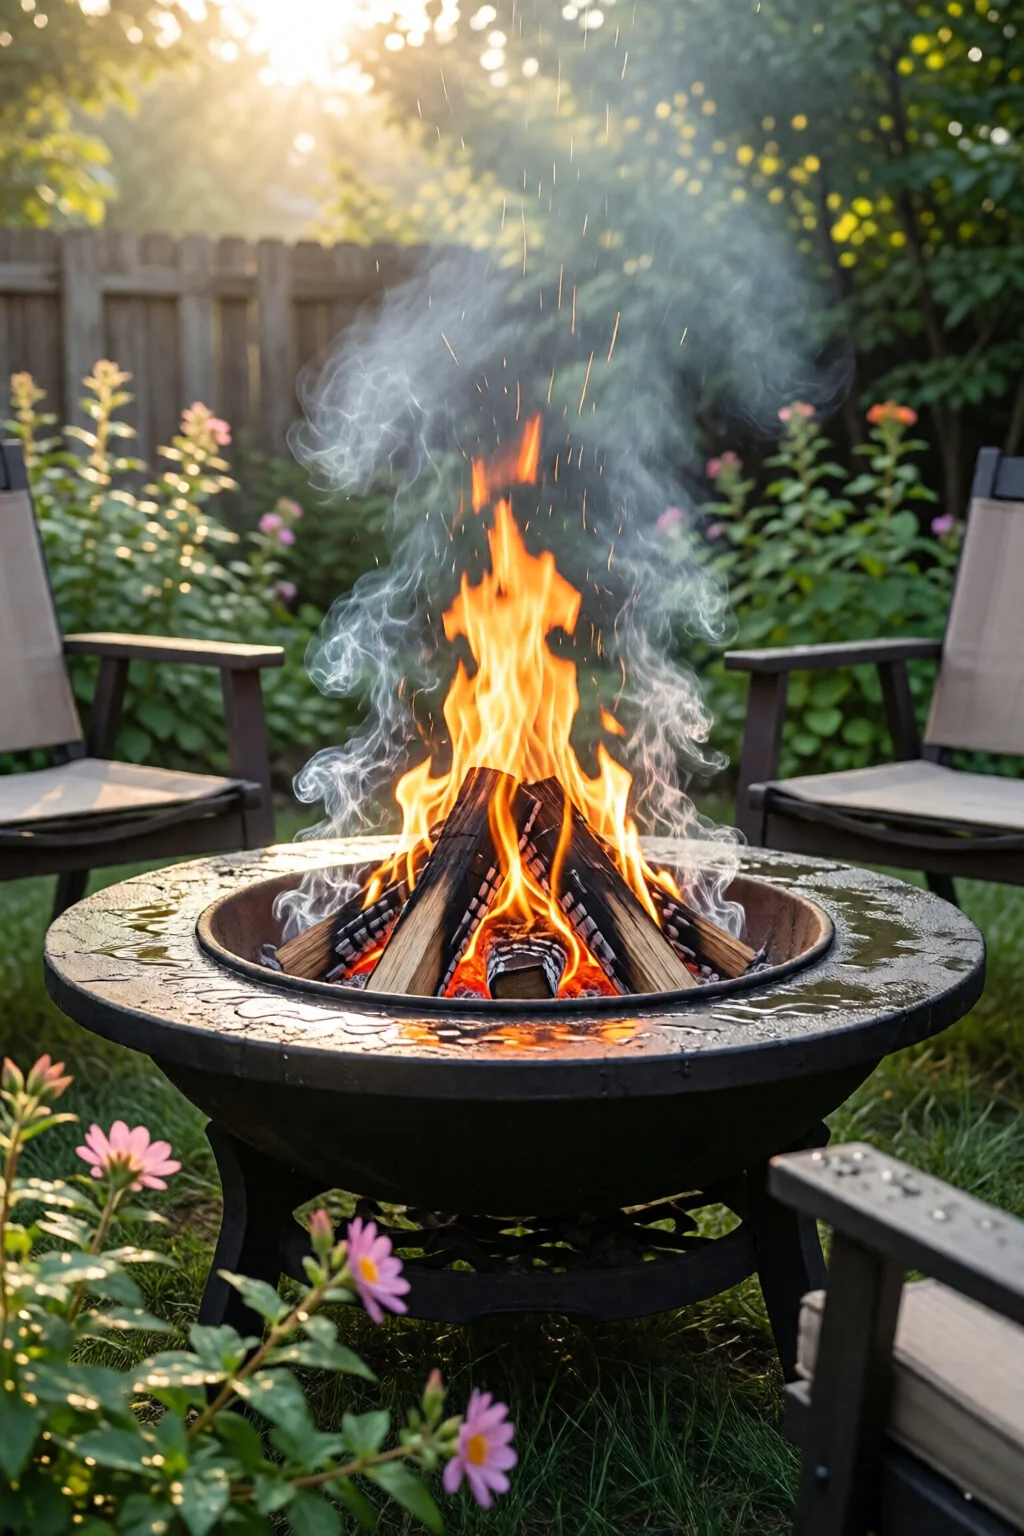
There’s something primal about gathering around a flame—stories, s’mores, the glow that stretches into the night. Yet, a ready‑made fire pit can cost $300‑$1,200 and still look generic. In my ten‑year career designing outdoor spaces, I’ve helped homeowners craft custom pits that match their style, budget, and land constraints. Below you’ll find a step‑by‑step guide that walks you from concept to completion, with real‑world numbers, product suggestions, and the little tricks that keep a fire pit safe and stunning for years.
Whether you have a 12‑ft square patio, a sloping hillside, or a tiny courtyard, the ideas here can be scaled up or down. Grab a tape measure, a sketchpad, and let’s dive into the most practical fire pit ideas for backyard DIY projects.
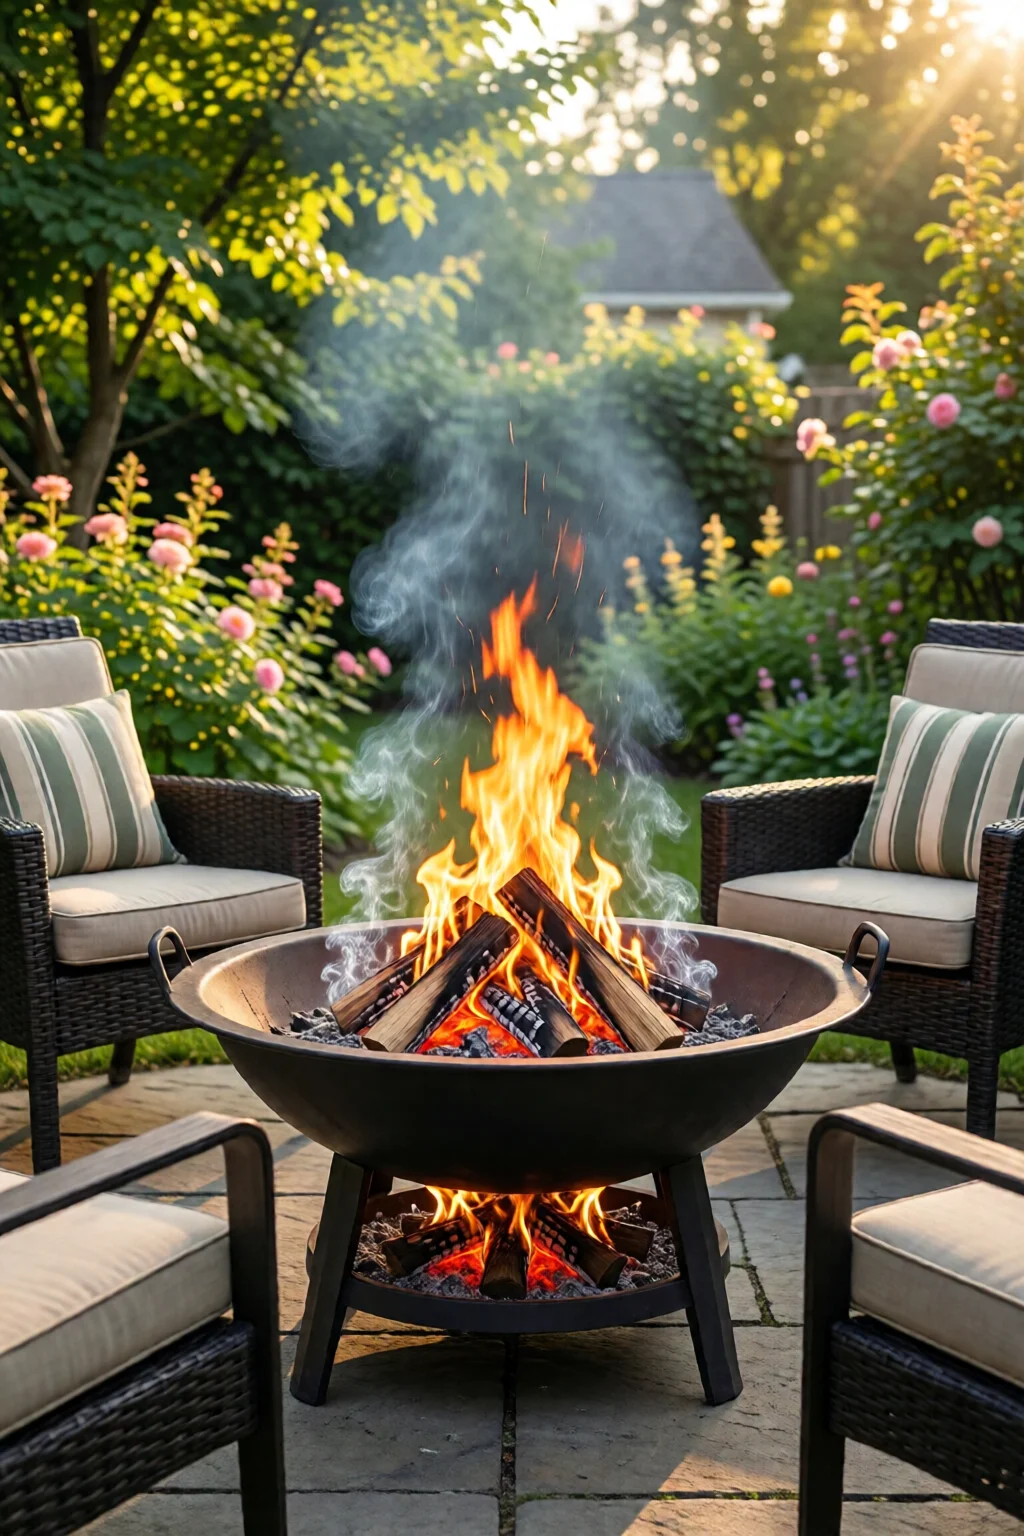
Choosing the Right Fire Pit Style
Materials & Durability
Material choice drives cost, lifespan, and aesthetic. Here are my go‑to options:
- Steel (e.g., Bull Outdoor Fire Pit, 45‑inch, $199): Thin‑wall steel heats quickly, rust‑coats in a few years if left unsealed. Ideal for modern, minimalist looks.
- Cast Iron (e.g., Solo Stove Yukon, 21‑inch, $299): Retains heat longer, rust‑resistant, but heavier—requires a solid base.
- Stone (natural flagstone, $3‑$7 per sq ft) or Concrete Block: Offers a rustic vibe and can be built to any size. Requires mortar and a level foundation.
- Recycled Materials (old steel drums, reclaimed brick): Near‑zero material cost, but you’ll need to sand, clean, and possibly apply a high‑temperature sealant ($15‑$30 per can).
Size & Placement
Measure the fire‐pit footprint first. A comfortable 3‑foot diameter works for 4‑6 people; a 5‑foot circle suits larger groups. Keep a 3‑foot clearance from walls, decks, and overhanging trees—most fire codes require this. For a 12‑ft × 12‑ft patio, a 4‑foot pit centered leaves a 4‑foot walking lane on each side.
Safety & Regulations
Check your city’s fire ordinance. Many municipalities cap fire pits at 1,000 BTU for propane models and require a non‑combustible base (concrete slab, pavers, or a 4‑in. gravel bed). Install a spark screen ($25‑$45) and keep a Class A fire extinguisher within arm’s reach.
DIY Build Options
Concrete Block Fire Pit
Concrete block is my favorite for beginners because it’s forgiving and inexpensive. Here’s a quick cost breakdown for a 36‑inch diameter pit:
| Item | Quantity | Cost |
|---|---|---|
| Concrete masonry units (8‑in. x 8‑in. x 16‑in.) | 12 | $72 |
| High‑temperature mortar (Type S) | 1 bag (60 lb) | $12 |
| Fire‑bricks (refractory, 4‑in.) | 6 | $54 |
| Metal fire ring (optional) | 1 | $45 |
| Gravel base (1‑in. depth) | 2 cu ft | $8 |
| Total | $191 |
Steps:
- Lay a 4‑in. compacted gravel bed.
- Arrange blocks in a circle, staggering joints for strength.
- Apply mortar, smoothing seams.
- Line the interior with fire‑bricks to protect the blocks from direct heat.
- Install a steel fire ring for easy ash removal.
Steel Ring & Stone Fill
If you crave a sleek industrial look, buy a 24‑in. steel fire ring (e.g., Camp Chef 24‑Inch Fire Pit Ring, $149) and surround it with river rock ($4‑$6 per bag). The ring contains the flames; the stones create a reflective glow and help hide ash.
Construction timeline: 3 hours for a 4‑foot pit, including a small concrete pad ($30 for quick‑set mix).
Repurposed Materials
One mistake I see often is discarding a perfectly good metal drum. Convert a 55‑gallon steel drum into a fire bowl:
- Cut the top off with an angle grinder (cost $45 for a 4‑in. disc).
- Drill four ¼‑in. holes for airflow.
- Weld a steel handle for easy moving.
- Paint with high‑temp enamel ($12 per can) for rust protection.
Budget: under $80 total, plus your time.
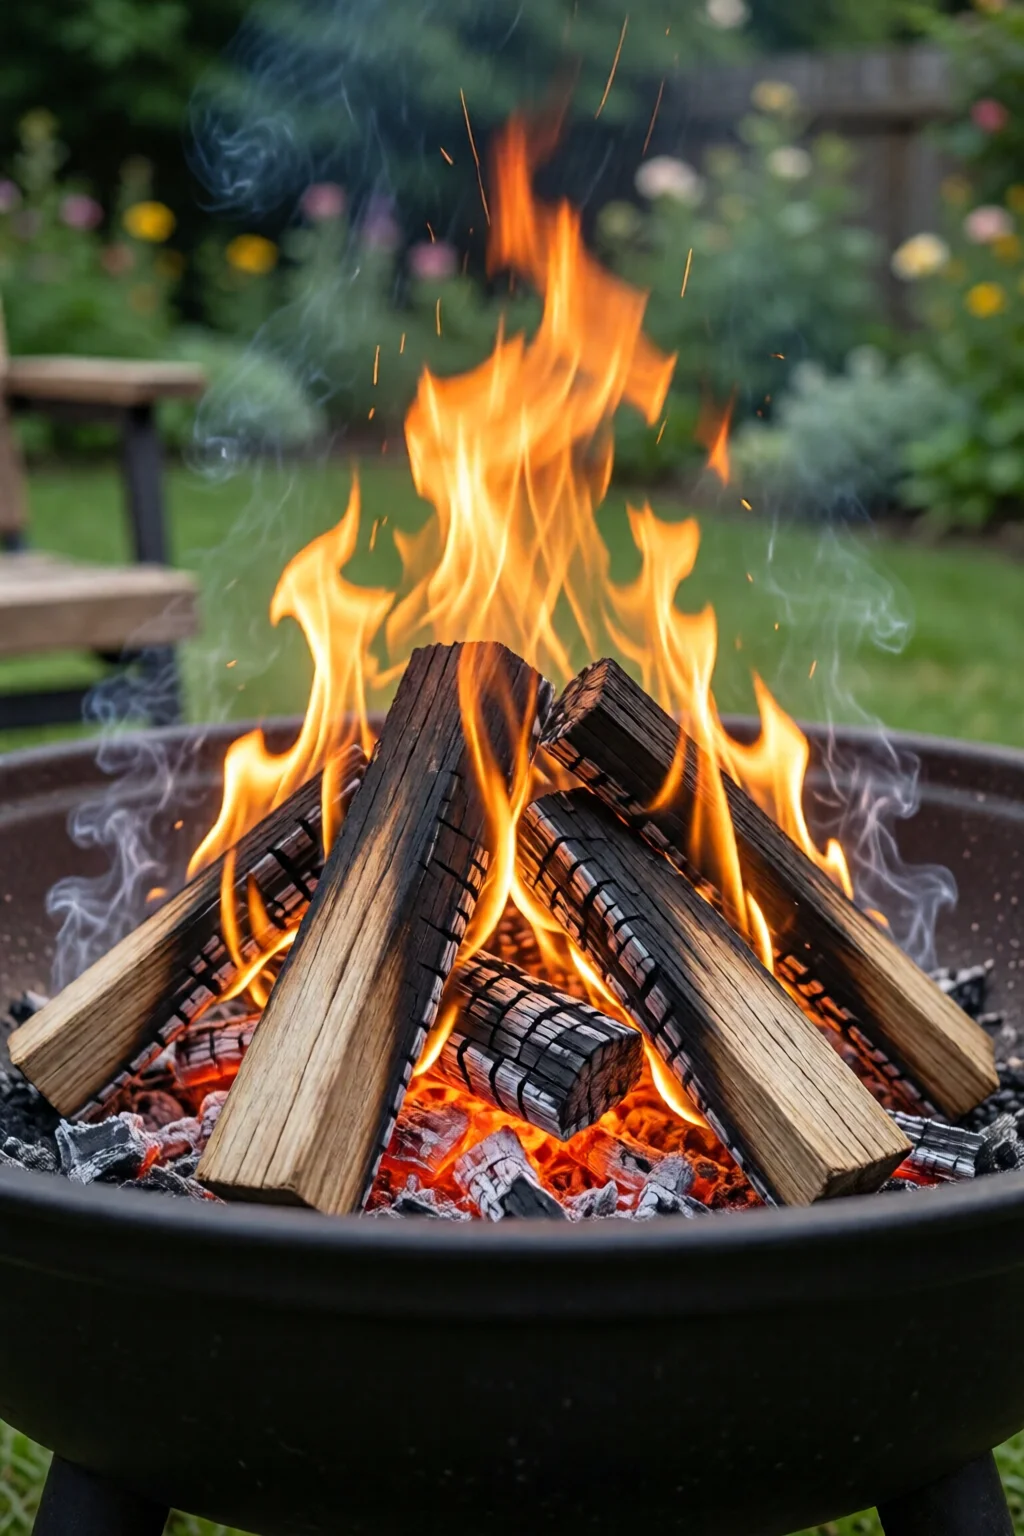
Fuel Choices & Performance
Wood‑Burning vs. Propane vs. Natural Gas
| Fuel | Initial Cost | Heat Output (BTU/hr) | Running Cost (per hour) | Pros | Cons |
|---|---|---|---|---|---|
| Wood | $0‑$50 (if you have a supply) | 30,000‑50,000 | $0‑$0.50 (cord price) | Authentic crackle, scent | More smoke, ash cleanup |
| Propane | $120 (15‑lb tank + regulator) | 20,000‑40,000 | $0.70‑$1.00 | Clean burn, easy ignition | Tank refills, costlier long‑term |
| Natural Gas | $300‑$600 (line install) | 35,000‑55,000 | $0.30‑$0.45 | Continuous fuel, low emissions | Requires professional gas line |
Cost & Efficiency
For occasional weekend use, wood is cheapest if you have a local supply (e.g., 1 cord = $150, yields ~600 hours of burn time). Propane shines for “just‑click‑and‑go” evenings—my own backyard set‑up runs $0.85 per hour on a 20‑lb tank.
Environmental Considerations
Propane and natural gas produce about 90% less particulate matter than wood. If you’re in a HOA with smoke restrictions, a low‑emission propane model (like the BioLite FirePit, $299) is the safest bet.
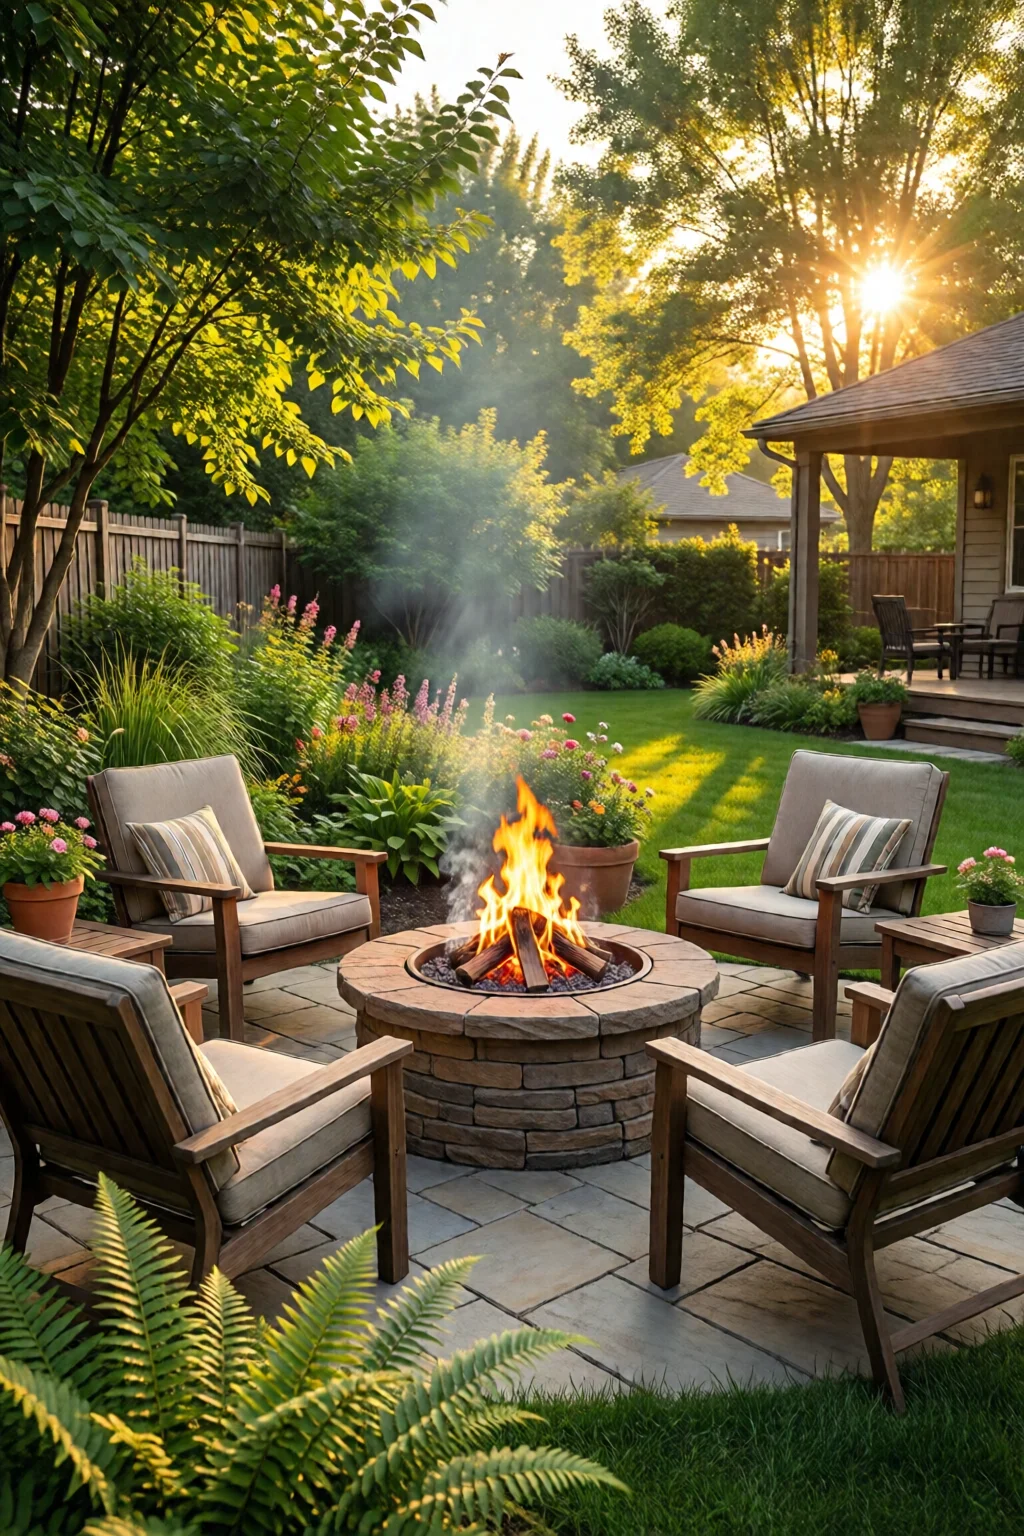
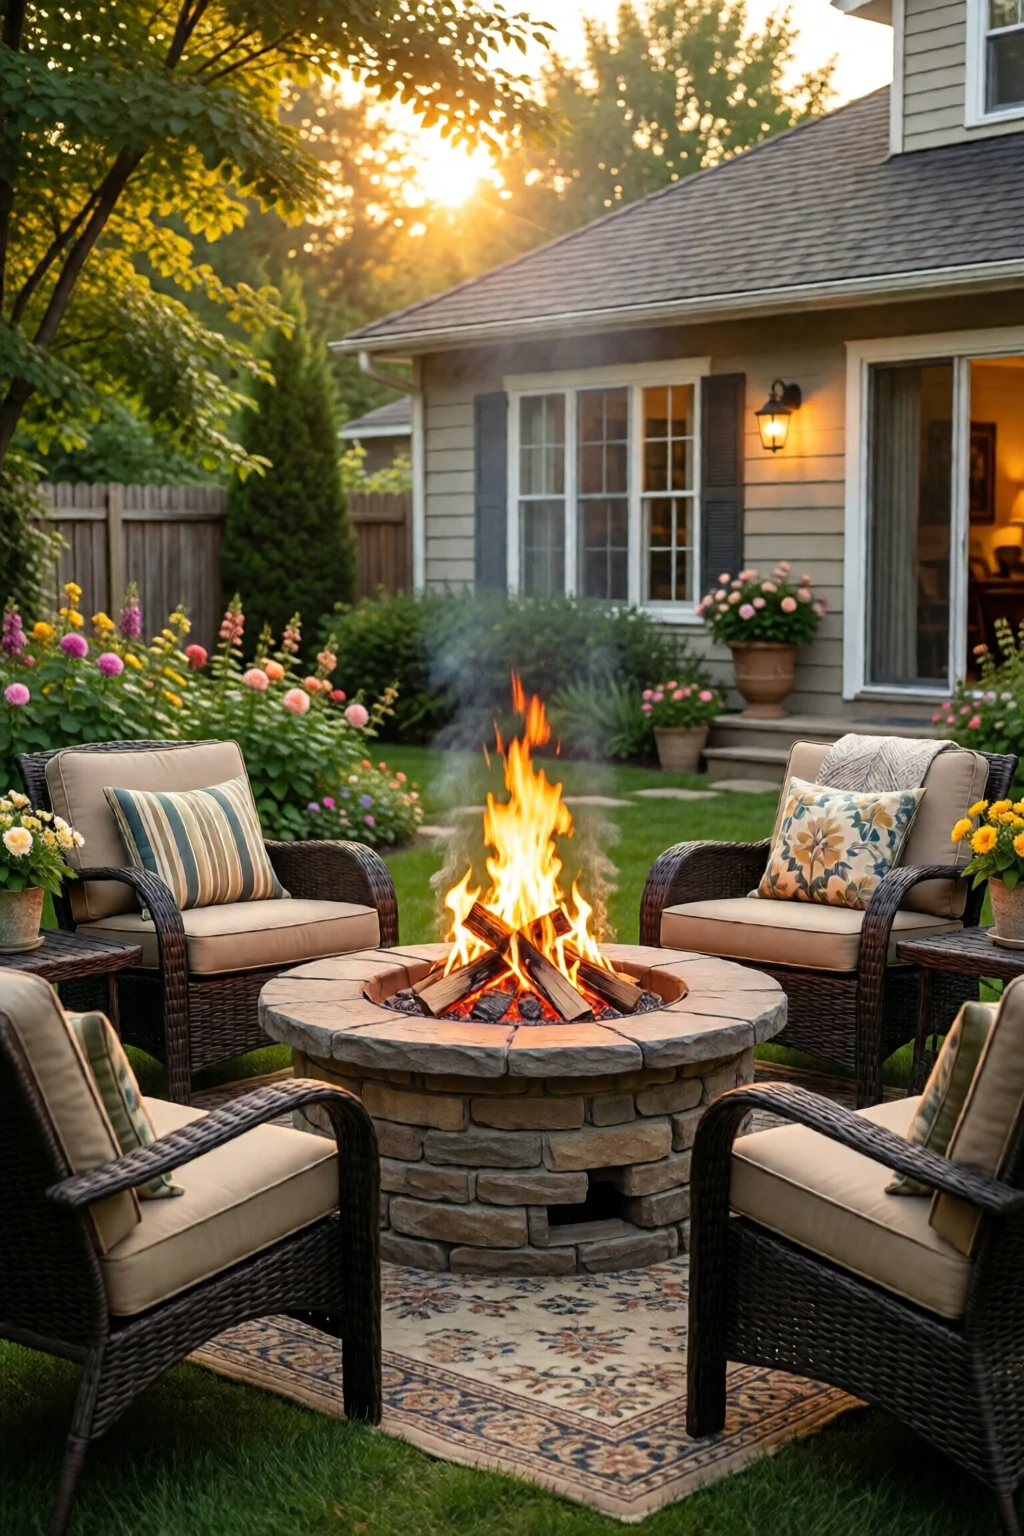
Enhancing the Ambiance
Seating & Surrounds
Comfortable seating extends pit usage. I recommend:
- Two 36‑in. Adirondack chairs (poly‑resin, $120 each) placed 4 ft from the pit.
- A low, 24‑in. fire‑proof bench made from reclaimed cedar, sealed with a 2‑coat water‑based spar urethane ($18 per quart).
- Built‑in stone “curb” seating—cut flagstones to 6‑in. thickness, stack, and anchor with construction adhesive.
Lighting & Accessories
Layered lighting makes the space usable after the flames die down. Add:
- Solar LED string lights (e.g., Brightech Ambience Pro, 100‑ft, $39) draped over a pergola or overhead beam.
- Hanging lanterns with amber glass ($22 each) for a warm glow.
- Heat‑resistant fire glass (6‑mm, $8 per sq ft) inside the pit for a sparkling effect.
For inspiration on string light placement, see our outdoor string light ideas for patio guide.
Seasonal Add‑Ons
In cooler months, a simple steel grate (12‑in., $15) lets you burn a small wood stove stove atop the pit for extra heat. In summer, a mesh cover protects the pit from rain while still allowing airflow.
Maintenance & Longevity
Cleaning Routine
After each use, let the pit cool, then sweep ash with a metal shovel. For steel rings, wipe the interior with a damp cloth and a splash of dish soap—dry thoroughly to avoid rust. Reapply a high‑temp spray paint touch‑up every 2‑3 years.
Protecting Against Weather
Cover your pit with a custom‑fit weather cover ($25‑$45) during rain or snow. If you have a concrete pad, seal it with a penetrating concrete sealer ($18 per gallon) to prevent water seepage that could erode mortar.
Troubleshooting Common Issues
- Flame sputters: Check airflow holes; clear debris.
- Excessive smoke: Use seasoned hardwood (minimum 6 months dry) or switch to propane.
- Rust spots: Sand lightly, then reapply high‑temp paint.
Pro Tips from Our Experience
1. Start with a sketch. I draw a 1‑scale plan on graph paper; it saves hours of guesswork.
2. Use a fire‑brick liner. Even with a steel ring, a ½‑in. fire‑brick perimeter extends the life of the pit by up to 30%.
3. Integrate a drainage slope. A 2% slope away from the pit prevents water pooling—especially important for concrete bases.
4. Combine fuels. Install a dual‑port gas line so you can switch from propane to wood when the mood strikes.
5. Consider a portable wheel kit. Adding two lockable caster wheels ($22 each) to a steel drum pit lets you reposition for events or winter storage.
Frequently Asked Questions
Do I need a permit for a DIY fire pit?
Most cities require a permit if the pit uses gas or exceeds a certain size. Wood‑burning pits under 3 ft in diameter often qualify for a “no permit” exemption, but always check your local code office.
Can I use a fire pit on a wooden deck?
Only if you place a non‑combustible pad (e.g., ¼‑in. fire‑proof board) that extends at least 3 ft around the pit. Propane models with built‑in safety shut‑offs are safest on decks.
What’s the best fuel for a small backyard?
Propane offers clean, controllable heat with minimal smoke—perfect for tight spaces and HOA rules. A 20‑lb tank lasts about 20‑25 hours and costs under $1 per hour.
How often should I replace fire‑glass?
Fire‑glass can last 3‑5 years if you avoid rapid temperature changes. Inspect for cracks after each season and replace as needed ($8‑$12 per sq ft).
Can I add a water feature near the fire pit?
Yes, as long as you maintain a 3‑ft clearance between the water feature and the flame zone. A shallow basin with a recirculating pump ($85) adds a soothing sound without compromising safety.
Conclusion & Actionable Takeaway
Fire pit ideas for backyard DIY are all about matching your space, budget, and lifestyle. Pick a material that fits your aesthetic, calculate the right size and clearance, choose a fuel that complies with local rules, and then layer seating, lighting, and protective accessories. With under $200 you can build a solid concrete‑block pit, or for $400‑$600 you can install a sleek steel ring with propane conversion.
Start today: draw a quick plan, gather the listed materials, and set a weekend aside for construction. Within a few hours you’ll have a new focal point that invites friends, extends your outdoor season, and adds real value to your home.