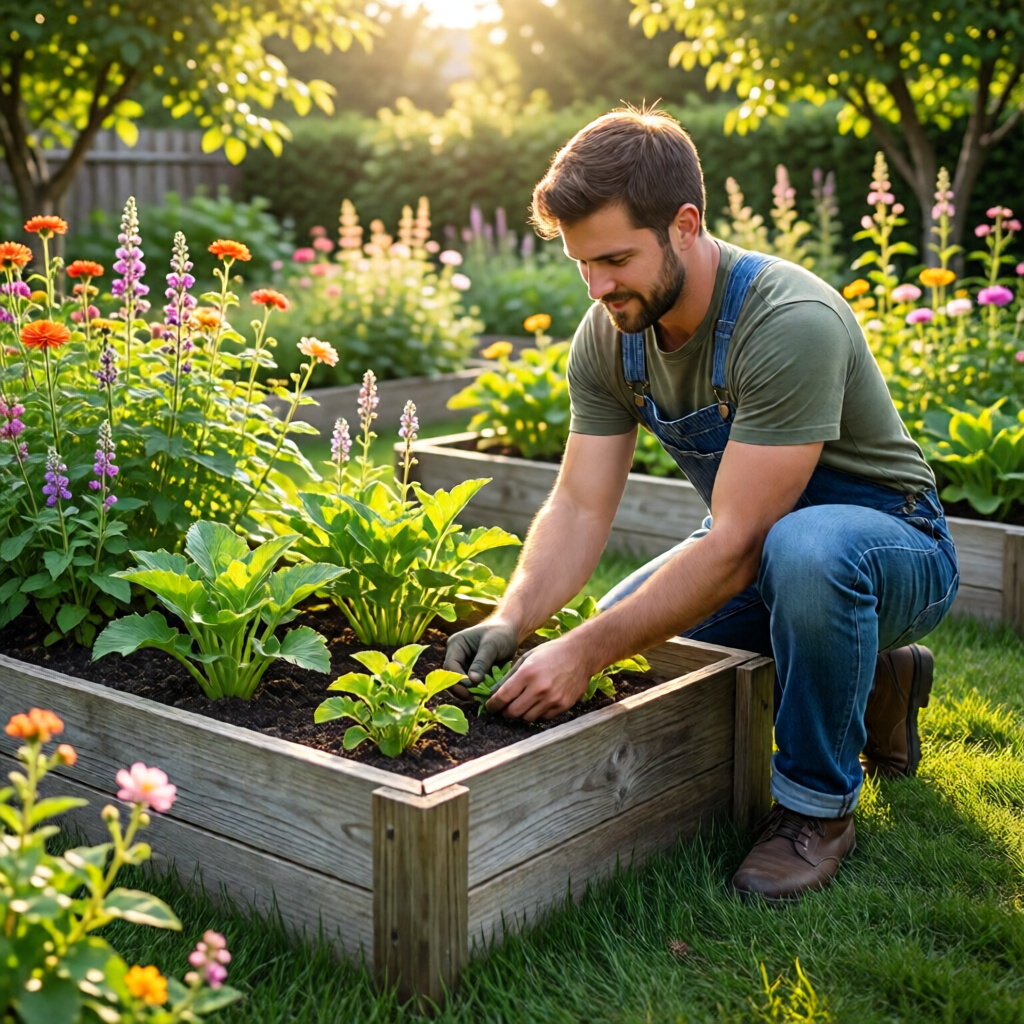
Creating a raised garden bed is one of the most rewarding DIY projects for any homeowner who wants fresh produce, beautiful flowers, or a low‑maintenance landscape. Whether you have a small backyard, a sunny balcony, or a patch of uneven soil, a raised bed gives you control over soil quality, drainage, and plant spacing, while also reducing back strain and weed pressure. In this step‑by‑step guide we’ll walk you through every decision—from site selection and material choice to construction techniques and planting strategies—so you can build a sturdy, attractive raised garden bed that thrives season after season.
Planning Your Raised Garden Bed
Before you pick up a hammer, spend a little time planning. A well‑planned bed saves time, money, and frustration later on. Consider the following factors:
Location, Sunlight, and Accessibility
Most vegetables and many flowering plants need at least 6–8 hours of direct sunlight each day. Use a sunny spot that’s close to a water source and easy to reach for daily care. If your space receives partial shade, you can still succeed by selecting shade‑tolerant crops—check out our guide on the best vegetables to grow in shade for inspiration.
Size and Shape
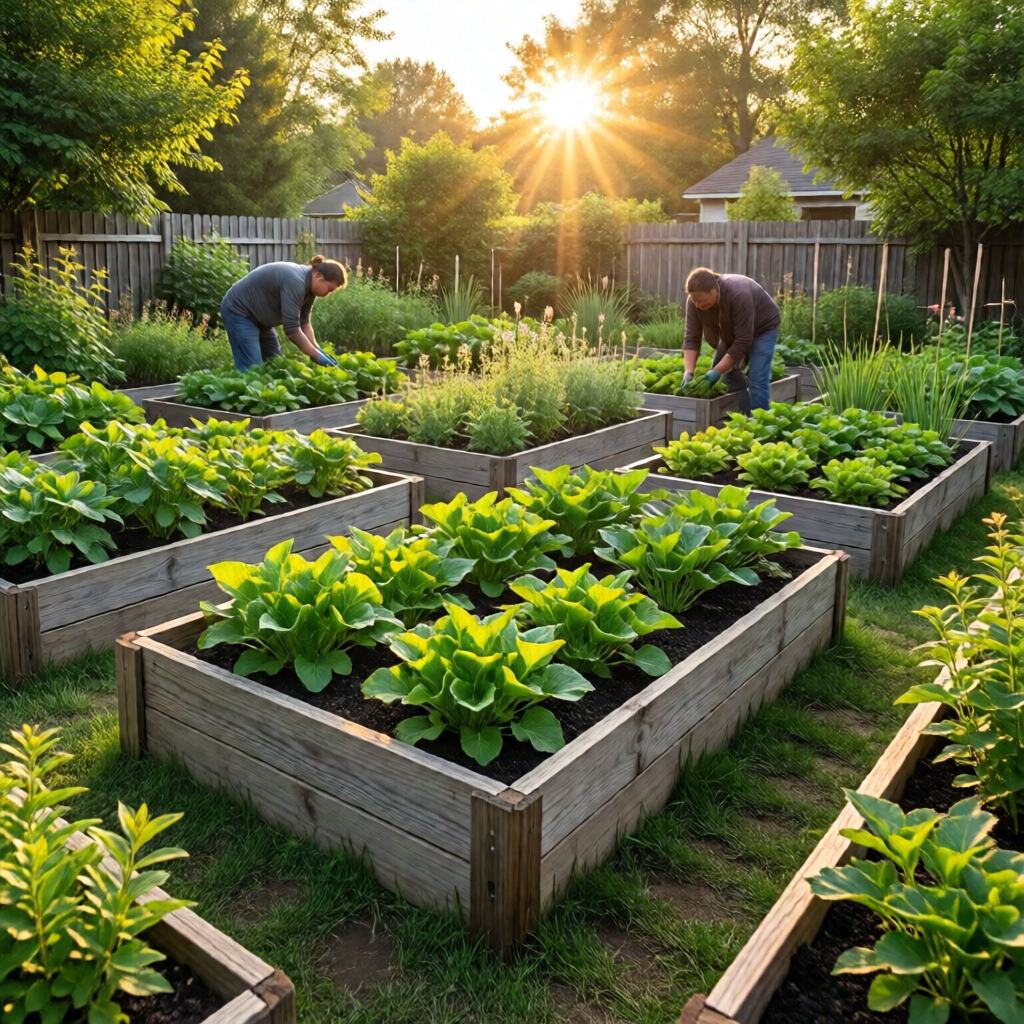
Standard raised beds are 4 feet wide, which allows easy reach from either side without stepping on the soil. Length can vary based on space—common dimensions are 4 × 8 feet or 4 × 12 feet. For tighter areas, a U‑shaped or L‑shaped design maximizes planting area while keeping pathways clear.
Height Considerations
Bed height affects root development, drainage, and ergonomics. A depth of 12–18 inches works well for most vegetables, while deeper beds (24–30 inches) are ideal for root crops like carrots and potatoes. If you have mobility concerns, raise the bed to 24–30 inches so you can tend plants from a seated position.
Choosing the Right Materials
The material you use for the frame influences durability, cost, and the overall aesthetic of your garden. Below are the most popular options, along with pros and cons to help you decide.
Wood
Wood is the classic choice for raised beds because it’s affordable, easy to work with, and blends naturally with garden surroundings. Cedar and redwood are naturally rot‑resistant and can last 10–15 years without treatment. If you opt for pine or fir, consider applying a non‑toxic sealant to extend its life.
Composite Boards
Composite lumber, made from recycled wood fibers and plastic, offers excellent durability and low maintenance. It resists rot, insects, and warping, but it can be more expensive than natural wood. Look for products labeled “UV‑stable” to prevent fading.
Metal
Galvanized steel or corrugated metal frames provide a sleek, modern look and can last decades. Metal beds heat up quickly in sunny climates, which can be beneficial for warm‑season crops but may stress tender seedlings. Ensure the metal is coated to prevent rust.
Concrete Blocks or Bricks
Concrete or brick is virtually indestructible and offers excellent heat retention. However, these materials are heavy and require a solid foundation. They’re a great choice for a permanent, low‑maintenance bed, especially in areas with high wind.
Recycled Materials
Old pallets, reclaimed lumber, or even sturdy wine crates can be repurposed into unique raised beds. When using reclaimed wood, verify it’s free of chemicals, nails, or treated lumber that could leach into the soil.
Building the Frame: Step‑by‑Step Construction
Now that you have your site, dimensions, and materials, it’s time to build. Follow these detailed steps to ensure a strong, level structure.
Gather Tools and Materials
- Measuring tape and carpenter’s square
- Level
- Power drill with drill bits
- Saw (circular or hand saw)
- Galvanized screws or deck bolts (3‑inch for wood, 2‑inch for metal)
- Corner brackets (optional for extra stability)
- Landscape fabric (to line the bottom)
- Soil mix (see next section)
Cutting the Boards
Measure and cut your boards to the desired length. For a 4 × 8 foot bed using 2‑inch thick cedar, cut two pieces at 8 feet (long sides) and two pieces at 4 feet (short sides). Use a carpenter’s square to ensure right angles.
Assembling the Frame
Place the long side boards parallel to each other on a flat surface. Position a short side board at each end, forming a rectangle. Pre‑drill pilot holes to prevent splitting, then secure the corners with galvanized screws. For extra strength, add metal corner brackets on the inside of each joint.
Adding Reinforcement
If you’re building a larger bed (over 8 feet long), add a cross‑support beam halfway along the length. This prevents sagging and keeps the frame square. Attach the support using deck bolts that can be tightened after the bed is placed on the ground.
Leveling and Securing the Bed
Position the assembled frame on your prepared site. Use a long level to check that all sides are even. If the ground is uneven, you can place a few landscape timbers underneath or add a compacted gravel base to level the surface. For permanent installations, secure the frame with stakes driven into the ground at each corner.
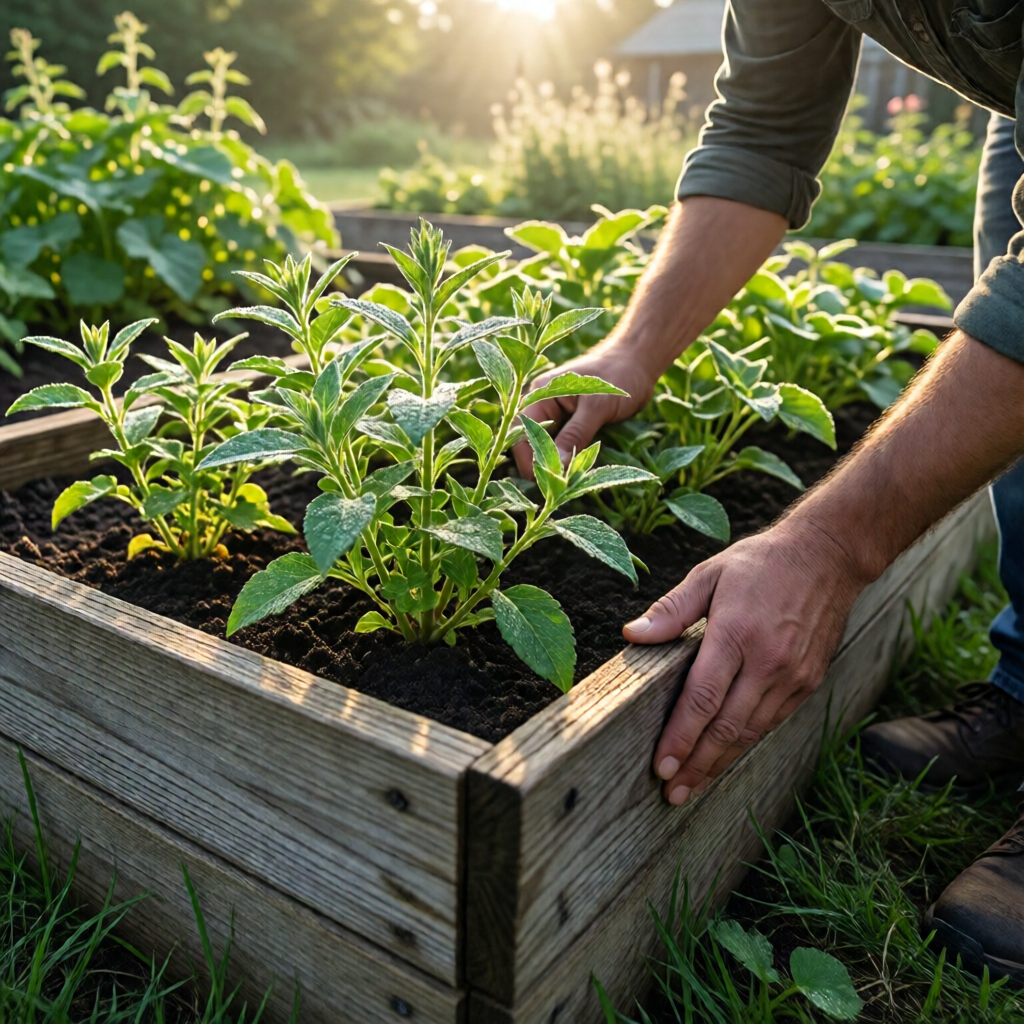
Filling the Raised Bed with Quality Soil
The heart of a successful raised garden bed is the soil mix. Because raised beds lack natural soil horizons, you must create a balanced blend that provides nutrients, drainage, and moisture retention.
Ideal Soil Composition
A classic “golden ratio” mix consists of 1 part compost, 1 part peat moss or coconut coir, and 1 part vermiculite or perlite. This combination offers:
- Organic matter for fertility (compost)
- Water‑holding capacity (peat moss or coir)
- Aeration and drainage (vermiculite or perlite)
If you prefer a heavier, loam‑like texture for root crops, replace the peat moss with equal parts of well‑aged garden soil and add a handful of bone meal or rock phosphate.
Layering Technique
Start with a 2‑inch layer of coarse organic material such as shredded bark, straw, or small branches. This improves drainage and prevents waterlogging. Follow with your blended soil mix, filling the bed to within 2 inches of the top edge. Lightly tamp the soil to eliminate large air pockets, then water thoroughly to settle the mix.
pH and Nutrient Adjustments
Most vegetables thrive in a slightly acidic to neutral pH (6.0–7.0). Use a garden pH tester after the first watering; if needed, amend with lime to raise pH or elemental sulfur to lower it. Incorporate a slow‑release organic fertilizer (e.g., 10‑10‑10) at planting time for a steady nutrient supply.
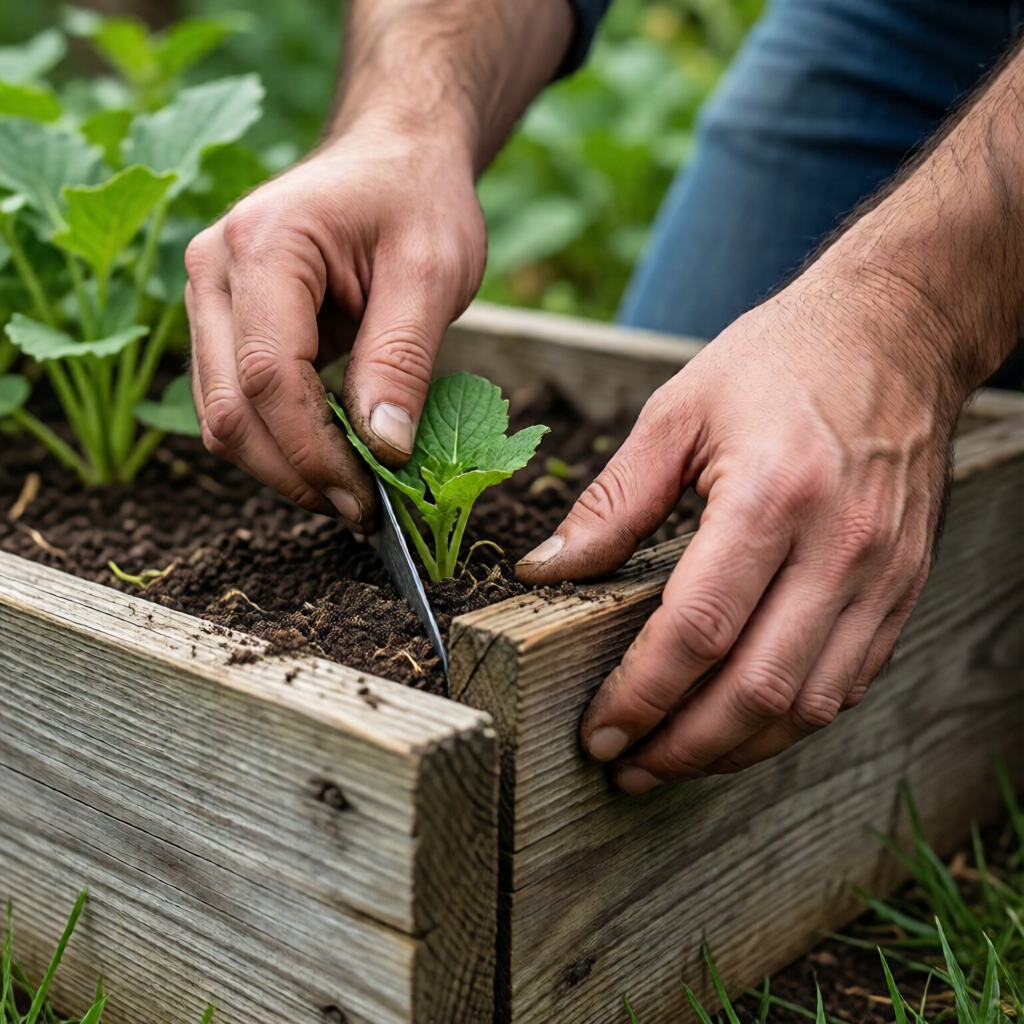
Planting and Ongoing Care
With the bed built and filled, you’re ready to bring in your favorite plants. Below are expert tips for planting, watering, and maintaining a thriving raised garden.
Selecting Plants for Your Bed
Choose crops that match your climate zone and the season. For a typical US temperate garden, popular options include:
- Leafy greens (lettuce, spinach, kale)
- Root vegetables (carrots, beets, radishes)
- Fruit‑bearing plants (tomatoes, peppers, beans)
- Herbs (basil, thyme, rosemary)
If you’re limited on space, consider vertical gardening—install trellises or cages for beans, peas, and cucumbers. Our cucumber growing tips and problems article offers detailed advice on training vines in confined spaces.
Planting Layout and Spacing
Follow the seed packet or plant label for spacing guidelines. A good rule of thumb is to space larger plants (tomatoes, peppers) 18–24 inches apart, while smaller greens can be placed 6–8 inches apart. Stagger rows to improve airflow and reduce disease pressure.
Watering Strategies
Raised beds dry out faster than in‑ground gardens because of increased exposure. Water deeply 2–3 times per week, aiming for 1–1.5 inches of water per watering session. Early morning watering reduces evaporation and helps prevent fungal issues.
Mulching for Moisture Retention
Apply a 2–3‑inch layer of organic mulch (straw, shredded leaves, pine needles) after planting. Mulch conserves soil moisture, suppresses weeds, and adds organic matter as it breaks down.
Fertilizing and Feeding
Feed your plants with a balanced organic fertilizer every 4–6 weeks. For heavy feeders like tomatoes, supplement with a calcium source (e.g., crushed eggshells) to prevent blossom end rot.
Seasonal Maintenance
At the end of the growing season, clear spent plants, add a generous layer of compost, and cover the bed with a breathable fabric to protect against winter freeze‑thaw cycles. In early spring, gently till the compost into the top 2–3 inches before planting again.
Seasonal Considerations and Extending the Growing Season
Raised beds offer flexibility for extending your harvest beyond traditional seasons. Here’s how to make the most of each time of year.
Spring: Soil Warm‑Up
Because raised beds are closer to the sun, soil warms faster in spring. Use black plastic or row covers to trap heat for early‑season crops like peas and radishes. Seed directly as soon as the soil reaches 50 °F.
Summer: Heat Management
In hot climates, shade cloths can reduce temperature stress for delicate plants. Install a lightweight, 30–50% shade cloth on a frame over the bed during the hottest afternoon hours.
Fall: Cool‑Season Crops
After the main summer harvest, plant cool‑season vegetables such as kale, Brussels sprouts, and turnips. A thin layer of straw mulch helps insulate the soil and prolongs the harvest into late October.
Winter: Protection and Off‑Season Growing
Cover the bed with a breathable frost blanket or old carpet to prevent soil heaving. For indoor gardeners, consider moving a portable raised bed to a sunny window or using grow lights. Our guide on best indoor plants for bedrooms can inspire you to create a mini‑greenhouse inside.
Troubleshooting Common Issues
Even with careful planning, problems can arise. Below are frequent challenges and practical solutions.
Water Drainage Problems
If water pools on the surface, the soil mix may be too compact. Add more perlite or coarse sand to improve drainage. Ensure the bed sits on a level surface; a slight slope (1–2%) helps excess water flow away.
Weed Invasion
Weeds often enter through the edges or gaps. Install a thick layer of landscape fabric beneath the soil and seal the edges with wooden or metal edging. Regular mulching also suppresses weed germination.
Pest Damage
Common pests include aphids, slugs, and cucumber beetles. Use organic controls such as neem oil, diatomaceous earth, or hand‑picking. Companion planting—like intercropping marigolds with tomatoes—can naturally deter pests.
Soil Nutrient Depletion
After several harvests, the soil may lose fertility. Rotate crops each season, avoid planting the same family in the same spot, and replenish with compost or well‑rotted manure.

Benefits of Raised Garden Beds
Beyond the practical advantages, raised beds contribute to a healthier garden ecosystem and a more enjoyable gardening experience.
- Improved Soil Quality: You control soil composition, pH, and organic matter, leading to healthier plant growth.
- Better Drainage: Water moves through the soil mix more efficiently, reducing root rot risk.
- Reduced Back Pain: Working at waist height minimizes bending and kneeling.
- Extended Growing Season: Soil warms earlier in spring and stays warmer later into fall.
- Weed Suppression: Mulch and fabric layers keep weeds at bay.
- Aesthetic Appeal: Raised beds create clean, organized garden lines that enhance curb appeal.
Custom Design Ideas and Inspiration
If you want your raised bed to be a focal point, consider these design twists:
- Tiered Beds: Stack multiple levels for a “step‑garden” look, perfect for small backyards.
- Incorporate Seating: Build a bench around the perimeter for a built‑in garden seat.
- Use Recycled Materials: Old pallets, wine crates, or reclaimed bricks add rustic charm.
- Integrate a Water Feature: A small recirculating fountain can attract pollinators and add soothing sounds.
- Blend with Landscape: Pair your raised bed with a zen garden design for backyard to create a tranquil, cohesive outdoor space.
By following this comprehensive guide, you’ll have all the knowledge needed to build a durable, productive raised garden bed that fits your space, style, and gardening goals. Remember, the most successful gardens are the ones that evolve over time—experiment with different crops, adjust your soil mix, and enjoy the process of watching your garden flourish.
What wood is best for a raised garden bed?
Cedar and redwood are top choices because they naturally resist rot and insects, lasting 10‑15 years without chemical treatment. If you use pine, apply a non‑toxic sealant to extend its life.
How deep should a raised bed be for vegetables?
A depth of 12‑18 inches works for most vegetables. For deep‑rooted crops like carrots or potatoes, aim for 24‑30 inches to give roots ample space.
Can I grow tomatoes in a raised bed on a balcony?
Yes! Use a sturdy container or a small raised bed with at least 12‑inch depth, ensure full sun, and follow our growing tomatoes in pots on balcony guide for watering and staking tips.
How often should I water a raised garden bed?
Water deeply 2‑3 times per week, delivering about 1‑1.5 inches per session. Adjust frequency based on weather, soil type, and plant needs.
What are the benefits of using a raised garden bed?
Raised beds improve soil quality, provide better drainage, reduce back strain, extend the growing season, suppress weeds, and add a clean, attractive look to any garden.