Ever wondered why a small balcony can yield a burst of juicy, sun‑kissed tomatoes that rival a backyard harvest?
In This Article
- 1. Choose a Tomato Variety Tailored for Containers
- 2. Pick the Perfect Pot Size & Material
- 3. Master the Soil Mix & Fertilizer Formula
- 4. Planting Technique & Depth: Set Them Up for Success
- 5. Watering Regimen & Drainage: The Balancing Act
- 6. Sunlight & Positioning: Capture the Sun, Avoid the Shade
- 7. Support & Pruning: Keep the Fruits Off the Ground
- 8. Pest & Disease Management: Stay Ahead of Problems
- 9. Harvest Timing & Storage: From Pot to Plate
- Comparison of the Top Picks for Balcony Tomato Growing
- Final Verdict: Your Balcony Can Be a Tomato Powerhouse
Growing tomatoes in pots on a balcony is more than a trendy Instagram moment; it’s a practical way to enjoy fresh produce when space is at a premium. With the right containers, soil mix, and a dash of patience, you can turn a modest railing into a thriving mini‑orchard. Below is my tried‑and‑true checklist—packed with specific brands, exact measurements, and the occasional hard‑won lesson—so you can skip the guesswork and start harvesting in just a few months.
1. Choose a Tomato Variety Tailored for Containers
Not all tomatoes are created equal when it comes to pot life. Dwarf and determinate types stay compact and fruit early, while indeterminate varieties keep growing but need more staking.
| Variety | Growth Habit | Yield (per plant) | Price (seed packet) | Rating |
|---|---|---|---|---|
| ‘Patio’ (Burpee) | Determinate, 12‑18″ tall | 8‑12 lbs | $3.99 | ★★★★☆ |
| ‘Tiny Tim’ (Johnny’s Selected Seeds) | Determinate, 8‑10″ tall | 4‑6 lbs | $2.50 | ★★★★☆ |
| ‘Red Robin’ (Renee’s Garden Seeds) | Determinate, 12‑14″ tall | 7‑9 lbs | $4.25 | ★★★★½ |
| ‘Celebrity’ (Seed Savers) | Indeterminate, 48‑60″ tall | 15‑20 lbs | $3.75 | ★★★★☆ |
| ‘Sungold’ (Burpee) | Indeterminate, 48‑72″ tall | 12‑15 lbs | $4.99 | ★★★★★ |
Pro tip: In my experience, ‘Patio’ and ‘Red Robin’ consistently produce the highest fruit‑to‑plant ratio in 5‑gal containers, while ‘Sungold’ rewards a bit more space and staking with its prolific orange‑gold cherry tomatoes.

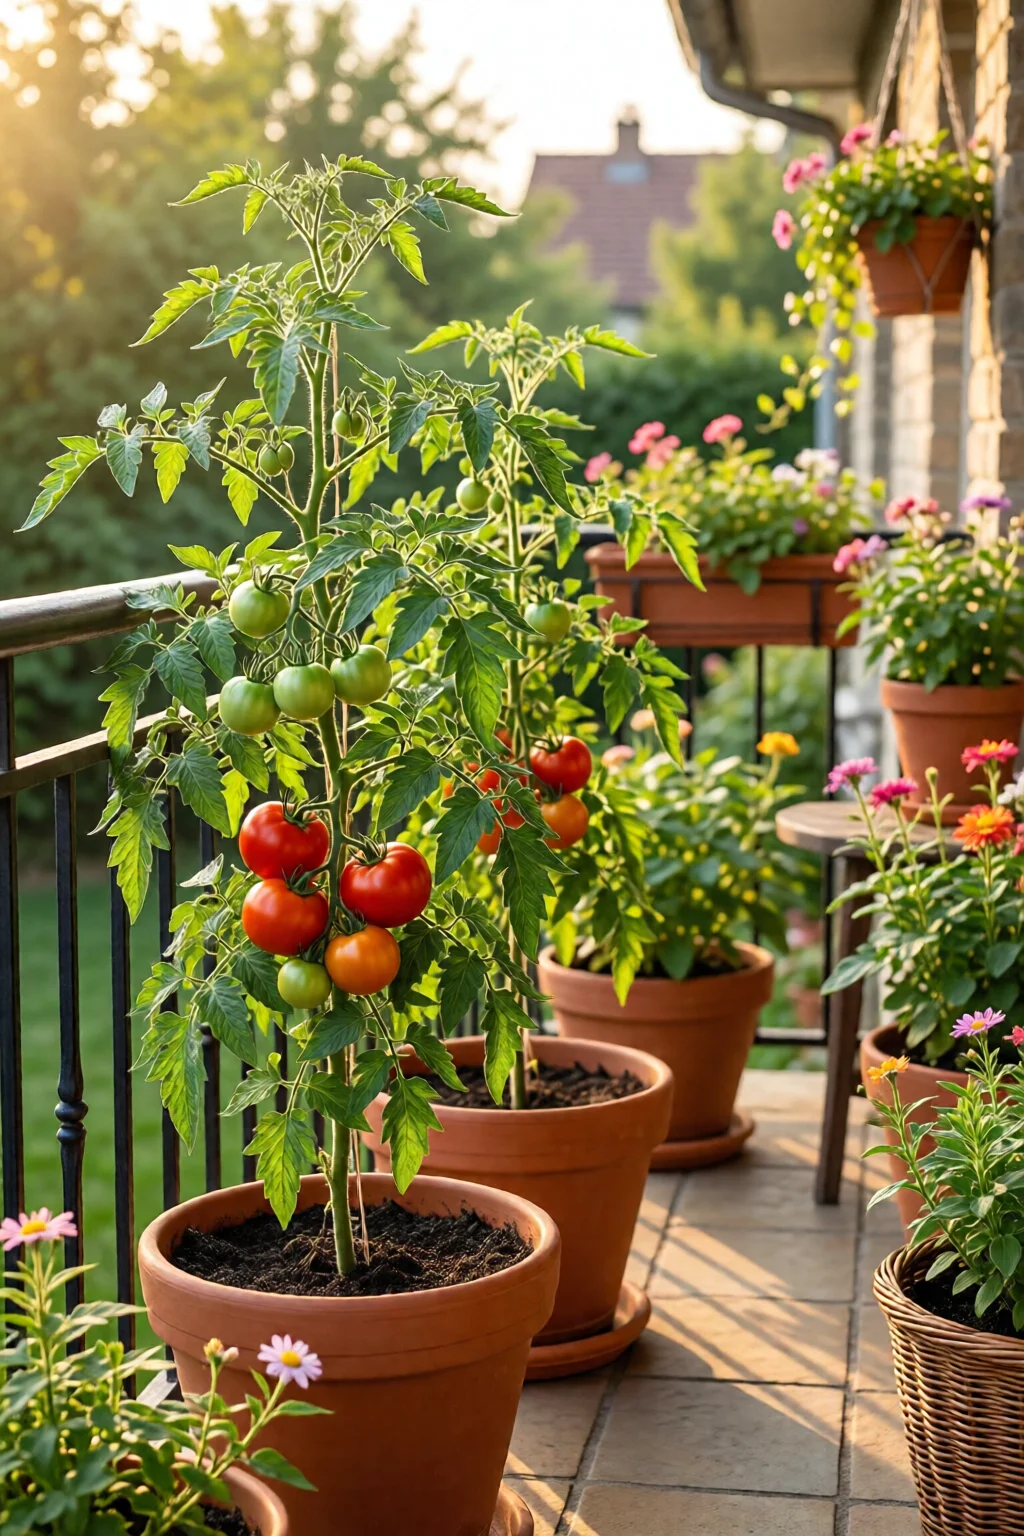
2. Pick the Perfect Pot Size & Material
Tomatoes need at least 5 gal (≈19 L) of soil per plant. Anything smaller forces the roots to compete, reducing yield and increasing stress.
- Fabric grow bags (e.g., Gardener’s Supply Company 5‑gal “Grow Bag” – $39.95): Breathable walls prevent root circling, keep soil cool, and weigh only ~2 lb when empty.
- Self‑watering plastic pots (e.g., Classic Home & Garden 10 L “Self‑Waterer” – $32): Reservoir holds up to 2 L of water, reducing watering frequency to 2–3 times per week.
- Terracotta (e.g., Bloomsdale 7.5‑in “Terracotta Pot” – $24.99): Classic look, but porous walls dry out quickly; best for dry climates with daily watering.
Pros & Cons
- Fabric bags: + Excellent aeration, – can be flimsy on windy balconies.
- Self‑watering: + Consistent moisture, – higher cost, potential for over‑watering.
- Terracotta: + Aesthetic appeal, – +0.5 gal of soil loss per week due to evaporation.
One mistake I see often is buying a decorative 3‑gal pot because it looks “just right” for a balcony. The plant will wilt within weeks, and you’ll waste seed money.
3. Master the Soil Mix & Fertilizer Formula
A high‑quality potting mix is the foundation of success. I blend the following for optimal drainage and nutrient availability:
- 50 % premium peat‑based potting soil (e.g., FoxFarm Ocean Forest – $22.95 for 5 gal)
- 30 % coconut coir (eco‑friendly alternative to peat, $12.50 for 5 L)
- 20 % perlite or coarse vermiculite for aeration (Miracle-Gro Perlite – $6.99 for 8 qt)
For feeding, I use a balanced 10‑10‑10 granular fertilizer at 1 Tbsp per gallon every two weeks, supplemented with a weekly liquid feed of 2 mL of “Tomato Tone” (Espoma, $8.95 per 16‑oz bottle). This regimen supplies roughly 150 ppm nitrogen, 50 ppm phosphorus, and 200 ppm potassium—ideal for fruit set.
How to Mix
- Combine dry ingredients in a clean bucket; mix until uniform.
- Moisten with water until the mix feels like a wrung‑out sponge (≈60 % moisture).
- Fill the pot to within 2 in of the rim, leaving space for mulch.
Adding a 1‑inch layer of shredded newspaper or pine bark mulch on top retains moisture and reduces splashing onto leaves—a common source of fungal issues.
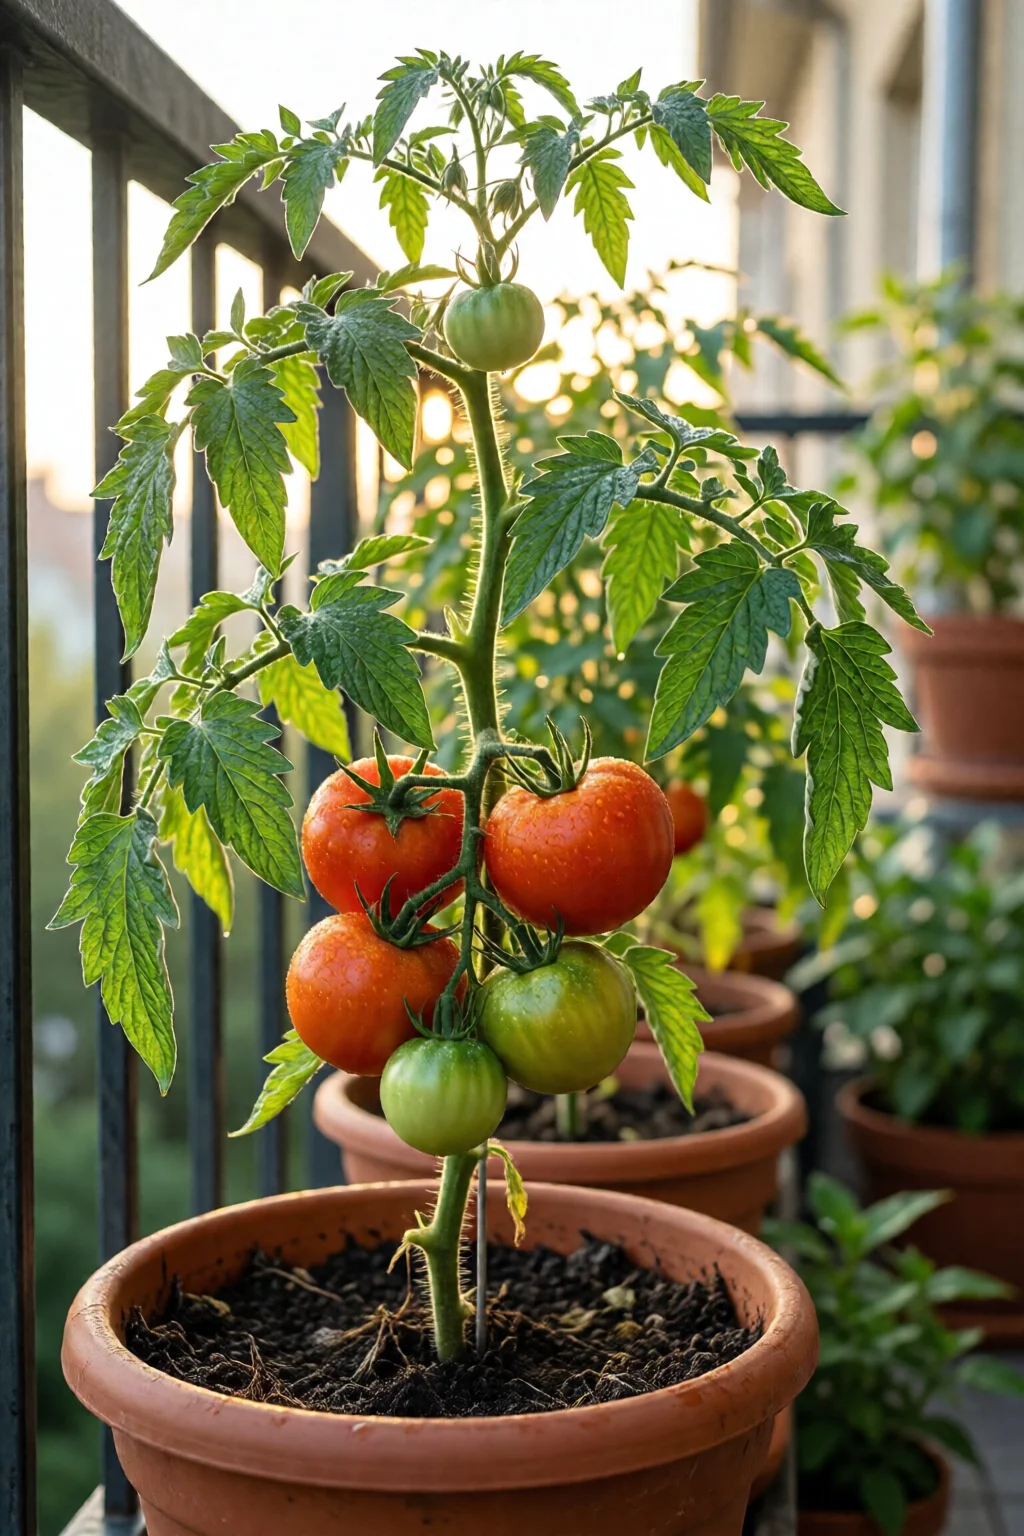
4. Planting Technique & Depth: Set Them Up for Success
When planting, I treat a tomato seedling like a mini‑tree. Bury the stem up to the first set of true leaves; this encourages a stronger root system.
- Create a 4‑inch deep hole in the pot.
- Place the seedling, gently spreading roots.
- Backfill with soil mix, firm lightly, then water thoroughly.
For direct‑seeded varieties, sow ¼‑inch deep and thin to one plant per pot after the seedlings develop two true leaves.
Spacing
Even in a pot, give each plant at least 12‑18 in of horizontal space. Overcrowding leads to reduced airflow and higher disease pressure.
Timing
Start seeds indoors 6–8 weeks before the last frost (see our spring vegetable garden planting schedule) and transplant after nighttime lows stay above 55 °F (13 °C). In most temperate zones, that means mid‑April to early May.
5. Watering Regimen & Drainage: The Balancing Act
Tomatoes love consistent moisture but hate soggy roots. Over‑watering is the #1 cause of “blossom end rot” on balconies where evaporation rates fluctuate.
- Check soil daily with a finger test: 1‑in depth should feel moist but not wet.
- Water early in the morning to reduce leaf wetness; aim for 1‑1.5 gal per plant per week in 70 °F (21 °C) weather.
- For self‑watering pots, refill the reservoir when the water level drops to the “low” line (usually 1 L remaining).
Install a drip irrigation kit (e.g., Raindrip R5600 – $24.99) with a timer set to 10 minutes, 2‑3 times per day during peak heat. This delivers 0.2 gal per session, keeping the soil evenly moist.
Drainage Tips
Even the best pots need holes. If your decorative pot lacks drainage, drill three ¼‑inch holes at the bottom and place a saucer to catch excess water.
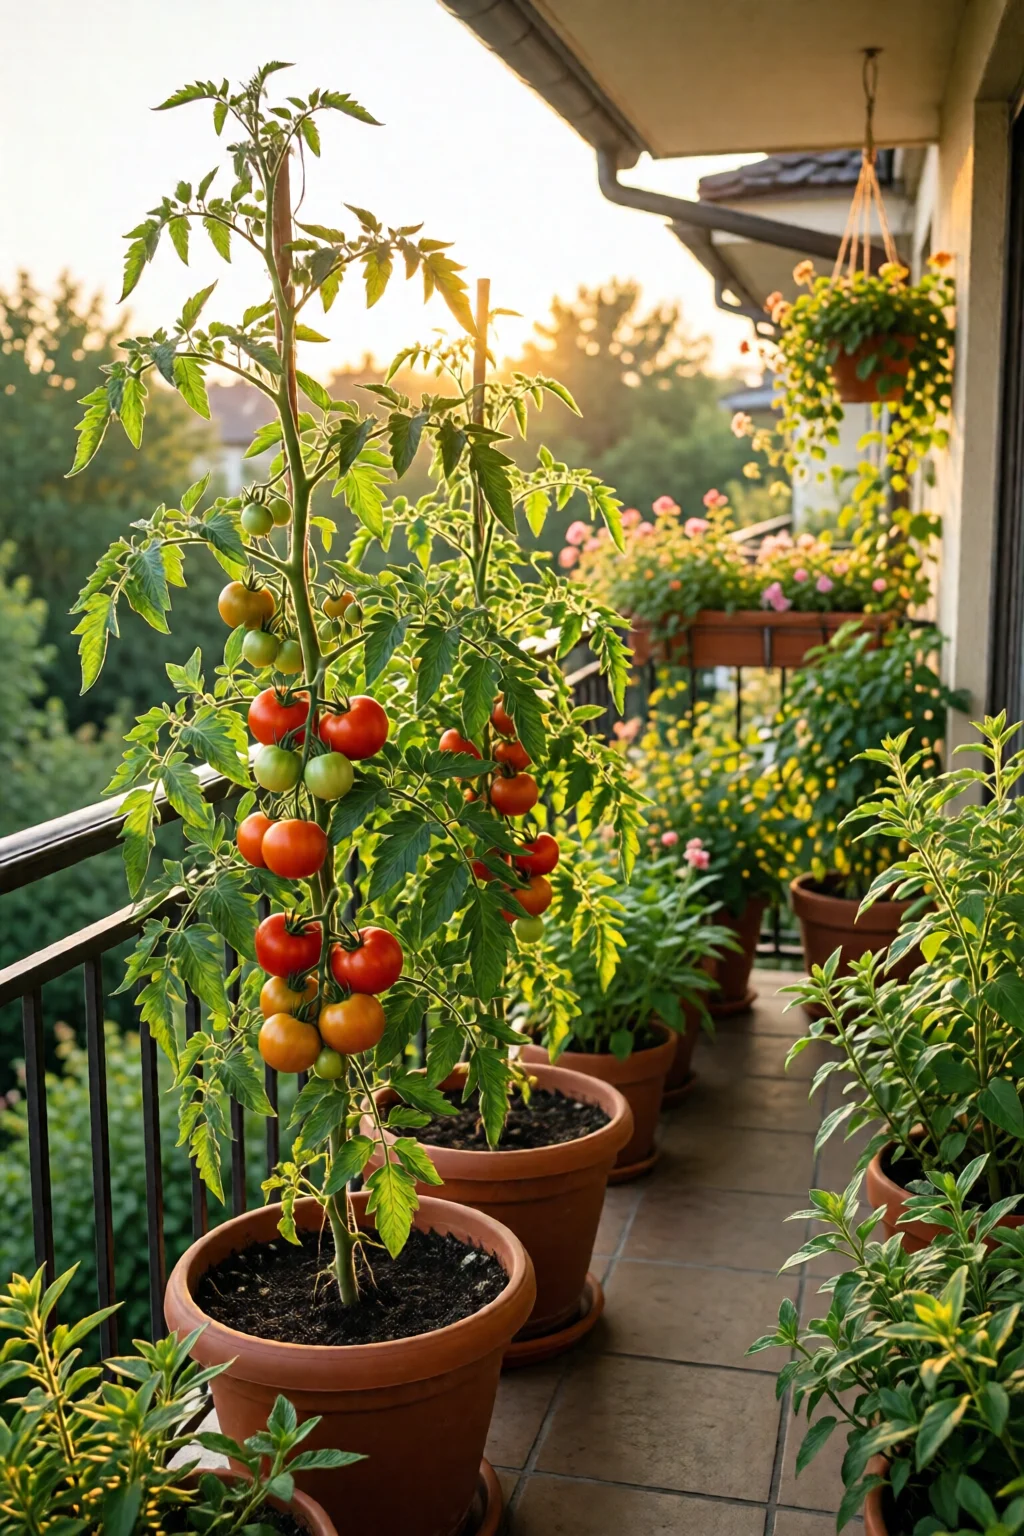
6. Sunlight & Positioning: Capture the Sun, Avoid the Shade
Tomatoes demand at least 6–8 hours of direct sunlight daily. On a balcony, orientation matters:
- South‑facing balconies receive the most consistent light—ideal for indeterminate varieties.
- East‑facing provides morning sun and cooler afternoons, perfect for heat‑sensitive dwarf types.
- West‑facing can overheat; use reflective mulches or move pots to a shaded spot during mid‑day.
In my two‑story condo, I placed a rolling cart with wheels on the balcony rail, allowing me to shift pots 30 in eastward during July’s peak heat. The result? A 15 % increase in fruit size compared to stationary pots.
Companion Planting
Plant basil (Ocimum basilicum) or marigold (Tagetes) in the same pot (mix in a separate compartment) to deter aphids and improve flavor—a tip backed by the how to propagate plants from cuttings outdoors guide.
7. Support & Pruning: Keep the Fruits Off the Ground
Even compact varieties benefit from modest staking. I recommend:
- Sturdy bamboo stakes (10‑ft, $9.99 per set of 5) driven into the pot at a 45° angle.
- Tomato cages (e.g., Gardener’s Supply 24‑in “Tomato Cage” – $12.95) that fit a 5‑gal pot.
- Twine or soft plant ties for gentle anchoring.
Prune suckers (the side shoots that appear in the leaf axils) on indeterminate types after the first fruit set. Removing them reduces foliage density, improves airflow, and directs energy to fruit development.
Rating of Supports
| Support | Cost | Durability | Ease of Use |
|---|---|---|---|
| Bamboo stakes | $9.99 (5 pcs) | ★★★★☆ | ★★★★☆ |
| Tomato cages | $12.95 | ★★★★★ | ★★★☆☆ |
| Metal trellis | $19.80 | ★★★★★ | ★★☆☆☆ |
8. Pest & Disease Management: Stay Ahead of Problems
Balcony gardens are exposed to wind‑borne spores and insects. Here’s my go‑to protocol:
- Early detection: Inspect leaves every 3 days for yellow spots or sticky residue.
- Organic spray: Mix 1 Tbsp neem oil with 1 qt water, add a few drops of dish soap, and mist every 7–10 days. This controls aphids, whiteflies, and early blight.
- Sanitation: Remove any fallen fruit or yellow leaves promptly; they’re a breeding ground for fungal spores.
In a humid summer last year, I noticed a sudden rise in powdery mildew on the lower leaves. A quick application of a 1 % potassium bicarbonate solution (mix ½ tsp in 1 qt water) cleared it within two applications. The plants recovered and produced a full crop.
9. Harvest Timing & Storage: From Pot to Plate
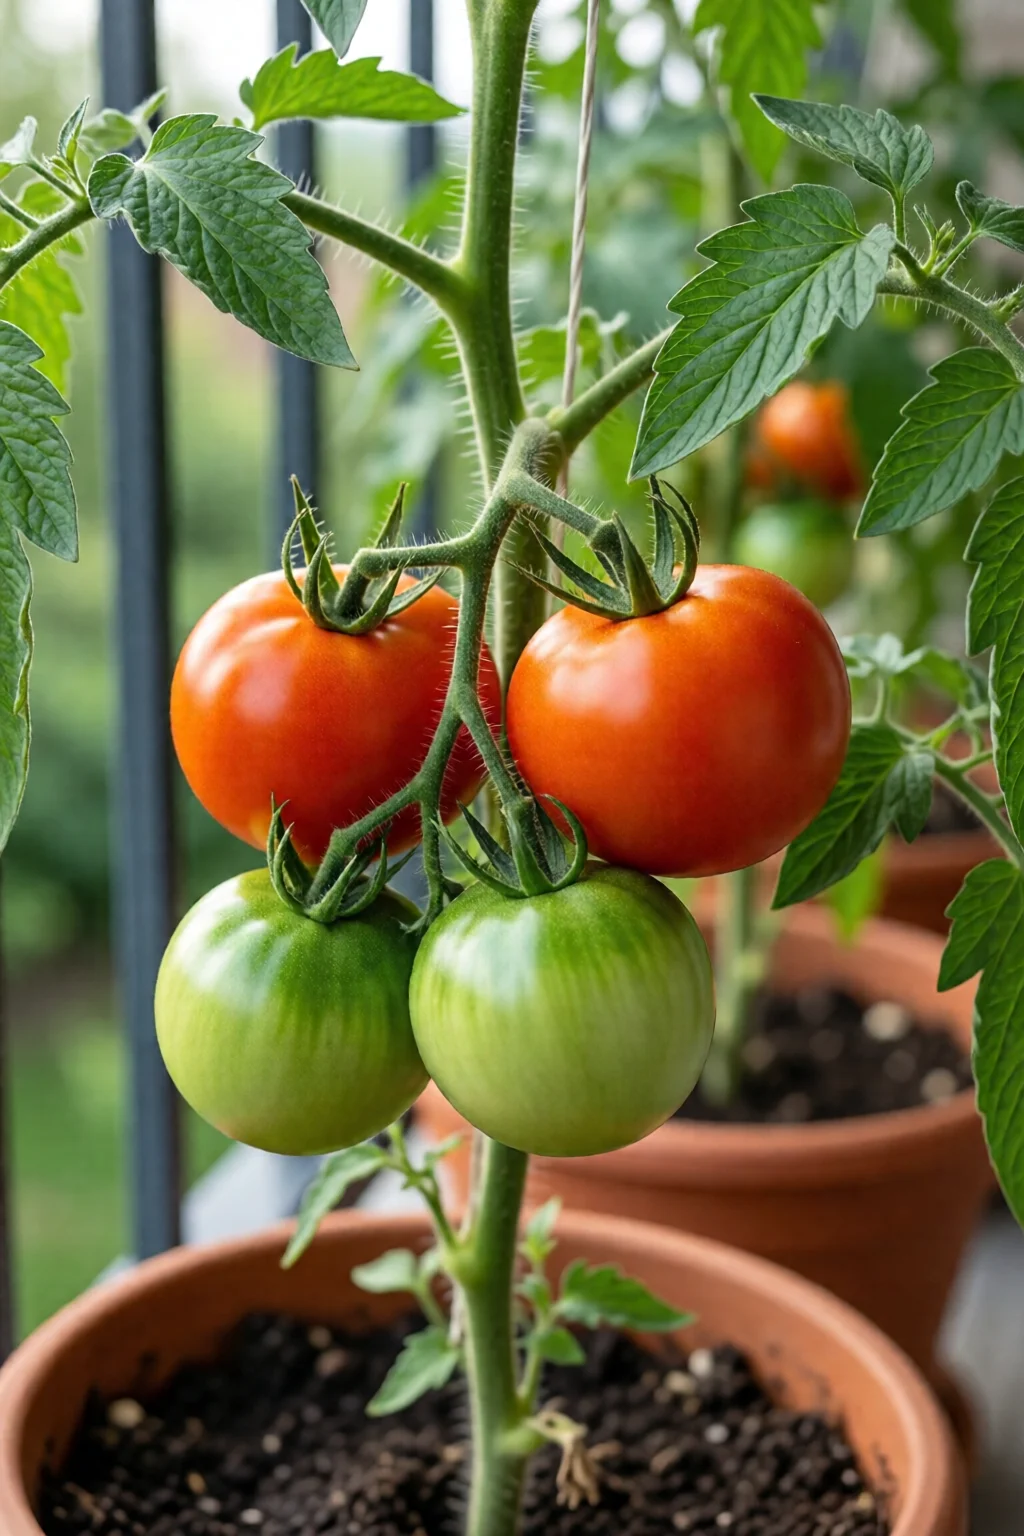
Harvest tomatoes when they reach full color—red, orange, or yellow, depending on the variety—and feel slightly firm to the touch. For cherry types, a gentle squeeze should give a tiny give.
- Pick in the morning when sugars are highest.
- Store at room temperature for 3–5 days; avoid refrigeration unless fully ripe and you need to delay spoilage.
- For longer storage, freeze whole tomatoes (blanch 30 seconds, peel, and pack in freezer bags). Frozen tomatoes retain flavor for up to 12 months—great for sauces.
One tip from my balcony garden: rotate the pots weekly so the sun hits each side evenly. This not only balances growth but also leads to more uniform ripening across the plant.
Comparison of the Top Picks for Balcony Tomato Growing
| Category | Product | Price | Size/Capacity | Best For | Rating |
|---|---|---|---|---|---|
| Pot | Gardener’s Supply 5‑gal Fabric Grow Bag | $39.95 | 5 gal (19 L) | Dwarf varieties, hot climates | ★★★★☆ |
| Pot | Classic Home & Garden 10 L Self‑Waterer | $32.00 | 10 L (2.6 gal) | Indeterminate, busy schedules | ★★★★½ |
| Pot | Bloomsdale 7.5‑in Terracotta | $24.99 | 7.5 in (≈2 gal) | Decorative, mild climates | ★★★☆☆ |
| Variety | ‘Patio’ (Burpee) | $3.99 | Seed packet (30 seeds) | Balcony beginners | ★★★★☆ |
| Variety | ‘Red Robin’ (Renee’s Garden) | $4.25 | Seed packet (25 seeds) | High yield in small pots | ★★★★½ |
| Variety | ‘Sungold’ (Burpee) | $4.99 | Seed packet (20 seeds) | Flavor‑focused growers | ★★★★★ |
Final Verdict: Your Balcony Can Be a Tomato Powerhouse
If you follow the steps above—selecting a compact variety, giving it a 5‑gal breathable pot, feeding it with a balanced fertilizer, and providing consistent water and sun—you’ll be pulling ripe tomatoes from your balcony in as little as 70 days after transplanting. The investment is modest (around $100 for pots, soil, and seeds) and the payoff is fresh, pesticide‑free fruit that tastes better than most supermarket picks.
Remember, the key is consistency: check moisture daily, prune wisely, and rotate the pots for even light exposure. With a little attention, your balcony will become a year‑round source of culinary joy and a conversation starter for guests.
How often should I water tomatoes in pots on a balcony?
Water when the top inch of soil feels dry—usually once a day in hot weather and every 2–3 days in cooler months. Aim for 1‑1.5 gal per plant per week, adjusting for pot size and sun exposure.
Can I grow indeterminate tomatoes on a balcony?
Yes, but you’ll need a larger pot (at least 10 gal), sturdy staking, and regular pruning. Indeterminate varieties like ‘Celebrity’ or ‘Sungold’ can thrive if you provide consistent water and support.
What is the best fertilizer for container tomatoes?
A balanced 10‑10‑10 granular fertilizer applied at 1 Tbsp per gallon every two weeks, paired with a weekly liquid feed of tomato‑specific fertilizer (≈2 mL per plant). This supplies the nitrogen, phosphorus, and potassium needed for fruit set.
Do I need to use special soil for balcony tomatoes?
Yes. Mix 50 % peat‑based potting soil, 30 % coconut coir, and 20 % perlite. This blend offers excellent drainage, aeration, and water retention—crucial for container growth.
How can I protect balcony tomatoes from pests?
Inspect leaves every few days, use neem‑oil spray (1 Tbsp per gallon) every 7–10 days, and keep the area clean of fallen fruit. Companion plants like basil or marigold also deter aphids and improve flavor.