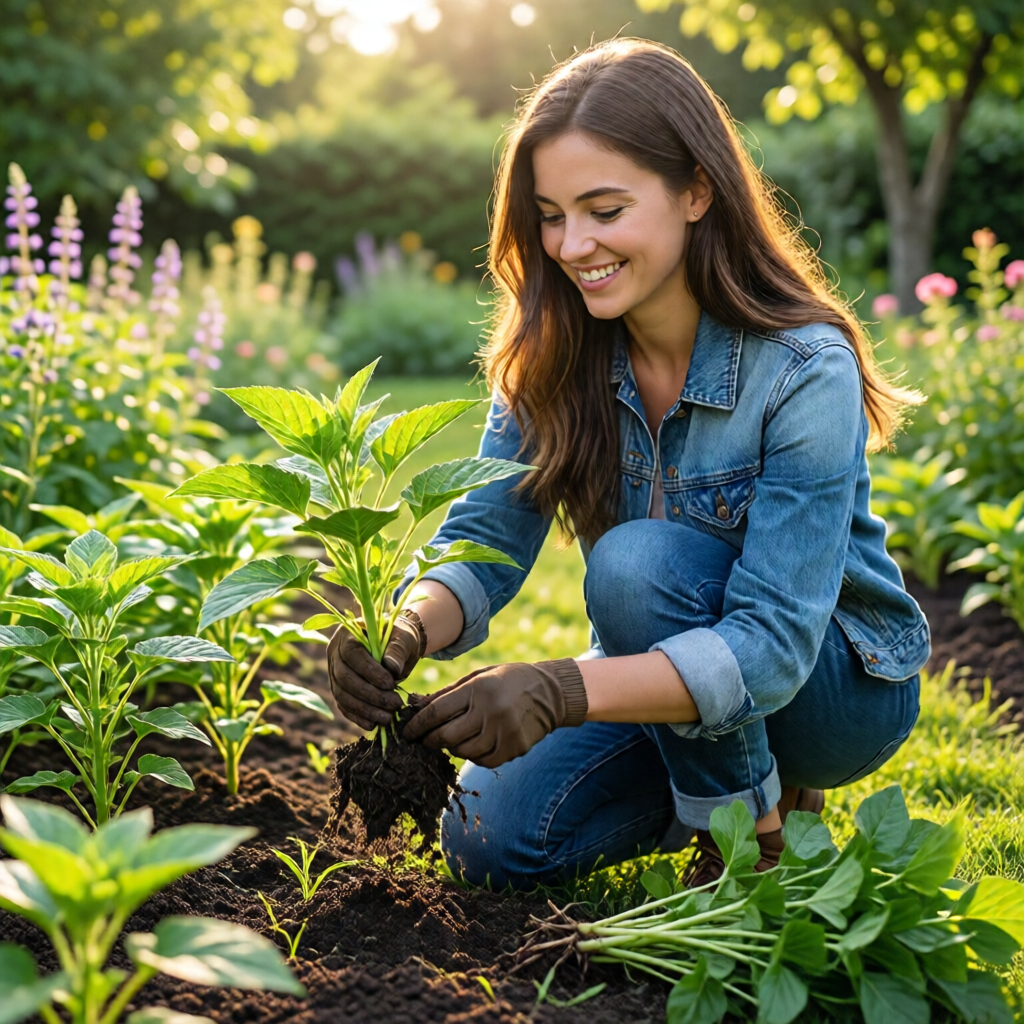
Propagating plants from cuttings outdoors is one of the most rewarding, cost‑effective ways to expand your garden, share favorite varieties with friends, and preserve heirloom genetics. Whether you’re a seasoned horticulturist or a weekend gardener, mastering the art of outdoor cuttings can transform a modest backyard into a thriving nursery of new growth. In this guide we’ll walk you through every step—from selecting the perfect parent plant to nurturing roots in the soil, troubleshooting common setbacks, and scaling your propagation efforts for larger landscape projects. By the end, you’ll have a clear, actionable plan that blends scientific principles with time‑tested garden wisdom, all tailored to the varied climates across the United States.
Why Choose Outdoor Propagation Over Indoor Methods?
Many gardeners default to indoor propagation under fluorescent lights, but outdoor cuttings offer distinct advantages. The natural temperature fluctuations, daylight spectrum, and ambient humidity create a more robust rooting environment, often producing stronger, disease‑resistant plants. Outdoor propagation also reduces the need for artificial lighting, saving energy and allowing you to scale up without a dedicated grow room. Moreover, certain woody shrubs and perennials, such as roses, hydrangeas, and boxwoods, root more reliably when exposed to seasonal cues that indoor setups can’t replicate.
That said, outdoor propagation isn’t a one‑size‑fits‑all solution. Success depends on timing, weather patterns, and proper site preparation. Below we’ll break down how to align your cutting schedule with regional climate zones, ensuring you capitalize on the natural growing season while avoiding frost damage.
Selecting the Right Parent Plants
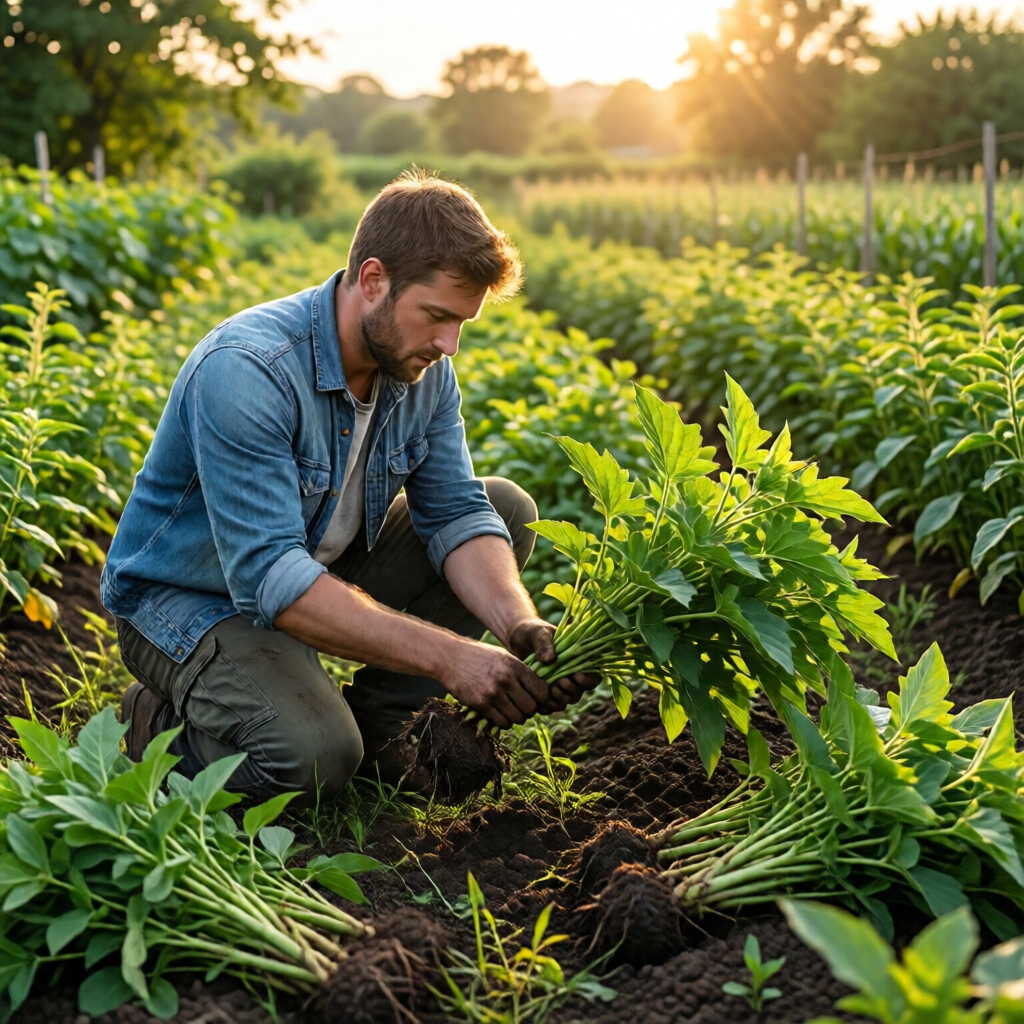
Choosing a healthy, disease‑free mother plant is the cornerstone of successful propagation. Look for vigorous growth, ample foliage, and no signs of pest infestation. When possible, select plants that are well‑established in your garden’s microclimate, as they are already adapted to local soil, moisture, and temperature conditions.
Best Plant Types for Outdoor Cuttings
While almost any herbaceous or woody plant can be propagated from cuttings, some respond particularly well outdoors:
- Softwood cuttings – tender new growth from spring flushes; ideal for roses, hydrangeas, and many shrubs.
- Hardwood cuttings – mature, dormant stems taken in late fall or winter; excellent for lilacs, viburnum, and certain fruit trees.
- Semi‑hardwood cuttings – partially matured stems taken mid‑summer; perfect for gardenias, camellias, and many perennials.
- Leaf cuttings – single leaves or leaf sections; commonly used for succulents, coleus, and African violets.
Considering Seasonal Timing
In USDA hardiness zones 5–9, softwood cuttings are usually taken from late April through early June, when new shoots are bright green but not yet lignified. Hardwood cuttings are best collected after the first hard frost but before deep winter, typically from October through early December. Semi‑hardwood cuttings thrive from mid‑July to early September, after the heat of summer has moderated but before the plant’s growth slows.
For gardeners in the Pacific Northwest or coastal California, where winters are milder, you can extend the softwood window into early July. Conversely, in the hot Southwest, aim for early spring softwood cuttings to avoid scorching temperatures.
Preparing Your Cutting Tools and Materials
Sharp, clean tools are essential to create a clean wound that heals quickly and minimizes disease entry. Use a pair of stainless steel pruning shears or a sharp garden knife, and disinfect them before each use with a 10% bleach solution or rubbing alcohol. After cutting, immediately dip the cut end in a rooting hormone to stimulate root development, especially for woody species.
Choosing the Right Rooting Hormone
Rooting powders containing indole‑3‑butyric acid (IBA) or naphthaleneacetic acid (NAA) are widely available. For delicate herbs like basil or mint, a light coating of hormone is sufficient. For tougher woody cuttings, a higher concentration (often 0.8–1.0% IBA) improves success rates. Always follow the manufacturer’s instructions to avoid over‑application, which can inhibit growth.
Preparing the Planting Site
A well‑draining, lightly amended soil mix encourages rapid root emergence. A common recipe is one part garden loam, one part coarse sand, and one part compost. This blend provides nutrients, improves moisture retention, and prevents waterlogging—a common cause of rot in outdoor cuttings.
Before planting, loosen the soil to a depth of 6–8 inches, removing stones and weeds. If the site has a history of compaction, incorporate a handful of coarse organic matter such as shredded bark or leaf mold. Finally, water the planting area thoroughly to settle the soil and create a moist environment for the cuttings.
Step‑by‑Step Guide to Planting Outdoor Cuttings
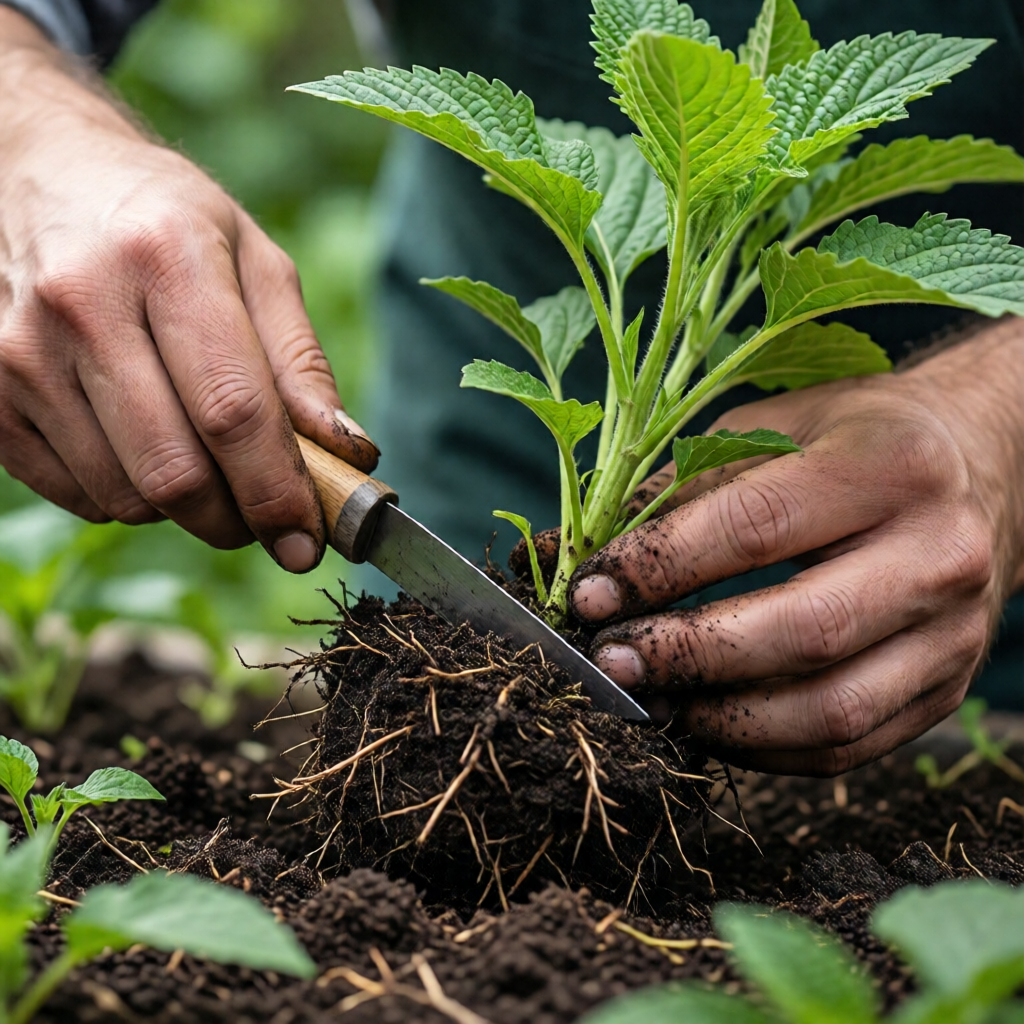
1. Harvest the Cutting
Identify a healthy shoot and cut a 4–6 inch segment just below a node (the point where leaves attach). Remove the lower leaves, leaving only the top two or three pairs. This reduces transpiration while preserving enough foliage for photosynthesis.
2. Trim and Treat
Trim the tip of the cutting at a 45‑degree angle to increase the surface area for root formation. Immediately dip the basal 1–2 inches into the rooting hormone, tapping off excess powder.
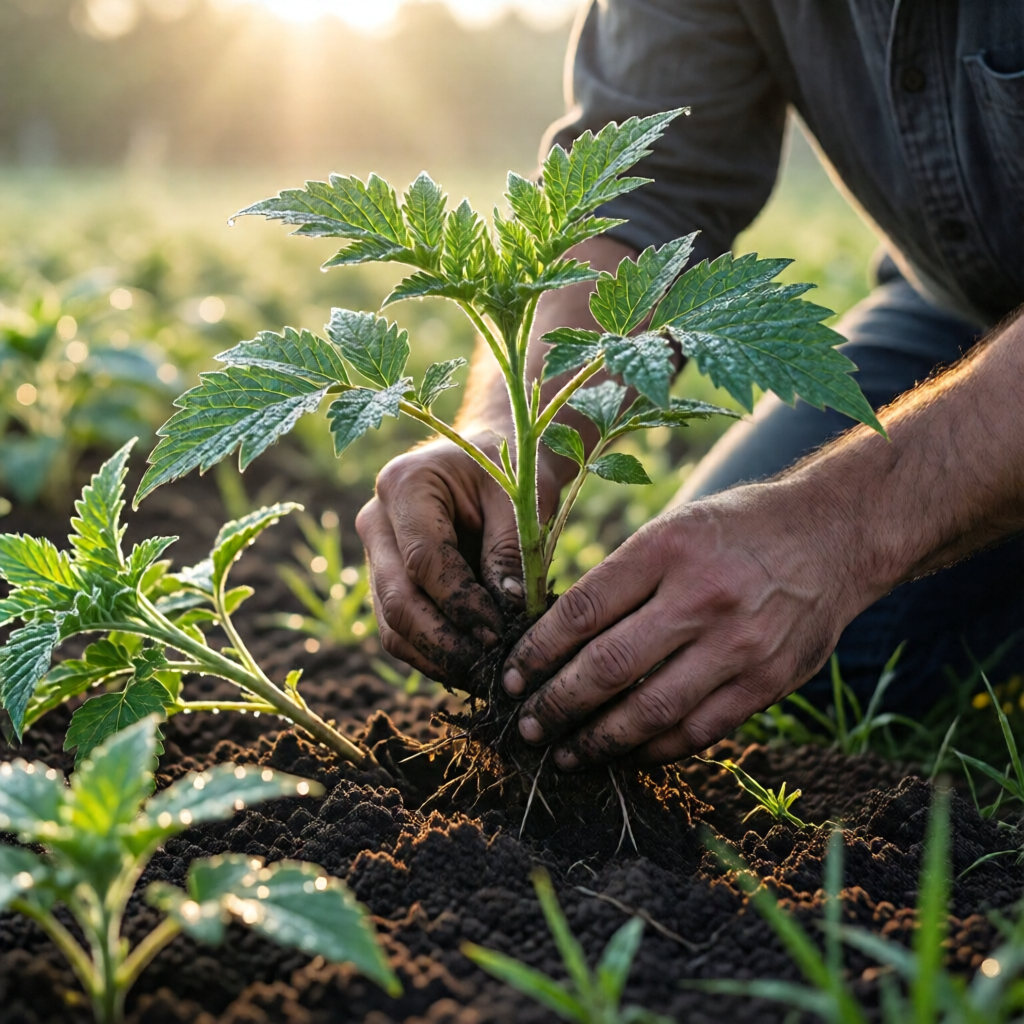
3. Plant the Cutting
Make a small hole in the prepared soil using a dibber or the tip of a pencil. Insert the cutting so that at least two nodes are buried, firm the soil around the base, and gently pat down to eliminate air pockets.
4. Mulch and Protect
Apply a thin layer (½‑inch) of organic mulch—such as shredded pine bark or straw—around the base of each cutting. Mulch conserves moisture, moderates temperature, and suppresses weed competition. For particularly sunny sites, consider a shade cloth or a temporary frame made from PVC pipe to protect the cuttings from intense midday heat.
5. Water Consistently
Water the cuttings immediately after planting, then maintain consistent moisture without saturating the soil. A light misting once or twice daily is often sufficient during the first two weeks. In hot, dry climates, you may need to water twice a day, while cooler, humid regions may require less frequent watering.
6. Monitor and Adjust
Check the cuttings daily for signs of wilting, rot, or fungal growth. If you notice soft, mushy stems, gently remove the cutting, trim any rotted tissue, and re‑plant in fresh, well‑draining soil. Applying a thin spray of neem oil or a copper‑based fungicide can help prevent fungal issues without harming the developing roots.
Special Considerations for Different Plant Types
Softwood Cuttings (e.g., Roses, Hydrangeas)
Softwood cuttings root quickly—often within 2–3 weeks—due to active growth hormones. However, they are also more prone to desiccation. Use a misting system or a DIY sprinkler made from a perforated hose to maintain high humidity. In regions with frequent rain, a simple canopy of clear plastic can protect cuttings from over‑watering while still allowing light penetration.
Hardwood Cuttings (e.g., Lilacs, Fruit Trees)
Hardwood cuttings require a longer rooting period, typically 8–12 weeks, and benefit from a cold stratification phase. After planting, cover the cuttings with a thick layer of straw mulch and a protective burlap screen to insulate against temperature swings. In colder zones (USDA zones 3–5), you can plant hardwood cuttings in late fall and allow natural winter chill to stimulate root growth.
Leaf Cuttings (e.g., Succulents, Coleus)
Leaf cuttings are simple but demand excellent drainage. Use a sandy, well‑aerated mix and space leaves several inches apart to prevent crowding. Water sparingly—just enough to keep the substrate damp—because excess moisture can cause leaf rot.
Dealing with Deer and Wildlife
If you live in an area with high deer pressure, protect your young cuttings with low fencing or a temporary mesh cover. For additional guidance on selecting deer‑resistant plants for landscaping, see our article on deer resistant plants for landscaping.
Advanced Techniques to Boost Success
Using Bottom Heat
In cooler climates, placing planting trays on a black plastic sheet or a low‑temperature heat mat can raise soil temperature by 5–10°F, accelerating root development. Ensure the heat source does not exceed 75°F, as excessive warmth can stress cuttings.
Adopting a Mist Propagation System
For larger propagation projects, a misting system that delivers a fine spray every 15‑30 minutes can maintain optimal humidity while preventing waterlogging. Commercial misting kits are available, but a simple DIY version can be assembled using a garden hose, a timer, and a fine‑mist nozzle.
Rooting in Water vs. Soil
Some gardeners experiment with rooting cuttings in clear containers of water before transplanting. While this works well for herbaceous plants like basil and mint, woody cuttings often develop weak, fibrous roots that struggle in soil. For most outdoor propagation, it’s best to root directly in soil to encourage a strong, functional root system.
Integrating Cuttings into Landscape Projects
Once your cuttings have established roots, you can use them in larger design schemes—such as hillside landscaping on a budget. By planting rooted cuttings directly into slope beds, you reduce the need for costly nursery stock. Learn more about cost‑effective hillside landscaping ideas in our guide on hillside landscaping ideas on a budget.

Maintaining and Transplanting Rooted Cuttings
After 4–6 weeks, most softwood cuttings will have a visible root network. Gently tug the cutting; if you feel resistance, roots are developing. At this stage, begin hardening off the plants by gradually exposing them to full sun and reducing watering frequency. This acclimation process reduces transplant shock when you eventually move the plants to their permanent location.
When to Transplant
For most species, wait until the first hard frost has passed and the soil has warmed to at least 60°F. This typically coincides with late spring in most of the United States. Transplant seedlings at the same depth they were growing in the propagation bed, and water thoroughly after planting.
Long‑Term Care
Established cuttings benefit from regular mulching, balanced fertilization (a 10‑10‑10 fertilizer applied at half the recommended rate during the first month), and periodic pruning to encourage bushier growth. For evergreen shrubs like boxwood, refer to our boxwood care and shaping tips to maintain a tidy, healthy hedge.
Common Problems and How to Fix Them
Problem: Cuttings Rotting
Cause: Over‑watering, poor drainage, or fungal infection.
Solution: Ensure soil mix is well‑draining, avoid water pooling, and apply a copper‑based fungicide if needed. Remove any rotted tissue promptly.
Problem: No Root Development
Cause: Insufficient humidity, low temperature, or lack of rooting hormone.
Solution: Increase humidity with a misting system or cover, use a reputable rooting hormone, and protect cuttings from temperature extremes with shade cloth or bottom heat.
Problem: Cuttings Wilting
Cause: Excessive transpiration, especially in hot, windy conditions.
Solution: Provide temporary shade during peak heat, reduce leaf area by removing lower leaves, and keep the soil consistently moist but not soggy.
Problem: Pest Damage (e.g., aphids, spider mites)
Cause: Warm, humid conditions attract soft‑bodied insects.
Solution: Spray a gentle solution of water and neem oil early in the morning, and introduce beneficial insects such as ladybugs to keep pest populations in check.
Putting It All Together: A Year‑Long Propagation Calendar
Below is a simplified month‑by‑month guide for USDA zones 5–9. Adjust dates based on your local climate and micro‑conditions.
| Month | Activities |
|---|---|
| January | Plan propagation schedule; order rooting hormone and tools. |
| February | Collect hardwood cuttings from dormant shrubs; start indoor rooting if needed. |
| March | Prepare soil beds; apply mulch; start softwood cuttings on early‑blooming perennials. |
| April | Take softwood cuttings from roses, hydrangeas, and annuals; begin misting system. |
| May | Monitor root development; protect cuttings from late frosts with row covers. |
| June | Transplant hardened softwood cuttings after danger of frost has passed. |
| July | Take semi‑hardwood cuttings from mid‑season bloomers; apply bottom heat if cool nights. |
| August | Continue watering and mulching; begin hardening off late‑season cuttings. |
| September | Collect hardwood cuttings for fall planting; start winterizing garden for cold weather (how to winterize garden for cold weather). |
| October | Plant hardwood cuttings in prepared beds; mulch heavily. |
| November | Cover beds with burlap; monitor for excessive moisture. |
| December | Review successes, note species that performed well, and plan next year’s propagation. |
By following this seasonal roadmap, you’ll keep a steady pipeline of new plants ready for each garden project throughout the year.
Conclusion: Your Propagation Journey Starts Now
Outdoor propagation from cuttings blends the science of plant physiology with the artistry of garden design. With the right tools, timing, and care, you can turn a handful of stems into a flourishing nursery that supports your landscape goals, saves money, and preserves beloved plant varieties for future generations. Remember to start with healthy parent plants, respect the seasonal rhythms of your region, and stay vigilant against common pitfalls. As you gain confidence, experiment with different species, cutting types, and advanced techniques—each experiment brings you closer to becoming a true propagation master.
What is the best time of year to take softwood cuttings in the Midwest?
In the Midwest (USDA zones 4–6), softwood cuttings are most successful from late April to early June, after the danger of frost has passed and new growth is bright green but still flexible.
Do I need to use rooting hormone for all cuttings?
Rooting hormone significantly improves success with woody cuttings (roses, shrubs, trees). For soft, herbaceous cuttings like basil or coleus, you can often skip hormone, though a light dusting can still boost rooting speed.
How can I protect my cuttings from deer?
Use low fencing, mesh covers, or temporary cages made from chicken wire. Planting deer‑resistant species nearby can also deter browsing; see our guide on deer resistant plants for landscaping for more ideas.
Can I propagate succulents outdoors without a greenhouse?
Yes. Use a well‑draining sandy mix, place leaf cuttings in a sunny but protected spot, and water sparingly. In hot climates, provide afternoon shade to prevent scorching.
When should I transplant rooted cuttings into the garden?
Transplant once the soil temperature consistently stays above 60°F and after the last hard frost. For most regions this means late spring, but hardwood cuttings can be moved after winter dormancy in early spring.