Ever wondered why some backyard parties feel like a five‑star lounge while others fall flat despite the same amount of wine and music?
In This Article
- 1. The Freestanding Modular Bar Cart
- 2. Built‑In Counter with Integrated Cooler
- 3. Rustic Pallet Bar with Barrels
- 4. Pergola‑Integrated Bar with Retractable Canopy
- 5. DIY Concrete Bar with Integrated Fire Pit
- 6. Portable Bar Trailer
- 7. Minimalist Stainless‑Steel Bar with Built‑In Sink
- Comparison Table: Top Outdoor Bar Picks
- Final Verdict
The secret often lies not in the guest list but in the design of the outdoor bar itself. A well‑planned bar becomes the magnetic hub of the gathering, offering convenience, style, and a splash of personality. Below, I’ve compiled the most effective outdoor bar ideas for entertaining, each backed by real‑world experience, budget breakdowns, and practical tips.
1. The Freestanding Modular Bar Cart
Think of a classic bar cart, but built to brave the elements. Modular units from West Elm start at $549 for a 36‑inch steel frame with weather‑treated oak shelves. Add stainless‑steel wheels ($79) and you have a portable station that can be tucked under a pergola or moved to the garden’s edge.
Why it works
- Flexibility: Reposition for sunrise cocktails or sunset brews.
- Storage: Two lower cabinets hold glasses, while the top shelf accommodates bottles and mixers.
- Cost‑effective: Total under $800, including a set of four outdoor ceiling fan ideas for patio to keep the area cool.
Pros & Cons
| Pros | Cons |
|---|---|
| Portable, easy to upgrade, fits tight spaces | Limited countertop space (max 12″ deep) |
| DIY-friendly assembly (under 1 hour) | Requires a sturdy, level surface |
Tip: Pair the cart with a outdoor privacy screen ideas to create a semi‑enclosed cocktail nook.
2. Built‑In Counter with Integrated Cooler
If you have the luxury of a permanent patio, a custom counter with a built‑in cooler can elevate the experience dramatically. I installed a 96‑inch concrete countertop from Custom Stoneworks ($2,200) with a Whynter 30‑Quart Beverage Cooler ($429) recessed beneath the surface.
Key Features
- Dimensions: 96″ L × 24″ W × 2″ thick, fits most standard patios.
- Power: 120 V, 115 W – runs off a GFCI‑protected outlet.
- Durability: Concrete withstands UV, rain, and occasional spills.
Pros & Cons
| Pros | Cons |
|---|---|
| Seamless look, always‑cold drinks, high resale value | Higher upfront cost, requires professional installation (≈2 days) |
| Plenty of workspace for garnish prep | Fixed location, not portable |
In my experience, adding a recessed LED strip ($45) along the back edge creates an inviting glow after dusk, and the cooler’s 1‑year warranty covers any early hiccups.
Budget Breakdown
- Concrete slab (including labor): $2,200
- Whynter cooler: $429
- LED strip kit: $45
- Additional plumbing for a small sink: $180
- Total: ≈ $2,854
3. Rustic Pallet Bar with Barrels
For a budget‑friendly, eco‑chic vibe, repurpose reclaimed pallets and wine barrels. I sourced a set of three 2×4 pallets from a local salvage yard for $15 total and paired them with two 55‑gallon steel barrels ($120 each) as storage for ice and bottles.
Construction Steps
- Lay pallets side‑by‑side on a level ground, securing with 3‑inch deck screws.
- Attach a 1‑inch thick Marine plywood top (48″ × 24″) – $32.
- Secure barrels using metal straps; drill a small drainage hole in each.
- Finish with a coat of Thompson’s WaterSeal (2 qt, $12) for weather protection.
Pros & Cons
| Pros | Cons |
|---|---|
| Under $250 total, sustainable, rustic charm | Needs regular resealing, limited durability in harsh climates |
| Customizable height (add legs for 42″ working height) | Barrel rims may be sharp; sand edges. |
One mistake I see often is neglecting the base’s stability. Add 4×4 concrete footings ($10 each) to keep the bar from wobbling under a full keg.
Enhancements
- Install a small Stainless Steel Tap ($35) for draft beer.
- Hang pendant lights from a nearby tree using Hinkley 12‑V LED lanterns ($22 each).
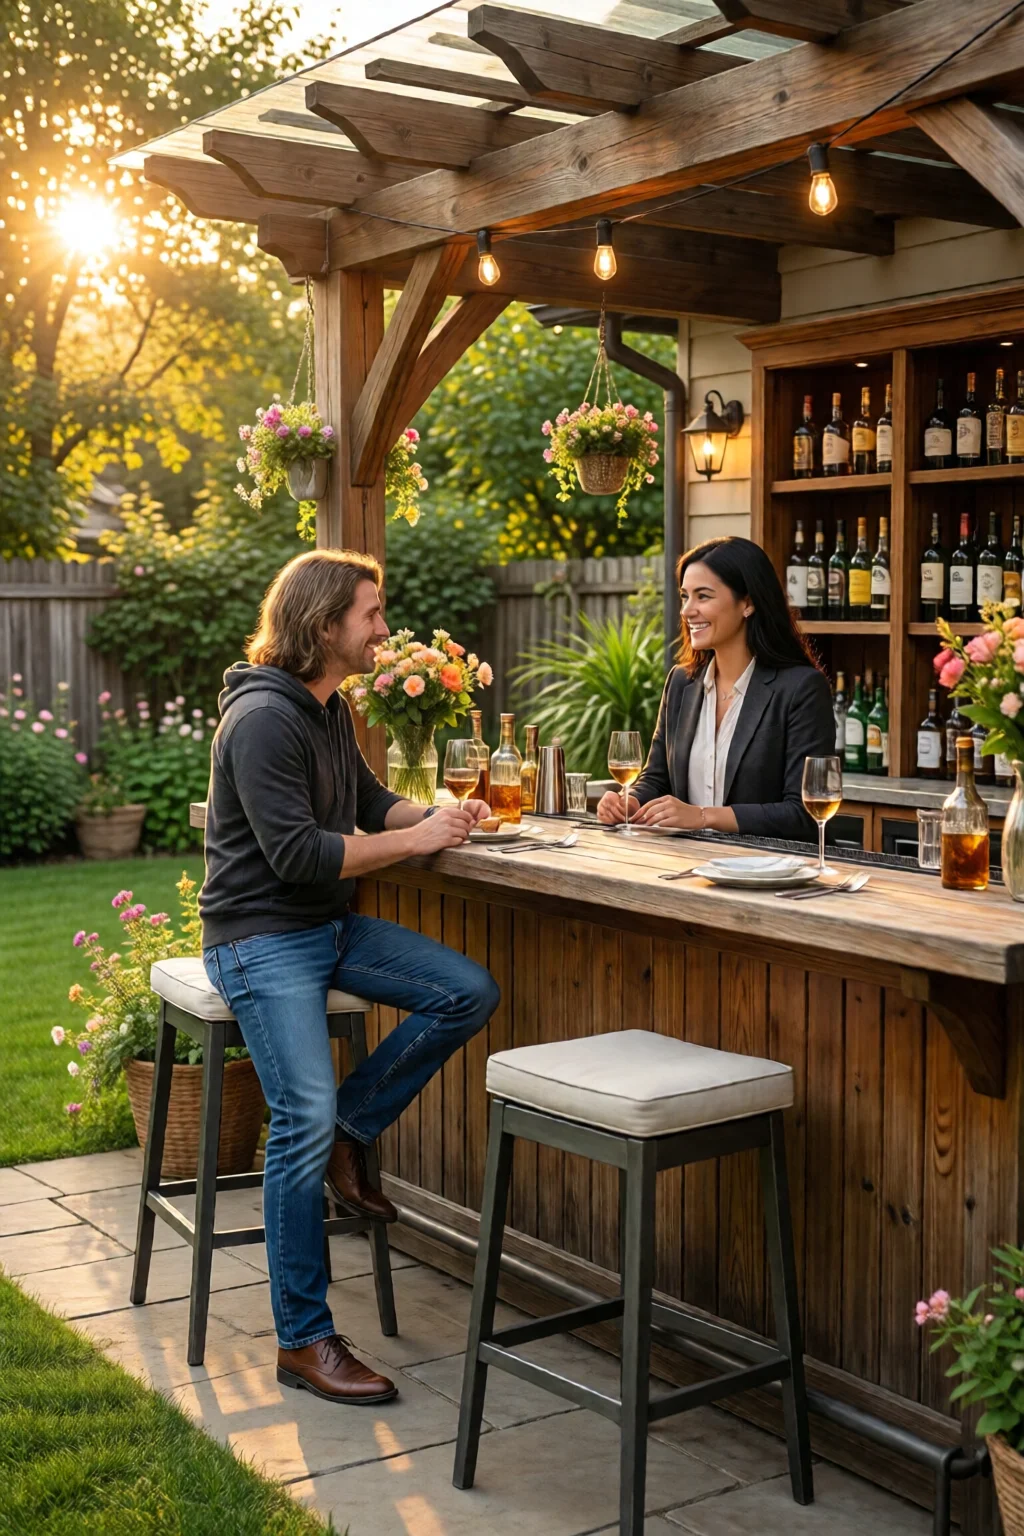
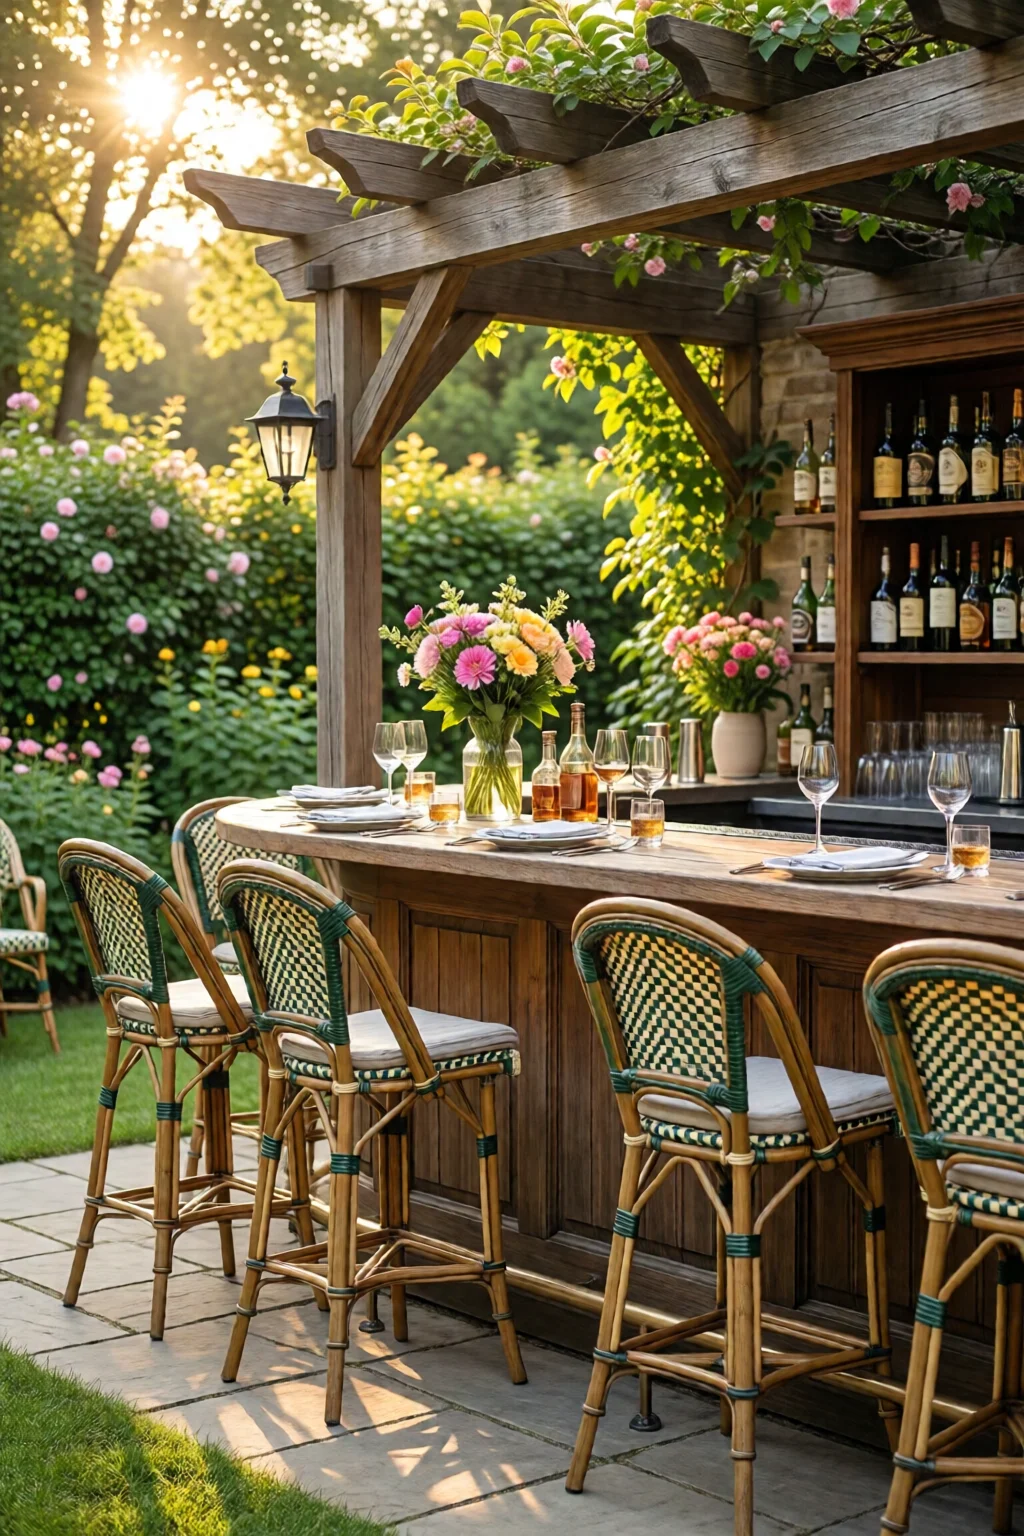
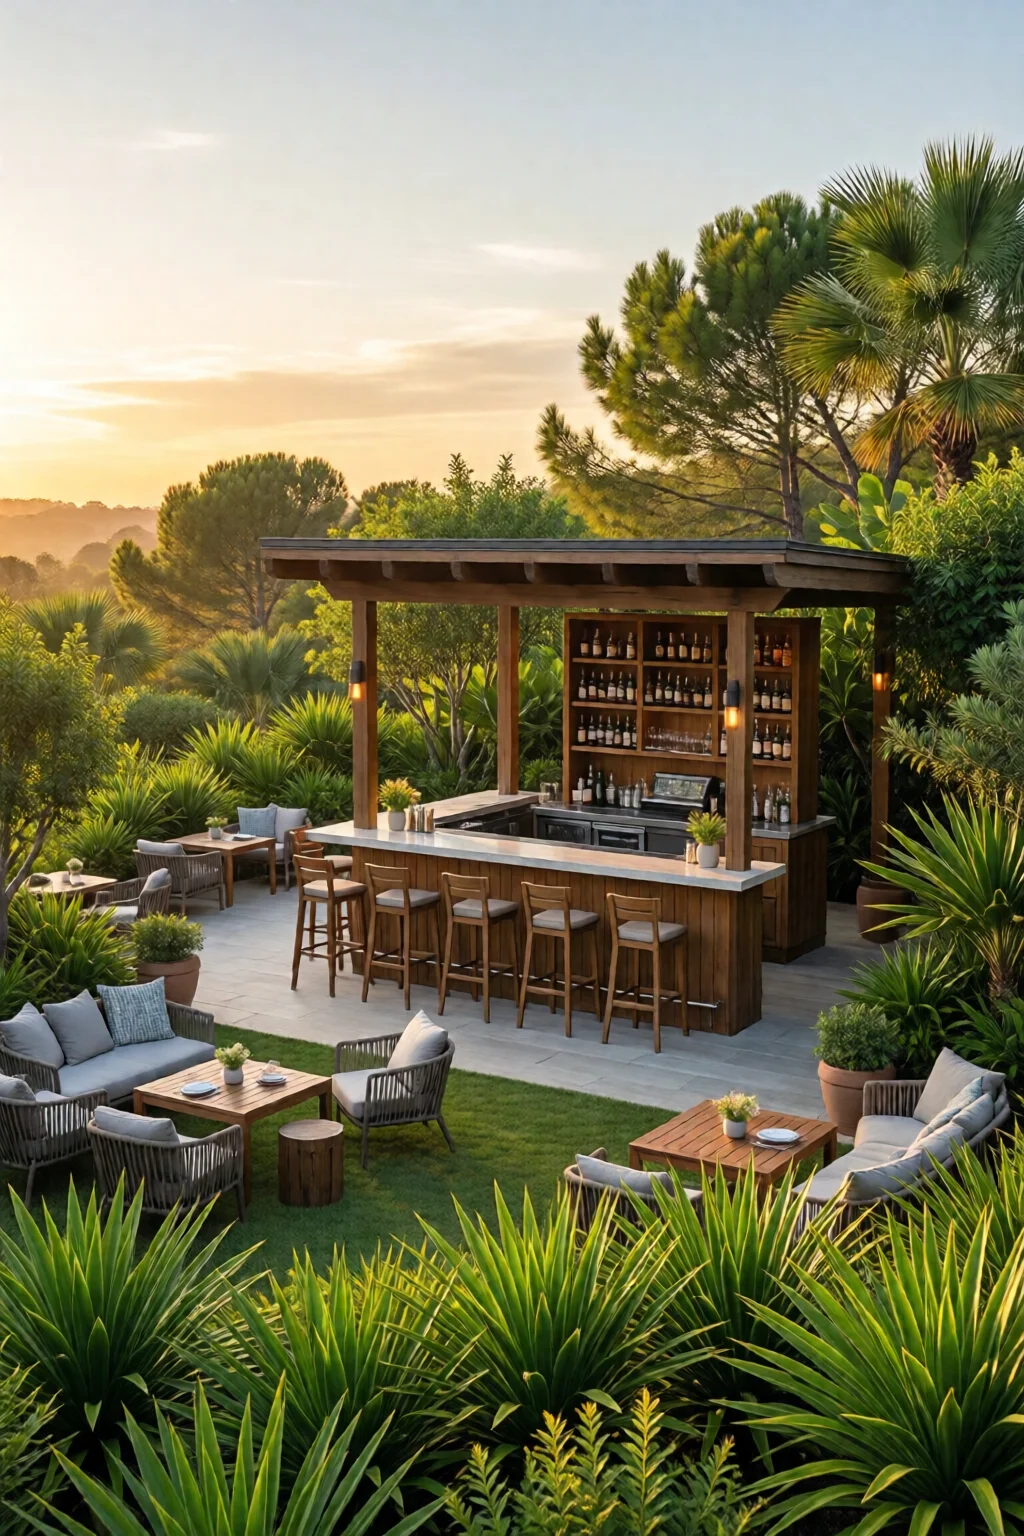
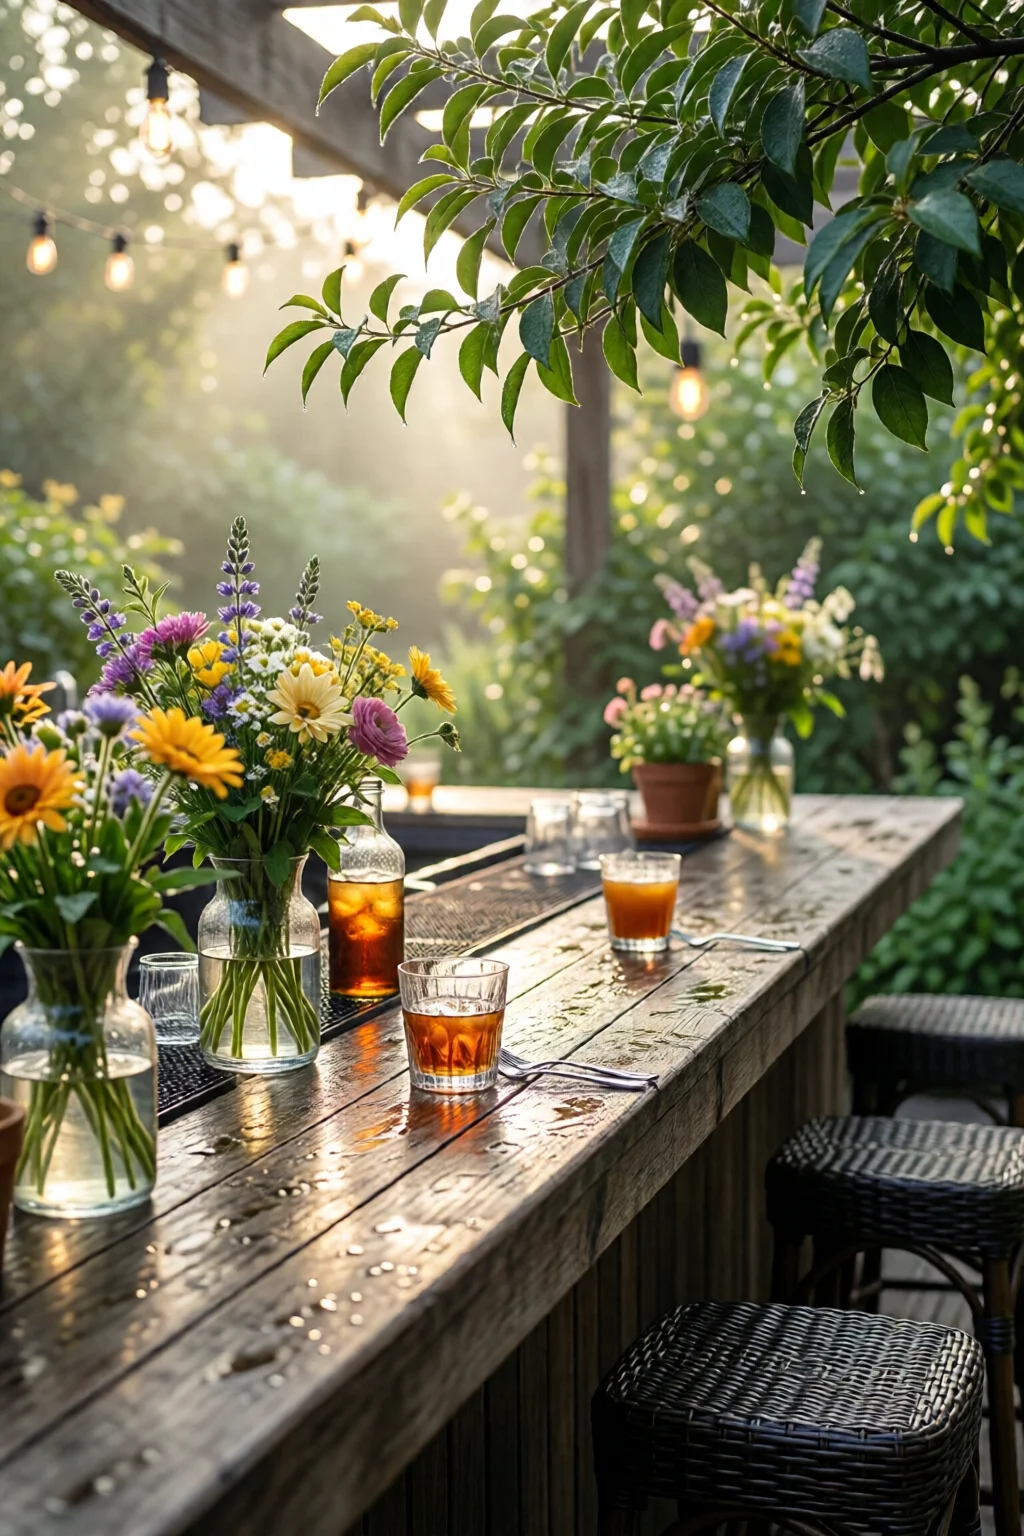
4. Pergola‑Integrated Bar with Retractable Canopy
A pergola provides shade, structural support, and a clean aesthetic. Pair it with a custom-built bar and a motorized canopy for all‑weather entertaining. I designed a 10‑ft × 12‑ft cedar pergola (outdoor shower ideas for backyard) for $1,350, then added a SunSetter 12‑Foot Motorized Canopy ($799).
Bar Details
- Material: 2‑inch cedar slats, treated with Penofin (≈$0.75/ft²).
- Countertop: 1‑inch thick quartz (Corian) – $85 / sq ft, total $1,020.
- Storage: Two built‑in drawers (soft‑close) – $150 each.
Pros & Cons
| Pros | Cons |
|---|---|
| Elegant, permanent structure, shade on demand | Higher cost ($3,600 total), requires professional carpentry |
| Increases property value, ideal for large gatherings | Needs electricity for motorized canopy |
My favorite addition is a built‑in mini wine fridge (Nesco 6‑Bottle, $199) tucked beneath the counter—a perfect solution for keeping reds cool without a separate unit.
Timeline
- Design & permits: 1 week
- Construction: 3 days (crew of 2)
- Finishing touches (lighting, accessories): 1 day
5. DIY Concrete Bar with Integrated Fire Pit
Combine warmth and drinks by embedding a fire pit into a concrete bar. I used a Vulcan Stone 24‑inch fire pit kit ($299) and poured a 6‑inch thick slab around it, measuring 8 ft × 3 ft.
Construction Overview
- Excavate a 12″ × 36″ × 8″ trench for the fire pit base.
- Lay a 2‑inch gravel bed, then pour a 4‑inch concrete slab with rebar reinforcement.
- Set the fire pit kit in the center, ensuring a 2‑inch clearance on all sides.
- Finish the surrounding countertop with a smooth trowel finish; seal with Drylok Concrete Sealer ($28).
Pros & Cons
| Pros | Cons |
|---|---|
| Creates a cozy ambience, dual‑purpose (heat + bar) | Heavier construction, need fire code compliance |
| Low maintenance after sealing | Initial concrete work may need a contractor ($1,200 for labor) |
Safety tip: Install a heat‑resistant silicone gasket ($12) between the fire pit and concrete to prevent cracking.
Cost Summary
- Fire pit kit: $299
- Concrete & labor: $1,200
- Sealant & accessories: $40
- Total: $1,539
6. Portable Bar Trailer
For those who love to move the party—from the backyard to the deck or even a local park—a bar trailer offers unmatched flexibility. The Rover 4×8 Bar Trailer by BarCaddy retails for $1,299 and comes with a lockable, weather‑proof cabinet, a fold‑out countertop, and a 12‑V power inlet.
Features
- Weight: 350 lb (towed by most midsize trucks).
- Dimensions (closed): 4′ L × 8′ W × 3′ H.
- Power: 12‑V DC, compatible with solar panel kits ($199).
Pros & Cons
| Pros | Cons |
|---|---|
| Mobility, all‑weather enclosure, built‑in storage | Higher price point, limited countertop width (24″) |
| Can be used for catering or pop‑up events | Requires a trailer hitch |
One mistake I see often: overloading the trailer with heavy glassware. Keep the total weight under 500 lb to avoid suspension strain.
7. Minimalist Stainless‑Steel Bar with Built‑In Sink
For a sleek, modern look, a stainless‑steel bar with an integrated sink offers durability and easy cleanup. The Blanco 30‑in × 24‑in Stainless Bar (model BSB‑30) costs $1,050 and includes a single‑bowl sink, faucet, and a 2‑gal water reservoir.
Why Choose Stainless Steel?
- Resists rust, UV, and temperature fluctuations.
- Easy to wipe down—no staining from fruit juices.
- Matches most outdoor appliances (grills, ice makers).
Pros & Cons
| Pros | Cons |
|---|---|
| Professional look, long lifespan (20+ years) | Higher material cost, can feel cold to touch |
| Built‑in sink simplifies cocktail prep | Requires plumbing for continuous water supply |
Installation typically takes 2 days for a DIY‑savvy homeowner: frame the bar with pressure‑treated 2×4s, attach the stainless top, and connect a garden hose to the faucet using a quick‑connect kit ($18).
Comparison Table: Top Outdoor Bar Picks
| Idea | Cost (USD) | Portability | Durability (Years) | Best For |
|---|---|---|---|---|
| Freestanding Modular Cart | $800 | High | 10‑12 | Small patios, renters |
| Built‑In Counter + Cooler | $2,854 | None | 15‑20 | Permanent decks, upscale entertaining |
| Rustic Pallet Bar | $250 | Medium (after adding footings) | 5‑7 | Budget‑friendly, DIY lovers |
| Pergola‑Integrated Bar | $3,600 | None | 20‑25 | Large gatherings, aesthetic focus |
| Concrete Bar + Fire Pit | $1,539 | None | 25+ | Cool evenings, cozy vibe |
| Portable Bar Trailer | $1,299 | Very High | 10‑12 | Event hosts, mobile entertainers |
| Stainless‑Steel Bar with Sink | $1,050 | Low | 20‑30 | Modern look, easy cleanup |
Final Verdict
Choosing the right outdoor bar idea for entertaining hinges on three factors: budget, space, and how often you host. If you crave flexibility, the freestanding modular cart or portable bar trailer will keep you agile. For a lasting centerpiece, the built‑in counter with cooler or pergola‑integrated bar offers unmatched style and function. And for the eco‑conscious DIYer, the rustic pallet bar delivers charm without breaking the bank.
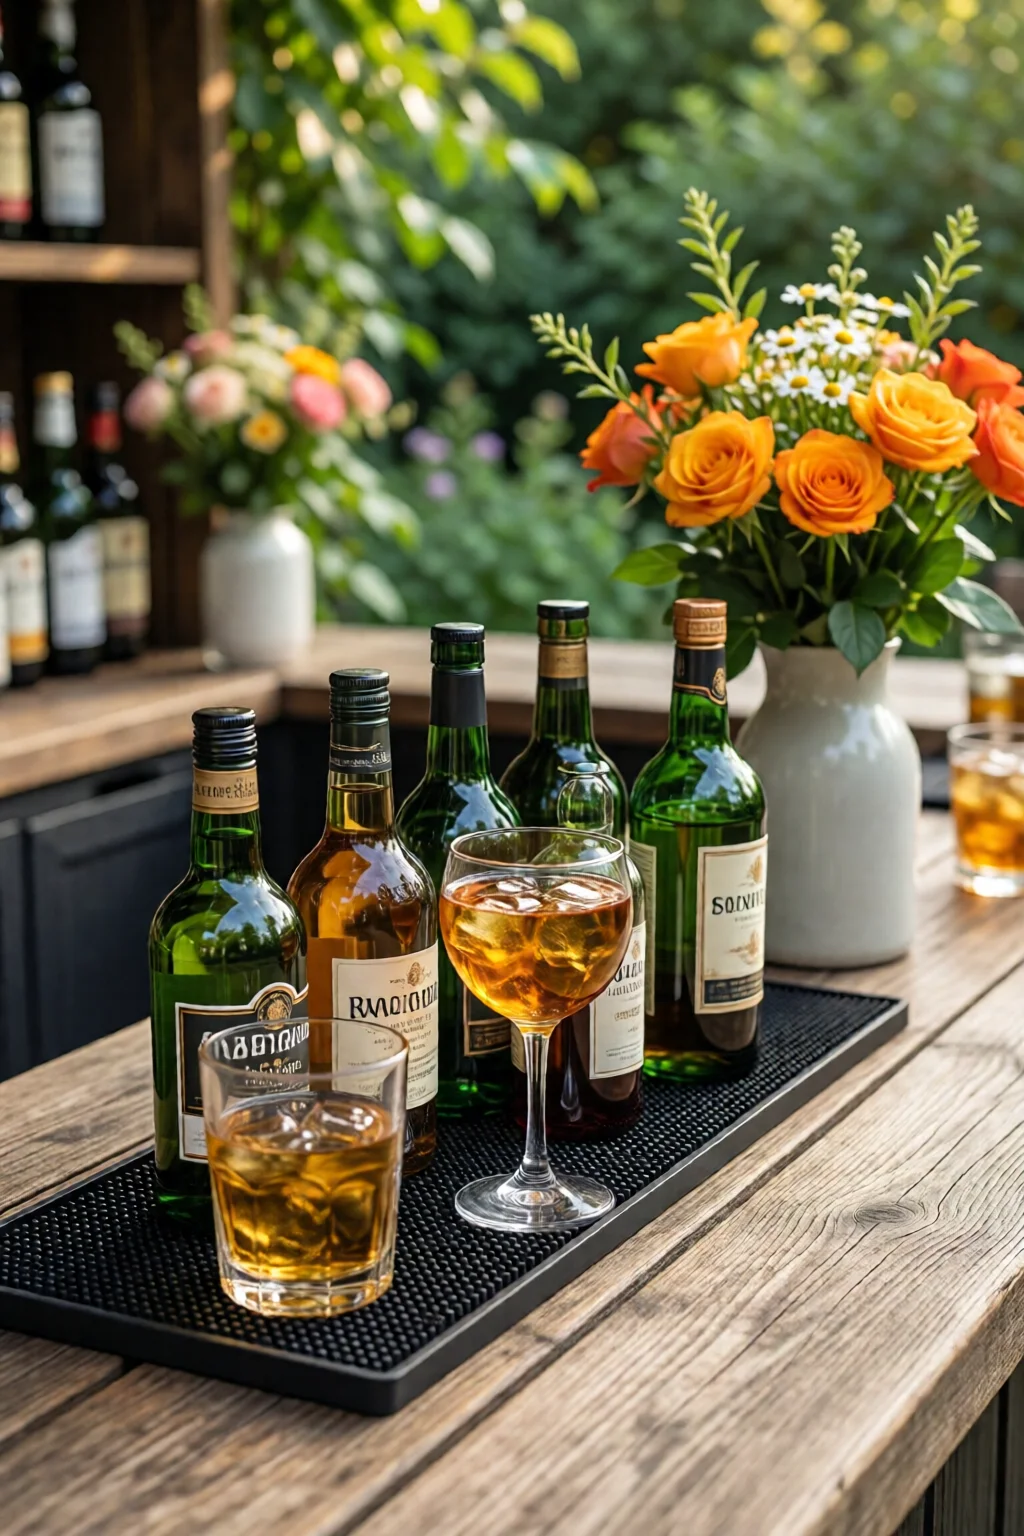
Remember, the bar is only as good as the accessories you pair with it. Stock up on quality glassware, keep a selection of mixers in insulated buckets, and consider ambient lighting—string lights, pendant lanterns, or even a low‑profile LED strip—to set the mood after dusk.
Happy entertaining, and may your next backyard soirée be the talk of the neighborhood!
How much does a basic outdoor bar cost?
A simple DIY pallet bar can be built for under $250, while a permanent concrete counter with a cooler typically starts around $2,800.
Do I need electricity for an outdoor bar?
Electricity is optional but highly recommended for lighting, refrigeration, and powered appliances. Most outdoor bars use a GFCI‑protected 120 V outlet or a 12‑V solar system.
Can I add a sink to a portable bar?
Yes. Many portable bar trailers include a built‑in sink, or you can install a compact 12‑V pump system for about $80.
What are the best materials for weather resistance?
Stainless steel, marine‑grade plywood, treated cedar, and concrete are top choices. Seal all wood surfaces with a UV‑resistant finish like Thompson’s WaterSeal.
How do I keep drinks cold without a built‑in cooler?
Use insulated beverage buckets, dry ice packs, or a portable 12‑V electric cooler. Position the cooler in shade and cover with a reflective tarp to extend cooling time.