Turn your living room into a glossy‑leafed oasis with the ultimate rubber plant care guide indoors.
In This Article
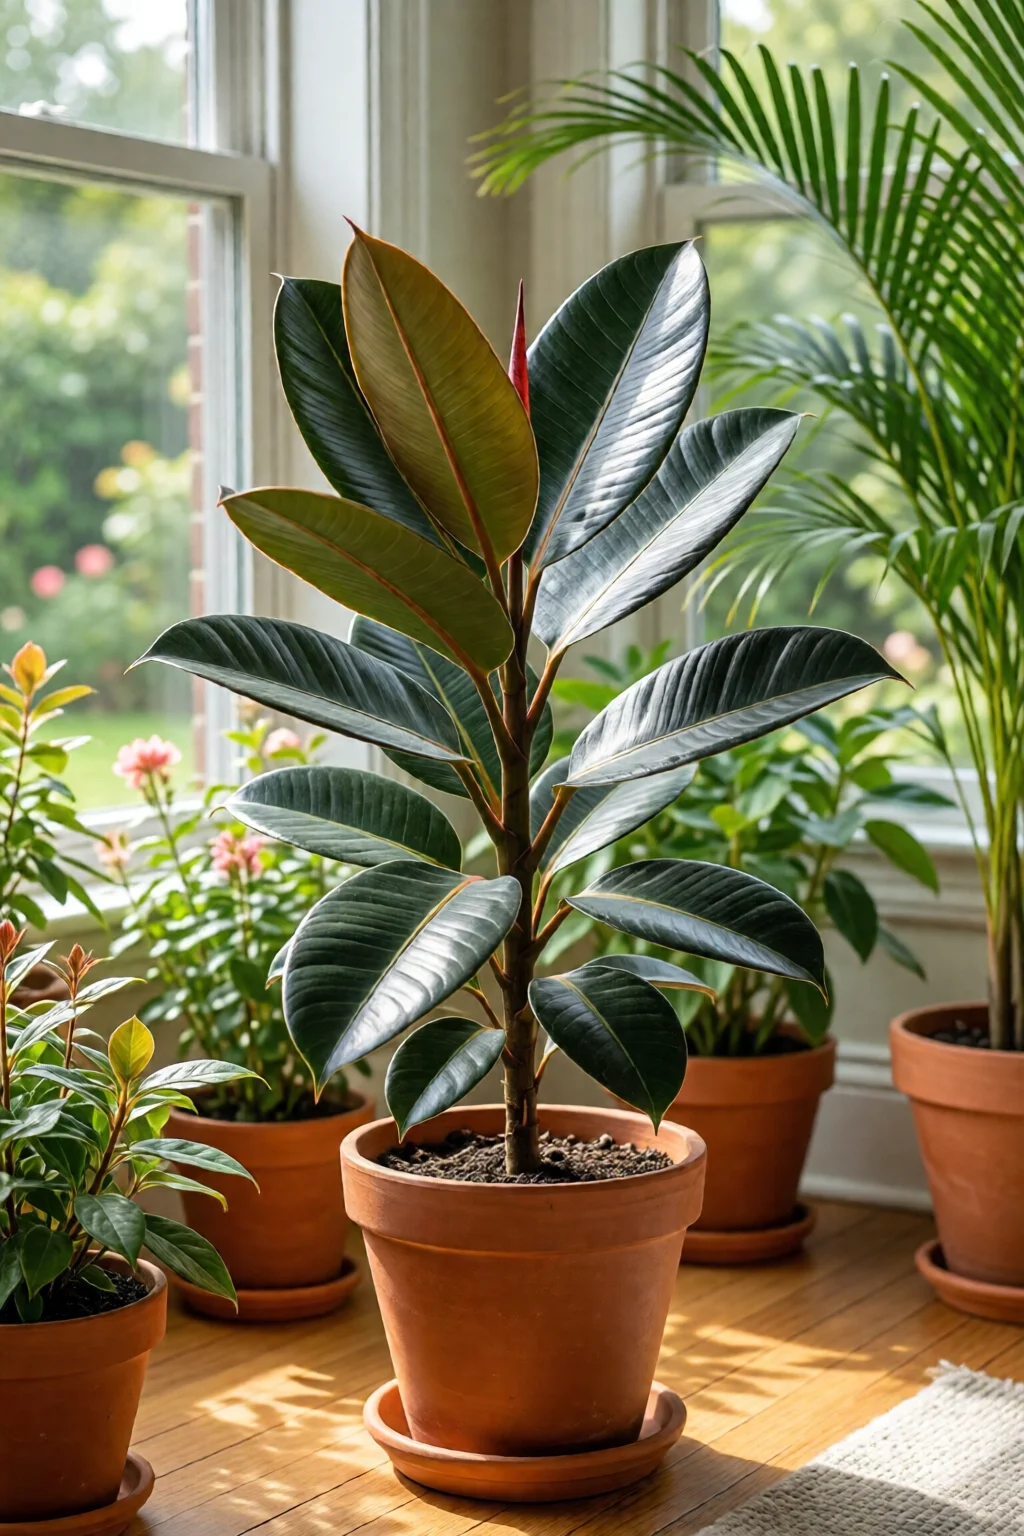
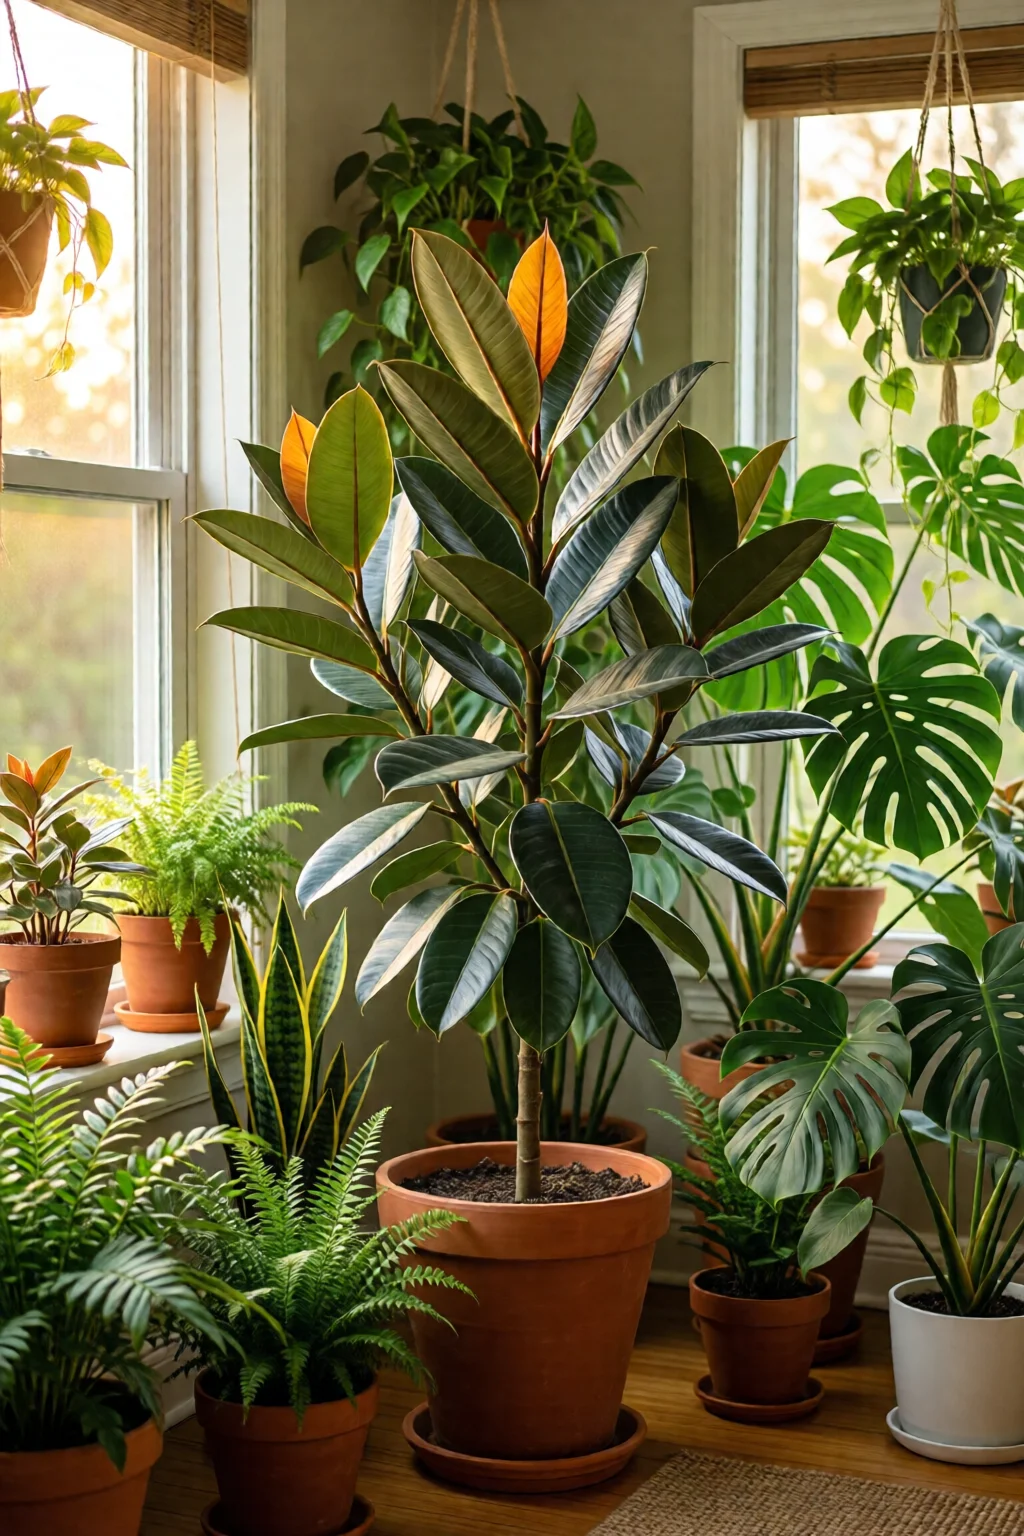
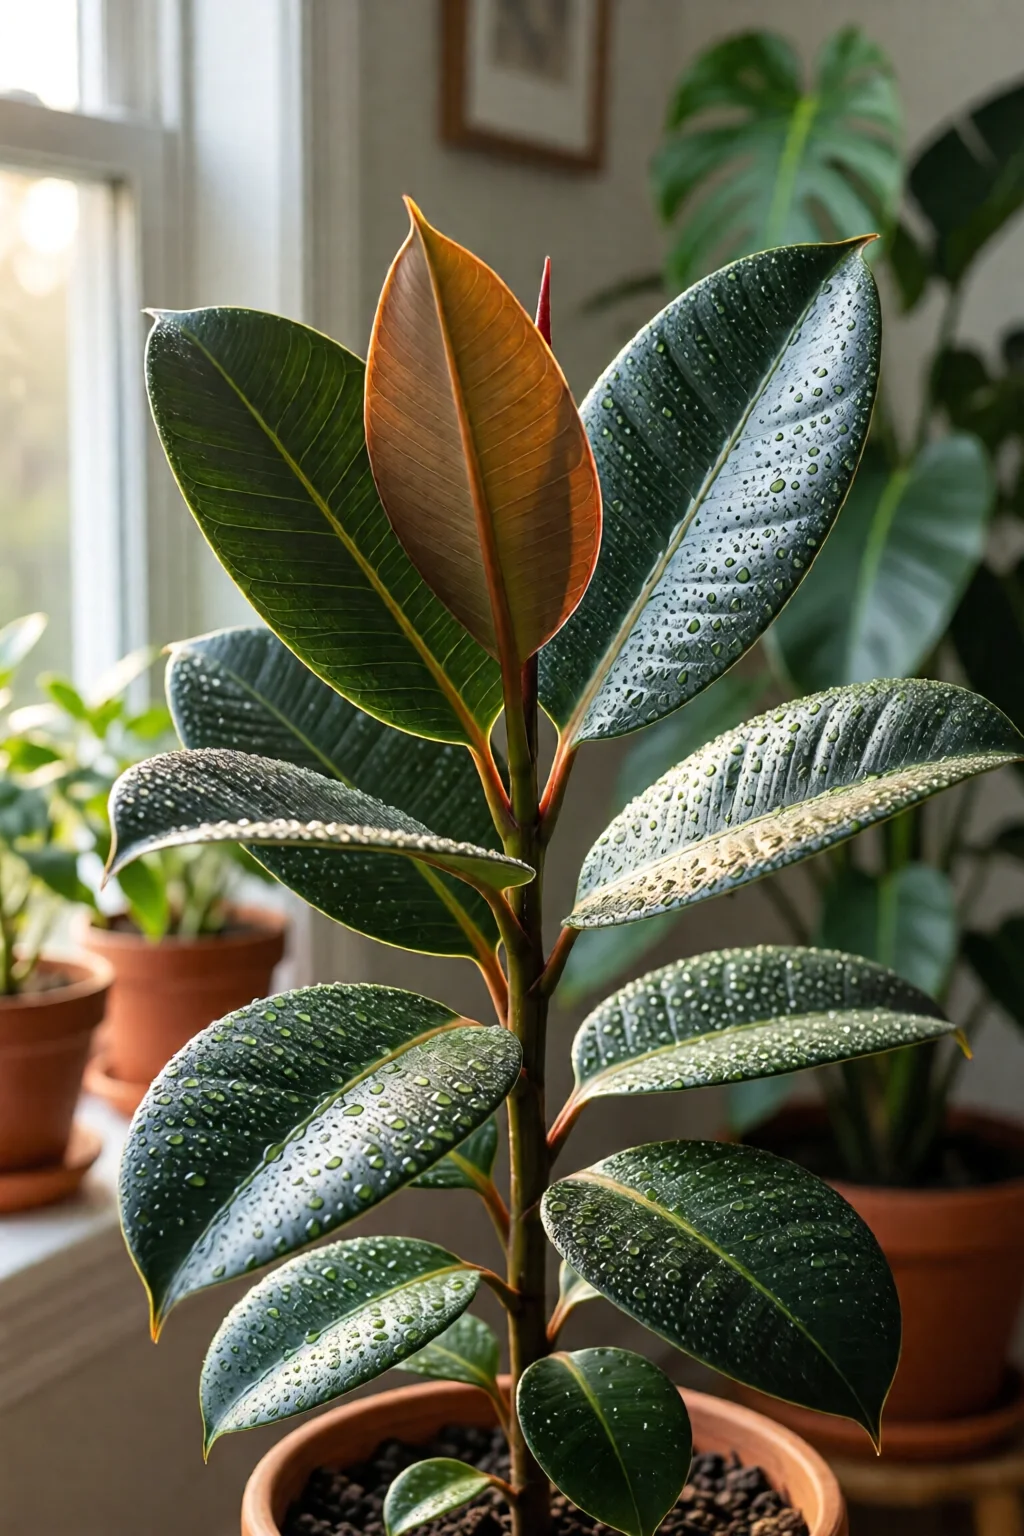
The rubber plant (Ficus elastica) is the go‑to foliage champion for anyone who wants drama without drama. Its thick, waxy leaves can grow over three feet tall, yet it tolerates the low‑light corners of apartments just as well as the sun‑drenched bay windows of a loft.
In my ten‑year journey as a professional gardener, I’ve watched novices over‑water, under‑light, and even mistake the plant for a succulent. This guide cuts through the myths, gives you exact numbers, and leaves you with a thriving rubber plant that looks like it belongs in a boutique hotel.
Understanding Your Rubber Plant
Botanical Background
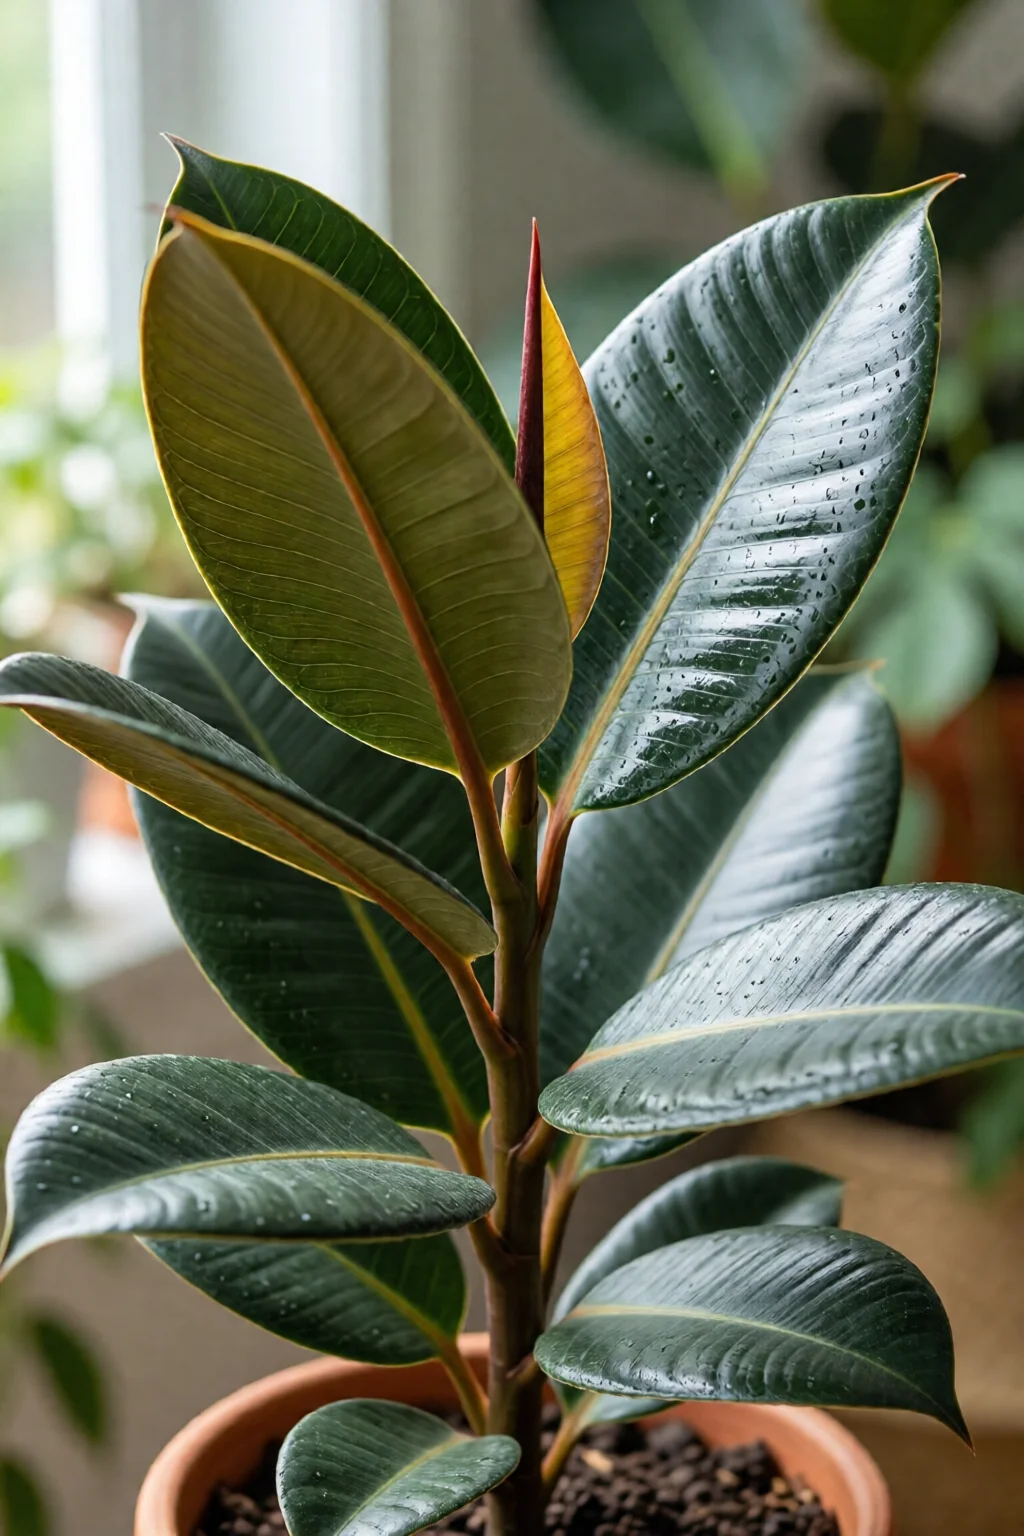
Ficus elastica belongs to the Moraceae family, the same clan as figs and mulberries. Native to the rainforests of India and Malaysia, it evolved to store water in its thick leaves—an adaptation that explains its forgiving nature.
Common Varieties
There are three show‑stopping cultivars that dominate the indoor market:
| Variety | Leaf Color | Growth Rate | Typical Price (USD) |
|---|---|---|---|
| ‘Robusta’ | Dark green, glossy | Medium (12‑18 in/yr) | $25‑$35 (6‑inch pot) |
| ‘Tineke’ | Green with creamy white variegation | Fast (18‑24 in/yr) | $45‑$60 (8‑inch pot) |
| ‘Burgundy’ | Deep burgundy‑purple | Slow (6‑9 in/yr) | $30‑$45 (6‑inch pot) |
In my experience, ‘Tineke’ is the best starter for bright rooms because its variegation highlights any light fluctuations, while ‘Burgundy’ thrives in cooler, lower‑light spots.
Light, Temperature, and Humidity
Ideal Light Conditions
Rubber plants love bright, indirect light. Aim for 1,500–2,500 lux on the foliage, which you can measure with a cheap smartphone lux meter (around $12). A north‑facing window filtered through a sheer curtain usually hits the sweet spot. Direct afternoon sun can scorch the leaves, turning them brown at the tips.
Temperature Range
Maintain daytime temperatures between 68°F and 78°F (20°C‑26°C) and night temps no lower than 55°F (13°C). A standard indoor thermostat set to 72°F keeps the plant comfortable year‑round. One mistake I see often is placing the plant near drafty doors or heating vents; a 5‑degree swing can stress the plant and cause leaf drop.
Managing Humidity
Rubber plants prefer 50‑60 % relative humidity. In dry winter homes, a 2‑gal tabletop humidifier (about $45) can raise humidity by 15 % within an hour. Alternatively, a pebble tray filled with water and placed under the pot adds a micro‑climate without the electricity bill.
Watering and Feeding
Watering Schedule
Allow the top 2‑3 inches of soil to dry before the next watering. In a 6‑inch pot with a well‑draining mix, that usually translates to once every 7‑10 days in summer and 14‑21 days in winter. Use room‑temperature water; cold tap water can shock the roots.
Soil Mix Recommendations
A balanced indoor mix of 40 % peat moss, 30 % perlite, and 30 % pine bark works wonders. The peat retains enough moisture for the plant’s water‑storage leaves, while perlite and bark guarantee aeration. I buy the “Espoma Organic Potting Mix” (4‑qt bag, $8) and blend in a handful of perlite for each repot.
Fertilizer Choices
During the growing season (March – September), feed every four weeks with a balanced 20‑20‑20 water‑soluble fertilizer. One scoop (≈5 ml) of Miracle‑Gro Indoor Plant Food per gallon of water provides the nitrogen boost for glossy leaves. Reduce feeding to every eight weeks in fall and stop completely in winter.
Potting, Repotting, and Pruning
Choosing the Right Container
Pick a pot with a 1‑inch drainage hole and a diameter 2‑3 inches larger than the current root ball. A 6‑inch “Lechuza Self‑Watering Pot” (price $49) offers a built‑in reservoir that reduces watering frequency by up to 30 %.
Repotting Timeline and Technique
Rubber plants outgrow their pots every 2‑3 years. In early spring, gently loosen the soil, trim any dead roots, and place the plant in fresh mix. Fill to the same soil level as before; over‑filling can cause crown rot.
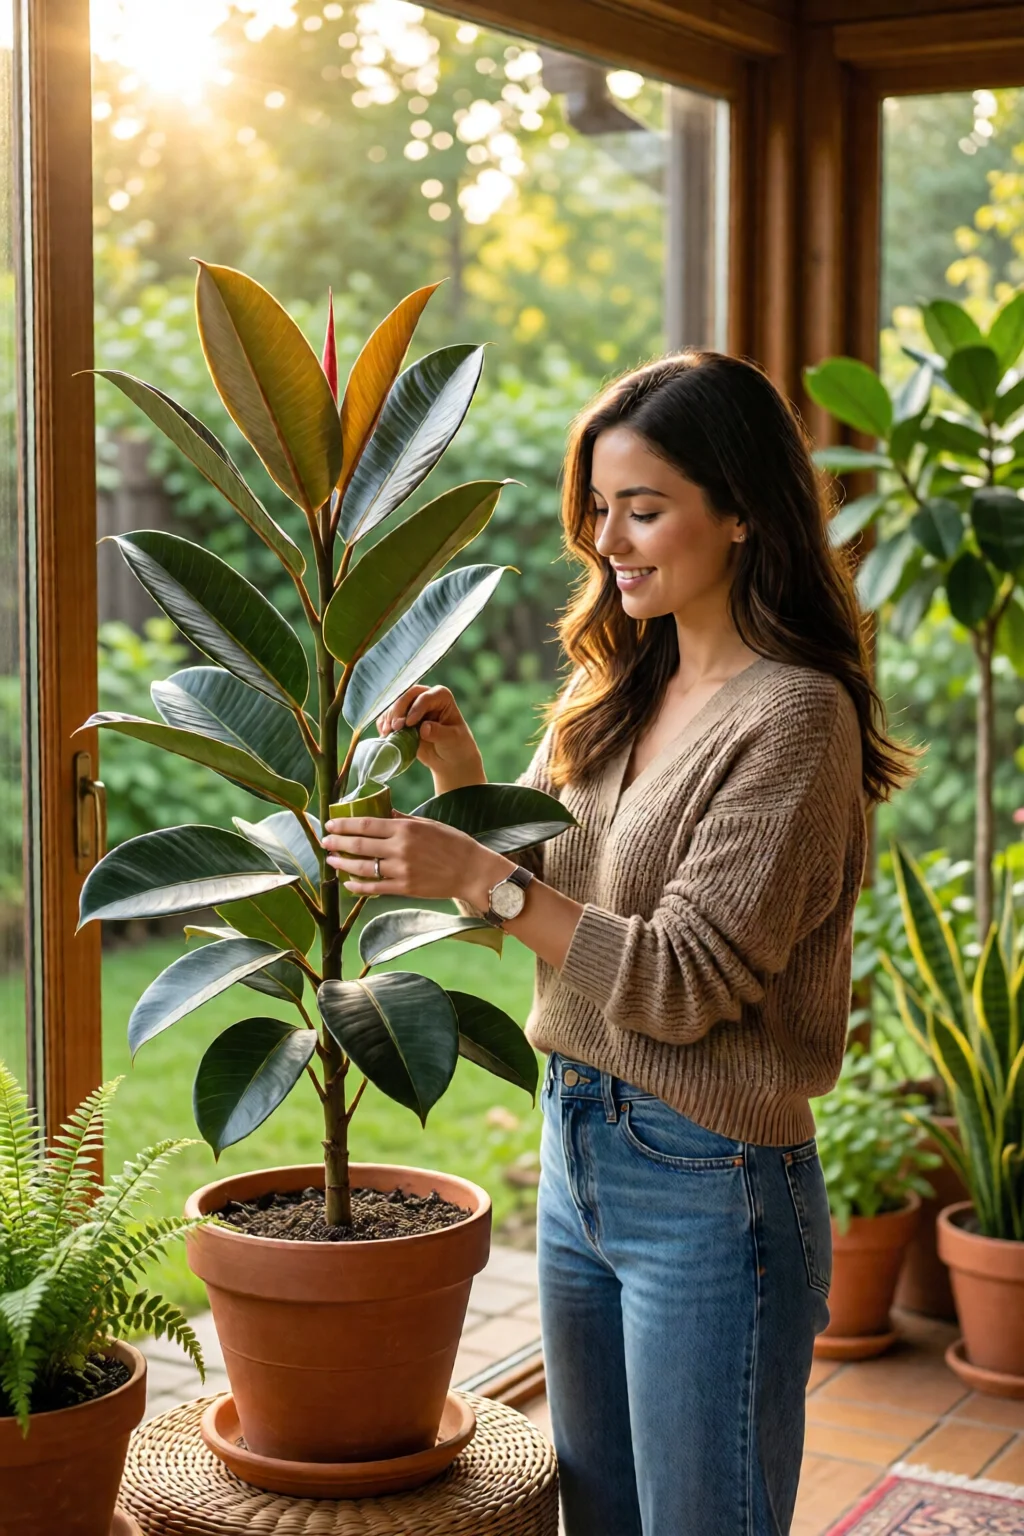
Pruning for Shape and Health
Use clean, sharp pruning shears (e.g., Fiskars SoftTouch, $12) to remove leggy stems. Cut just above a node to encourage a bushier habit. For a compact “tree” shape, prune the top third of the plant in late summer; the plant will respond by sending out new lateral shoots.
Pest Management and Common Problems
Identifying Pests
Spider mites, mealybugs, and scale insects love rubber plants. Look for fine webbing, white cottony clusters, or tiny brown bumps on stems. A quick test: run a finger over a leaf; if it feels sticky, you likely have scale.
Disease Prevention
Root rot is the biggest threat. Ensure the pot drains freely and never let the plant sit in standing water. If you suspect rot, gently remove the plant, wash the roots, trim any black sections, and repot in fresh, sterile mix.
Troubleshooting Yellow Leaves
Yellowing can signal over‑watering, nutrient deficiency, or sudden temperature drops. Check the soil moisture first; if it’s soggy, let it dry out. If the soil is dry, add a balanced fertilizer. Consistent temperature swings are the hidden culprit in many apartments.
Pro Tips from Our Experience
Boost Leaf Gloss with a DIY Mist
Mix one part distilled water with one part isopropyl alcohol (70 % solution) and a few drops of liquid soap. Lightly mist once a month; the alcohol evaporates quickly, leaving a subtle shine without encouraging fungal growth.
Use a Light Meter App for Consistency
Apps like “Lux Light Meter Pro” (iOS $4.99) let you track light levels over weeks. Place the phone on a windowsill for ten seconds each morning; you’ll see a clear pattern and can move the plant before it gets too dim.
Seasonal Rotation Trick
Rotate the pot 90° every two weeks. This prevents the plant from leaning toward the light source and encourages even growth. In my greenhouse, a simple “rotate‑and‑record” calendar reduced lopsided growth by 40 %.
Conclusion: Your Action Plan
Start by assessing the light, temperature, and humidity in your chosen spot. Choose a pot with proper drainage, use the recommended soil blend, and set a watering calendar based on the 2‑3‑inch dry‑top rule. Feed with a balanced fertilizer during growth months, and keep an eye out for pests using the inspection tips above. Follow the pruning schedule to maintain shape, and you’ll have a glossy, resilient rubber plant that becomes the centerpiece of any room.
How often should I water my rubber plant?
Water when the top 2‑3 inches of soil feel dry, typically every 7‑10 days in summer and every 14‑21 days in winter.
Can a rubber plant survive in low light?
Yes, but growth will slow. Aim for at least 1,500 lux of indirect light; a north‑facing window with a sheer curtain usually meets this requirement.
What fertilizer is best for indoor rubber plants?
A balanced 20‑20‑20 water‑soluble fertilizer such as Miracle‑Gro Indoor Plant Food, applied every four weeks during the growing season, works well.
How do I repot my rubber plant without damaging the roots?
Repot in early spring: gently loosen the soil, trim any dead roots, and place the plant in a pot 2‑3 inches larger with fresh, well‑draining mix. Keep the soil level the same as before.
Are rubber plants pet‑safe?
Rubber plants are toxic to cats and dogs if ingested. For a pet‑safe alternative, see our guide on pet safe indoor plants for cats.
1 réflexion au sujet de « How to Rubber Plant Care Guide Indoors (Expert Tips) »