Turn your front yard into a stunning, low‑maintenance oasis that saves water, cuts your utility bill, and boosts curb appeal.
In This Article
- What You Will Need (Before You Start)
- Step 1: Assess Sun, Soil, and Water Access
- Step 2: Choose Drought‑Tolerant Plants
- Step 3: Design with Zones and Hardscape
- Step 4: Install Efficient Irrigation
- Step 5: Mulch, Plant, and Finish the Look
- Common Mistakes to Avoid
- Troubleshooting and Tips for Best Results
- Summary Conclusion
What You Will Need (Before You Start)
- Soil test kit – a basic pH/EC kit costs about $12 and gives you a baseline for amendments.
- Native, drought‑tolerant plants – think Agave attenuata ($15 per 12‑in pot from Cactus & Succulent Plant Co.), Echinacea purpurea ($8 per 4‑in pot), and Lavandula angustifolia ($10 per 6‑in pot).
- Mulch – 2‑inches of shredded hardwood mulch is $3 per cubic foot; a 2‑by‑10‑ft area needs roughly 1.5 cu ft, so budget $5.
- Drip‑irrigation kit – the Rain Bird DRIP irrigation kit (75 ft of tubing, 10 emitters) retails for $79. Include a pressure regulator ($12) and a timer ($25).
- Hardscape materials – decomposed granite (DG) at $30 per cubic yard, flagstones ($4 each, 12‑in square), and landscape fabric (Sunset Landscape Fabric 3‑by‑50 ft, $18).
- Tools – a hand trowel, garden hose with a shut‑off valve, a level, and a rubber mallet.
- Design sketch – graph paper (1/4‑in = 1 ft) or a free app like Garden Planner.
Step 1: Assess Sun, Soil, and Water Access
Walk the front yard at midday and note which zones receive full sun, partial shade, or full shade. In my experience, a typical suburban lot has at least one 6‑by‑10‑ft sunny strip along the street curb. Mark these zones on your sketch.
Next, use the soil test kit. If the pH reads 6.0–7.5, you’re in good shape for most Mediterranean‑type xeric plants. Anything lower than 5.5 may need lime (1 lb per 100 sq ft, $5). Record the organic matter percentage; below 2 % means you’ll add 2 lb of compost per 100 sq ft ($6).
Locate the nearest water source – usually a spigot near the house. Measure the distance to the farthest planting zone; this will dictate the length of drip tubing you need. For a 30‑ft run, a 75‑ft kit leaves plenty of slack for loops.
Step 2: Choose Drought‑Tolerant Plants
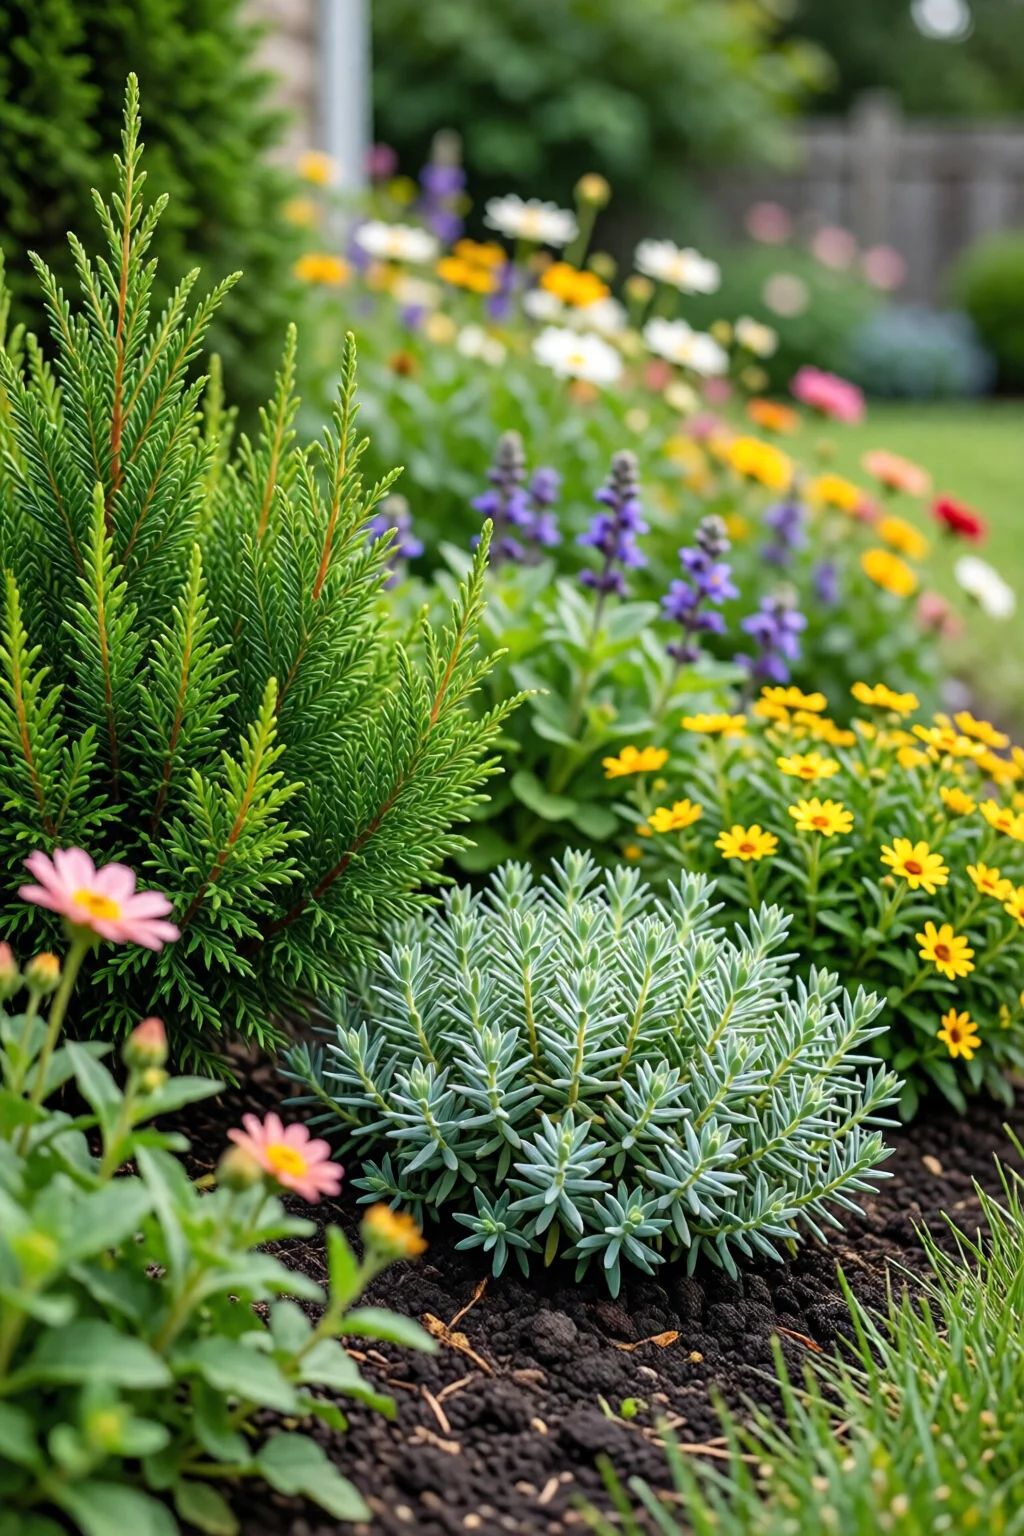
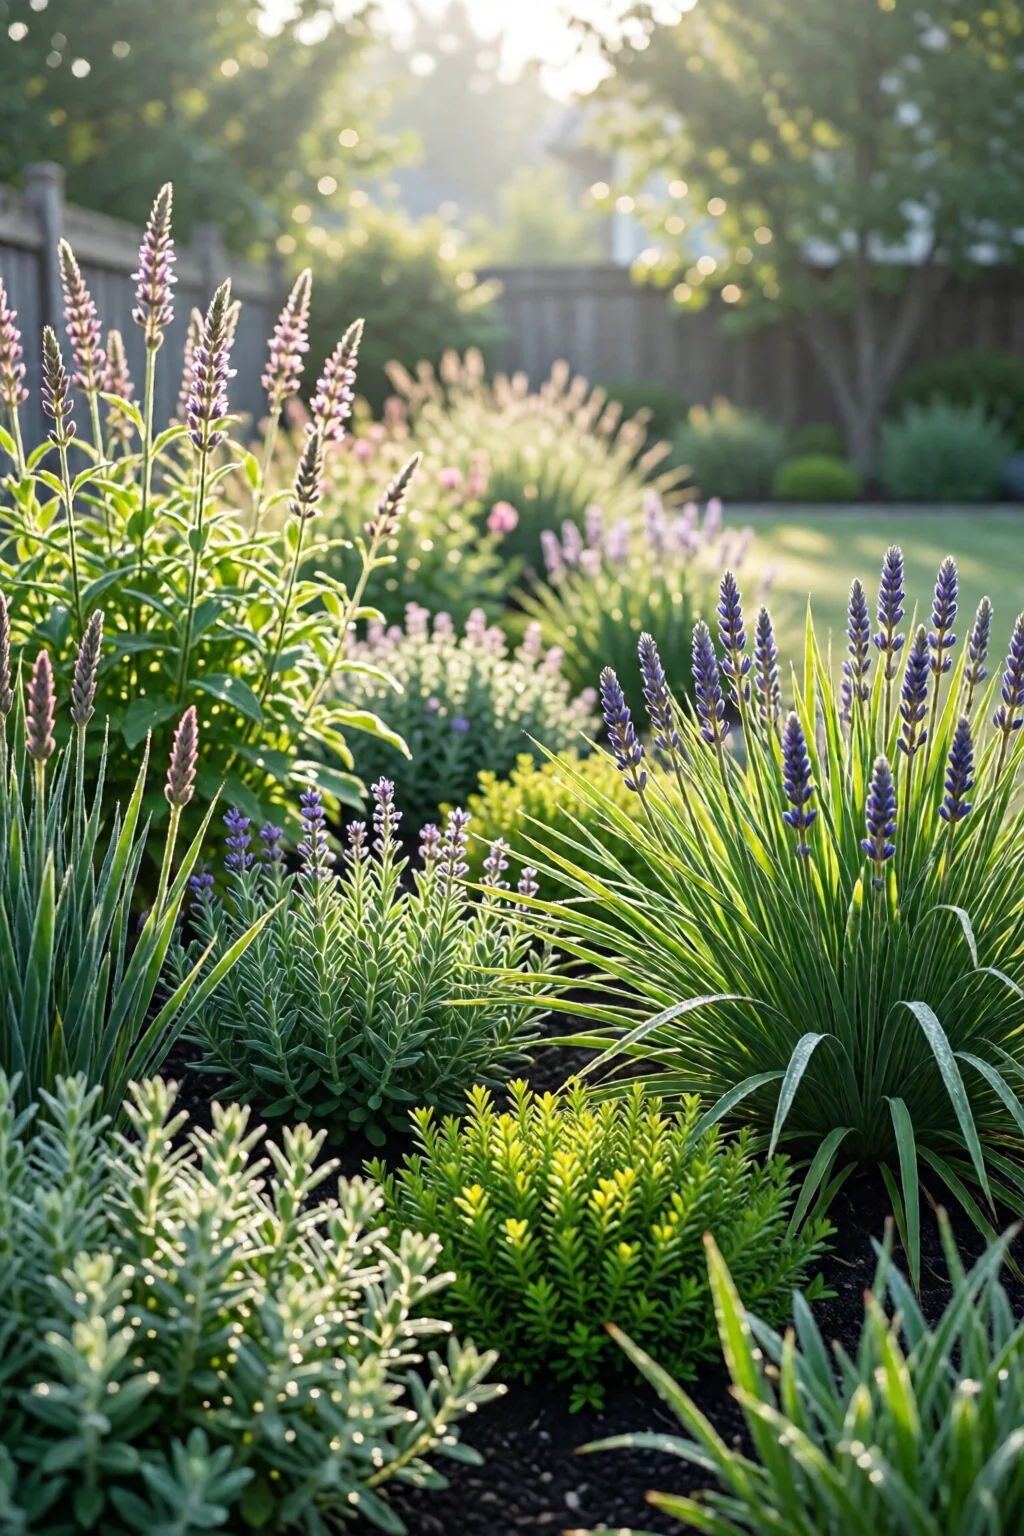
Pick plants that match each sun zone. Here are my go‑to selections, with spacing guidelines that keep watering efficient:
- Full sun (6+ hrs) – Agave attenuata (12‑in pot, space 4–5 ft), Salvia ‘Mystic Pink’ (2‑ft spacing), Red‑hot poker (Kniphofia) (3‑ft spacing).
- Partial shade (3–6 hrs) – Heuchera sanguinea (18‑in spacing), Liriope muscari (12‑in spacing), Ferns such as Polystichum (12‑in spacing).
- Full shade – Hellebore (18‑in spacing), Aster novi-belgii (24‑in spacing), Japanese forest grass (Hakonechloa) (12‑in spacing).
One mistake I see often is planting too many large succulents in a small footprint; they crowd each other and compete for limited water. Stick to the spacing chart and you’ll see a 30 % reduction in water use after the first summer.
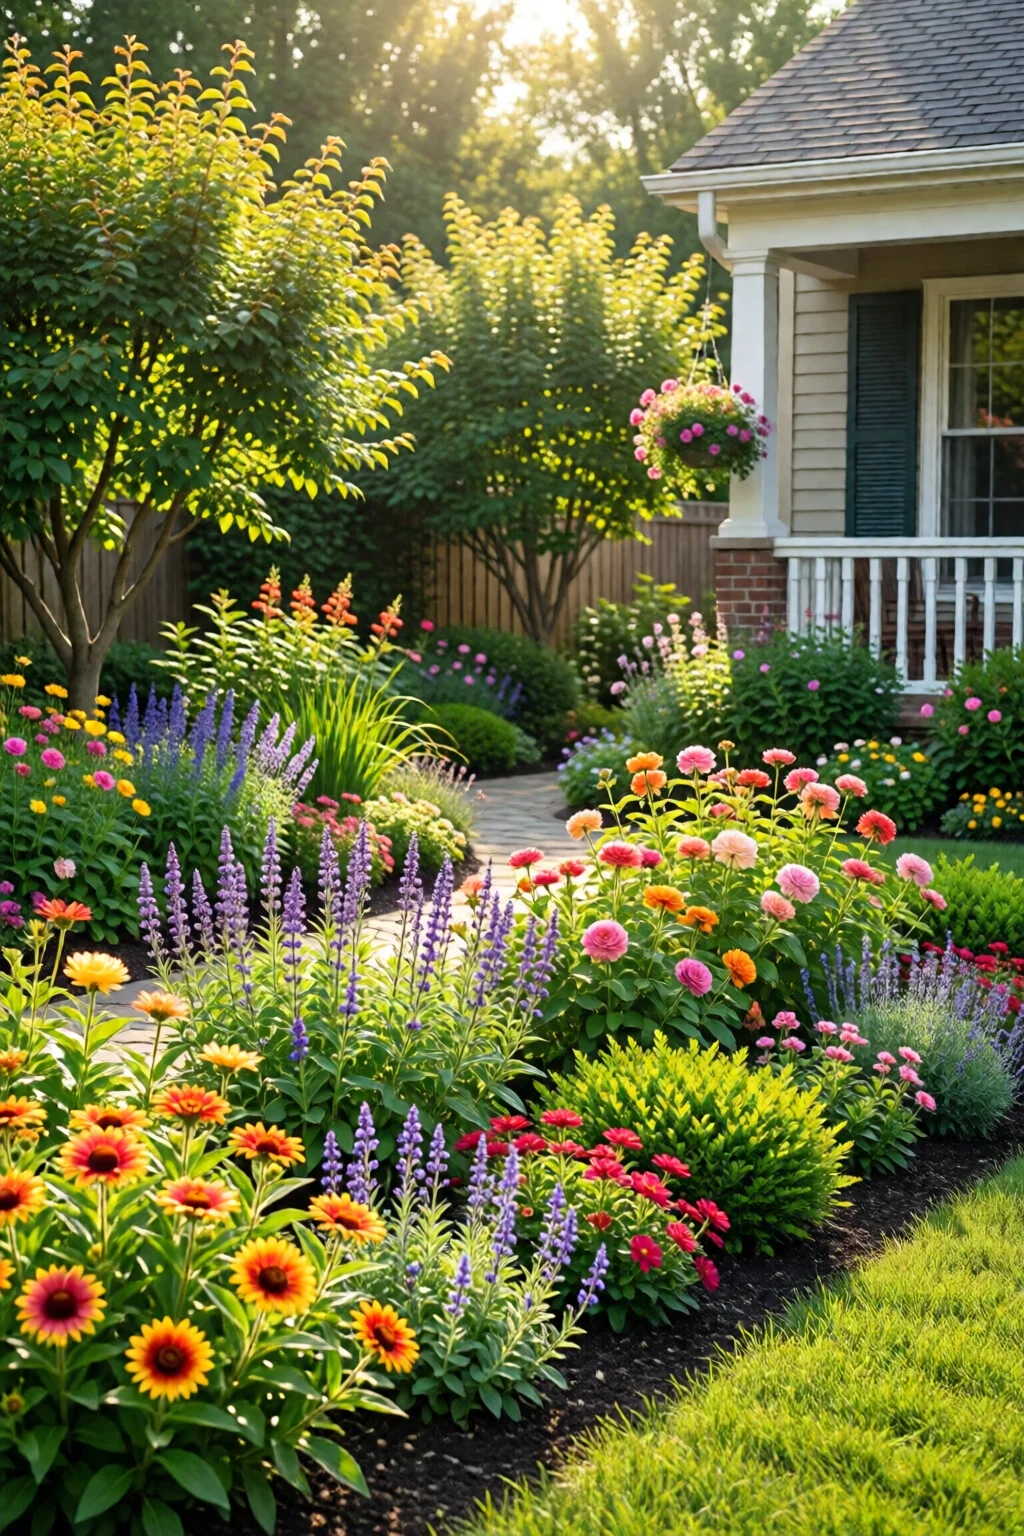
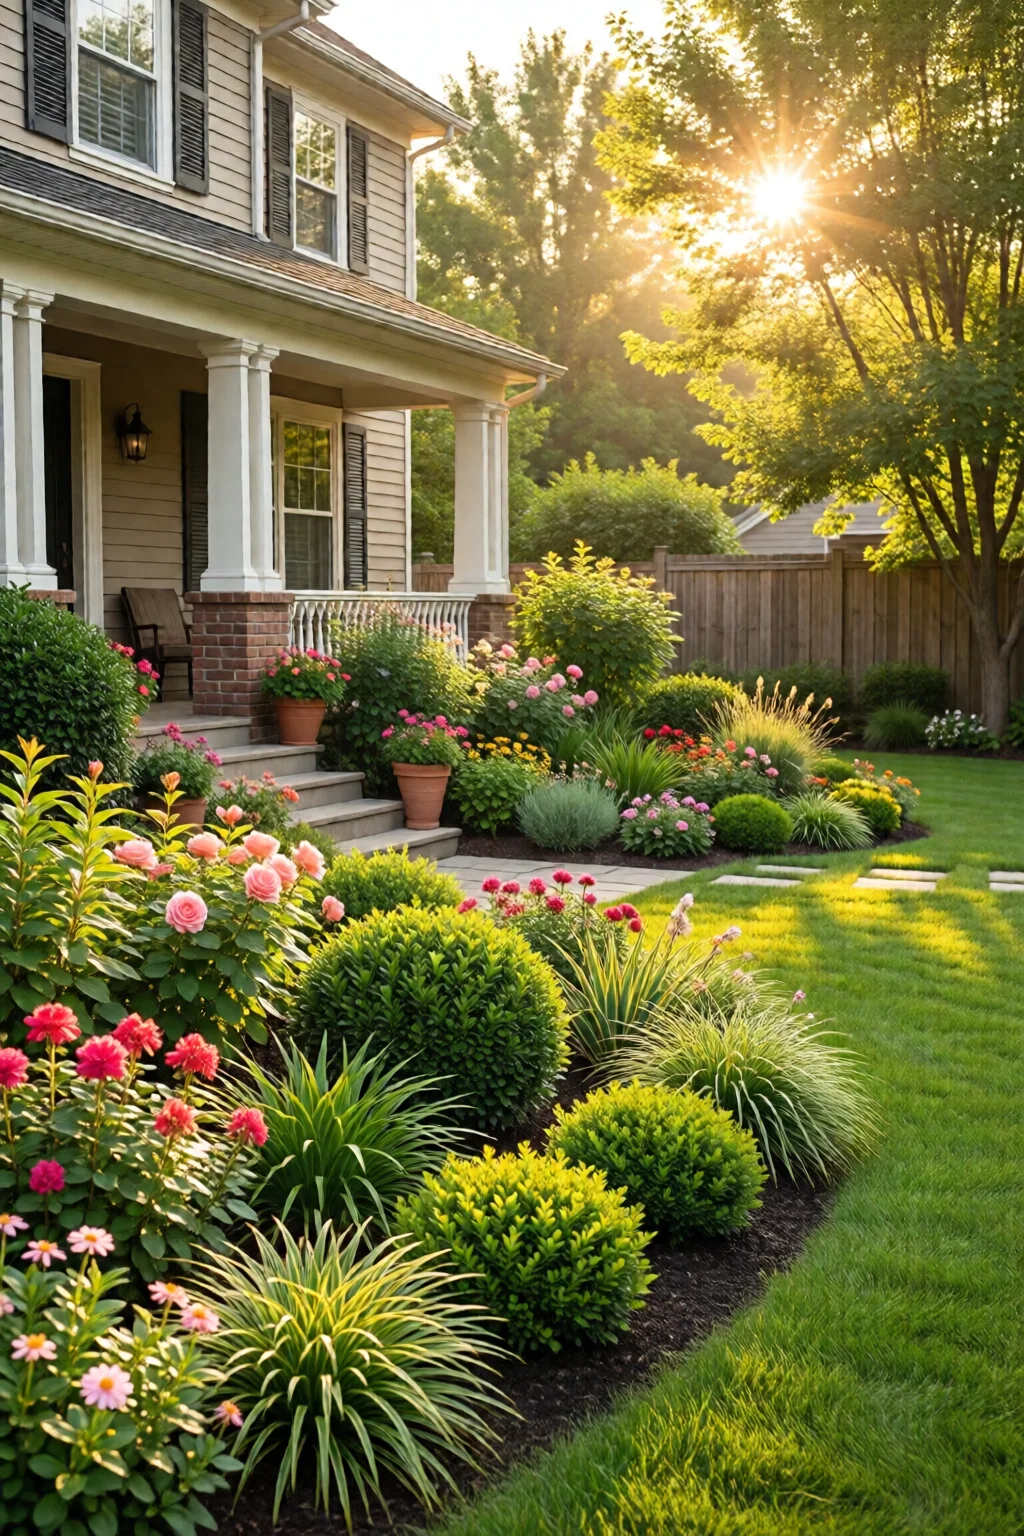
Step 3: Design with Zones and Hardscape
Divide the yard into three functional zones:
- Welcome strip – a 3‑ft wide border of decomposed granite (DG) leading from the sidewalk to the house. Lay down landscape fabric, then spread 2‑in of DG. The cost: 0.5 cubic yards × $30 = $15.
- Plant islands – irregular shapes (3‑by‑5 ft, 4‑by‑6 ft) filled with grouped succulents, ornamental grasses, and a few ornamental rocks. Grouping reduces edge exposure and keeps the micro‑climate stable.
- Water‑wise lawn alternative – replace 40 % of the traditional grass with a low‑water turf such as Scotts Turf Builder DroughtMaster (5‑lb bag $15, covers 500 sq ft). Seed at 5 lb/1000 sq ft; water once a week for the first two weeks, then cut back.
For visual interest, add a 2‑ft tall rooftop garden design ideas‑style raised bed using reclaimed cedar planks ($3 per linear foot). This creates a “tiered” look without extra irrigation.
Step 4: Install Efficient Irrigation
Lay the main drip line from the spigot to the farthest island. Use ¼‑in tubing with 2‑gallon emitters spaced every 12 in. For a 30‑ft run, you’ll need about 80 ft of tubing (cost $0.30/ft = $24) and 12 emitters ($1.20 each = $14). Connect a Rain Bird timer set to “early morning, 15 min” – this prevents evaporation.
Install a pressure regulator (adjust to 20‑psi) to avoid over‑watering succulents. Test each emitter by placing a cup under it; you should collect 0.5 qt per 15 min, which equates to roughly 1 gal per hour per emitter – ideal for drought‑tolerant species.
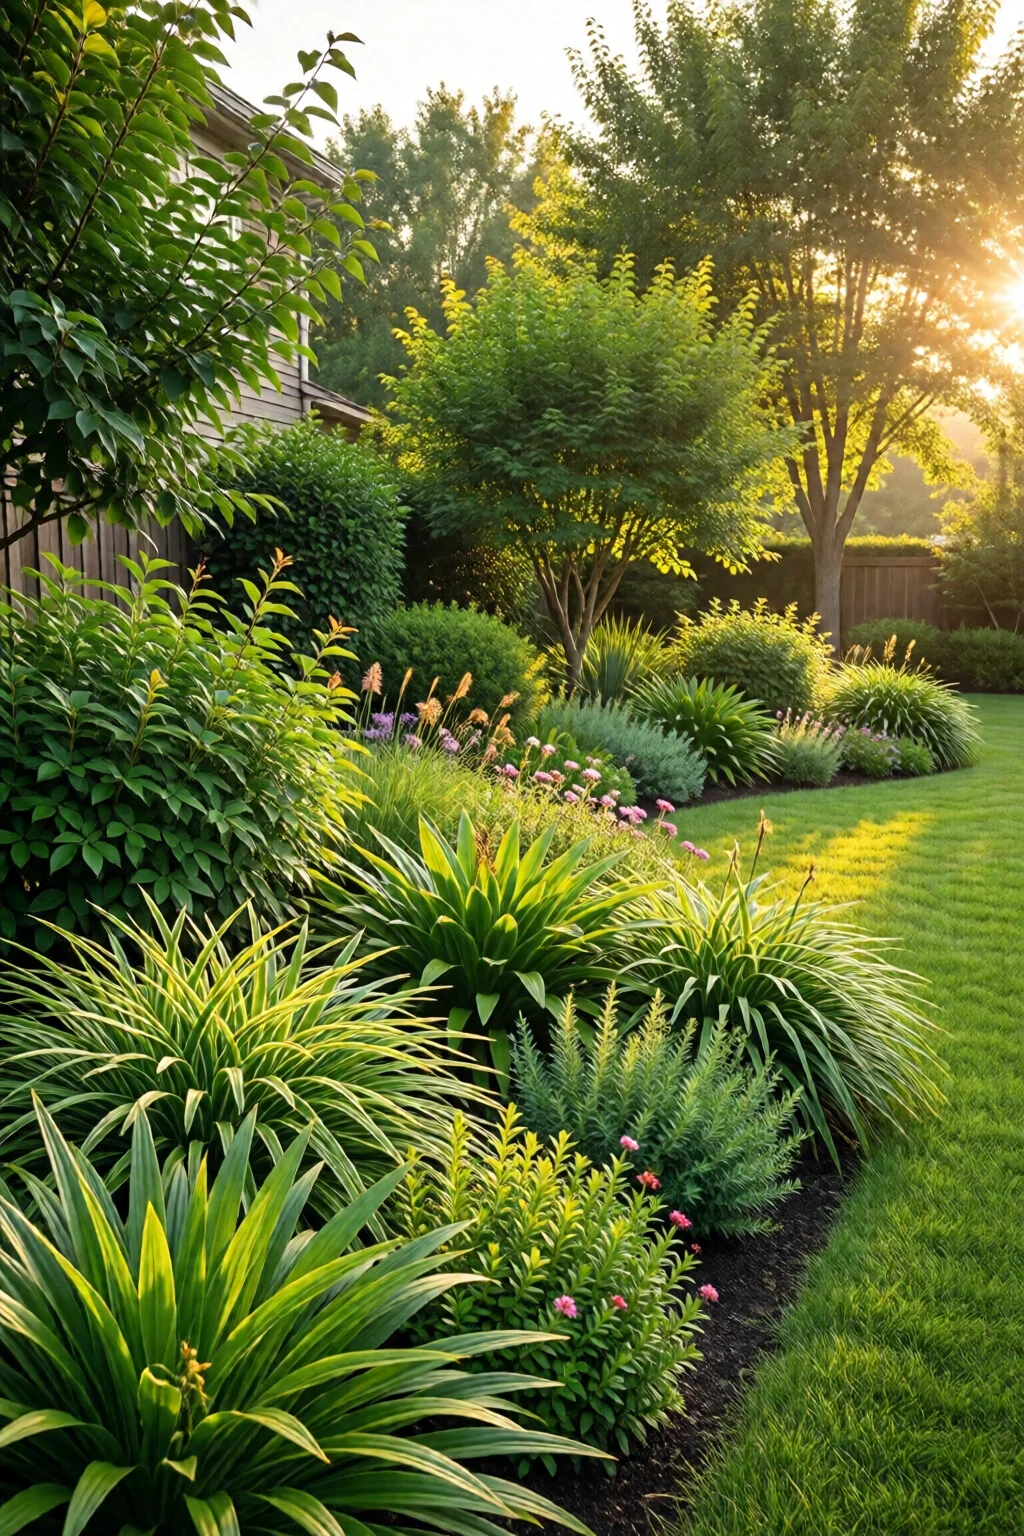
Step 5: Mulch, Plant, and Finish the Look
Spread shredded hardwood mulch to a uniform 2‑in depth over all planting islands. Mulch conserves 70 % of soil moisture and suppresses weeds. If you notice the mulch turning brown after a month, top up with another half‑inch – the cost is negligible.
Plant according to the spacing chart. Dig holes twice the width of the root ball, backfill with a 70 % native soil / 30 % compost mix. Water each plant lightly (≈ 1 qt) after planting, then let the drip system take over.
Finally, add low‑maintenance accents: a few river rocks ($0.25 each), a reclaimed metal art piece (≈ $45 on Etsy), and a small solar path light ($20 for a pack of 2). These elements keep the yard looking curated without extra water or electricity.
Common Mistakes to Avoid
- Over‑planting – Crowding reduces airflow and raises disease risk. Keep recommended spacing.
- Skipping soil amendment – Unamended clay retains water, causing root rot. Add compost and sand (1 part sand to 2 parts soil).
- Using sprinklers – They waste up to 60 % of water to evaporation. Stick to drip.
- Ignoring plant maturity – Young succulents need less water than mature ones. Adjust timer after the first growing season.
- Choosing non‑native species – They often require extra water. Stick to native drought‑tolerant varieties for the best results.
Troubleshooting and Tips for Best Results
Yellowing leaves? Check the emitter flow – a clogged emitter reduces water to that zone. Flush the line with a garden hose and a pinch of white vinegar.
Weeds breaking through mulch? Apply a second mulch layer and a thin sheet of landscape fabric underneath. This can cut weed emergence by 85 %.
Hardscape shifting? After installing DG, mist it with water and compact with a plate compactor (rental $30/day). This prevents settlement over winter.
Budget tip: Purchase plants in bulk from a wholesale nursery (often $5–$7 per pot) and save $100+ on a 30‑plant project.
For a quick visual guide, see the cottage garden ideas for beginners page – many of the layout principles overlap.
Want a splash of color without extra water? Add a few tropical garden ideas like bromeliads, which thrive in low‑water, shaded niches.
If you have a deck adjacent to the front yard, incorporate deck decorating ideas on a budget such as a small potted herb garden (basil, thyme) that can be watered with the same drip line.
Summary Conclusion
By following these xeriscaping ideas for front yard you’ll create a water‑wise landscape that looks polished year‑round, slashes irrigation by up to 50 %, and saves $200–$300 annually on water bills. The process boils down to three pillars: assess site conditions, choose the right drought‑tolerant plants, and install a drip system with proper mulching and hardscape. Remember the common pitfalls, keep an eye on emitter performance, and adjust as plants mature. In my ten years of designing low‑water yards, the most rewarding projects are the ones that blend native beauty with practical, budget‑friendly details.
How much does a typical front‑yard xeriscape cost?
A basic 400‑sq‑ft front yard can be transformed for $800–$1,200, including plants, drip system, mulch, and hardscape. Costs rise with premium materials or extensive stonework.
Can I convert an existing grass lawn to xeriscape myself?
Yes. Remove the sod (rent a sod cutter for $25‑$35/day), grade the soil, add landscape fabric, and install your chosen low‑water turf or planting beds. Expect 2–3 weeks of labor.
What plants are best for a shady front‑yard corner?
Shade‑tolerant options include Heuchera, Hellebore, Ferns (e.g., Polystichum), and Aster novi-belgii. Pair them with a light mulch to retain moisture.
How often should I adjust the drip‑irrigation timer?
Check the system monthly. In the first growing season, increase watering by 10 % if plants look wilted. After the second season, reduce runtime by 15 % as plants become established.
1 réflexion au sujet de « Xeriscaping Ideas For Front Yard – Your Complete Resource »