Ever wondered how a simple arrangement of pavers could turn a dull backyard into a year‑round gathering spot?
In This Article
- What You’ll Achieve and What You’ll Need
- Step 1 – Define the Shape and Size
- Step 2 – Choose a Pattern That Pops
- Step 3 – Prepare the Sub‑Base
- Step 4 – Install Edge Restraints
- Step 5 – Lay the Pavers
- Step 6 – Fill Joints with Polymeric Sand
- Step 7 – Add Finishing Touches
- Common Mistakes to Avoid
- Troubleshooting & Tips for Best Results
- FAQ
- Summary
What You’ll Achieve and What You’ll Need
By the end of this guide you’ll have a fully‑realized patio that feels custom‑designed, fits your budget, and stands up to the elements for decades. You’ll walk away with a clear layout, material list, and a timeline that lets you plan the project around a weekend or two.
Materials & Tools Checklist
- Interlocking concrete pavers (e.g., Belgard® 12×12 in., $1.25 each)
- Crushed stone base – ¾‑in. limestone, 4 cubic yds. (~$35 per cubic yd)
- Polymeric sand – 50‑lb bag, $12
- Staking kits, rubber mallet, level, and a 2‑ft. carpenter’s square
- Plate compactor (rent for $45/day from Home Depot)
- Edging material – steel or plastic, 100 ft., $0.75/ft
- Landscape fabric, 30‑sq‑ft. roll, $9
- Drainage pipe (perforated 4‑in., 10 ft., $15)
- Safety gear – gloves, goggles
Before you break ground, confirm your local HOA guidelines (some require a minimum 4‑ft. setback) and call your utility company for a “call‑before‑you‑dig” service.
Step 1 – Define the Shape and Size
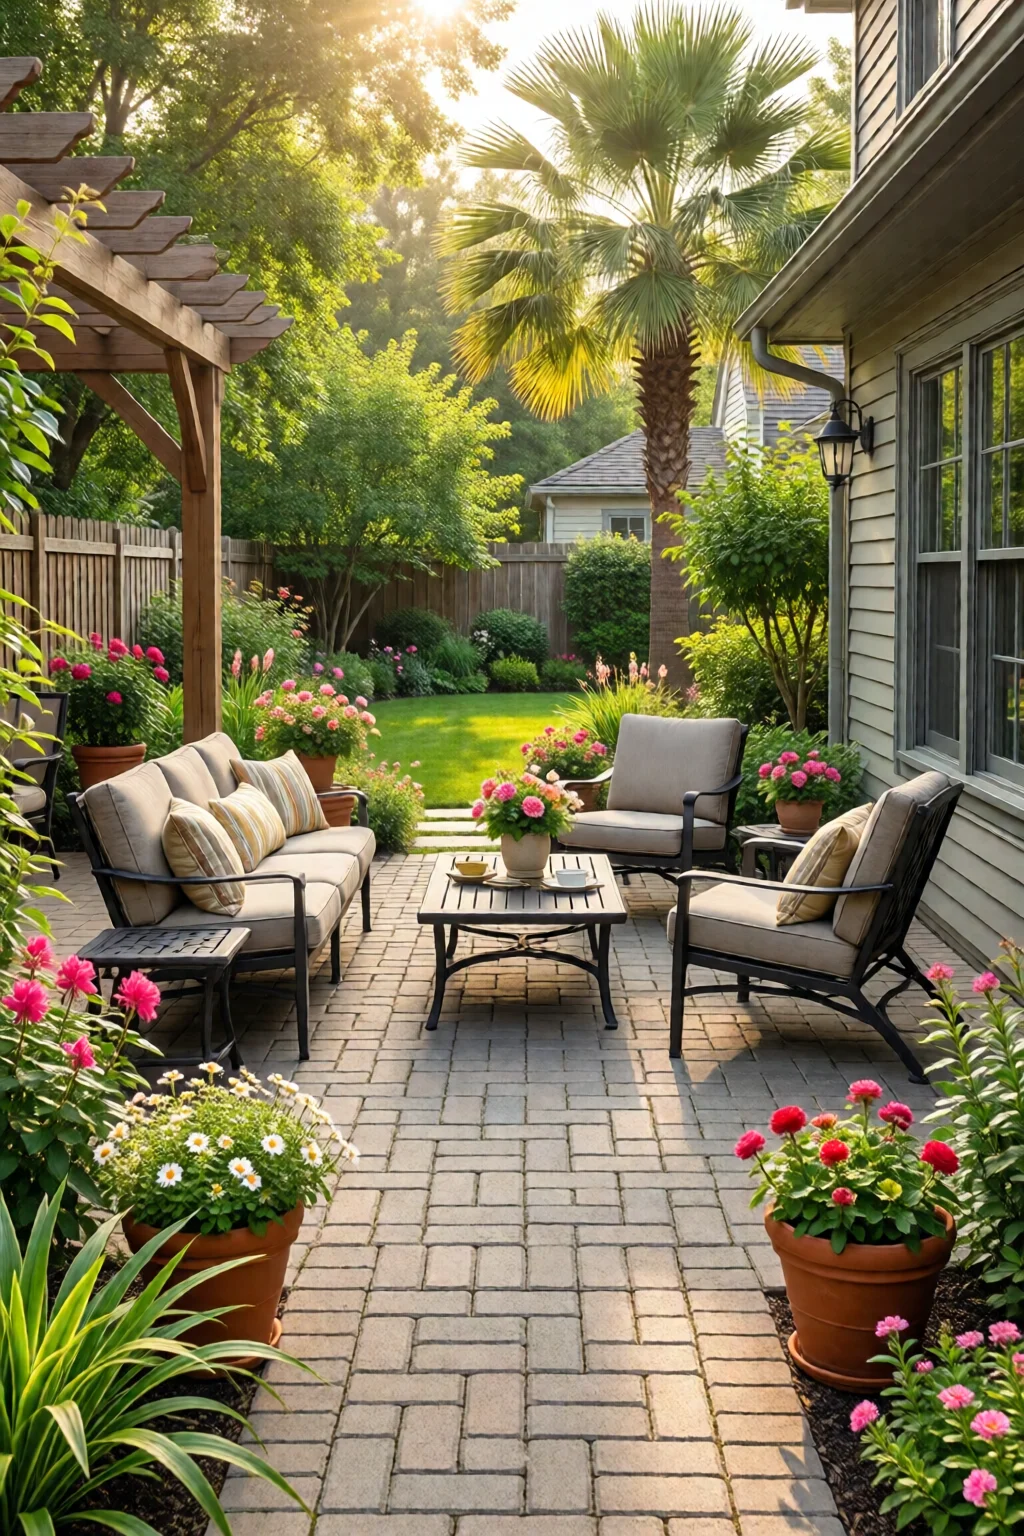
Measure the usable area of your yard. I usually start with a 12 ft. × 16 ft. rectangle because it provides 192 sq ft. of surface – a sweet spot for a dining set and a small fire pit. Sketch the perimeter on graph paper (1 in. = 1 ft.) and experiment with curves or L‑shapes. In my backyard, an L‑shaped patio let the garden beds wrap around the patio, creating a “room‑within‑a‑room” feel.
Step 2 – Choose a Pattern That Pops
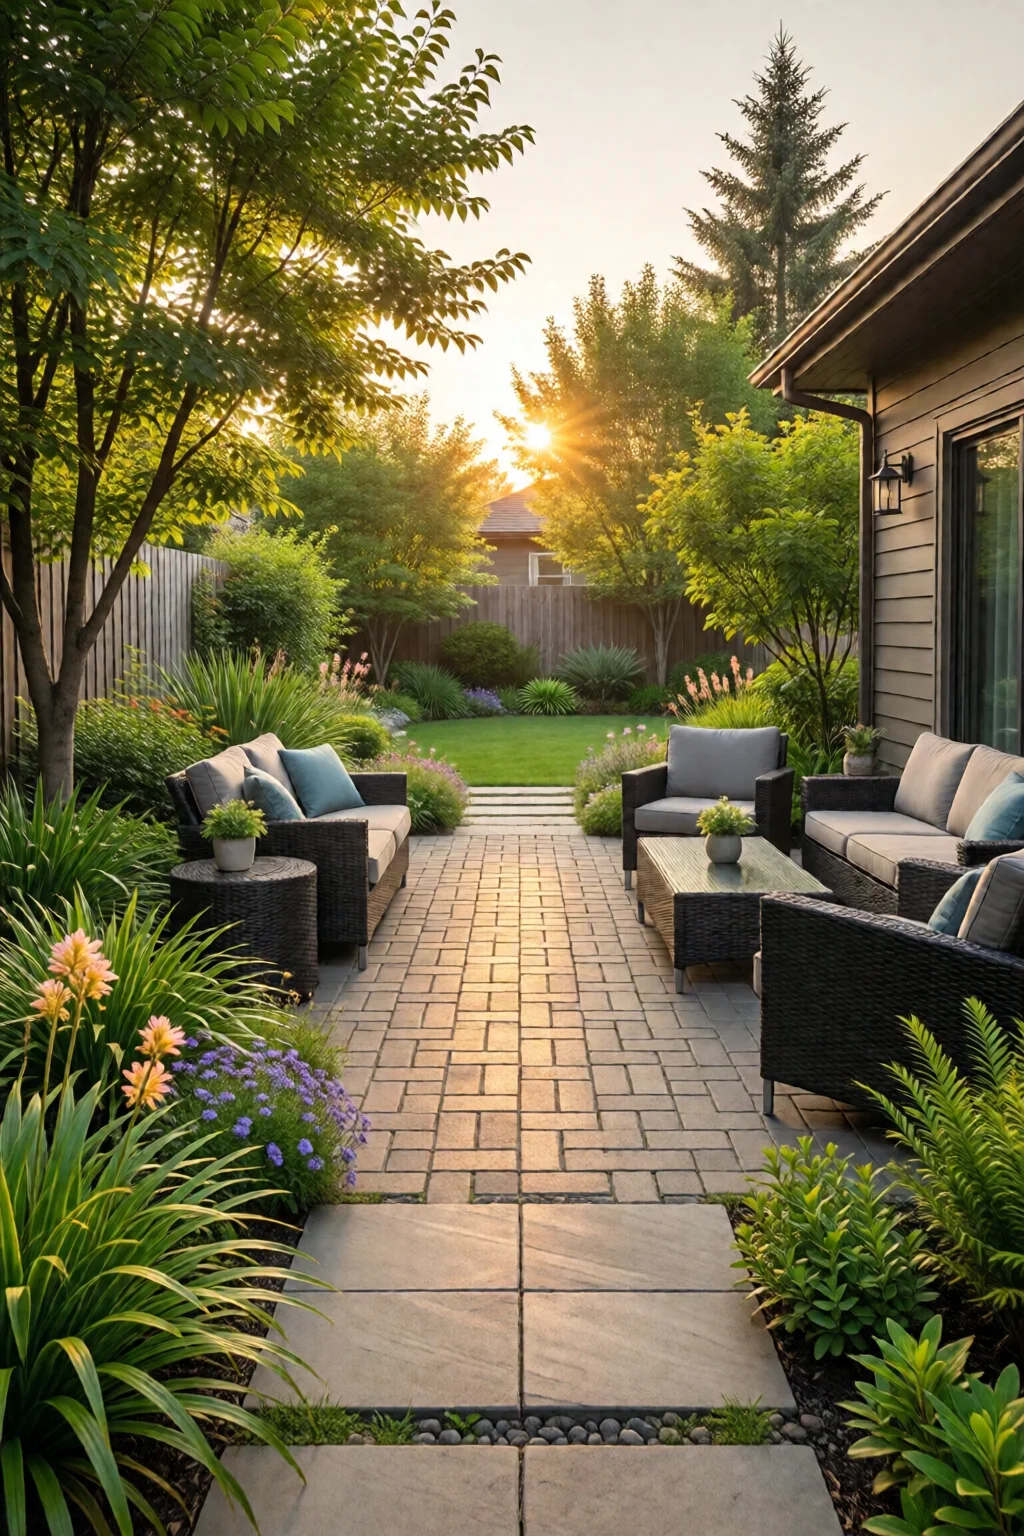
Interlocking pavers give you endless pattern options. My favorite is the herringbone layout; it adds visual movement and distributes weight better than a straight run. For a more relaxed vibe, try a random stack or a basket weave. When you pick a pattern, calculate the waste factor – add 10 % extra pavers to your order.
Step 3 – Prepare the Sub‑Base
Excavate to a depth of 7 in. for a 4‑in. stone base plus 1‑in. sand layer. Compact the soil with the plate compactor, then lay a sheet of landscape fabric to prevent weeds. Spread the crushed stone evenly, using a screed board to level it within ¼‑in. tolerance. A well‑compacted base is the secret behind a patio that stays flat for 20 years.
Step 4 – Install Edge Restraints
Edge restraints keep the pavers from shifting. I prefer steel edging because it’s durable and blends with modern outdoor furniture. Snap the edging into the trench, secure with spikes, and backfill with sand to lock it in place.
Step 5 – Lay the Pavers
Start at a corner and work outward, tapping each paver with a rubber mallet to a uniform depth. Use a level every few rows to catch any low spots early. For a 12 × 16 ft. patio, you’ll lay roughly 200 pavers; expect to spend about 3 hours on a Saturday morning.
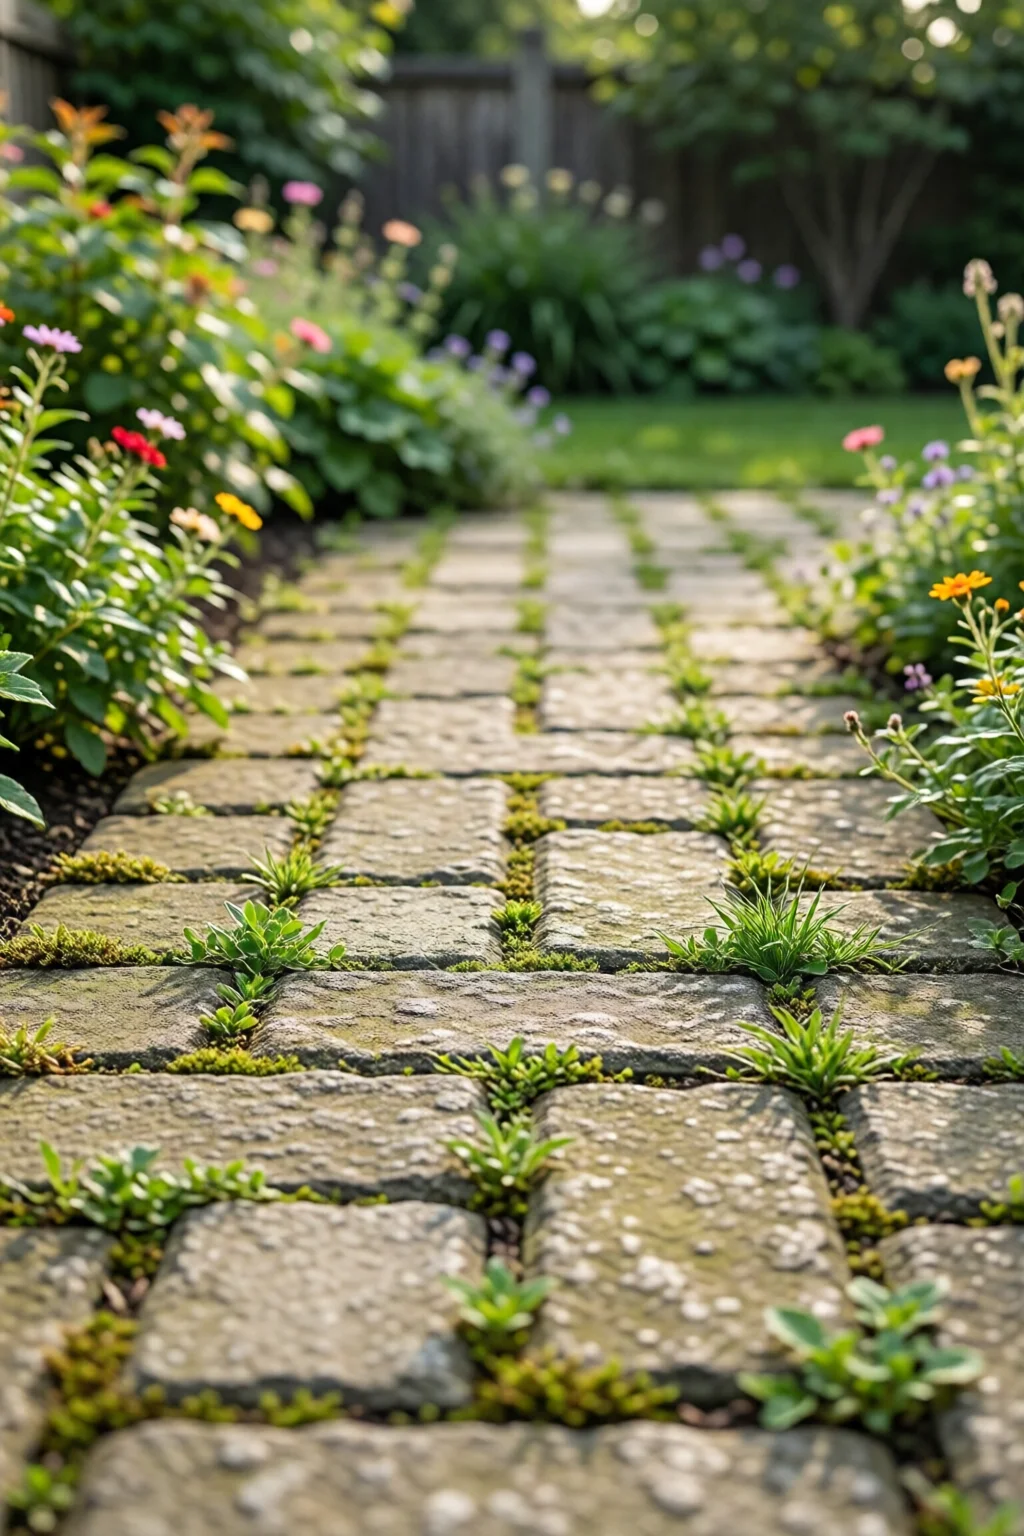
Step 6 – Fill Joints with Polymeric Sand
Sweep polymeric sand into the joints, then mist with water (follow the manufacturer’s 2‑minute wait). The sand hardens, locking the pavers and resisting weeds. In humid climates, I recommend a second mist after 24 hours.
Step 7 – Add Finishing Touches
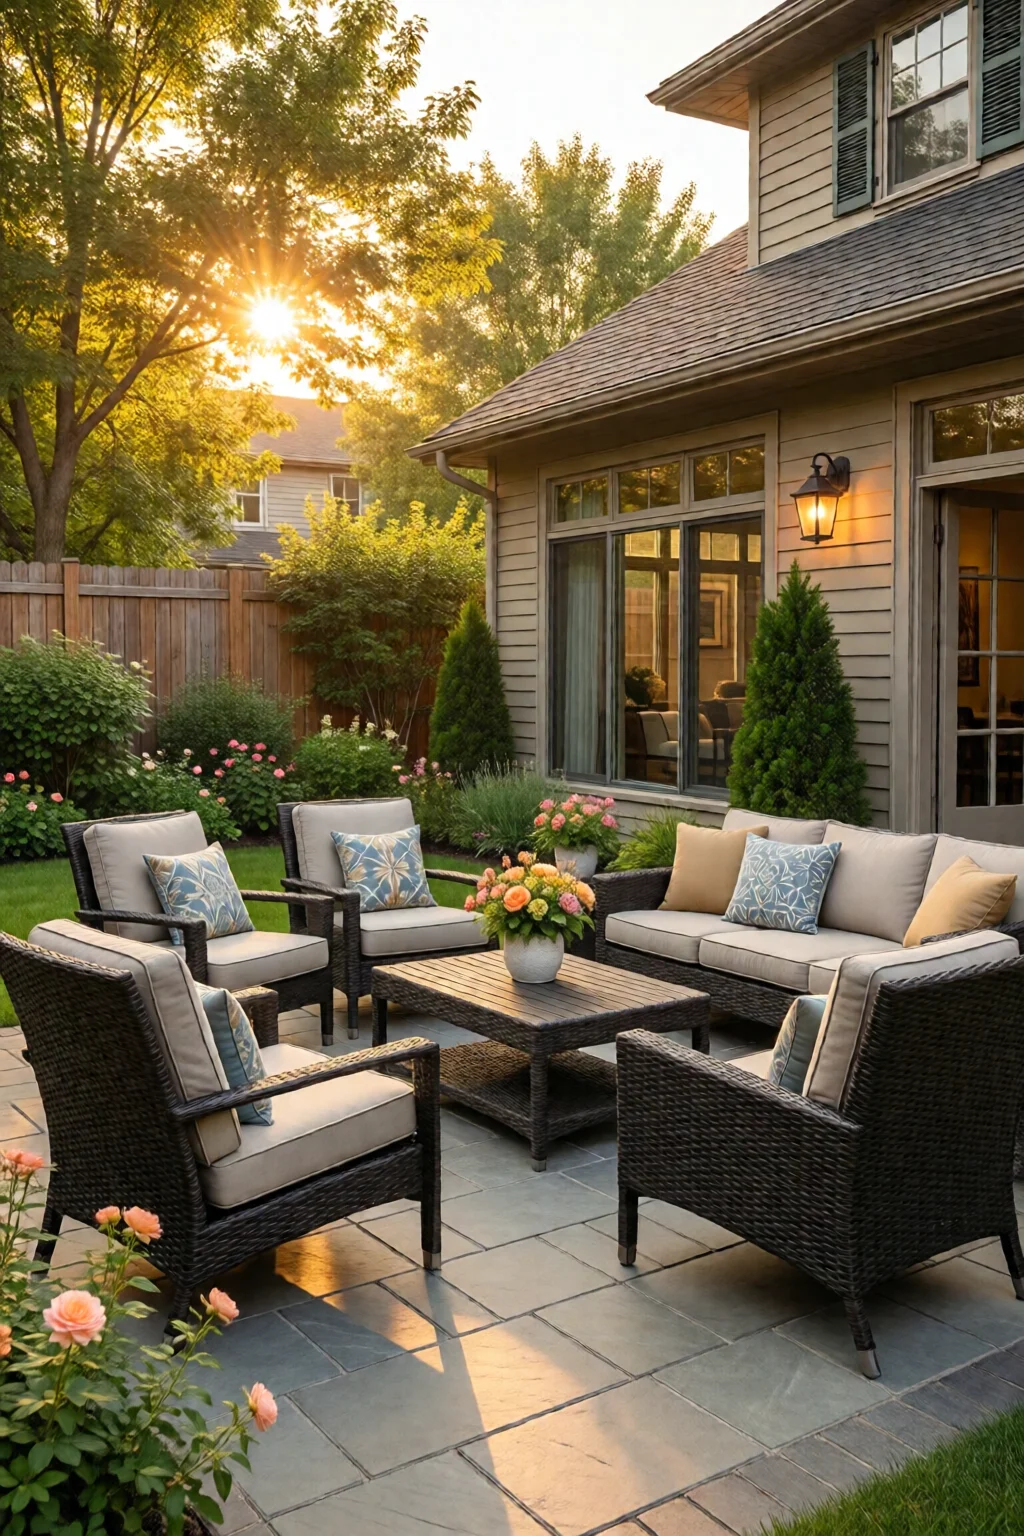
Seal the surface with a penetrating sealer (e.g., Seal‑Right®, $30 per 5‑gal bucket) to protect against stains and freeze‑thaw cycles. Then place your chosen patio furniture ideas on a budget, an outdoor fireplace, and a vibrant outdoor rug to complete the scene.
Common Mistakes to Avoid
1. Skipping the Base Compaction
One mistake I see often is laying pavers directly on soil. The patio will settle unevenly, leading to cracks. Always compact the base to at least 95 % density.
2. Ignoring Drainage
Without a slight slope (1‑2 % away from the house), water pools and damages the pavers. A simple trench with perforated pipe solves this.
3. Under‑Estimating Materials
Purchasing exactly the calculated number of pavers is risky. Breakage during installation is common; a 10 % overage prevents last‑minute trips to the store.
4. Using the Wrong Sand
Regular play sand washes out, while polymeric sand hardens correctly. Stick to polymeric sand for longevity.
Troubleshooting & Tips for Best Results
Uneven Surface After Installation? Check for low spots by laying a 2‑ft. level across the patio. Add a thin layer of sand under those pavers and re‑tamp.
Weeds Growing Through Joints? This usually means the polymeric sand wasn’t activated properly. Re‑apply sand and mist lightly.
Cracking After Winter? Use a flexible joint filler like Flex‑Seal to accommodate movement. In my experience, sealing the patio before the first freeze reduces cracking by 40 %.
For a cohesive look, match the paver color to surrounding hardscape. If you have a pool, consider poolside landscaping ideas that incorporate similar stone tones.
FAQ
How deep should the paver base be?
A stable patio needs a 4‑inch crushed stone base topped with a 1‑inch sand layer, so excavate to a total depth of 7 inches.
Can I install a patio on a slope?
Yes. Build a stepped retaining wall using concrete blocks, then level each step with a separate paver base. Ensure each tier has proper drainage.
What’s the best paver pattern for small backyards?
A diagonal or herringbone pattern visually expands the space, making a modest 8 × 10 ft. patio feel larger.
Do I need a professional to seal my patio?
Sealing is a DIY‑friendly task. Apply with a roller or sprayer, following the manufacturer’s 2‑coat recommendation for maximum protection.
How much does a 200‑sq‑ft. paver patio cost?
Material costs average $2,500–$3,500 (pavers, base, sand, edging). Including tools and labor, expect $4,000–$5,500 for a professional install.
Summary
Designing a backyard paver patio is a blend of art and engineering. Define your layout, pick a pattern, prep a solid base, and finish with proper joint sand and sealing. Avoid common pitfalls like poor drainage and insufficient compaction, and you’ll enjoy a durable, stylish patio that becomes the heart of your outdoor living.
1 réflexion au sujet de « Backyard Paver Patio Design Ideas – Everything You Need to Know »