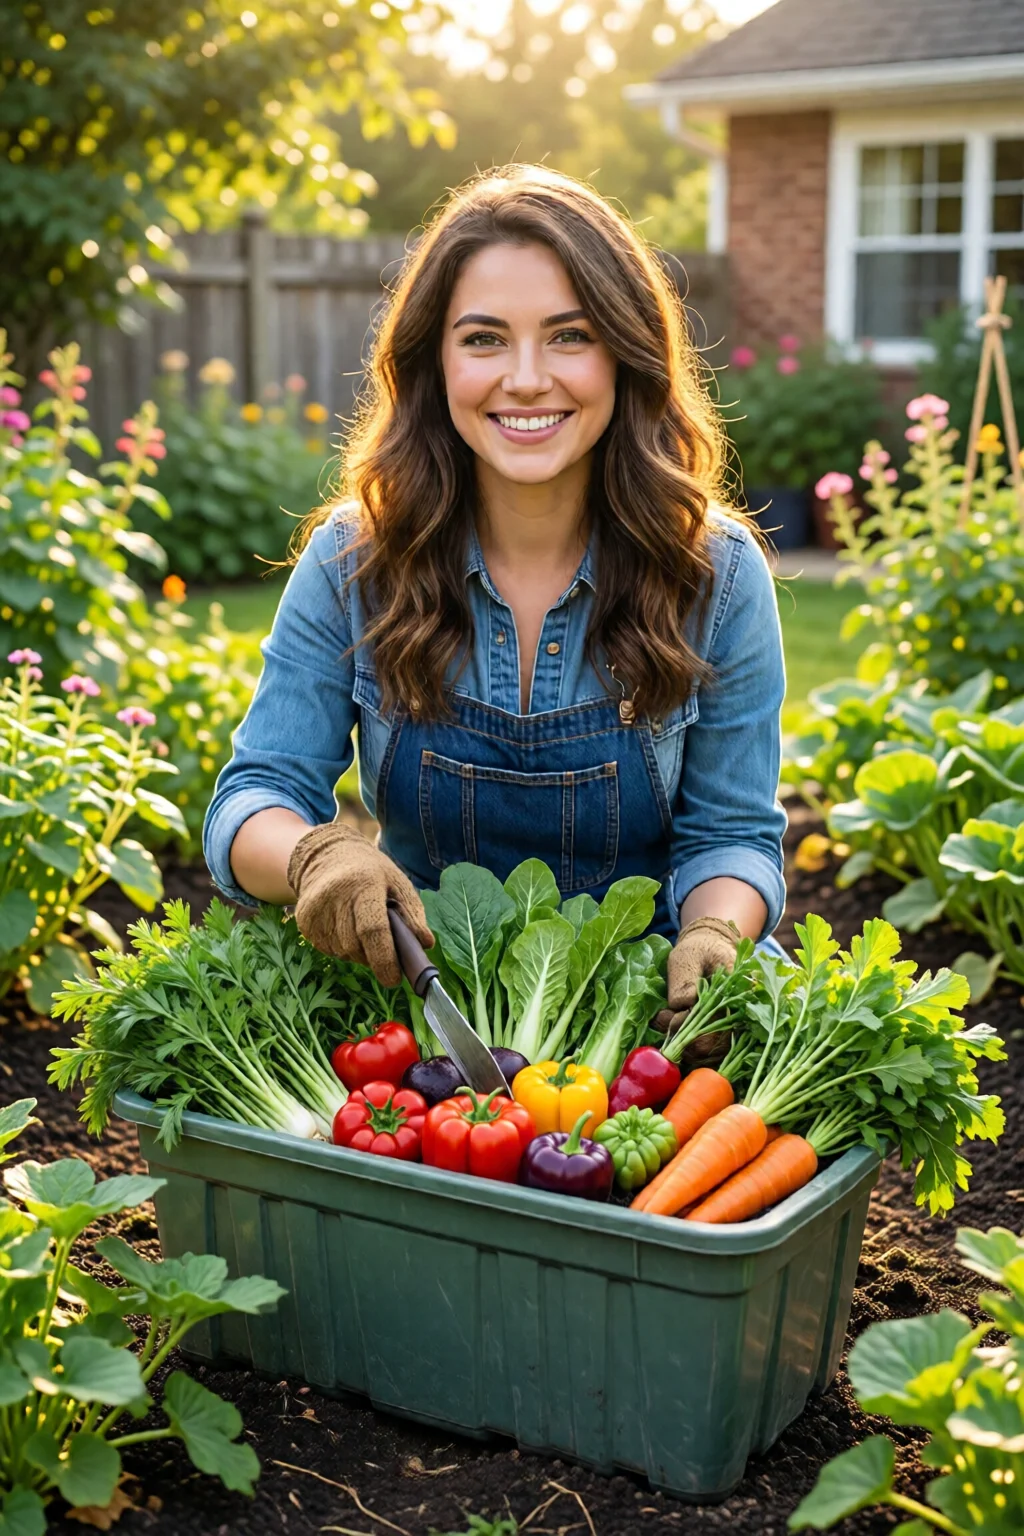
Ever wondered how you can harvest fresh carrots, tomatoes, and herbs right from a balcony without digging up a backyard?
In This Article
- What You Will Need – Before You Start
- Step 1: Choose the Right Container
- Step 2: Prepare a Soil Mix That Feeds
- Step 3: Pick Beginner‑Friendly Vegetables
- Step 4: Planting Techniques
- Step 5: Watering & Feeding Schedule
- Step 6: Sunlight, Placement, and Airflow
- Common Mistakes to Avoid
- Troubleshooting and Tips for Best Results
- FAQ
- Summary Conclusion
What You Will Need – Before You Start
Getting started with container vegetable gardening for beginners is less about fancy tools and more about the right basics. Here’s a concise checklist that will keep you from buying unnecessary gear:
- Containers: Choose pots with a minimum volume of 5 gal (19 L) for most veggies. Popular options include the Keter 5‑gal Resin Bucket ($24.95) and the Black Gold 5‑gal Grow Bag ($12.99). Ensure each has 2‑3 drainage holes.
- Potting mix: A high‑quality, well‑draining blend like Miracle‑Gro Performance Organics Potting Mix – 4 qt for $7.99 – works for most vegetables.
- Fertilizer: For feeding, I recommend Espoma Organic Tomato‑Tone ($6.49 per 1‑qt) for fruiting crops and a balanced 10‑10‑10 granular fertilizer for greens.
- Tools: A small hand trowel, a watering can with a fine rose (≈1 L capacity), and a pair of pruning shears.
- Support structures: Tomato cages (18‑inch, $4.99 each) or bamboo stakes (12‑inch, $2.49 per pack of 5).
- Sunlight meter (optional): The Phlux Light Meter ($29.95) helps you locate the sunniest spot.
Once you have these items, you’re ready to move on to the actual planting process.
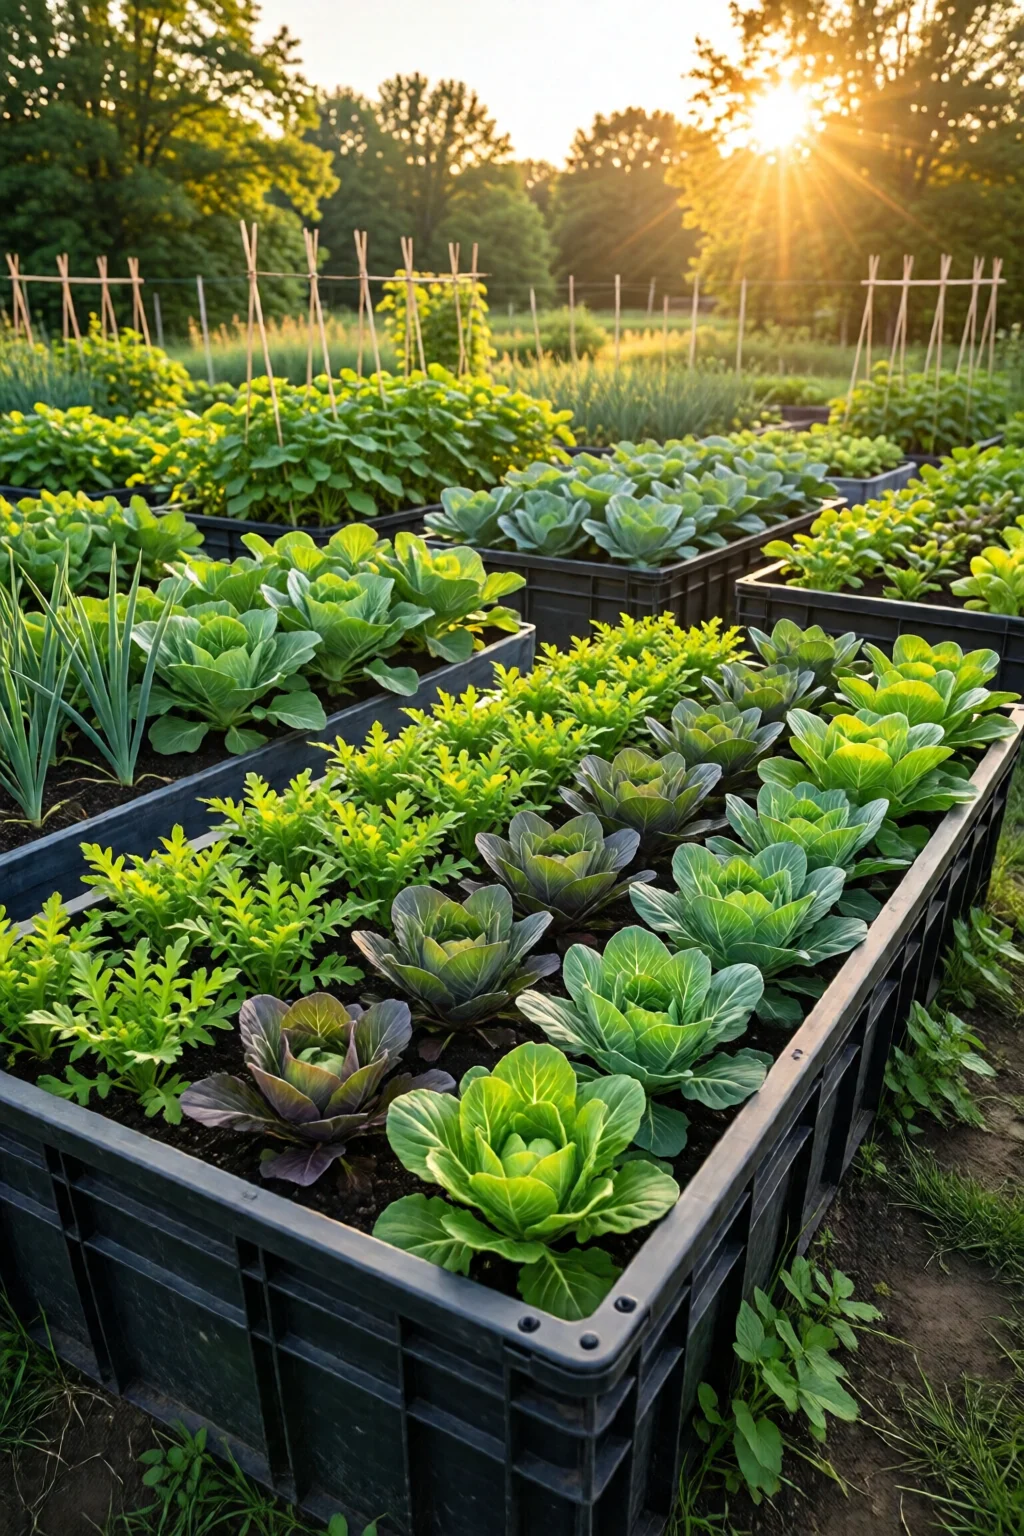
Step 1: Choose the Right Container
Size matters more than material for beginners. A 5‑gal container can comfortably hold a lettuce head, a few radishes, or a single dwarf tomato plant. If you have limited balcony rail space, opt for a slim rectangular pot (12 in × 8 in × 12 in) – it fits nicely between railings while still offering 3 gal of soil volume.
Materials like terra cotta are attractive but absorb water, requiring more frequent watering (up to 30 % more). Resin or fabric grow bags retain moisture longer, reducing watering frequency to every 2–3 days during summer. One mistake I see often is using decorative “bird‑baths” that lack drainage; they quickly drown roots and cause root rot.
Step 2: Prepare a Soil Mix That Feeds
Container soils need to hold water yet drain freely. I blend 60 % premium potting mix, 30 % coconut coir (for water retention), and 10 % perlite (for aeration). For a 5‑gal pot, that translates to roughly 3 qt potting mix, 1.5 qt coir, and 0.5 qt perlite.
To boost nutrients, stir in 1 Tbsp of Espoma Organic Tomato‑Tone per gallon of mix. This provides a 2‑2‑2 N‑P‑K boost and adds beneficial microbes. After mixing, let the soil sit for 15 minutes; you’ll notice it settles into a crumbly, loamy texture – the perfect medium for seed germination.
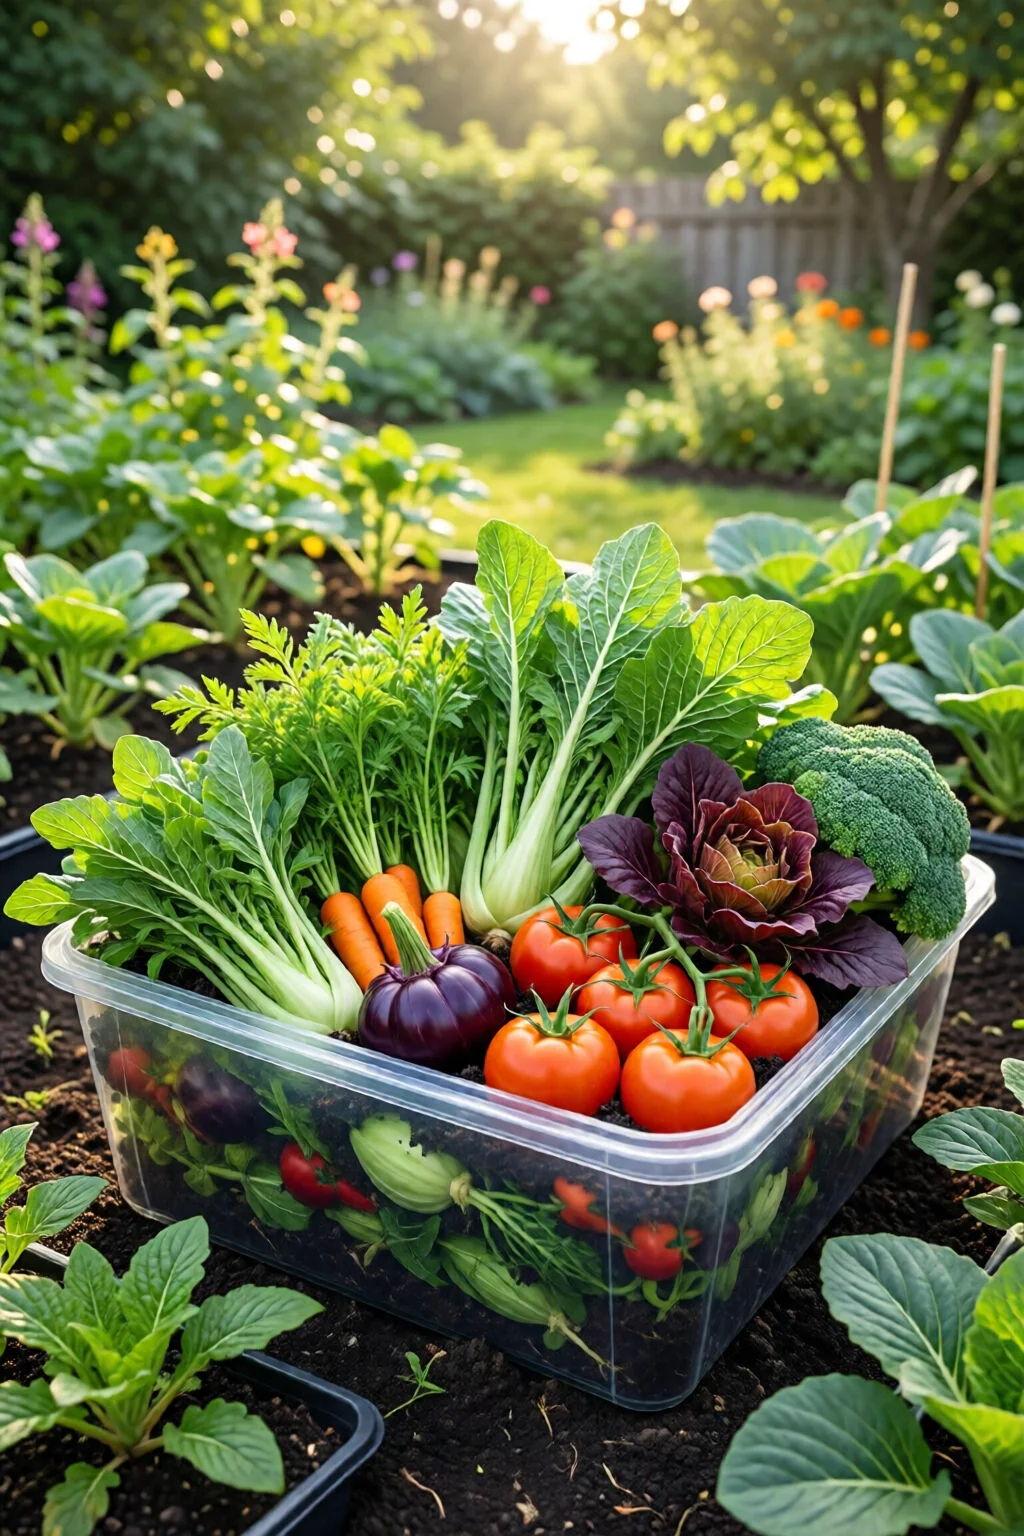
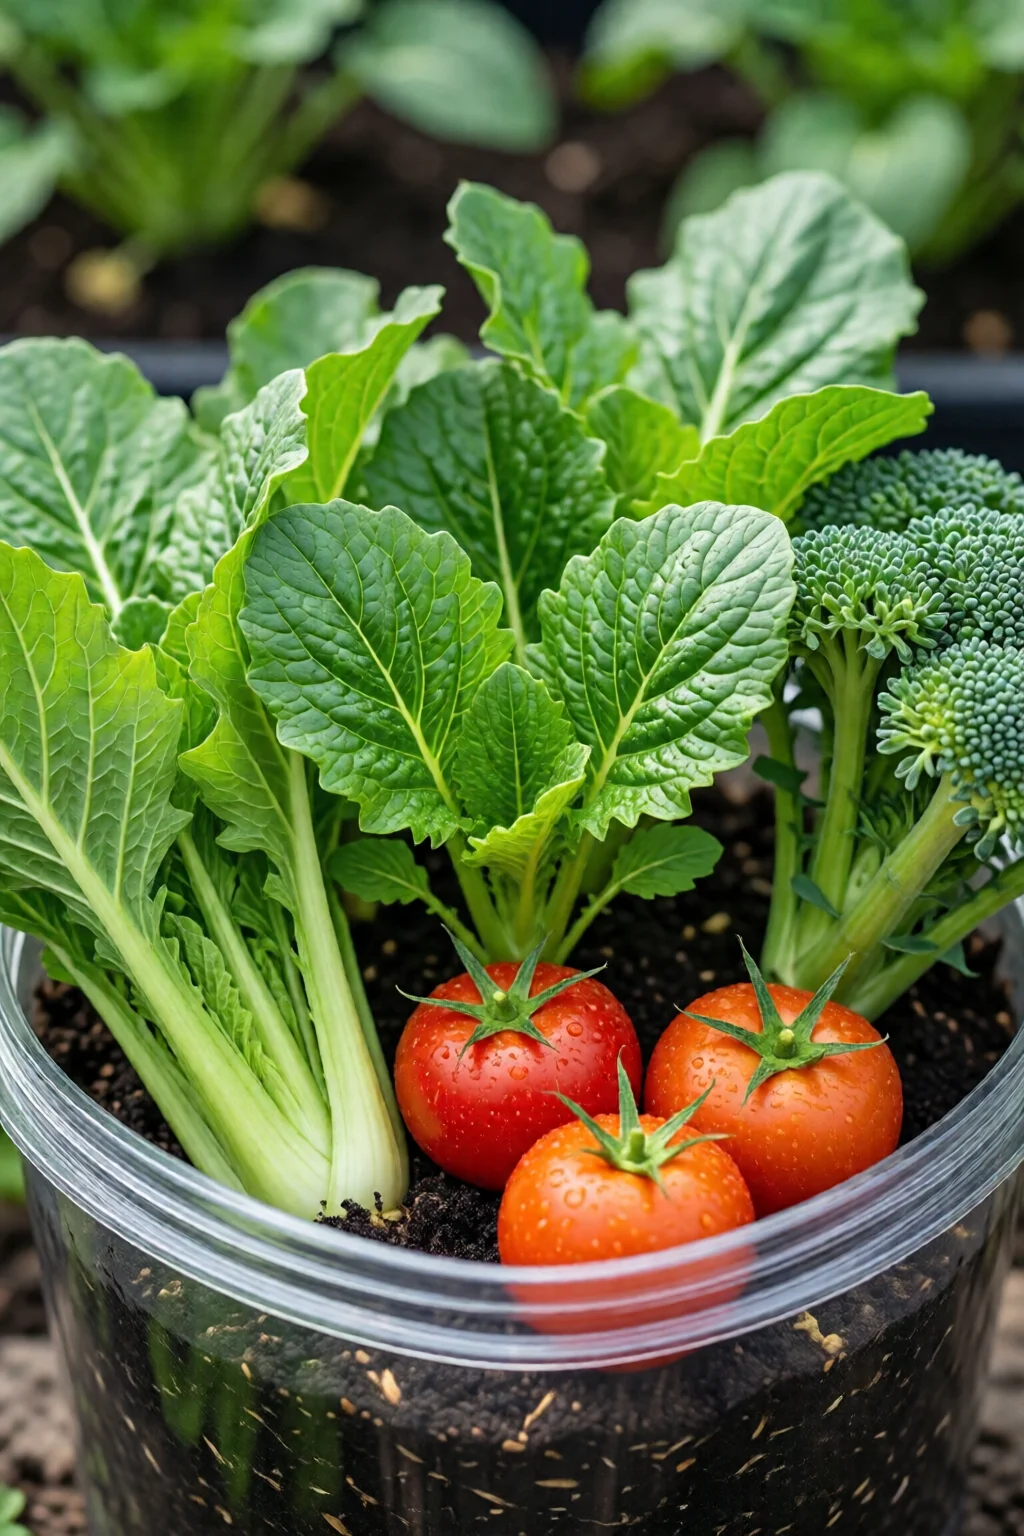
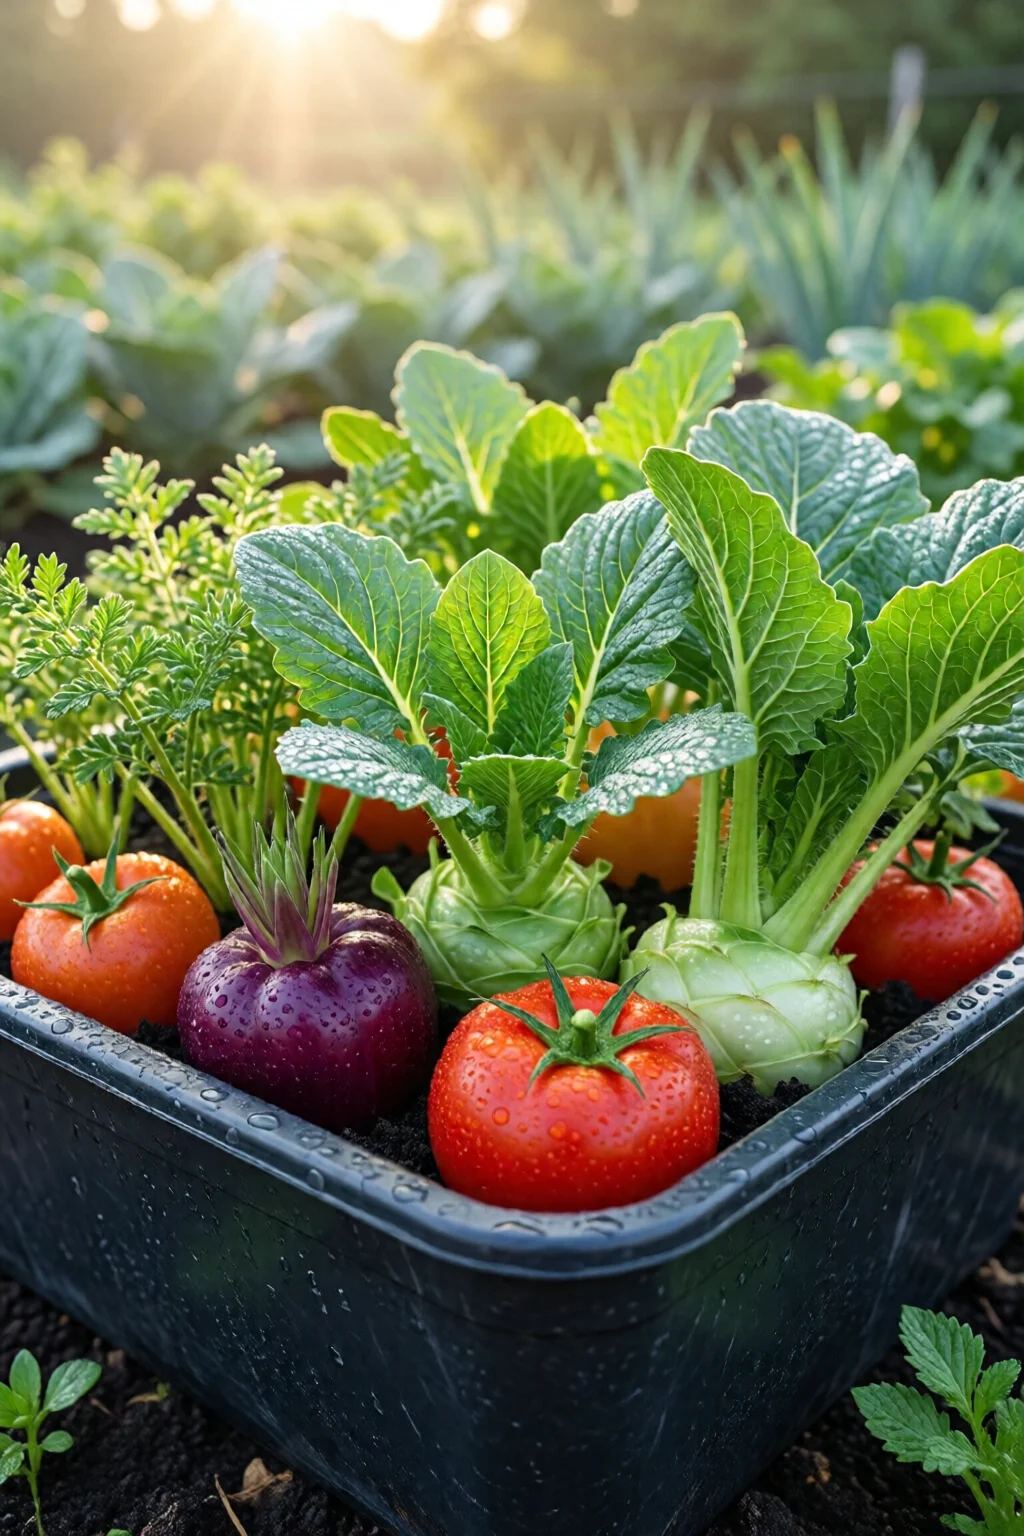
Step 3: Pick Beginner‑Friendly Vegetables
Not all veggies thrive in containers. For a first season, focus on fast‑growing, shallow‑rooted crops:
- Lettuce (Buttercrunch, Romaine) – harvest in 30–45 days; plant 2‑inch deep.
- Radishes – ready in 22 days; sow ¼‑inch deep.
- Bush beans – 12‑inch tall, harvest in 55 days; sow 1‑inch deep.
- Cherry tomatoes (‘Tiny Tim’ dwarf) – 12‑inch fruiting height; plant 6‑inch deep.
- Herbs (basil, parsley, chives) – 45‑day harvest; plant ½‑inch deep.
If your balcony gets only 3–4 hours of sun, swap tomatoes for best vegetables to grow in shade like kale or spinach.
Step 4: Planting Techniques
Follow these precise steps for each container:
- Fill the pot: Add the soil mix up to 1 inch below the rim. This prevents water from spilling over.
- Make planting holes: Use a trowel to create holes 1‑2 inches deep, spaced 3‑4 inches apart for leafy greens, and 6‑8 inches apart for beans or tomatoes.
- Sow seeds or transplant seedlings: Place seeds at the recommended depth (see step 3). For seedlings, gently tease roots and set them at the same depth they were in their original tray.
- Water in: Fill the pot slowly until water drains from the bottom. This settles the soil around roots.
- Mulch: Spread a ½‑inch layer of best mulch for vegetable garden – shredded coconut coir works well and costs about $3.99 per 5‑lb bag.
Tip: Label each pot with plant name and sowing date using waterproof garden markers; this helps track growth cycles.
Step 5: Watering & Feeding Schedule
Consistent moisture is the biggest challenge. Here’s a simple calendar:
| Day | Task |
|---|---|
| 1‑7 | Water once daily (≈250 ml per 5‑gal pot). Check soil surface – it should feel moist, not soggy. |
| 8‑30 | Water every 2 days. Apply a ¼‑strength liquid fertilizer (e.g., FoxFarm Grow Big – $12.99 per 1‑qt) once a week. |
| 31‑60 | Reduce watering to every 3 days. Switch to a balanced granular fertilizer (10‑10‑10) at 1 Tbsp per gallon, applied every two weeks. |
During heatwaves (above 30 °C/86 °F), increase watering frequency by 20 % and consider a shade cloth (70 % shade, $14.95) to protect tender seedlings.
Step 6: Sunlight, Placement, and Airflow
Most vegetables need 6–8 hours of direct sun. Use the Phlux Light Meter to identify the sunniest 3‑hour window on your balcony. Position taller plants (tomatoes) on the south‑most side, with shorter greens (lettuce) in front to avoid shading.
If you have limited sun, rotate containers weekly to give each plant equal exposure. Good airflow prevents fungal diseases; keep at least 4‑inch spacing between pots.
Common Mistakes to Avoid
Even seasoned gardeners slip up when starting out. Below are pitfalls that can ruin a budding container garden:
- Over‑watering: Waterlogged soil suffocates roots. Use a moisture meter (e.g., XLUX Soil Moisture Sensor, $19.99) to keep soil at 40‑60 % field capacity.
- Choosing the wrong pot size: A 2‑gal pot may stunt tomato growth, leading to weak stems and low yields.
- Ignoring soil nutrition: Plain potting mix runs out of nutrients in 4–6 weeks. Regular feeding as per the schedule above is essential.
- Planting too deep: Seeds buried deeper than recommended lose vigor. Follow seed packet instructions precisely.
- Neglecting pest control: Aphids love container plants. A quick spray of neem oil (30 ml bottle, $8.79) every 10 days keeps them at bay.
Troubleshooting and Tips for Best Results
If you encounter problems, here’s a quick diagnostic guide:
- Yellowing leaves: Could indicate nitrogen deficiency. Add a side‑dressing of compost tea (1 cup per 5 gal) or a quick‑release fertilizer.
- Wilting despite watering: Look for root rot – white, mushy roots mean excessive moisture. Repot in fresh, well‑draining mix and trim damaged roots.
- Leggy seedlings: Insufficient light. Move the pot to a sunnier spot or add a supplemental LED grow light (3000 K, 45 W, $34.99).
- Pests: Use sticky traps (blue for aphids, $5.99 per pack) and hand‑pick larger insects.
For long‑term success, rotate crops annually to avoid soil‑borne diseases. After harvesting tomatoes, replace them with leafy greens or beans for a simple mulching tips for flower beds approach that enriches the soil with organic matter.
FAQ
How deep should I fill the pot with soil?
Fill the container up to about 1 inch below the rim. This provides space for watering without overflow and ensures the roots have enough depth to spread.
Can I grow potatoes in a 5‑gal container?
Yes. Use a deep (12‑inch) pot, add a layer of soil, place seed potatoes, cover with 4‑inch soil, and repeat until the pot is full. Harvest after the foliage dies back, usually 90‑100 days.
What’s the best way to start onions from seed?
Sow onion seeds ¼‑inch deep in a light seed‑starting mix, keep the soil moist, and provide 12‑hour daylight. Transplant seedlings when they reach 4‑inch tall. See how to grow onions from seed for detailed steps.
Do I need to fertilize every week?
For fast‑growing greens, a diluted liquid fertilizer every week works well. For fruiting plants like tomatoes, a balanced granular feed every two weeks after the first fruit set is sufficient.
How can I protect my containers from winter cold?
Wrap pots in bubble wrap or burlap, move them to a sheltered spot (e.g., garage), and add a layer of straw mulch on top of the soil. Some gardeners store the containers indoors and re‑plant in spring.
Ready to turn your balcony, patio, or windowsill into a thriving vegetable oasis? With the right containers, soil mix, and a bit of consistent care, you’ll be harvesting fresh, home‑grown produce in as little as three weeks. Happy gardening!
Summary Conclusion
Container vegetable gardening for beginners boils down to three core principles: proper container size, well‑draining nutrient‑rich soil, and a disciplined watering/fertilizing routine. By following the step‑by‑step guide above, avoiding the common mistakes listed, and applying the troubleshooting tips when needed, you’ll enjoy a bountiful harvest without the need for a full‑sized garden plot. Remember, each container is a small experiment—track what works, adjust, and soon you’ll have a reliable, year‑round source of fresh vegetables right at home.
For those looking to expand beyond basics, explore shade garden ideas for low‑light spaces, or dive into advanced composting techniques to further enrich your container soil.
2 réflexions au sujet de “Container Vegetable Gardening For Beginners – Tips, Ideas and Inspiration”