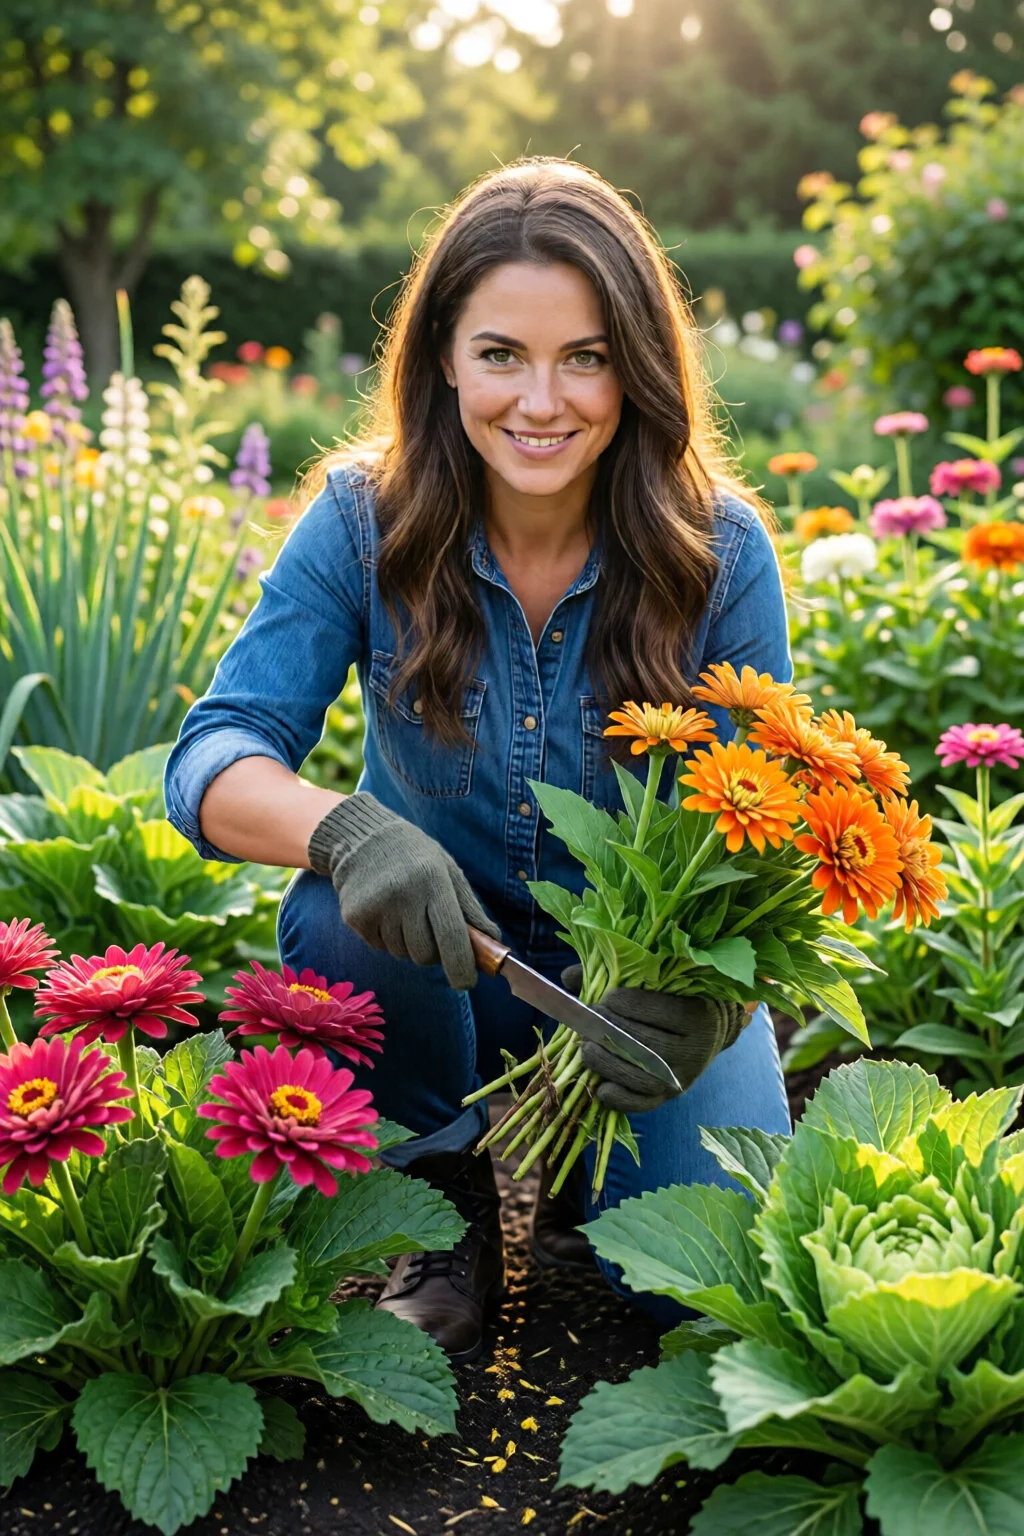
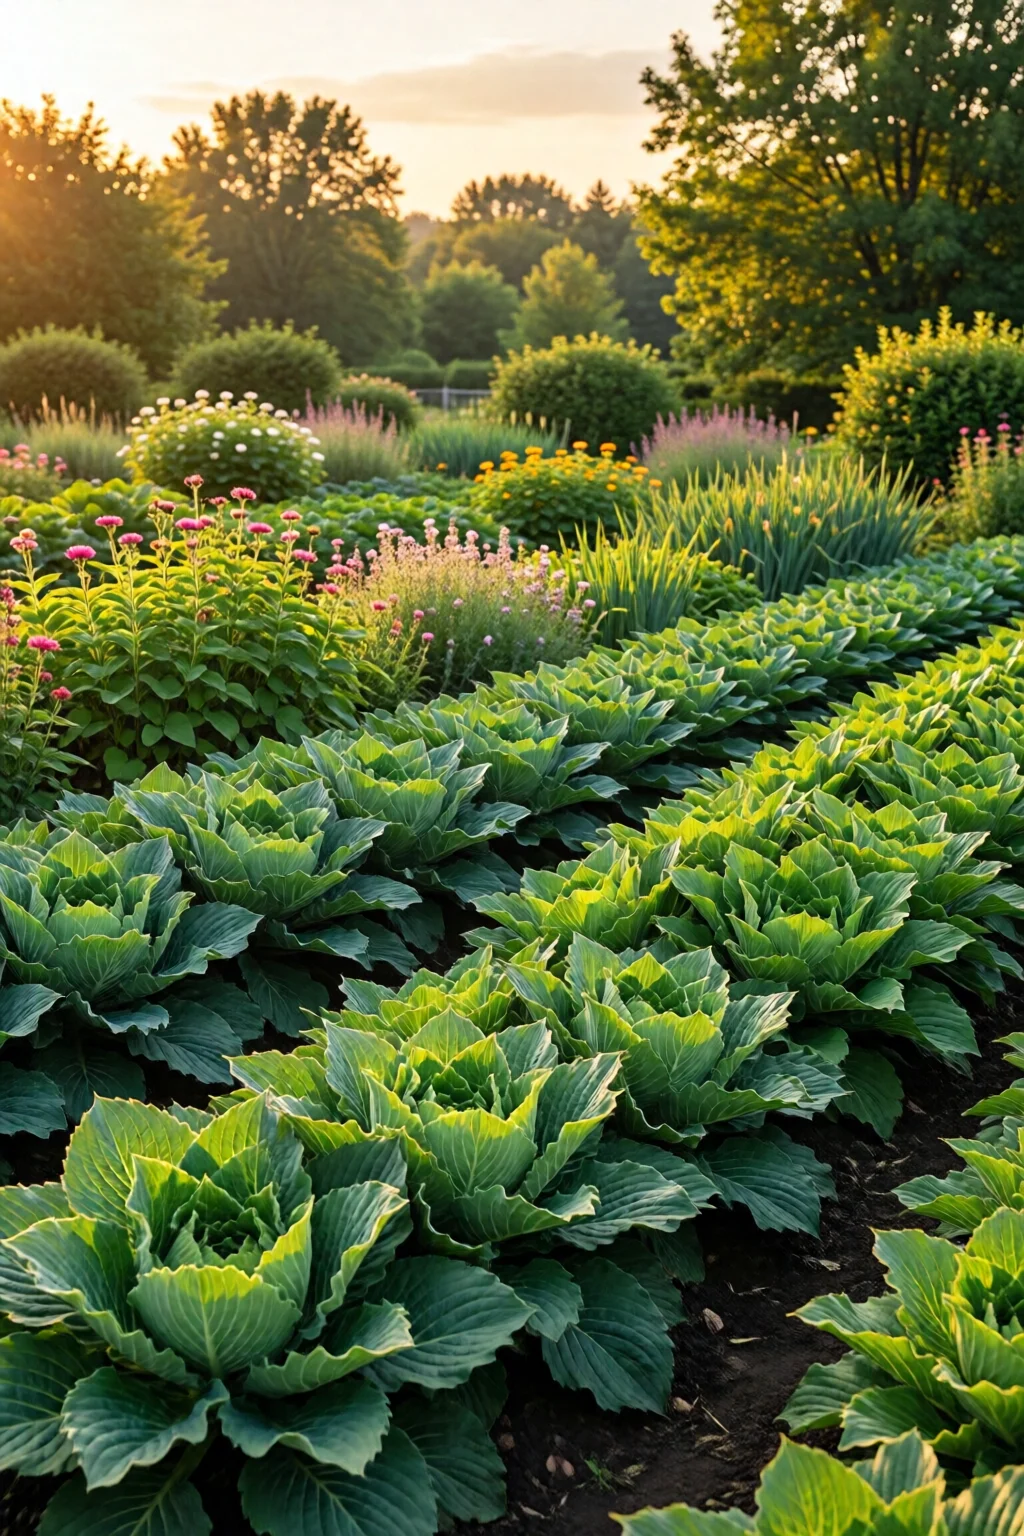
Ever stood in your garden, admiring a clump of hostas that’s spreading like a wild carpet, and wondered why it never looks as tidy as the picture on the seed packet? The secret lies in a simple, seasonal ritual: dividing perennials. This how to divide perennials guide walks you through every step, from timing to tools, so you can rejuvenate your beds, multiply your favorites, and keep your garden looking its best year after year.
In This Article
- 1. Pick the Perfect Time Window
- 2. Gather the Right Tools (and Know What to Buy)
- 3. Prepare the Soil – Amend, Water, and Mark
- 4. Identify the Right Plants to Split
- 5. Dig Up the Whole Clump Carefully
- 6. Separate the Clump into Viable Sections
- 7. Re‑Plant with Careful Placement and Watering
- 8. Monitor, Adjust, and Celebrate
- 9. Bonus: Dividing Perennials Indoors (for the Winter‑Hardy)
- Comparison of Top Tools for Dividing Perennials
- Final Verdict
1. Pick the Perfect Time Window
Timing is everything. Most perennials thrive when divided during their dormant phase—early spring (late March to early May) or early fall (mid‑September to early October). In my 12‑year garden career, I’ve found that spring divisions give plants a full growing season to recover, while fall divisions let roots establish before the freeze, reducing transplant shock.
Pro tip: If you live in USDA zones 5‑7, aim for early April when the soil is workable but the buds haven’t swollen. For zones 8‑9, late September works best because the soil is still warm enough to encourage root growth.
2. Gather the Right Tools (and Know What to Buy)
Investing in a solid set of tools saves you time and protects plant roots. Below is a quick comparison of my top three tools for dividing perennials.
| Tool | Price (USD) | Key Feature | Pros | Cons | Rating |
|---|---|---|---|---|---|
| Fiskars 18‑inch Pruning Shears | $19.99 | Sharp, non‑stick blades | Lightweight, easy to clean | Not ideal for very thick stems | 4.6/5 |
| Felco 2 Classic Pruning Snip | $24.95 | Adjustable tension, ergonomic handle | Durable steel, precise cuts | Higher price point | 4.8/5 |
| Garden Kneeler Pro with Tool Pouch | $39.99 | Dual‑purpose kneeler & seat, 2‑in‑1 | Reduces back strain, stores tools | Bulkier to move around | 4.5/5 |
One mistake I see often is using garden trowels with rusted edges; they tear roots and invite disease.
3. Prepare the Soil – Amend, Water, and Mark
Before you start cutting, give the bed a light feeding. A 1‑inch layer of well‑rotted compost (about $3 per 5‑lb bag) mixed into the top 6 inches improves drainage and nutrient availability. If your soil is heavy clay, add 2‑3 lb of coarse sand per square foot. This aligns with the advice in my soil amendment guide for healthy plants.
Water the area thoroughly (≈ 1 inch of water) a day before you begin. Moist soil slides apart more cleanly, reducing root damage.
4. Identify the Right Plants to Split
Not every perennial needs dividing each year. Look for these signs:
- Clumps > 12 inches across
- Leaves yellowing or stunted growth
- Visible gaps in the center of the mound
- Plants that are “crowded” after a few years (e.g., daylilies, hostas, peonies)
My favorite candidates are:
- Hosta “Patriot” – 15‑inch clumps after 3 years
- Echinacea purpurea – dense flower heads, 18‑inch spread
- Astilbe “Fanal” – fluffy plumes, 12‑inch diameter
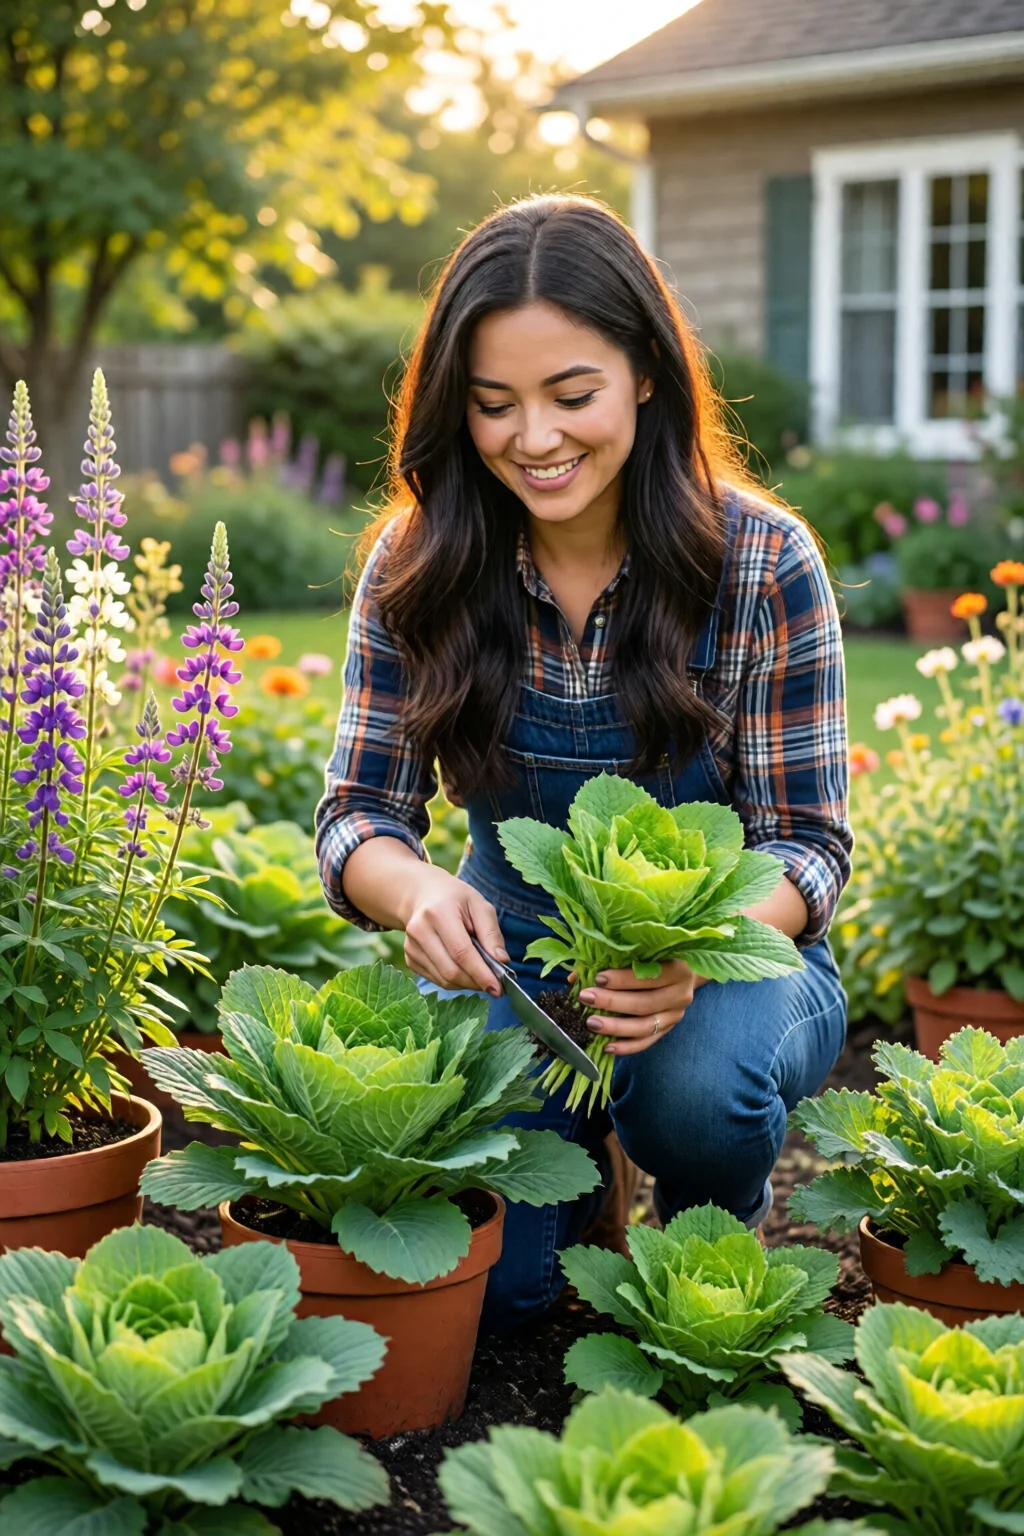
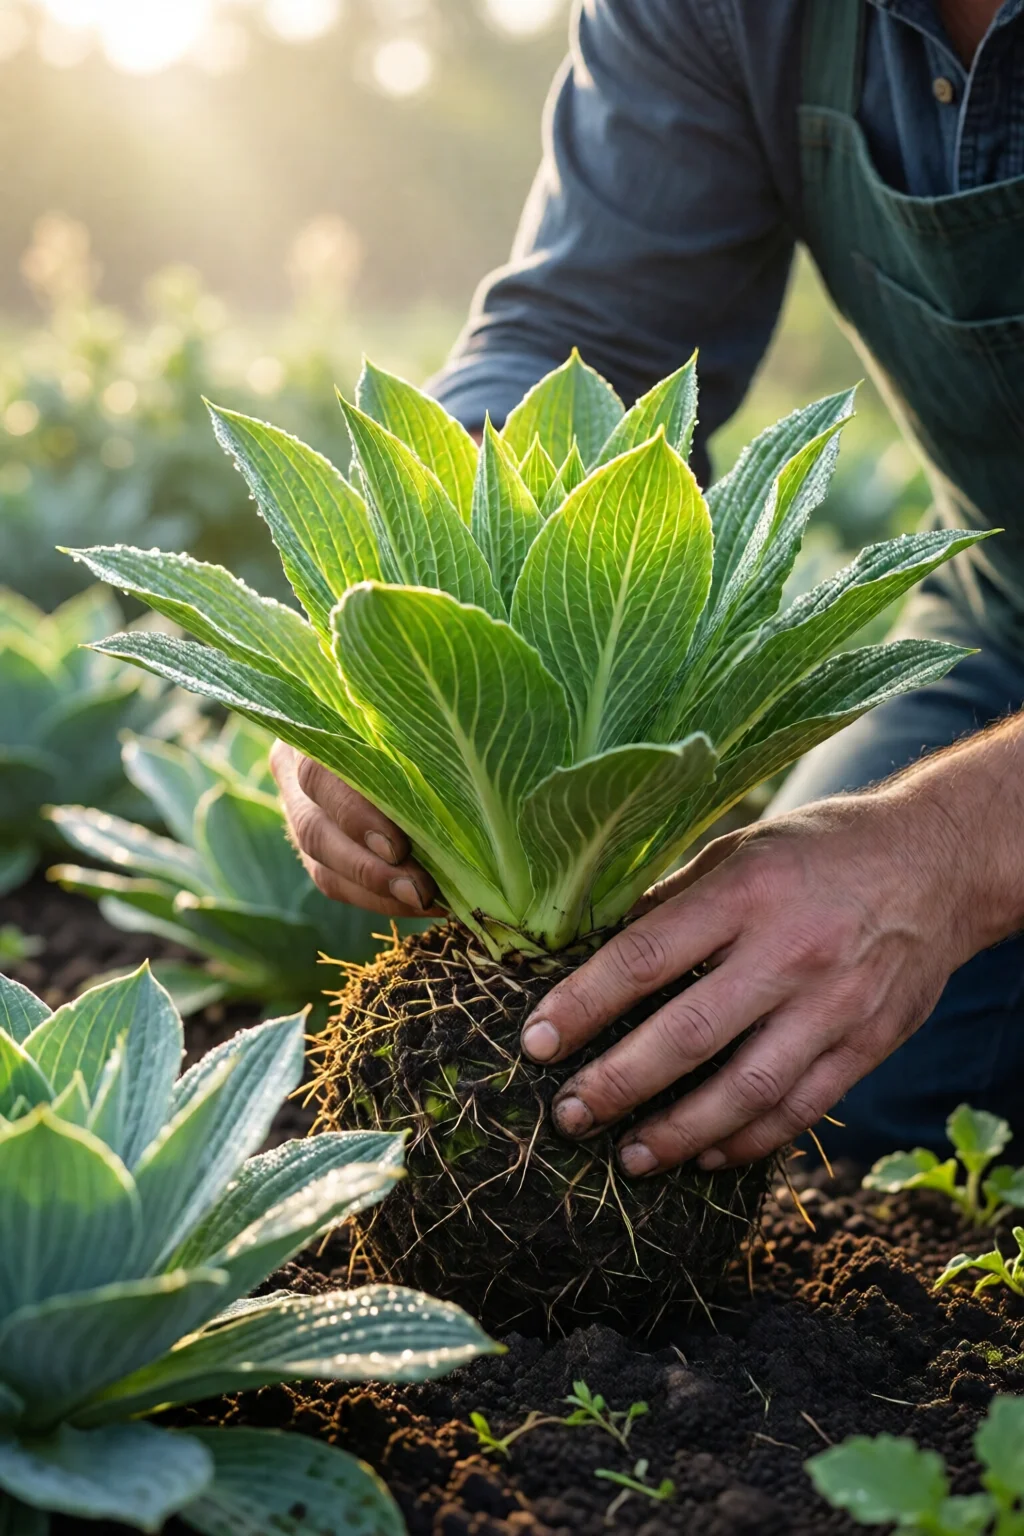
5. Dig Up the Whole Clump Carefully
Use a garden fork (e.g., Fiskars 7‑inch fork, $14.95) to loosen soil 8‑10 inches around the plant’s perimeter. Gently lift the clump, shaking off excess soil. If the roots are tangled, soak the base in a bucket of lukewarm water for 5 minutes – this softens the soil and makes separation easier.
In my experience, a shallow scoop with the fork preserves the fine feeder roots that are crucial for quick recovery.
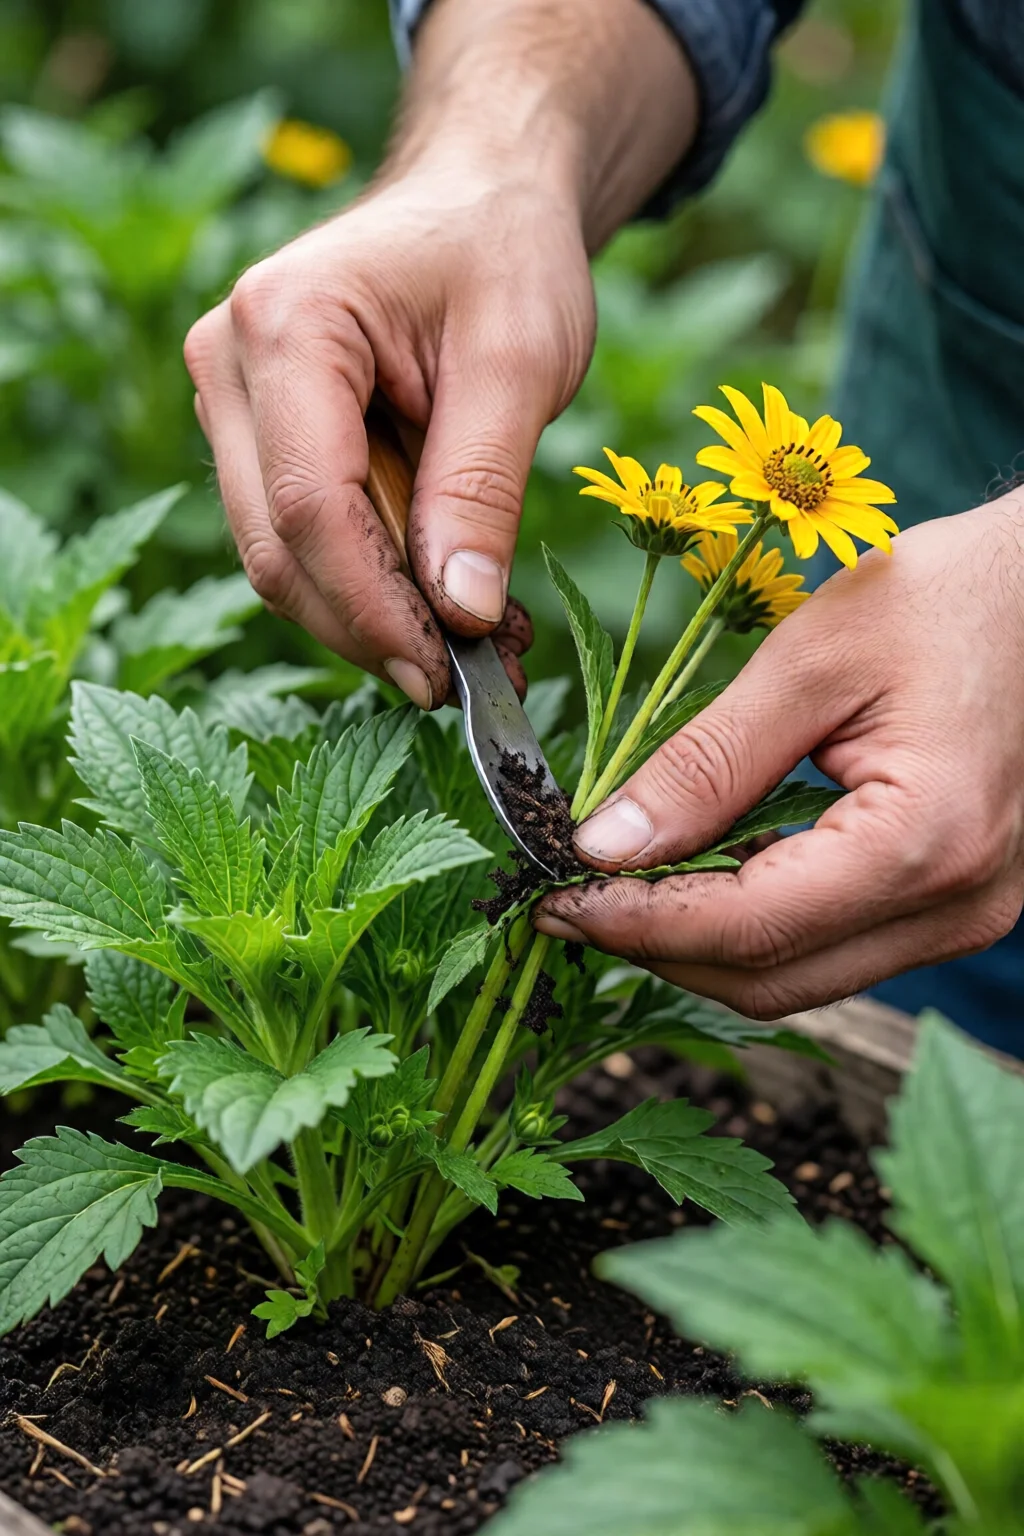
6. Separate the Clump into Viable Sections
There are three reliable methods:
- Hand‑splitting: For softer‑rooted perennials (hostas, astilbe). Pull gently apart, ensuring each division has at least 2–3 healthy shoots and a good mass of roots (≈ 2‑inch diameter).
- Sharp knife cut: For tougher stems (daylilies, peonies). Use a clean, stainless‑steel knife (e.g., Olfa 6‑inch slicer, $7.99). Cut through the crown, then trim excess roots with pruning shears.
- Garden fork prying: For dense mats (sedum, creeping phlox). Insert the fork at a 45° angle and lever the section away.
Always aim for a root‑to‑shoot ratio of at least 1:1 by weight. A division that’s too leaf‑heavy will wilt quickly.
7. Re‑Plant with Careful Placement and Watering
Plant each division at the same depth it was growing originally. For most perennials, the crown should sit just above the soil line. Space them according to the mature spread – 12‑18 inches for hostas, 24‑30 inches for daylilies.
After planting, water in a slow, deep soak (≈ 1.5 inches). A good rule of thumb: 10 minutes of water from a garden hose with a “soaker” attachment per 5 square feet. Add a 2‑inch mulch layer (shredded bark, $2 per bag) to retain moisture and suppress weeds.
Track progress with a simple calendar: note the date of division, watering schedule (watering schedule for garden plants), and any fertilization (apply a balanced 10‑10‑10 granule at 1 lb per 100 sq ft after 4 weeks).
8. Monitor, Adjust, and Celebrate
Within 2‑3 weeks, expect some foliage loss – that’s normal. By late spring, new shoots should emerge. If you notice yellowing or wilting after two weeks, check soil moisture; over‑watering can suffocate roots, while under‑watering leads to drought stress.
My favorite part of the process is the “plant‑swap” day in early May, when I trade excess divisions with neighbors. It’s a low‑cost way to diversify your garden – I once received a 3‑year‑old peony root for a handful of hosta plugs, and it’s now my showpiece.
9. Bonus: Dividing Perennials Indoors (for the Winter‑Hardy)
If you’re in a cold climate (zones 3‑5), you can pre‑divide perennials in a cool garage (40‑45 °F) and store them in peat pots until spring. Keep the pots in a shallow tray with moist sphagnum moss – this mimics a dormant environment and reduces root shock.
For a deeper dive, see the overwintering plants guide for cold climates.
Comparison of Top Tools for Dividing Perennials
| Tool | Best For | Durability (Years) | Ease of Use (1‑5) | Cost Effectiveness |
|---|---|---|---|---|
| Fiskars 18‑inch Pruning Shears | Soft‑stem splits, light pruning | 5‑7 | 4 | High |
| Felco 2 Classic Snip | Thick crowns, precise cuts | 10‑12 | 5 | Medium |
| Garden Kneeler Pro | Heavy‑duty digging, extended work sessions | 8‑10 | 3 | High (includes storage pouch) |
| Olfa Stainless Steel Knife | Sharp crown cuts for peonies | 7‑9 | 4 | Very High |
Final Verdict
Dividing perennials isn’t just a maintenance chore; it’s a garden‑building strategy that multiplies your favorite plants, boosts vigor, and keeps beds looking fresh. By timing your work, using the right tools, and following the step‑by‑step process outlined above, you’ll see healthier growth and more blooms in just one season. Remember, a healthy division routine paired with proper soil amendment, watering, and occasional fertilization will give you a garden that thrives year after year.
How often should I divide perennials?
Most perennials benefit from division every 3‑4 years. Faster‑spreading plants like daylilies or hostas may need it annually, while slower growers like lavender can go up to 5 years between splits.
Can I divide perennials in the middle of summer?
It’s possible but risky. Summer heat stresses plants, so if you must, keep the soil consistently moist, shade the roots with a tarp, and expect slower recovery.
Do I need to fertilize after dividing?
A light feeding of a balanced 10‑10‑10 fertilizer (½ cup per 10 sq ft) after four weeks helps new roots establish, but avoid high‑nitrogen blends that promote foliage over root growth.
What’s the best way to store divisions over winter?
Place the root balls in peat pots, keep them in a cool (40‑45 °F) garage, and maintain moisture with damp sphagnum moss. This mimics natural dormancy and reduces shock.
3 réflexions au sujet de “Best How To Divide Perennials Guide Ideas That Actually Work”