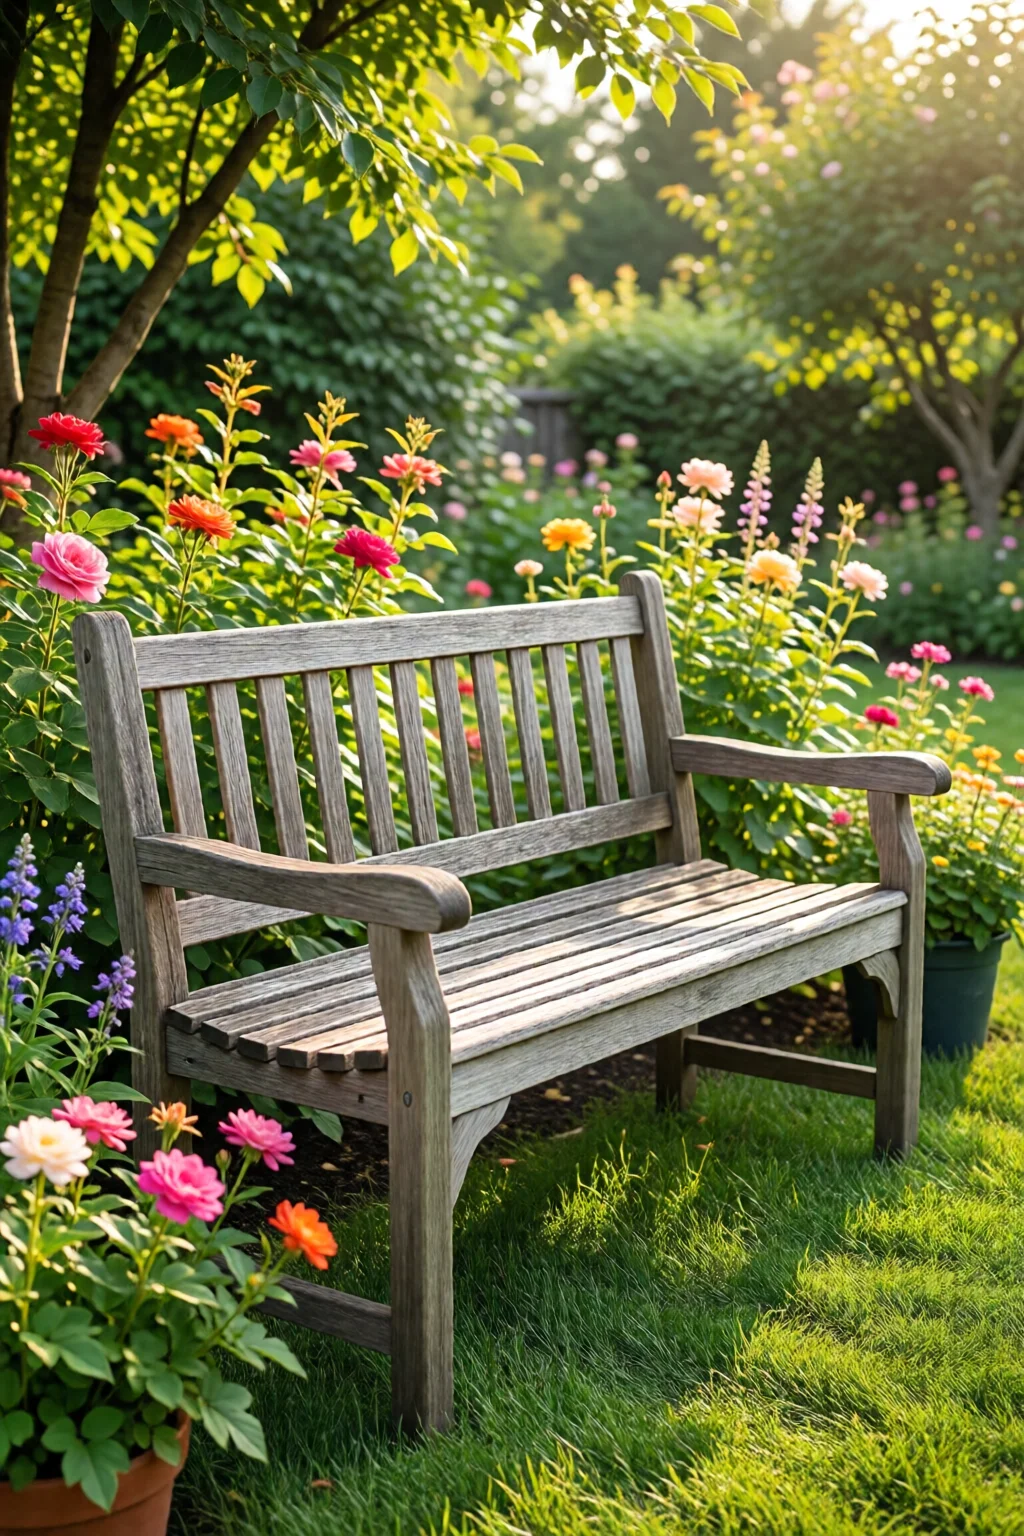
Last summer I built a simple bench from old pine pallets for my own backyard, and the moment I sat down, the whole garden seemed to breathe a little easier. A well‑placed bench does more than give you a place to rest; it frames the landscape, invites conversation, and can become the centerpiece of your outdoor living area. That’s why I’m excited to share my favorite DIY garden bench ideas – each one tested, tweaked, and proven to survive everything from summer heat to winter frost.
In This Article
Whether you’re a seasoned woodworker or a weekend hobbyist, the plans below give you clear, step‑by‑step instructions, realistic cost breakdowns, and the pros and cons you need to decide which design fits your space and skill level. Let’s turn those raw materials into a comfortable spot you’ll love for years.
1. Reclaimed Pallet Bench with Rustic Charm
Reclaimed pallets are the gold standard for budget‑friendly garden furniture. A standard 48 × 40‑inch pallet costs about $12 – $18 at most home‑improvement stores, and you can often find them for free at local warehouses. This bench uses two pallets for the seat and a third for the backrest, creating a sturdy, weather‑resistant perch in under four hours.
Materials & Tools
- 3 standard wood pallets (48 × 40 in)
- Deck screws – 3 in (≈ $8 per 100‑pack)
- Exterior wood glue (optional) – $6
- Power drill, circular saw, sandpaper (80‑grit)
- Exterior-grade paint or sealant – $15 – $25 per gallon
Step‑by‑Step Build
- Disassemble and clean: Use a crowbar to pry apart the slats, removing any nails or staples. Wash the wood with a garden hose and let it dry for 48 hours.
- Cut to size: Trim each slat to a uniform 1.5 in thickness. For the seat, arrange six slats side‑by‑side, securing them with two rows of decking screws.
- Assemble the backrest: Stack three slats vertically, spacing them 2 in apart, then attach to the seat using L‑brackets (≈ $4 each).
- Finish: Sand any rough edges, then apply two coats of exterior sealant. This adds UV protection and extends the bench life by up to 70 %.
Pros & Cons
- Pros: Extremely low cost (total ≈ $45); quick assembly; rustic aesthetic that blends with natural settings.
- Cons: Pallet wood can be uneven; may require periodic resealing.
Rating
Ease of Build: 9/10 | Durability: 7/10 | Comfort: 8/10
2. Cedar Bench with Hidden Storage
Cedar is a gardener’s favorite because its natural oils repel rot and insects. This design adds a shallow drawer beneath the seat, perfect for garden tools, cushions, or seed packets. Expect a build time of 6‑8 hours, but the result is a polished, weather‑proof bench that can handle heavy use.
Materials & Tools
- Cedar lumber – 2 × 6 in, 8 ft (≈ $25 per board, total $100)
- Drawer slides – 2 × 12 in heavy‑duty (≈ $12 each)
- Galvanized carriage bolts – ½ in (≈ $0.30 each)
- Wood glue – $7
- Router, table saw, drill, and orbital sander
- Exterior stain – 1 qt (≈ $18)
Construction Overview
- Cut the frame: Four legs 18 in tall, two side rails 48 in long, and a front/back rail 20 in high.
- Build the storage box: Assemble a 44 × 12 × 6 in box using half‑lap joints for strength.
- Install drawer slides: Attach slides inside the box and to the underside of the seat.
- Attach the seat: Secure a 48 × 12 in cedar board on top of the frame, leaving a ¼ in gap for drainage.
- Finish: Sand smooth, then apply two coats of clear exterior stain. This preserves the cedar’s natural hue while adding UV protection.
Pros & Cons
- Pros: Highly durable (up to 20 years with proper care); built‑in storage; aesthetically pleasing grain.
- Cons: Higher material cost; requires precise joinery; heavier (≈ 80 lb).
Rating
Ease of Build: 6/10 | Durability: 9/10 | Comfort: 9/10
3. Concrete Block Bench – Modern Minimalism
If you adore industrial looks, concrete block benches are surprisingly simple. Using standard 8‑in concrete blocks and reclaimed timber, you can create a sturdy, low‑maintenance bench in a single afternoon. This option is perfect for a minimalist garden or a outdoor dining area that needs a sleek, unobtrusive seat.
Materials & Tools
- Concrete blocks – 8 × 8 × 16 in (≈ $2.50 each, total $30 for 12 blocks)
- Reclaimed 2 × 4 lumber – 4 ft (≈ $7 per piece, total $28)
- Construction adhesive – $6
- Rubber mat or felt pads (to prevent ground moisture) – $10
- Level, measuring tape, and a rubber mallet
Assembly Steps
- Lay the foundation: Place four blocks in a rectangle (2 × 2) and fill the interior with sand to level.
- Build the seat: Stack two blocks on each side, then lay a 48 in long 2 × 4 across the top as the seat. Secure with construction adhesive and two L‑brackets.
- Optional cushion: Add a weather‑resistant outdoor cushion (≈ $25) for extra comfort.
- Seal: Apply a silicone sealant around gaps to keep moisture out.
Pros & Cons
- Pros: Minimal tools needed; extremely durable; low cost (≈ $94 total).
- Cons: Hard surface can be uncomfortable without a cushion; not as visually warm as wood.
Rating
Ease of Build: 8/10 | Durability: 10/10 | Comfort: 5/10 (with cushion 8/10)
4. Wrought Iron Bench with Classic Elegance
For those who want a touch of vintage charm, a wrought‑iron bench offers timeless elegance while standing up to wind, rain, and even snow. This design uses pre‑fabricated iron sections from Home Depot’s Garden Art line (part number 3063‑04) and a simple wooden seat for added comfort.
Materials & Tools
- Wrought‑iron frame kit – $120 (includes legs, back, and crossbars)
- 2 × 6 in pressure‑treated pine seat – $15
- Metal drill bits, socket set, and protective gloves
- Exterior-grade paint – $10 per quart (optional for color)
- Rubber washers – $5 for a pack of 20
Construction Process
- Assemble the frame: Follow the kit instructions to bolt together the legs and backrest. Use rubber washers to prevent squeaks.
- Prepare the seat: Cut the pine board to 48 × 14 in, sand smooth, and treat with a water‑based sealant.
- Attach the seat: Secure the seat to the iron frame using four stainless‑steel carriage bolts (¼ in). Tighten evenly to avoid warping.
- Finish: Paint the iron in a matte black or deep bronze for a modern look; allow 24 hours to dry.
Pros & Cons
- Pros: Classic look; virtually indestructible; low maintenance after paint.
- Cons: Heavier (≈ 120 lb); higher upfront cost; requires basic metal‑working tools.
Rating
Ease of Build: 5/10 | Durability: 10/10 | Comfort: 7/10
5. Upcycled Wooden Crate Bench with Planter
If you love combining seating with planting, this crate bench is a dual‑purpose masterpiece. Two sturdy wooden crates become the base, while a third sits on top as the seat, leaving space underneath for a shallow planter—ideal for daylily varieties or herbs.
Materials & Tools
- Three wooden shipping crates (≈ 30 × 20 × 12 in) – $20 each, total $60
- Galvanized steel brackets – $8 (set of 4)
- Landscape fabric – $5
- Potting soil and plants – $25
- Exterior paint or stain – $12 per gallon
- Drill, screwdriver, sandpaper
Build Steps
- Reinforce crates: Add a horizontal brace inside each crate using 2 × 4s to prevent sagging.
- Assemble base: Position two crates side‑by‑side, secure with steel brackets at the corners.
- Place seat crate: Set the third crate on top, aligning edges. Fasten with additional brackets for stability.
- Prepare planter: Line the interior of the base crates with landscape fabric, fill with soil, and plant your chosen herbs.
- Finish: Paint or stain the exterior to match your garden palette.
Pros & Cons
- Pros: Multifunctional (bench + planter); uses readily available materials; customizable look.
- Cons: Weight limits (max 150 lb); crate wood may need periodic sealing.
Rating
Ease of Build: 7/10 | Durability: 6/10 | Comfort: 8/10
Comparison of the Top DIY Garden Bench Ideas
| Bench Type | Material Cost | Tool Requirements | Build Time | Durability (Years) | Comfort Rating |
|---|---|---|---|---|---|
| Reclaimed Pallet Bench | $45 | Basic power drill, saw | 3‑4 hrs | 5‑7 | 8/10 |
| Cedar Bench with Storage | $150 | Router, table saw | 6‑8 hrs | 15‑20 | 9/10 |
| Concrete Block Bench | $94 | Minimal (mallet, level) | 2‑3 hrs | 20+ | 5/10 (8/10 w/ cushion) |
| Wrought Iron Bench | $135 | Metal drill set, socket | 4‑5 hrs | 20+ | 7/10 |
| Crate Bench with Planter | $102 | Basic drill, screwdriver | 4‑5 hrs | 6‑8 | 8/10 |
Frequently Asked Questions
What wood is best for a garden bench?
Cedar, redwood, and pressure‑treated pine are the top choices because they contain natural oils or chemicals that resist rot, insects, and moisture. Cedar offers the longest lifespan (up to 20 years) without needing a chemical sealant.
How do I protect a wooden bench from winter freeze‑thaw cycles?
Apply a marine‑grade spar urethane or an exterior oil finish each autumn. This creates a flexible barrier that expands and contracts with the wood, reducing cracking from freeze‑thaw cycles.
Can I build a bench without a power saw?
Yes. The concrete block and crate benches require only a handsaw or a cheap Japanese pull saw. For pallet or simple plank benches, a handsaw and a good set of clamps will suffice.
How much weight can a DIY garden bench safely hold?
A well‑built cedar or iron bench can hold 250‑300 lb. Pallet and crate benches are best limited to 150‑200 lb unless reinforced with additional joists.

Final Verdict
Choosing the right DIY garden bench hinges on three factors: budget, aesthetics, and intended use. If you need a quick, low‑cost solution, the reclaimed pallet bench delivers charm for under $50. For long‑term durability and storage, the cedar bench with hidden compartments is worth the extra effort and expense. When modern minimalism calls, the concrete block bench offers unmatched resilience with almost no tools. Meanwhile, a wrought‑iron frame adds classic elegance for those willing to invest a bit more. Finally, the crate‑bench‑with‑planter merges seating and gardening, perfect for small‑space owners who love functional design.
Whichever design you pick, remember that proper sealing, regular maintenance, and thoughtful placement (avoid standing water, use a ground pad) will keep your bench looking fresh for years. Happy building, and may your new bench become the favorite gathering spot in your garden!