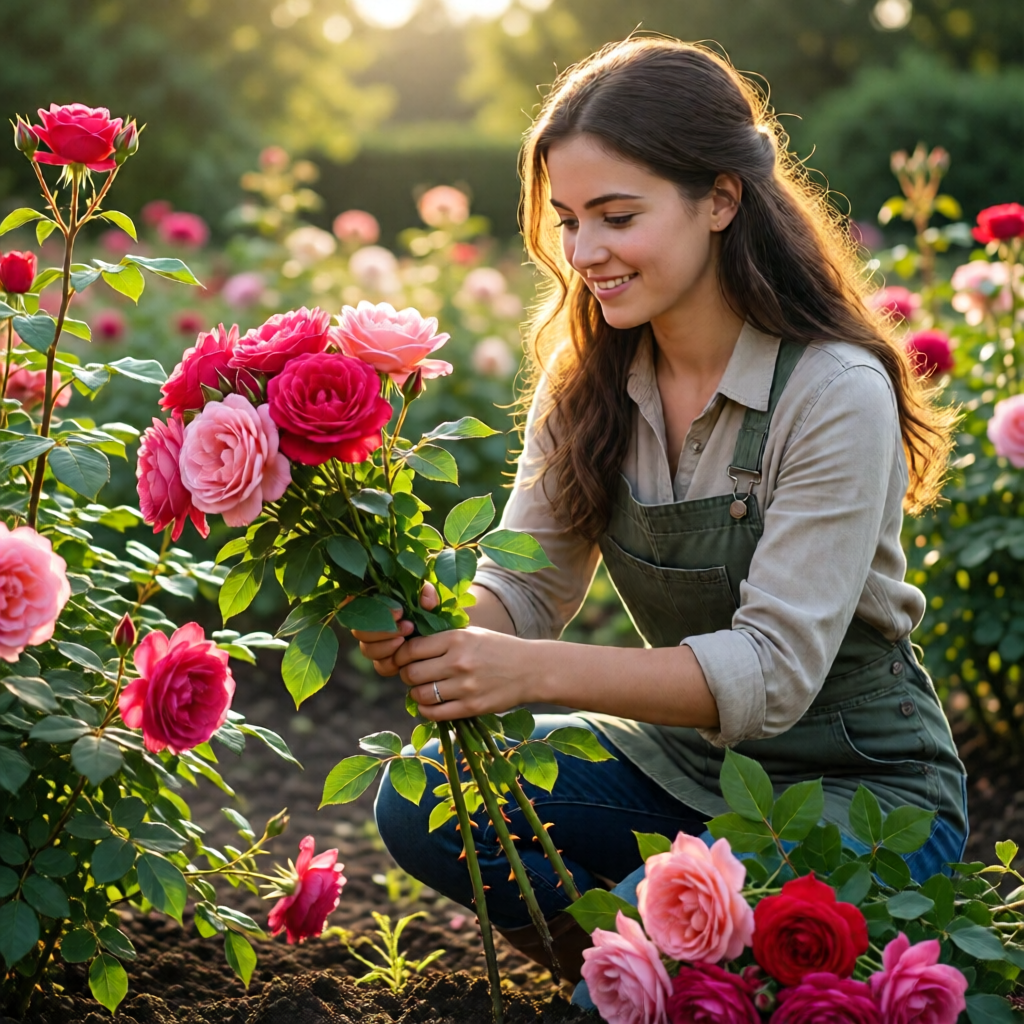
Roses have long been the crown jewels of any garden, offering timeless beauty, fragrance, and a touch of romance. While buying a new rose bush from a nursery is straightforward, growing roses from cuttings lets you clone your favorite varieties, preserve heirloom genetics, and save money. In this guide we’ll walk you through every step of the process—from selecting the perfect stem to nurturing a rooted cutting into a thriving plant—so you can enjoy a bountiful rose garden that’s truly your own.
Why Growing Roses from Cuttings Is Rewarding
When you propagate roses from cuttings, you’re essentially creating an exact genetic copy of a plant you already love. This means you retain the exact bloom color, fragrance, disease resistance, and growth habit that made you fall for that particular rose in the first place. Moreover, cuttings bypass the juvenile phase that seedlings often endure, allowing you to see full‑size blooms in a fraction of the time. For the environmentally‑conscious gardener, using cuttings reduces the demand for new plant production, which in turn cuts down on transportation emissions and packaging waste.
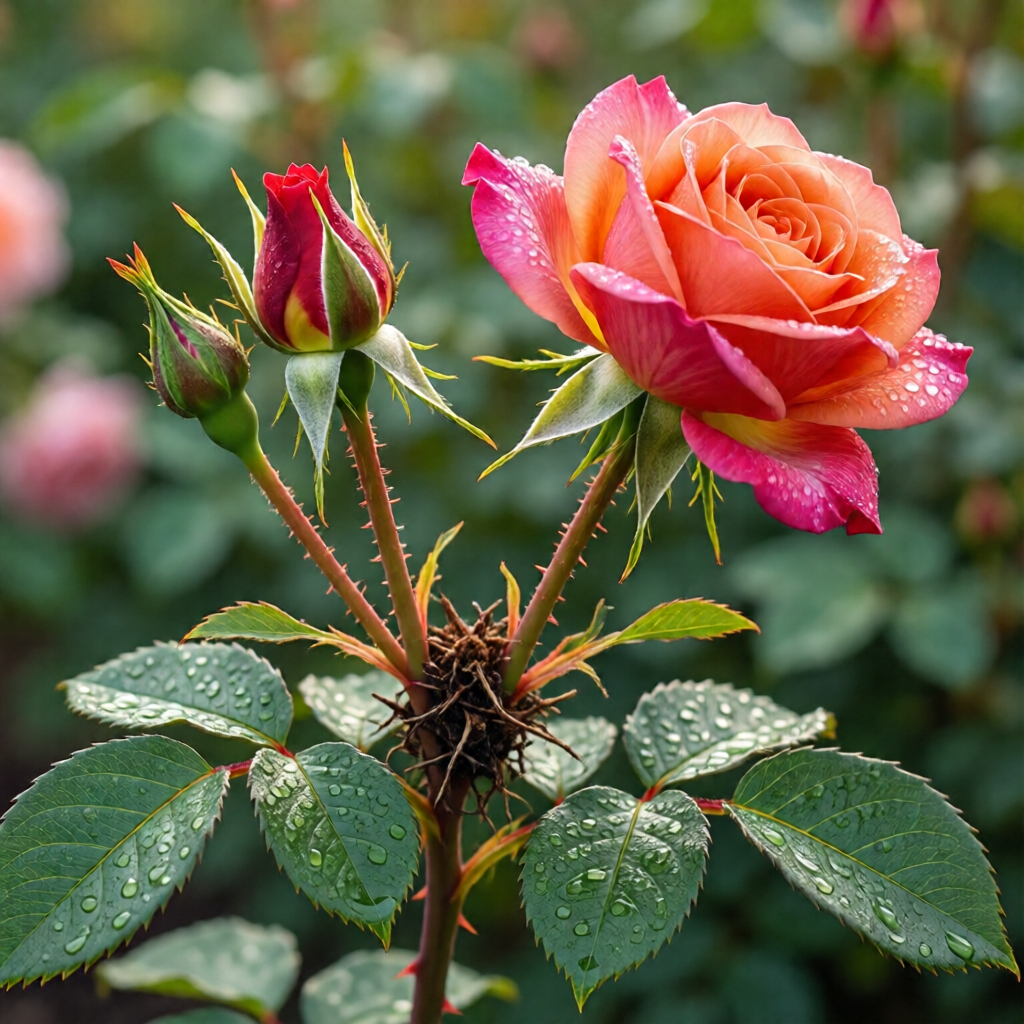
Understanding Rose Biology for Successful Cuttings
Types of Roses Suitable for Cuttings
Not all roses respond to cutting propagation equally. Hybrid teas, floribundas, and grandifloras are among the most reliable because they produce vigorous, semi‑woody stems that root readily. Shrub roses, including many English and old‑garden varieties, also take well, especially when cut during their active growth period. On the other hand, highly woody climbers and some miniatures may require more patience or alternative methods such as layering.
The Role of Hormones and Carbohydrates
Root formation is driven by auxins, a class of plant hormones that stimulate cell division at the cut site. While many gardeners add commercial rooting hormone, the plant itself produces enough auxin if you place the cut just below a node where a leaf meets the stem. Carbohydrates stored in the stem provide the energy needed for root growth, which is why healthy, semi‑hardwood cuttings are preferred over overly tender or fully hardened stems.
When to Take Rose Cuttings
The timing of your cutting collection can make or break success. The optimal window is late spring to early summer, when new growth has begun to harden but remains flexible—often described as “semi‑hardwood.” In cooler regions, late summer can also work, but be mindful of approaching frost, which can stunt root development. For gardeners in USDA zones 5‑9, the best time to plant trees and shrubs article provides a handy calendar that aligns perfectly with rose cutting schedules.
Materials and Tools You’ll Need
Gathering the right tools before you start will keep the process smooth and sanitary. You’ll need:
- Sharp, clean pruning shears or a small knife—disinfected with rubbing alcohol.
- A small pot or tray with drainage holes.
- Rooting medium—usually a 1:1 mix of peat moss and perlite or coarse sand.
- Rooting hormone (optional but recommended for novice growers).
- Clear plastic dome or bag to maintain humidity.
- Labels and waterproof marker to track varieties.
Having these items on hand prevents interruptions that could expose cuttings to pathogens or cause unnecessary stress.
Step‑by‑Step Guide to Taking Rose Cuttings
1. Choose the Right Stem
Select a healthy shoot that is about 6‑8 inches long, with at least three to four sets of leaves. The stem should be firm but not fully woody; a slight bend without breaking is a good indicator of semi‑hardwood tissue.
2. Make a Clean Cut
Using your disinfected shears, cut just below a leaf node at a 45‑degree angle. The angled cut increases the surface area for water absorption and reduces the chance of water pooling on the cut surface.
3. Remove Lower Leaves
Strip away the leaves on the lower half of the cutting, leaving only the top two sets. This reduces transpiration while the cutting develops roots. If any leaf edges are large, trim them to about half their size to further limit water loss.
4. Apply Rooting Hormone (Optional)
Dip the cut end into a powdered or gel rooting hormone, tapping off excess. The hormone supplies additional auxin, which can accelerate root initiation, especially for gardeners new to rose propagation.
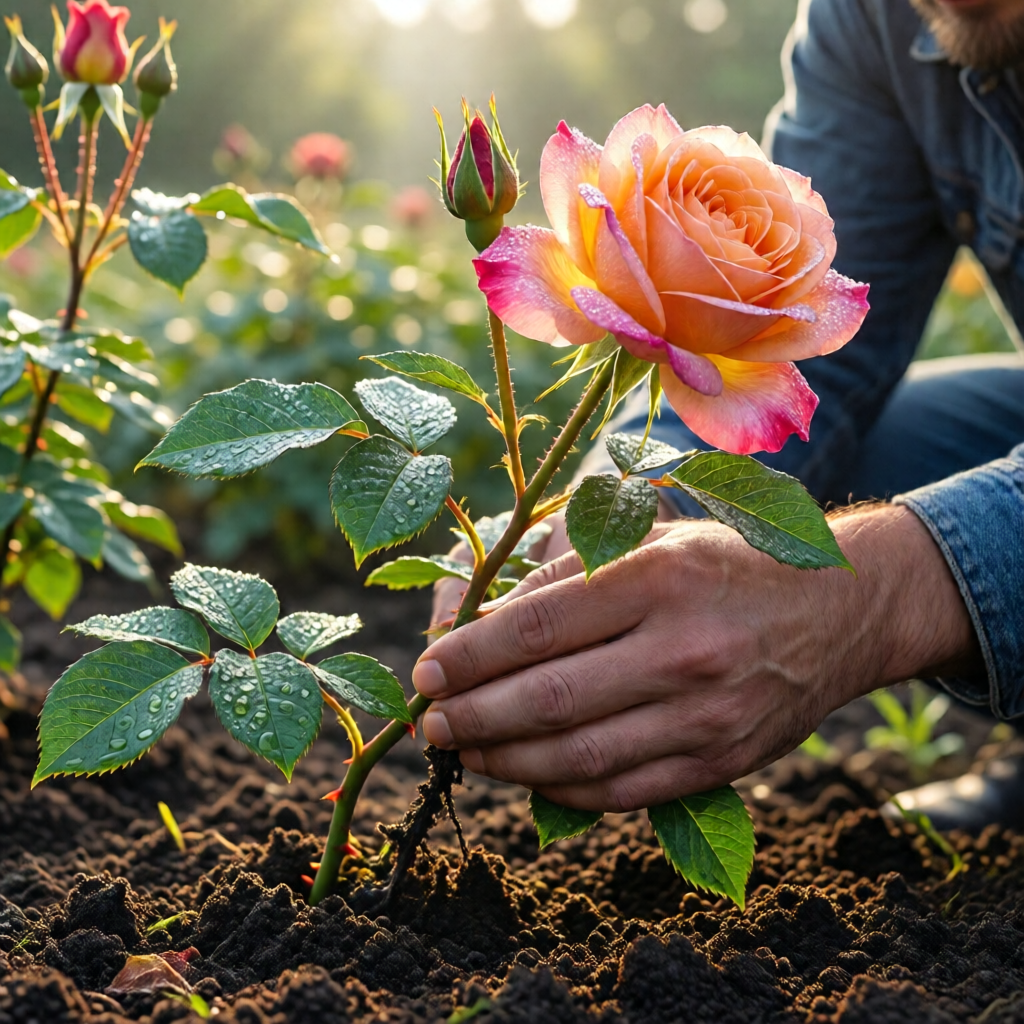
5. Plant the Cutting
Insert the cutting into a pre‑moistened rooting medium, burying it about 2‑3 inches deep. Firm the medium gently around the stem to eliminate air pockets. Space multiple cuttings at least 2 inches apart to allow airflow.
6. Create a Humid Environment
Cover the tray with a clear plastic dome or a large zip‑lock bag, ensuring the plastic does not touch the leaves. This mini greenhouse maintains humidity, which is crucial for preventing the cutting from wilting before roots form.
7. Position for Indirect Light
Place the tray in a bright area with filtered sunlight—an east‑facing window is ideal. Direct sun can overheat the enclosed space, while too little light slows root development.
Preparing the Cutting Medium
The medium you choose influences both drainage and aeration. A 1:1 blend of peat moss and perlite offers moisture retention while preventing soggy conditions that invite rot. For gardeners preferring organic options, coconut coir mixed with fine pine bark works equally well. Before use, soak the medium in a mild, balanced fertilizer solution (½ strength) to give the cutting an early nutrient boost.
Rooting Hormone: To Use or Not?
Rooting hormones are not a strict necessity, but they can increase success rates from 60% to upwards of 80% for beginners. Commercial powders contain indole‑3‑butyric acid (IBA), a synthetic auxin that mimics the plant’s natural rooting signals. If you decide to skip hormone, focus on taking cuttings from vigorous growth and maintaining optimal humidity—these factors often compensate for the lack of added auxin.
Caring for Your Cuttings Until They Root
Patience and observation are key during the rooting phase, which typically lasts 4‑6 weeks. Check the humidity dome daily; mist the inside lightly if condensation is low, but avoid water pooling on the leaves. After two weeks, gently tug on the cutting—resistance indicates root formation. At this stage, you can begin to introduce a light misting schedule, gradually exposing the cuttings to the ambient air to toughen them for transplant.
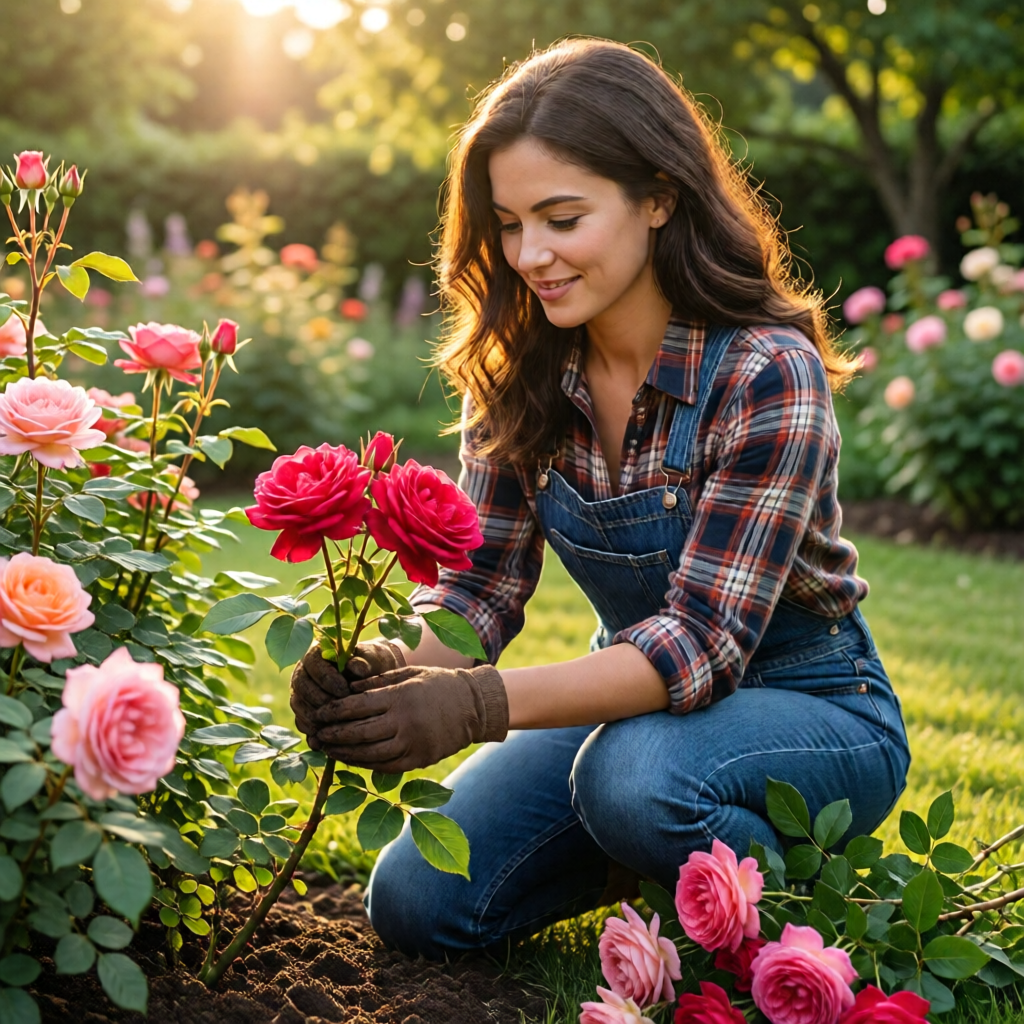
Transplanting and Hardening Off
Once you see a healthy network of roots, it’s time to move the new rose to a larger pot or directly into the garden. If planting outdoors, wait until after the last frost date for your zone—refer to the best time to plant trees and shrubs guide for precise timing. When transplanting:
- Gently loosen the potting mix around the roots to avoid breakage.
- Place the cutting in a hole that’s twice as wide as the root ball.
- Backfill with a soil mixture amended with compost and, if needed, a small amount of lime to raise pH—use the how to test soil pH at home article to ensure the soil is in the ideal 6.0‑6.5 range for roses.
- Water thoroughly, then apply a mulch layer to retain moisture and suppress weeds.
Hardening off involves gradually exposing the plant to outdoor conditions over a 7‑10 day period. Start with a few hours of morning sun, then increase the exposure each day. This process reduces transplant shock and encourages robust growth.
Common Problems and How to Fix Them
Problem: Cuttings Rotting
Rot is usually caused by excessive moisture, poor air circulation, or a contaminated cutting tool. Ensure your pruning shears are disinfected, use a well‑draining medium, and provide ventilation by opening the humidity dome for a few minutes each day.
Problem: No Root Development
If after six weeks you see no signs of rooting, the cutting may have been taken from an unsuitable stem or at the wrong time of year. Try again with semi‑hardwood growth, and consider using a higher concentration of rooting hormone.
Problem: Yellowing Leaves
Yellow leaves often indicate nitrogen deficiency or overwatering. Adjust your watering schedule to allow the top inch of the medium to dry between waterings, and feed with a balanced rose fertilizer once the plant is established in the garden.
Problem: Pests and Diseases
Early infestations of aphids or spider mites can be managed with a gentle spray of insecticidal soap. For fungal issues like powdery mildew, increase airflow and apply a preventative fungicide—organic options like neem oil work well for home gardeners.
Companion Planting to Boost Rose Health
Integrating herbs such as lavender, rosemary, or catnip near your rose beds can deter pests and improve pollination. For more ideas on growing herbs outdoors, check out our guide on how to grow herbs at home outdoors. Additionally, planting nitrogen‑fixing legumes like clover can enrich the soil, reducing the need for synthetic fertilizers.
Long‑Term Care for Rose Cuttings
Once your rose cutting is firmly established, regular maintenance will keep it thriving. Prune in late winter to shape the plant and encourage airflow, which reduces disease risk. Feed with a slow‑release rose fertilizer every 6‑8 weeks during the growing season, and mulch annually to conserve moisture. With diligent care, a cutting can become a lifelong, blooming centerpiece in your garden.
Scaling Up: Propagating Multiple Cuttings
If you’re aiming to fill a large garden or share varieties with friends, consider setting up a propagation station. Use a tiered rack with trays to maximize space, and label each cutting with its cultivar, date taken, and any special notes. Rotating the trays daily helps maintain even humidity and temperature across all cuttings. Remember to sanitize tools between each batch to prevent cross‑contamination.
Seasonal Adjustments for Year‑Round Success
In colder climates, you can extend the cutting season by using a heated greenhouse or a simple indoor propagation setup near a sunny window. For hot, dry regions, place the humidity dome in a cooler part of the house and mist more frequently to counteract rapid evaporation. Adapting your environment to the plant’s needs ensures consistent success regardless of the season.

Budget‑Friendly Tips for the Home Gardener
Propagating roses from cuttings is one of the most cost‑effective ways to expand your garden. Use recycled containers like yogurt cups (with drainage holes drilled) for initial rooting, and repurpose old coffee grounds as part of the rooting medium to add organic matter. Compost kitchen scraps to create a rich soil amendment, reducing the need for commercial fertilizers.
Documenting Your Progress
Keep a gardening journal or digital log to track each cutting’s source, date, and outcomes. Photographs taken weekly will help you spot early signs of rot or disease. Over time, this data becomes a valuable resource for refining your technique and sharing successes with the gardening community.
Final Thoughts: From Cutting to Bloom
Growing roses from cuttings is a rewarding blend of science, art, and patience. By selecting the right stem, providing a balanced rooting environment, and caring diligently through the early stages, you’ll soon have a collection of roses that are true clones of your favorite varieties. Whether you’re a seasoned rosarian or a curious beginner, the techniques outlined here will empower you to expand your garden with confidence and pride.
What time of year is best for taking rose cuttings?
The optimal window is late spring to early summer when new growth has begun to harden but remains flexible, known as semi‑hardwood. In cooler zones, late summer can also work, but avoid taking cuttings too close to the first frost.
Do I need to use rooting hormone for rose cuttings?
Rooting hormone is not mandatory, but it can increase success rates, especially for beginners. It provides extra auxin to stimulate root development, though healthy semi‑hardwood cuttings often root well without it.
How long does it take for rose cuttings to develop roots?
Root formation typically occurs within 4‑6 weeks. You can test for roots by gently tugging the cutting; resistance indicates that a root system is establishing.
Can I propagate roses indoors?
Yes, indoor propagation works well if you provide bright, filtered light, maintain high humidity with a dome or bag, and keep the temperature between 65‑75°F (18‑24°C). A sunny window or grow light is ideal.
What should I do if my cuttings start to rot?
Rot usually results from excess moisture or poor air circulation. Remove the affected cuttings, improve ventilation by opening the dome regularly, use a well‑draining rooting medium, and sterilize your tools before taking new cuttings.