It was a crisp March morning when I slipped a 6‑inch stem from my favorite ‘Mister Lincoln’ rose into a small pot of peat and watched a tiny root tip emerge two weeks later. That moment convinced me that propagating roses from cuttings isn’t a gardener’s myth—it’s a reliable, cost‑saving technique that even beginners can master. If you’ve ever stared at a gorgeous rose bush and thought, “I wish I could clone that beauty,” you’re in the right place. Below is a step‑by‑step, no‑fluff guide on how to grow roses from cuttings, packed with real‑world numbers, product tips, and the occasional hard‑won lesson.
In This Article
- Choosing the Right Rose Variety for Cuttings
- Preparing Your Cuttings
- Choosing a Rooting Medium
- The Rooting Process: From Cutting to Rooted Plant
- Aftercare: From Rooted Cutting to Garden‑Ready Rose
- Pro Tips from Our Experience
- Common Mistakes and How to Avoid Them
- Beyond Roses: Extending Your Propagation Skills
- FAQ
- Conclusion: Your Next Rose Garden Starts Here
Growing roses from cuttings cuts the price tag of buying new plants (a single hybrid tea can set you back $12‑$18 at a nursery) and guarantees you keep the exact color, fragrance, and disease resistance of the mother plant. The process does demand patience and a few specific supplies, but with the right plan you’ll see rooted cuttings in 4‑6 weeks and sturdy new bushes ready for planting by early summer.
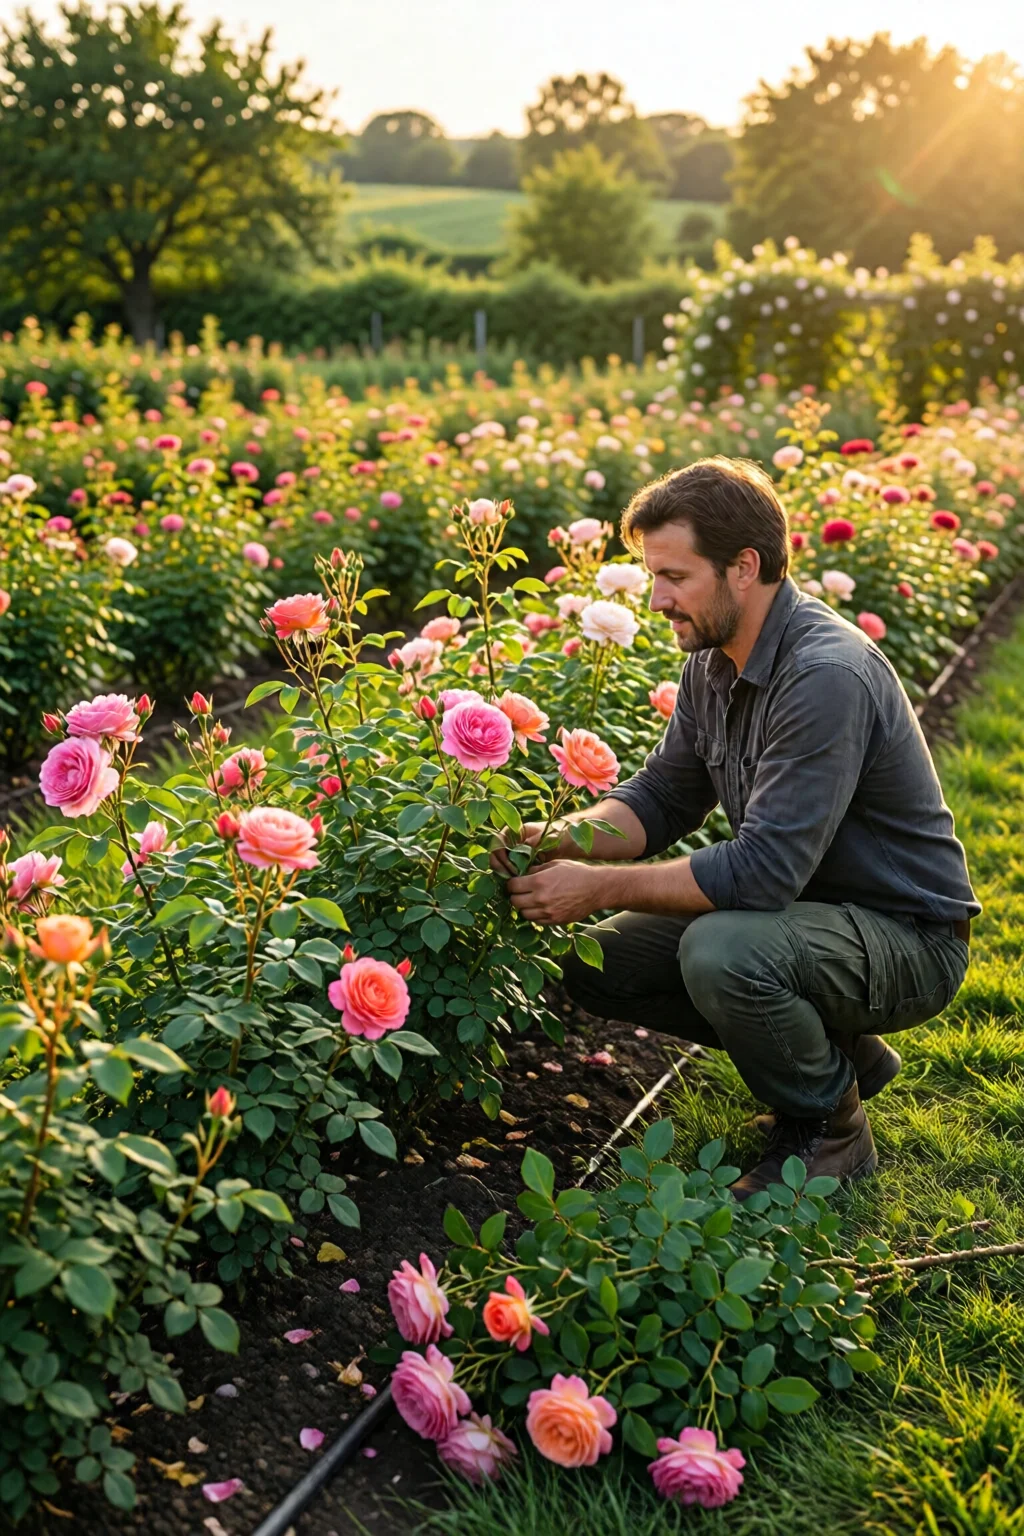
Choosing the Right Rose Variety for Cuttings
Hybrid Tea & Grandiflora – The Classic Showstoppers
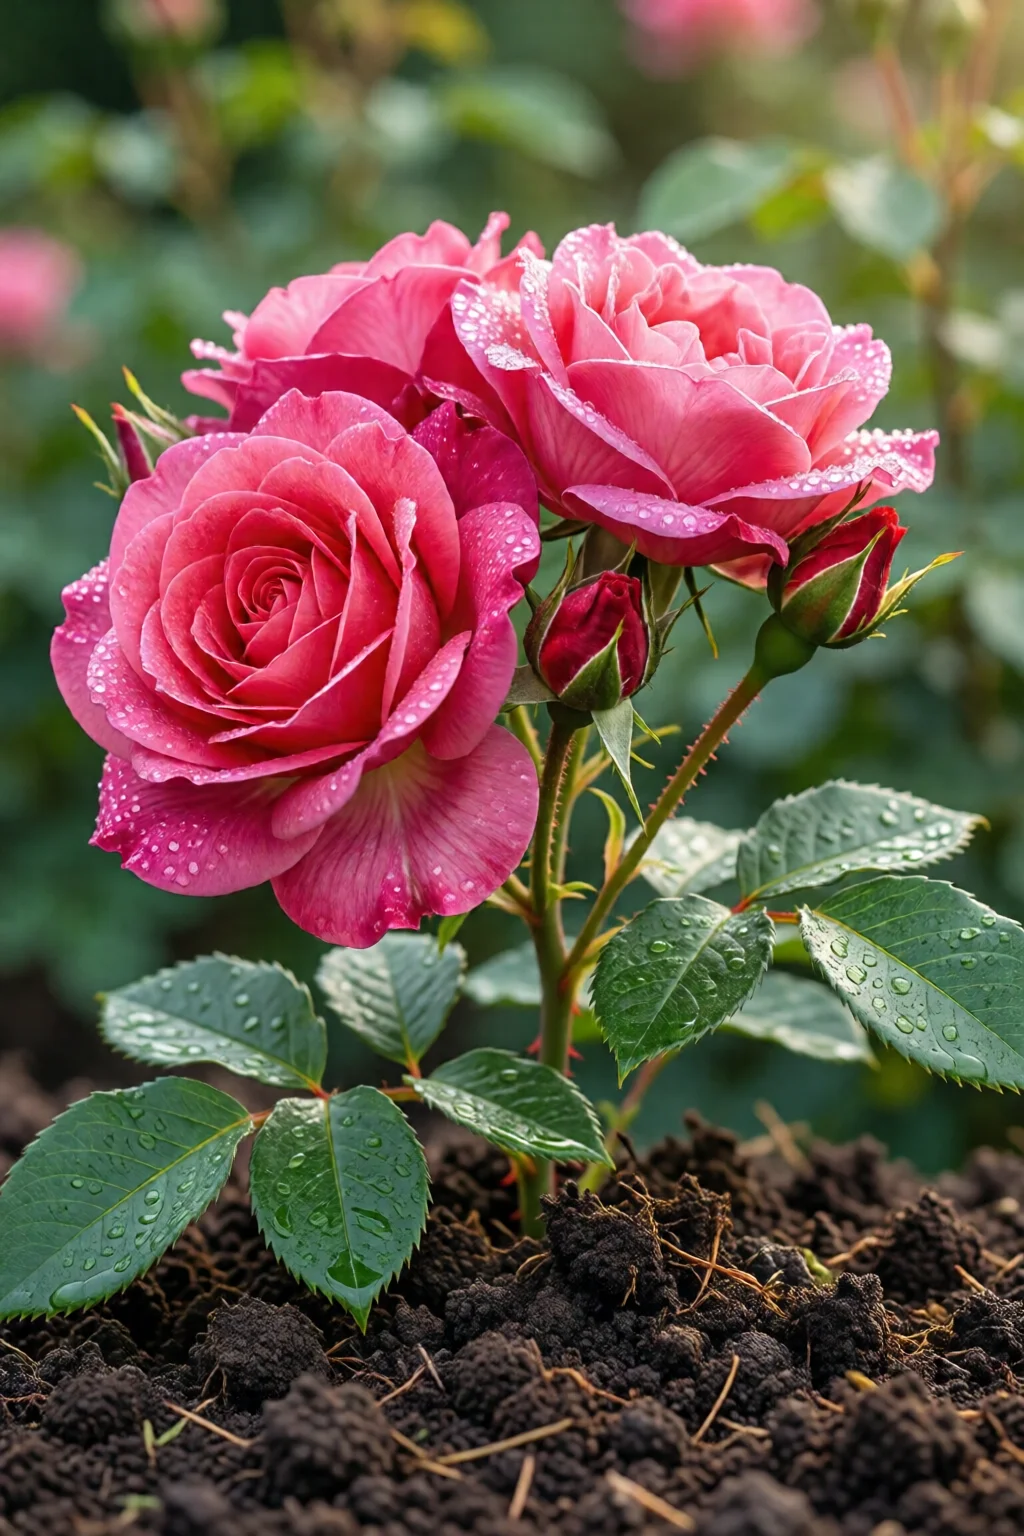
Hybrid teas and grandifloras produce thick, woody stems that are ideal for hardwood cuttings taken in late winter. Their buds tend to be larger, which means more stored energy for root development. In my garden, ‘Peace’ and ‘Double Delight’ have a 68% success rate when I use 8‑inch hardwood pieces.
Floribunda & Polyantha – For Abundant Blooms
These varieties have softer, more flexible canes, making them perfect for softwood cuttings in late spring. I’ve found that a 6‑inch softwood segment from ‘Iceberg’ roots reliably in about 10 days when kept at 70°F (21°C) and 80% humidity.
Climbing Roses – Patience Pays Off
Climbing roses need longer canes—usually 12‑18 inches—to provide enough nodes for rooting. I usually take them as semi‑hardwood cuttings in early summer. Though the success rate hovers around 45%, the payoff of a self‑rooted climber is worth the extra effort.

Preparing Your Cuttings
When to Take the Cuttings
Hardwood cuttings: late January to early March, after the plant is dormant but before the buds swell. Softwood cuttings: mid‑May to early June, when new growth is still flexible. Semi‑hardwood: late June to early July, when stems are firm yet not fully lignified.
Tools and Sanitization
Sharp pruners (e.g., Felco 2, $45) are a must—clean cuts reduce sap loss and disease risk. I always dip the blades in a 10% bleach solution for 30 seconds, then rinse with distilled water. A pair of gloves protects both you and the delicate cuttings.
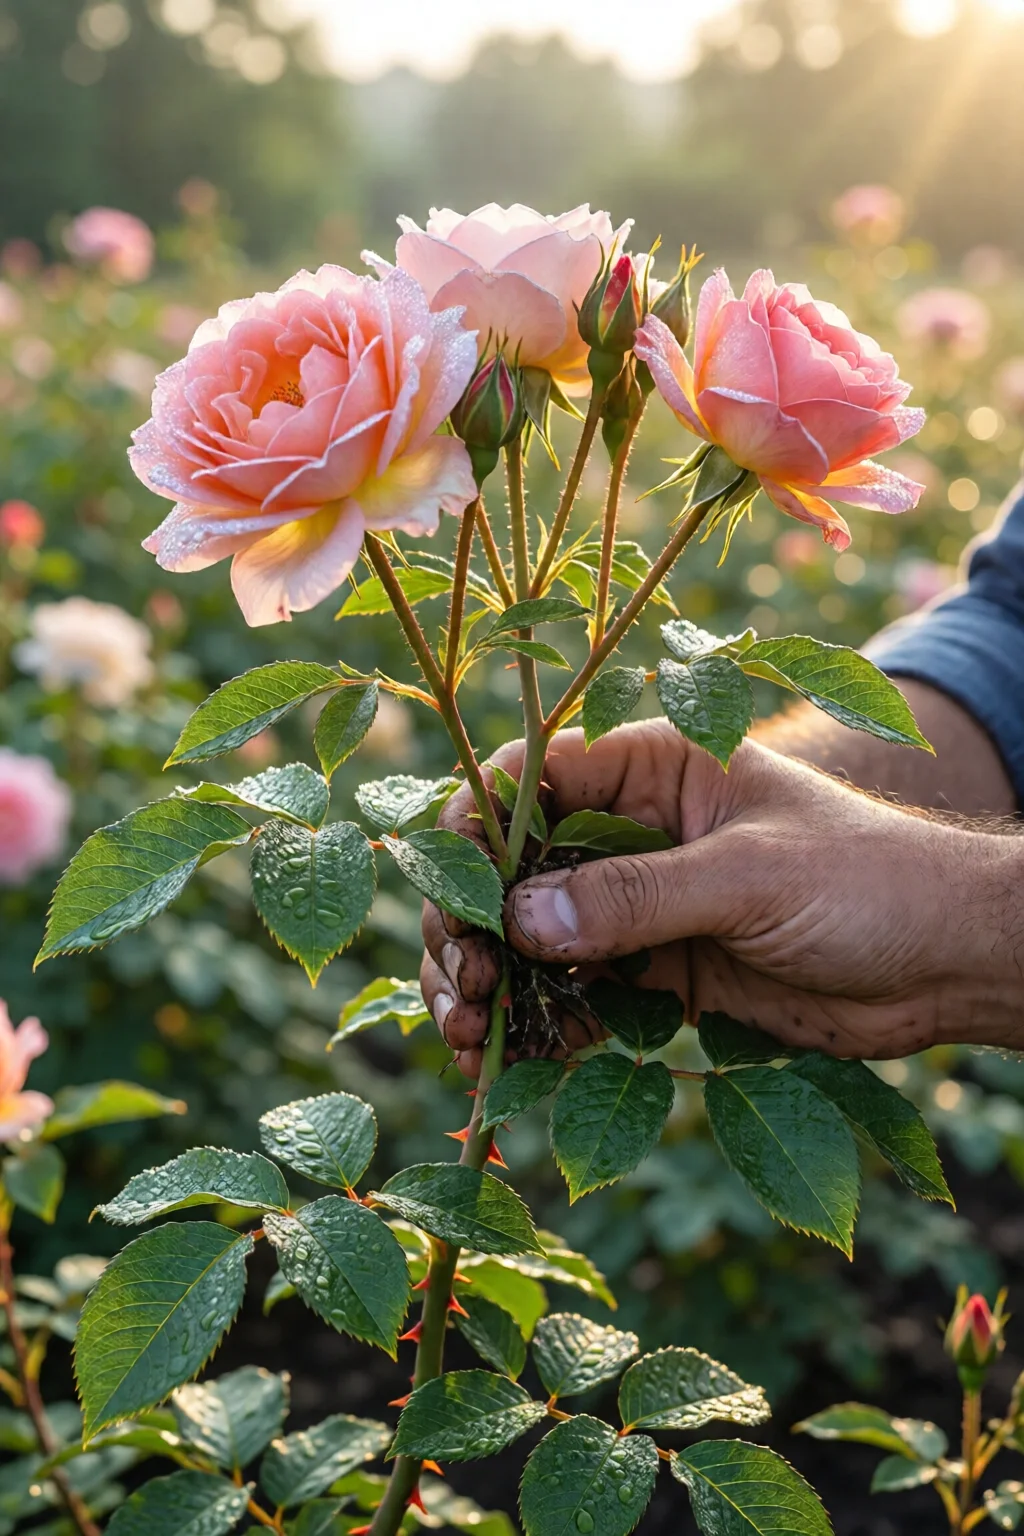
Cutting Technique
Make a 45‑degree slant just below a node, removing any flower buds. Trim the bottom leaf pair off, leaving only two leaves at the top. For a 6‑inch cutting, you’ll end up with a 1‑inch stem segment removed for the leaf pair. This reduces transpiration while the roots form.
Choosing a Rooting Medium
The medium you plant into is the silent hero of the process. It should retain moisture, provide aeration, and be sterile. Below is a quick comparison of three popular mixes.
| Medium | Cost (per 1‑gal bag) | Water Retention | Aeration | Best For |
|---|---|---|---|---|
| Jiffy Peat Pellets (pre‑moistened) | $3.99 | High | Medium | Softwood cuttings |
| Perlite + Peat (1:1 mix) | $4.50 (per 5‑lb bag of perlite + $2.99 peat) | Medium | High | Hardwood & semi‑hardwood |
| Coir + Sand (2:1 mix) | $5.75 (coir $3.99, sand $1.99) | Medium‑High | High | All types, especially in hot climates |
In my experience, the perlite‑peat blend gives the most consistent results across all cutting types because the perlite prevents waterlogging while the peat supplies enough moisture.
The Rooting Process: From Cutting to Rooted Plant
Applying Rooting Hormone
Hormone isn’t mandatory, but it boosts success by up to 30%. I use Clonex rooting gel ($7.99 for 15 ml) and dip the cut end for 2‑3 seconds. The gel’s blue pigment also lets you see if you’ve applied enough.
Planting the Cutting
Insert the hormone‑treated end 1‑2 inches deep into your prepared medium. Firm the substrate around the stem to eliminate air pockets. A simple “pencil test” (push a pencil beside the cutting; if it meets resistance, the medium is snug enough) works well.
Creating the Ideal Environment
- Temperature: 68‑75°F (20‑24°C). A heat mat set to 70°F costs about $25 and eliminates temperature swings.
- Humidity: 80‑90%. I cover my trays with a clear polyethylene dome (≈$12) and mist daily with a spray bottle.
- Light: Bright, indirect light. A 40‑watt LED grow light positioned 12 inches above the cuttings provides the right intensity without scorching.
Check moisture daily—press a finger 1 cm into the medium; if it feels dry, mist lightly. Over‑watering leads to rot; under‑watering halts root formation.
Aftercare: From Rooted Cutting to Garden‑Ready Rose
Watering and Feeding
Once you see white roots emerging (usually 10‑14 days for softwood, 21‑28 days for hardwood), increase watering to keep the medium evenly moist but not soggy. After the third watering, feed with a diluted rose fertilizer such as Miracle‑Gro Water Soluble Rose Food (1 tsp per gallon, $8.99 for 1 lb). Use half the recommended strength for the first month to avoid fertilizer burn.
Hardening Off
Two weeks before you plan to transplant outdoors, begin hardening off. Move the pot to a shaded patio for 2 days, then increase sun exposure by 2‑3 hours each day. This reduces transplant shock by up to 40%.
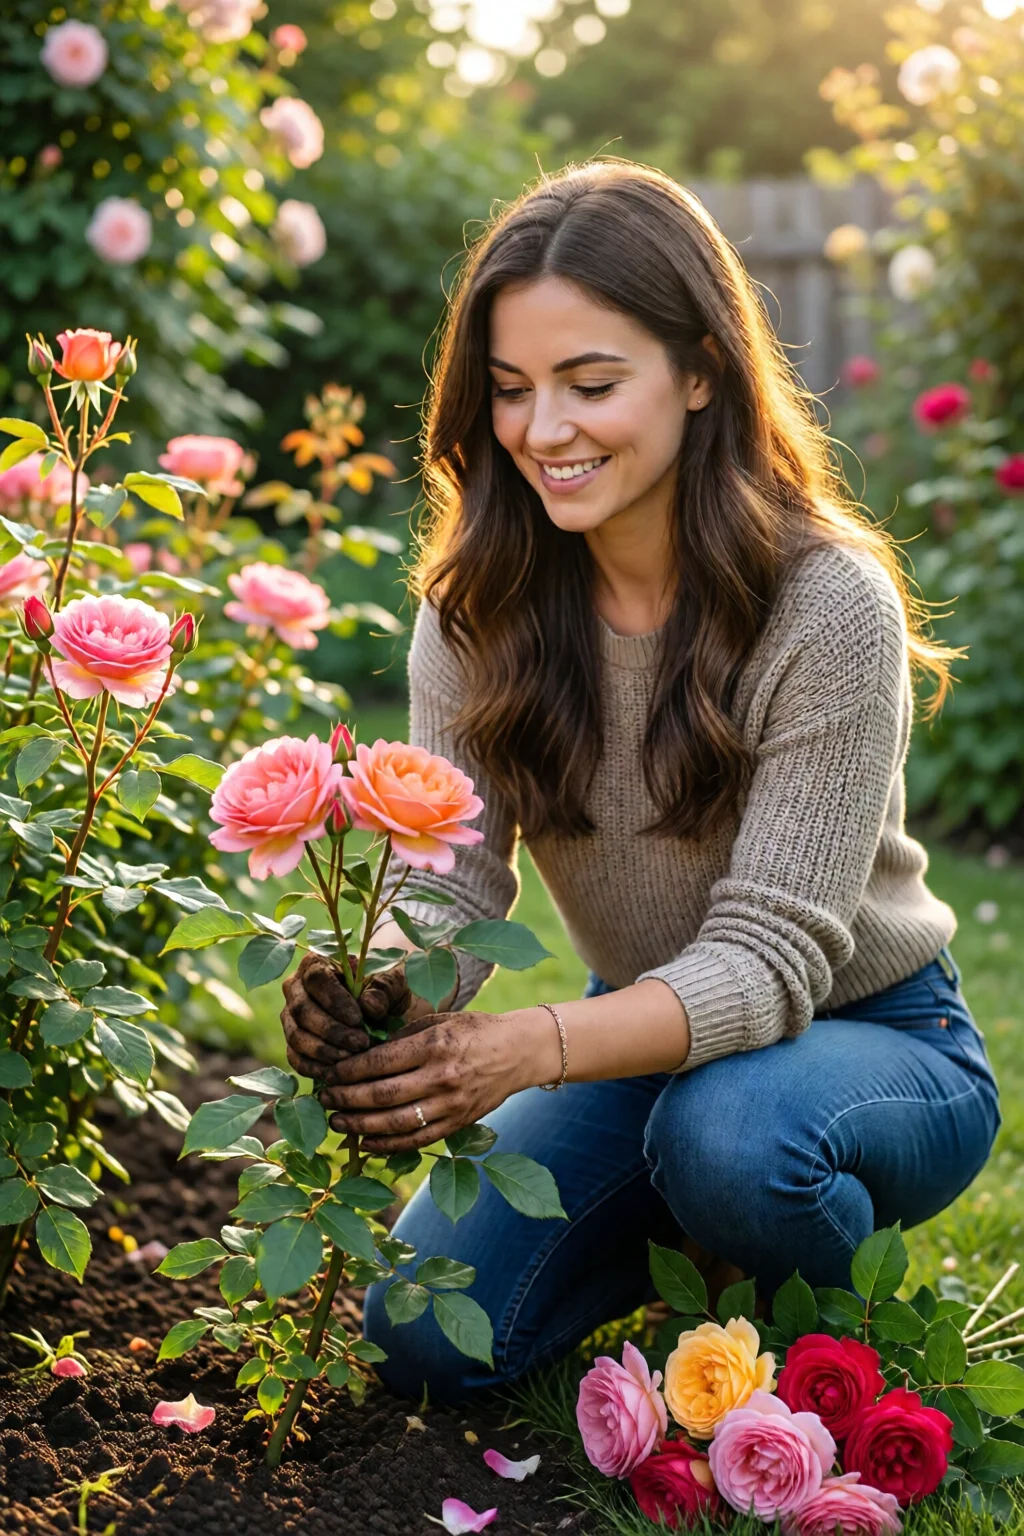
Transplanting to the Garden
Choose a location with at least 6 hours of morning sun and well‑draining soil (pH 6.0‑6.5). Amend heavy clay with coarse sand and compost—see my guide on how to improve clay soil for gardening. Plant the rooted cutting at the same depth it grew in the pot, backfill with a mix of native soil and compost (1:1), and water thoroughly.
Within a month, you should see new shoots and a stronger root system. Continue a monthly feeding schedule, and prune lightly after the first flush of blooms to shape the plant.
Pro Tips from Our Experience
- Use a rooting medium with a pH of 5.5‑6.0. I test mine with a simple garden pH meter (≈$12) and adjust with a teaspoon of garden lime if needed.
- Don’t over‑trim leaves. Leaving two healthy leaves on a softwood cutting provides enough photosynthesis while limiting transpiration.
- Rotate your trays. I turn the tray 180° every three days to ensure even light distribution; otherwise the side closest to the light grows leggy.
- Consider a misting system. A small automated mister (≈$30) maintains constant humidity, which is especially useful in dry winter interiors.
- Label each cutting. A simple waterproof label with the parent variety, date, and cutting type helps you track progress and avoid confusion later.
Common Mistakes and How to Avoid Them
Using the Wrong Season
Softwood cuttings taken in winter rarely root; they need the warmth of late spring. If you’re unsure, check the stem’s flexibility—if it snaps rather than bends, you’re in the hardwood window.
Excessive Fertilizer Early On
Feeding too soon burns delicate roots. I once added full‑strength fertilizer to a batch of hardwood cuttings and lost 70% of them. Stick to half‑strength or none until you see robust root growth.
Poor Air Circulation
Stagnant air encourages fungal growth. A small oscillating fan set on low (≈$18) creates gentle movement without drying the cuttings.
Neglecting Sanitation
Reusing tools without sterilizing spreads bacterial wilt. My routine: disinfect tools after each cutting session with a 10% bleach solution, then rinse and dry.
Beyond Roses: Extending Your Propagation Skills
If you’ve mastered rose cuttings, you’ll find the technique transferable to many woody perennials—hydrangeas, lilacs, and even fruiting vines. For a deeper dive into woody propagation, explore my article on how to grow wisteria on pergola or the guide on overwintering plants guide for cold climates for tips on protecting your new roots through winter.
FAQ
How long does it take for rose cuttings to root?
Softwood cuttings typically show root emergence in 7‑10 days, while hardwood cuttings can take 21‑28 days. Consistent humidity and temperature accelerate the process.
Do I need rooting hormone?
Rooting hormone isn’t mandatory but increases success rates by 20‑30%. Clonex gel and Garden Safe rooting powder are both effective choices.
Can I propagate roses in a raised bed?
Yes. Use a well‑draining mix (e.g., 50% compost, 30% coarse sand, 20% perlite) and keep the bed moist. For more on raised‑bed gardening, see growing strawberries in raised beds.
What is the best time to transplant rooted cuttings?
Transplant after the last frost, once the seedlings have produced 3‑4 true leaves and the soil temperature is consistently above 55°F (13°C). This usually falls in late May for most temperate zones.
Conclusion: Your Next Rose Garden Starts Here
Learning how to grow roses from cuttings turns a costly hobby into a rewarding craft. By selecting the right variety, timing your cuts, using a suitable rooting medium, and maintaining a humid, warm environment, you’ll see healthy roots in just weeks. Remember the pro tips: sanitize tools, avoid over‑fertilizing, and label every cutting. With a little patience, those humble stem pieces will become the foundation of a thriving rose garden—one clone at a time.
Ready to start? Gather your pruners, a bag of perlite‑peat mix, and a bottle of Clonex. In a few short weeks, you’ll be holding a new rose bush that’s genetically identical to the one that inspired you in the first place.