Orchids have a reputation for being the diva of the plant world, but with the right knowledge, even a complete beginner can enjoy their stunning blooms and elegant foliage at home. This guide breaks down every essential step—light, water, potting, feeding, and troubleshooting—into clear, actionable advice, so you can move from “I’m scared to touch my orchid” to confidently cultivating vibrant flowers that impress friends and family. Whether you live in a sunny California apartment or a cooler Midwest condo, the principles below will help you create the perfect environment for your orchids to thrive.
Understanding Orchid Basics
Types of Orchids for Beginners
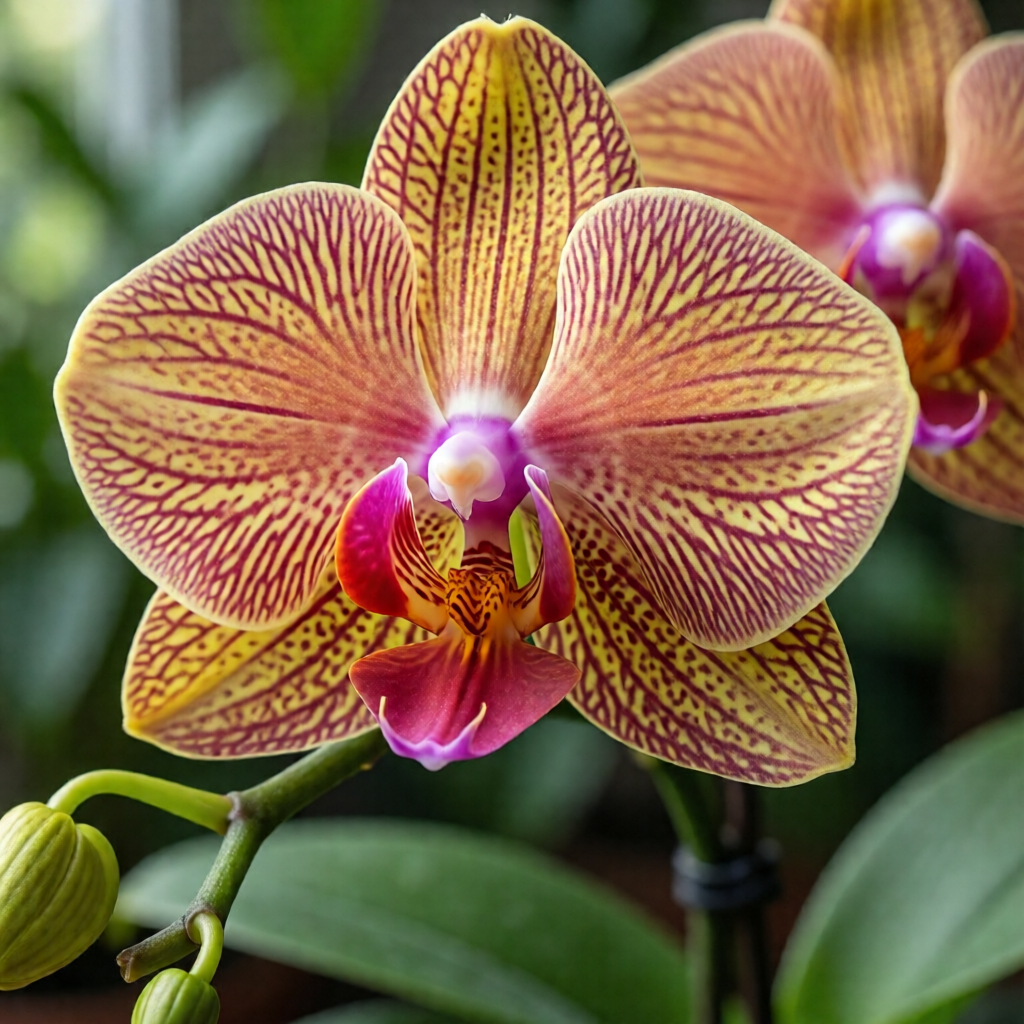
When you first step into the world of orchids, the sheer variety can feel overwhelming. For beginners, the best choices are species that adapt well to indoor conditions and tolerate a range of light and humidity levels. Phalaenopsis (moth orchids) are the most popular because they bloom for months on end and require less intense light. Cymbidium orchids love cooler temperatures and are ideal for those who enjoy long, elegant sprays of flowers. Dendrobium varieties are versatile, thriving on bright indirect light and moderate humidity. If you have a brighter space, consider a Oncidium (dancing lady) that enjoys a bit more sun. Starting with one of these hardy species gives you a forgiving platform to learn the fundamentals before moving on to more exotic types.
Orchid Anatomy and Growth Cycle
Orchids are unique among houseplants because they have a specialized growth structure called a pseudobulb or leaf rosette, depending on the species. These storage organs hold water and nutrients, allowing the plant to survive periods of drought. Understanding the growth cycle—active growth, blooming, and dormancy—helps you tailor care to each stage. During the active phase, you’ll notice new leaves or roots emerging; this is when feeding and watering are most critical. After flowering, many orchids enter a resting phase where water and fertilizer should be reduced, mimicking their natural environment. Recognizing these cues prevents over‑care, which is a common mistake among new growers.

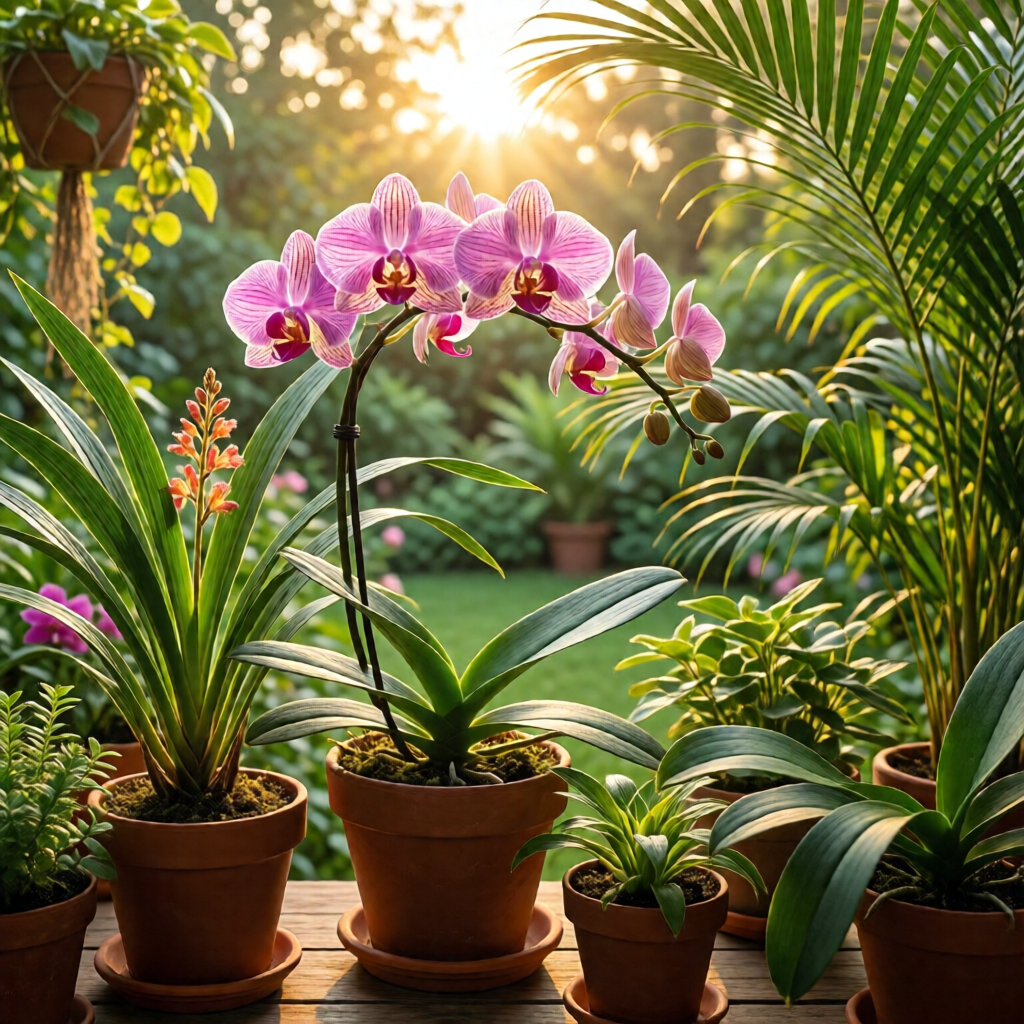
Setting Up the Perfect Orchid Environment
Light Requirements
Light is the single most important factor in orchid health. While orchids love bright, indirect light, direct midday sun can scorch their leaves, especially in windows that receive intense southern exposure. A north‑ or east‑facing window typically provides the ideal balance. If natural light is limited, a 1,000‑lumens LED grow light placed 12‑18 inches above the plant for 12‑14 hours a day can simulate the dappled forest light orchids adore. To gauge light intensity, hold your hand a few inches from the leaf; if you see a faint greenish hue, the light is likely sufficient. Too dark, and the leaves will turn yellowish; too bright, and they turn red or develop burn spots.
Temperature and Humidity
Most indoor orchids thrive in daytime temperatures between 65°F and 75°F, with a nighttime drop of 5‑10°F to encourage blooming. Consistency is key—avoid placing orchids near drafty doors, heating vents, or air conditioners. Humidity levels of 40‑70% are ideal; in drier climates, a room humidifier or a pebble tray filled with water (ensuring the pot sits above the water line) can raise ambient moisture. Remember to empty the tray after a few hours to prevent stagnant water, which can lead to root rot.
Air Circulation
Good air movement mimics the orchid’s native tropical environment and helps prevent fungal diseases. A gentle fan set on low, running for a few minutes each hour, creates a subtle breeze without drying out the foliage. Avoid direct drafts, which can cause leaf desiccation. When you’re using a pebble tray, the evaporation process also contributes to air movement around the plant’s base, providing a double benefit of humidity and circulation.
Potting and Growing Media
Choosing the Right Pot
Unlike typical houseplants, orchids need a pot that promotes airflow to the roots. Clear plastic pots with multiple drainage holes are popular because they allow you to monitor root health and prevent water buildup. For a more decorative look, choose a porous terracotta pot, but be sure it has ample drainage. Avoid traditional soil mixes; they retain too much moisture and suffocate the delicate orchid roots.
Ideal Growing Media
The medium should be light, well‑draining, and capable of holding just enough moisture for the roots to absorb. A classic blend includes bark chips, charcoal, and perlite in a 2:1:1 ratio. Some growers add fibrous sphagnum moss for added moisture retention, especially in drier homes. For Cymbidium orchids, a coarser mix with larger bark pieces works best, while Phalaenopsis prefers a finer blend. Replace the media every 1‑2 years to prevent compaction and to replenish nutrients.
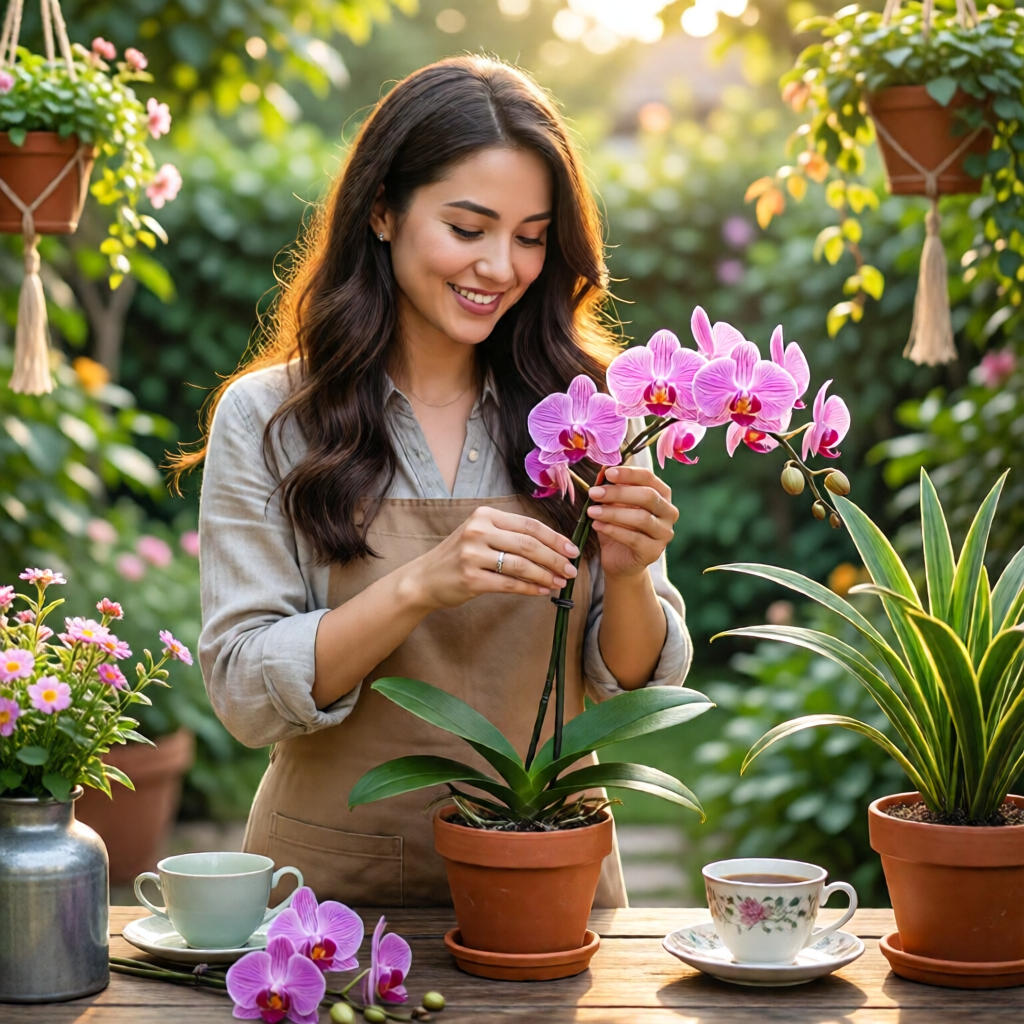
Repotting Schedule
Most orchids benefit from repotting every 12‑18 months, ideally just after they finish blooming. This timing minimizes stress and gives the plant fresh media for the next growth cycle. When repotting, gently remove the orchid, trim any dead or mushy roots with sterilized scissors, and place the plant into a slightly larger pot, ensuring the crown sits just above the rim to avoid water pooling. If you’re unsure about timing, consult our mulching tips for flower beds article for seasonal cues on when to refresh growing media.
Watering and Feeding Strategies
How to Water Orchids Correctly
Watering orchids is about balance, not volume. The rule of thumb: water thoroughly when the medium feels almost dry to the touch, usually once a week in summer and every 10‑14 days in winter. The best method is the “soak and drain” technique—place the pot in a sink or bucket, run lukewarm water over the media for 2‑3 minutes, then let it drain completely. Never let the pot sit in standing water, as this encourages root rot. If you live in a hard‑water area, use rainwater, distilled water, or let tap water sit overnight to allow chlorine to evaporate.
Fertilizer Types and Application
Orchids are light feeders, so a balanced, water‑soluble fertilizer (20‑20‑20) with micronutrients works well. Apply at half the recommended strength once a week during active growth, and cut back to once a month during dormancy. Some growers prefer “weekly, weak” feeding—using a quarter‑strength solution every week—to avoid nutrient buildup. For a natural boost, a diluted solution of fish emulsion or seaweed extract can be used once a month, providing trace minerals that promote vibrant blooms.
Signs of Overwatering and Underwatering
Overwatered orchids display soft, yellowing leaves, a soggy root ball, and a foul odor from the media. Underwatered plants develop wrinkled, leathery leaves and may halt new growth. The easiest way to diagnose is to lift the pot; a healthy orchid feels light and firm, while an overwatered one feels heavy and soggy. Adjust your watering schedule based on seasonal humidity and temperature fluctuations, and always check the media before adding water.
Common Problems and How to Fix Them
Pests: Mealybugs, Scale, and Spider Mites
Even indoor orchids can attract pests. Mealybugs appear as cottony white clumps on leaf bases and pseudobulbs, while scale insects look like tiny brown shells. Spider mites leave fine webbing and cause stippled leaves. Treat infestations early by wiping pests off with a cotton swab dipped in rubbing alcohol, then spray the entire plant with a neem oil solution (1‑2 % concentration) every 7‑10 days until the problem disappears. For severe cases, a horticultural insecticidal soap can be used, but always test on a small leaf area first.
Diseases: Root Rot, Leaf Spot
Root rot is the most common disease, caused by overwatering and poorly draining media. Affected roots turn brown, mushy, and emit a foul smell. The cure is to remove the plant from its pot, trim away all rotted roots with sterilized scissors, and repot in fresh, dry media. Leaf spot, caused by fungal spores, appears as brown or black lesions with yellow halos. Improve air circulation, reduce humidity around the foliage, and treat with a copper‑based fungicide if the spots spread.
Cultural Issues: Blooms Not Opening
Orchid blooms sometimes remain closed or wilt quickly due to temperature stress or improper watering. A sudden drop in nighttime temperature can cause buds to abort, while too much water can lead to limp flowers. Maintain consistent temperatures (65‑75°F) and reduce watering once buds appear, allowing the plant to focus energy on flower development. If buds still refuse to open, gently remove any dead or damaged flowers to encourage the plant to allocate resources to healthy blooms.
Seasonal Care and Long-Term Success
Winter Dormancy
During winter, many orchids enter a natural dormancy period. Reduce watering to once every 10‑14 days and cut fertilizer to a quarter of the usual strength. Keep the plant away from cold drafts and heating vents, which can cause temperature fluctuations. If you live in a region with very dry indoor air, maintain humidity with a room humidifier set on low, ensuring the environment stays within the 40‑60% range.
Summer Adjustments
Summer brings higher temperatures and increased evaporation, so increase watering frequency slightly—typically every 5‑7 days—while still allowing the medium to dry between waterings. Provide extra airflow with a fan, and consider moving the orchid to a slightly shadier spot if the sun becomes too intense. For orchids that love warmth, like Dendrobium, you can raise daytime temperatures to 78°F, but always keep nighttime temperatures cooler to encourage blooming.
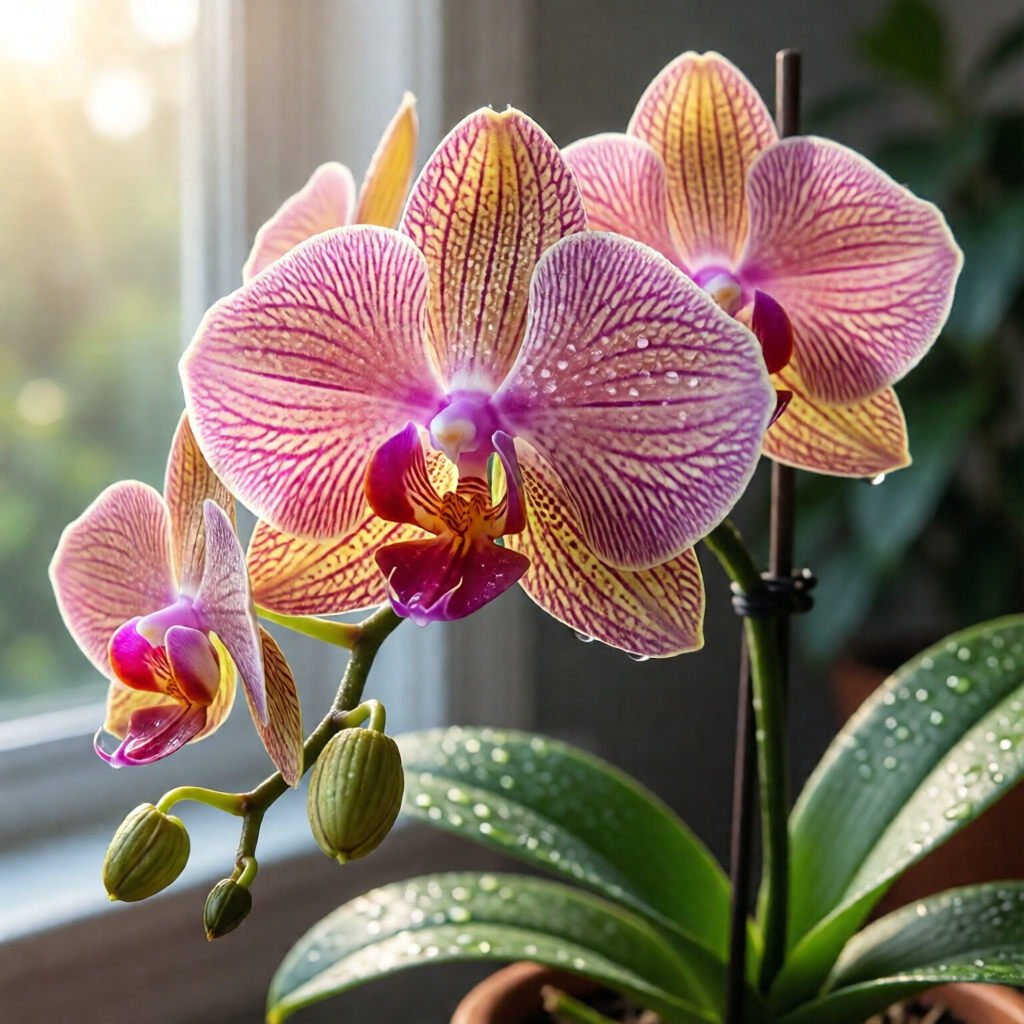
Encouraging Rebloom
After the orchid has finished flowering, cut the flower spike back to a node just above the highest healthy leaf (usually about 1‑2 inches above the base). This stimulates the plant to produce a new spike. Pair this pruning with a balanced fertilizing schedule and consistent watering to give the orchid the energy it needs for the next bloom cycle. Patience is key—some orchids may take several months to rebloom, but with proper care, they will reward you with spectacular flowers year after year.
By following these steps—understanding orchid basics, creating the right environment, mastering watering and feeding, and tackling problems early—you’ll transform the intimidating world of orchids into a rewarding hobby. Remember, each orchid is unique, so observe your plant’s signals and adjust care accordingly. With time, you’ll develop the confidence to expand your collection, perhaps adding a bird of paradise plant indoor care routine or exploring the vibrant foliage of a how to care for monstera plant. Happy growing!
How often should I water my Phalaenopsis orchid?
Water your Phalaenopsis once a week in summer and every 10‑14 days in winter, using the soak‑and‑drain method. Always let the pot drain completely before placing it back on its saucer.
What type of potting mix is best for indoor orchids?
A blend of bark chips, charcoal, and perlite (2:1:1) provides excellent drainage and aeration. Adjust the coarseness based on the orchid species—corm‑based orchids prefer a finer mix, while Cymbidium likes larger bark pieces.
Can I use regular houseplant fertilizer on orchids?
It’s better to use a balanced, water‑soluble orchid fertilizer (20‑20‑20) at half strength. Regular houseplant fertilizers can be too strong and may burn orchid roots.
How do I prevent root rot in my orchid?
Ensure the pot has ample drainage, use a well‑aerated growing medium, and water only when the media feels dry. If roots look mushy and brown, trim them and repot in fresh media immediately.
Why aren’t my orchids blooming?
Common reasons include insufficient light, incorrect temperature fluctuations, or over‑watering. Provide bright indirect light, maintain a 5‑10°F night‑day temperature drop, and reduce watering once buds appear.
1 réflexion au sujet de « Orchid Care For Beginners At Home – Expert Guide and Ideas »