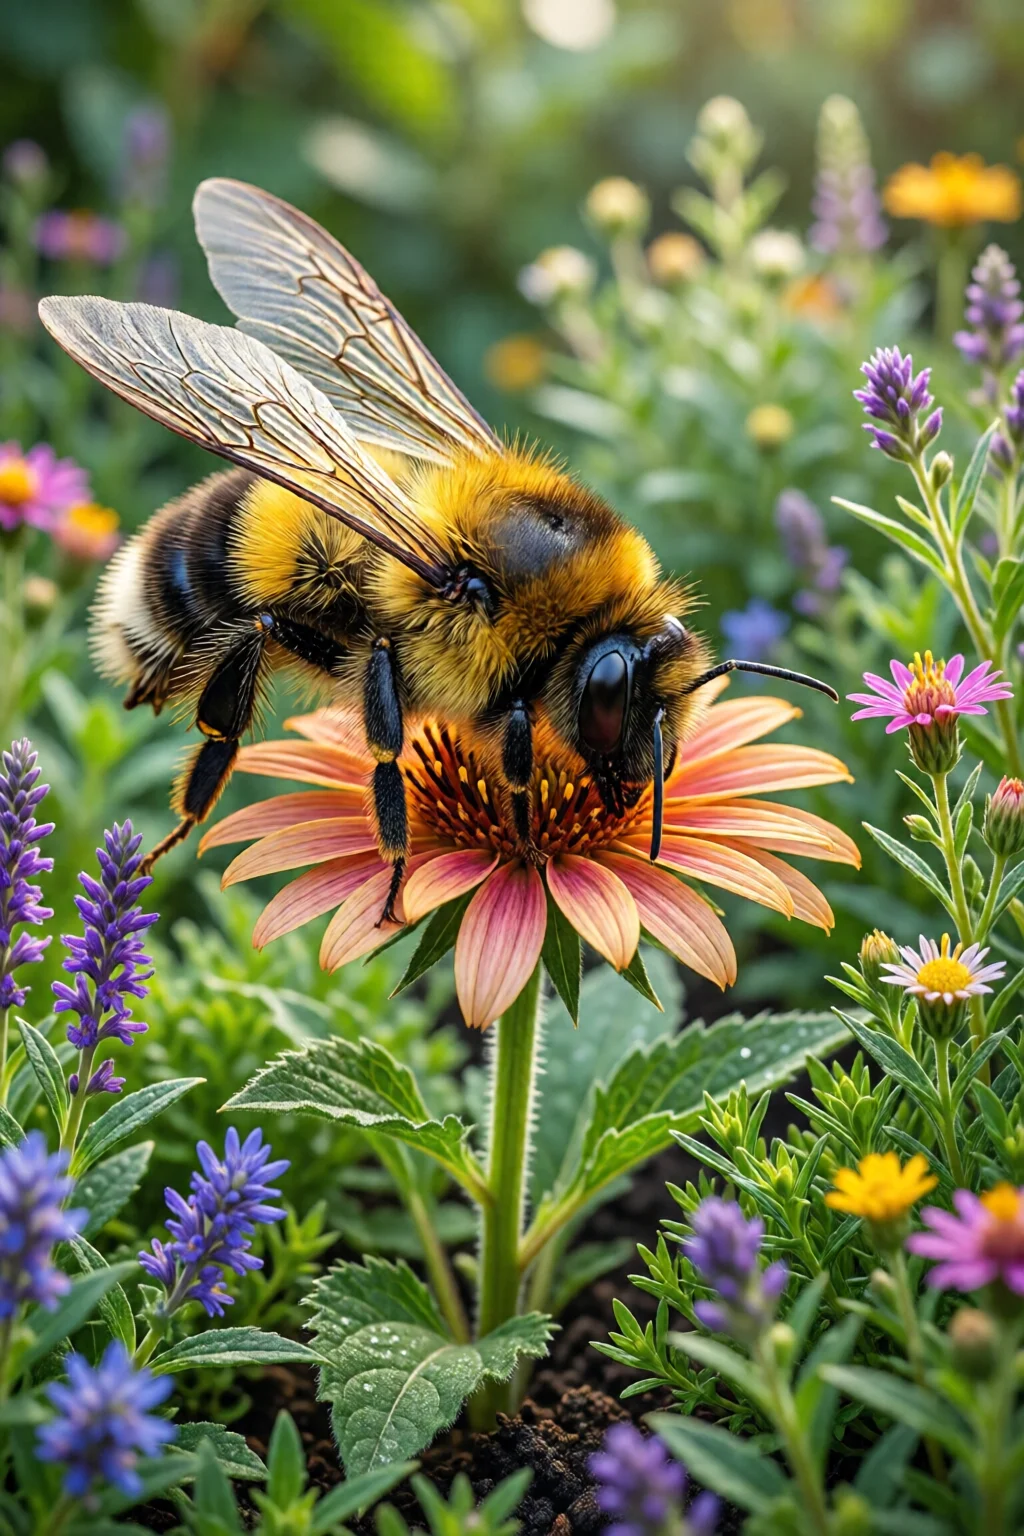
Ever wondered how to turn a bland backyard corner into a buzzing sanctuary that feeds bees, butterflies, and hummingbirds while still looking gorgeous? A well‑crafted pollinator garden design plan does exactly that – it blends ecology with aesthetics, low‑maintenance practices with high‑impact results.
In This Article
- 1. Assess Your Site – Sun, Soil, and Space
- 2. Choose the Right Plant Palette – Native First, Exotic Second
- 3. Layer Your Garden – Height, Color, and Texture
- 4. Install Water & Soil Enhancements – The Unsung Heroes
- 5. Add Habitat Structures – Nesting, Shelters, and Paths
- 6. Plan for Continuous Bloom – Succession Planting Calendar
- 7. Create a Maintenance Blueprint – Prune, Feed, and Record
- Quick Comparison of Top Ready‑Made Pollinator Kits
- Final Verdict – Your Roadmap to a Buzz‑Filled Garden
In this guide I’ll walk you through the seven essential steps that turn any plot into a thriving pollinator haven. You’ll get concrete plant lists, soil‑amendment formulas, cost breakdowns, and even a quick‑compare table of my favorite ready‑made kits. By the end you’ll have a blueprint you can start implementing this weekend.

1. Assess Your Site – Sun, Soil, and Space
Why it matters: Pollinators are picky about where they forage. Sunlight, soil texture, and wind exposure dictate which plants will thrive.
- Sunlight: Aim for at least 6 hours of direct sun per day. If you only have 3–4 hours, choose shade‑tolerant species like Monarda didyma ‘Petite’ or Heuchera sanguinea.
- Soil: Most pollinator plants prefer loamy, well‑draining soil with a pH of 6.0–7.0. For heavy clay, mix in 2 inches of compost and 1 inch of coarse sand per square foot – a ratio that improves drainage by roughly 30 %.
- Space: Sketch a rough layout (scale 1 inch = 1 foot). A 100‑sq‑ft plot can host 12–15 plant varieties without overcrowding.
One mistake I see often is planting too many species in a tiny area, leading to competition and weak blooms. Keep the planting density to about 1 plant per 1 sq ft for perennials and 2 plants per 1 sq ft for annuals.
2. Choose the Right Plant Palette – Native First, Exotic Second
Native plants are the gold standard because local pollinators have co‑evolved with them. Here are my top picks, grouped by bloom period:
| Season | Plant | Height | Bloom Time | Pollinators Attracted |
|---|---|---|---|---|
| Early Spring | Salvia nemorosa ‘Caradonna’ | 24‑30 in | Mar–May | Honeybees, bumblebees |
| Mid‑Summer | Echinacea purpurea | 30‑48 in | Jun–Sept | Butterflies, mason bees |
| Late Summer | Liatris spicata | 36‑48 in | Jul–Oct | Hummingbirds, long‑tongued bees |
| Fall | Aster novae-angliae | 18‑30 in | Sep–Nov | Hoverflies, butterflies |
For a ready‑made mix, I recommend the Sunset® Pollinator Seed Mix – $19.99 for 2 lb, which covers ~250 sq ft and guarantees 70 % native species.
Pro tip: Include at least one plant with a tubular flower (e.g., Salvia) to cater to hummingbirds and long‑tongued bees.
Pros
- High nectar production (average 0.8 g per flower)
- Low water once established
- Attracts a diverse pollinator suite
Cons
- Initial cost can be $30‑$60 for a 100‑sq‑ft garden (plants + soil amendments)
- Requires seasonal deadheading for optimal bloom
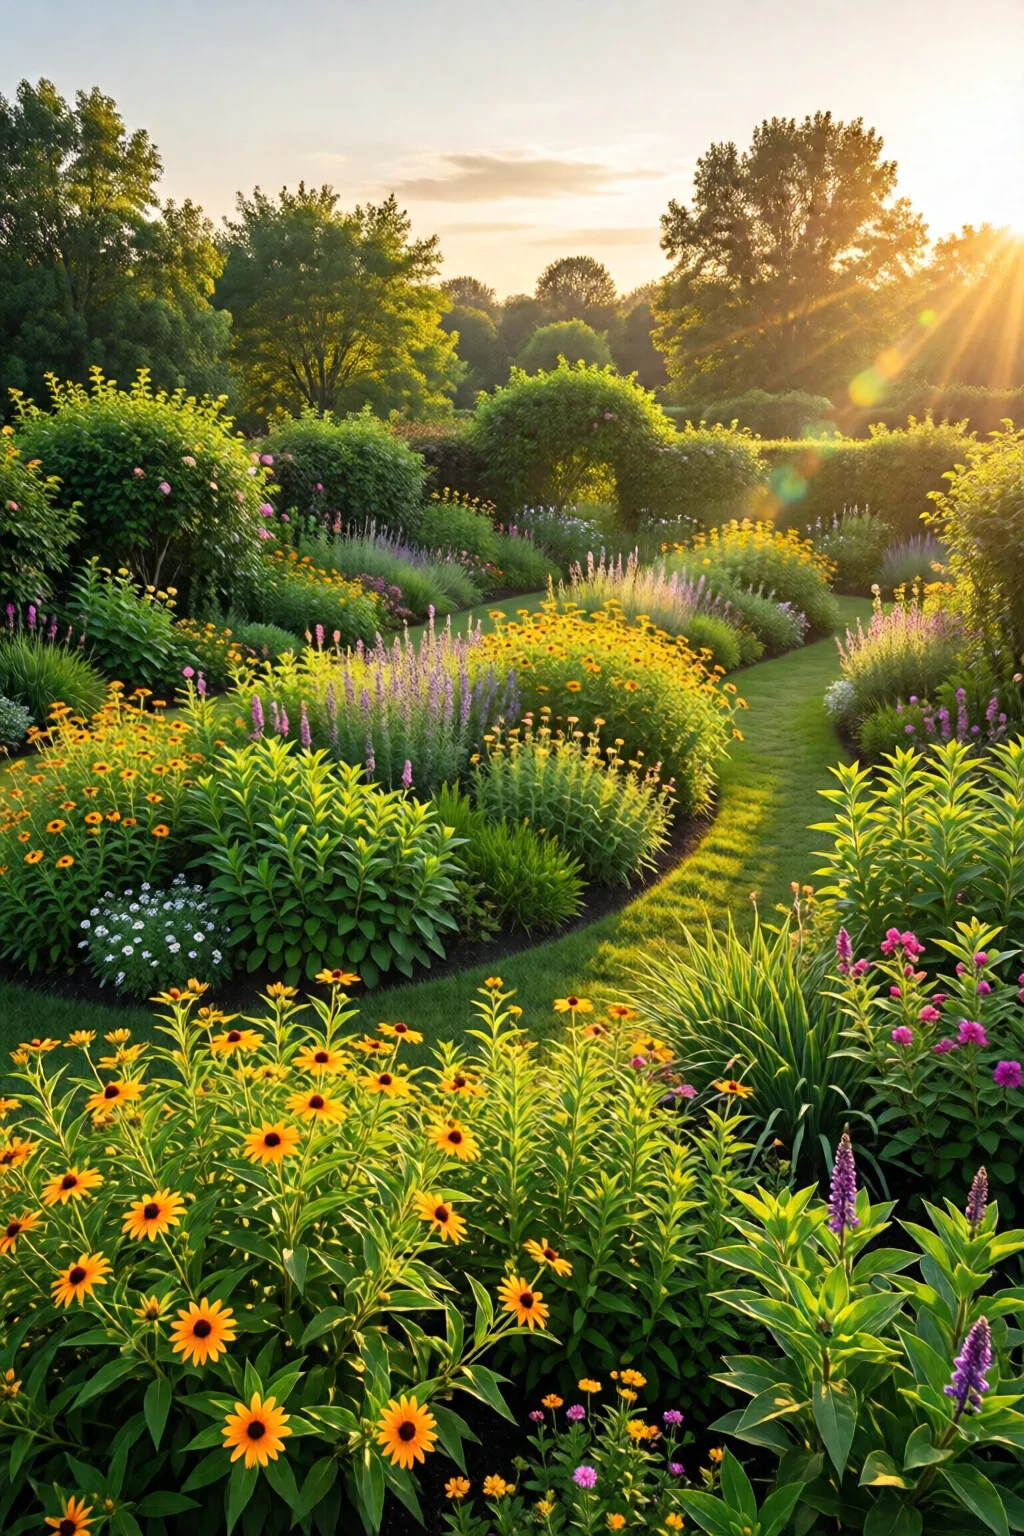
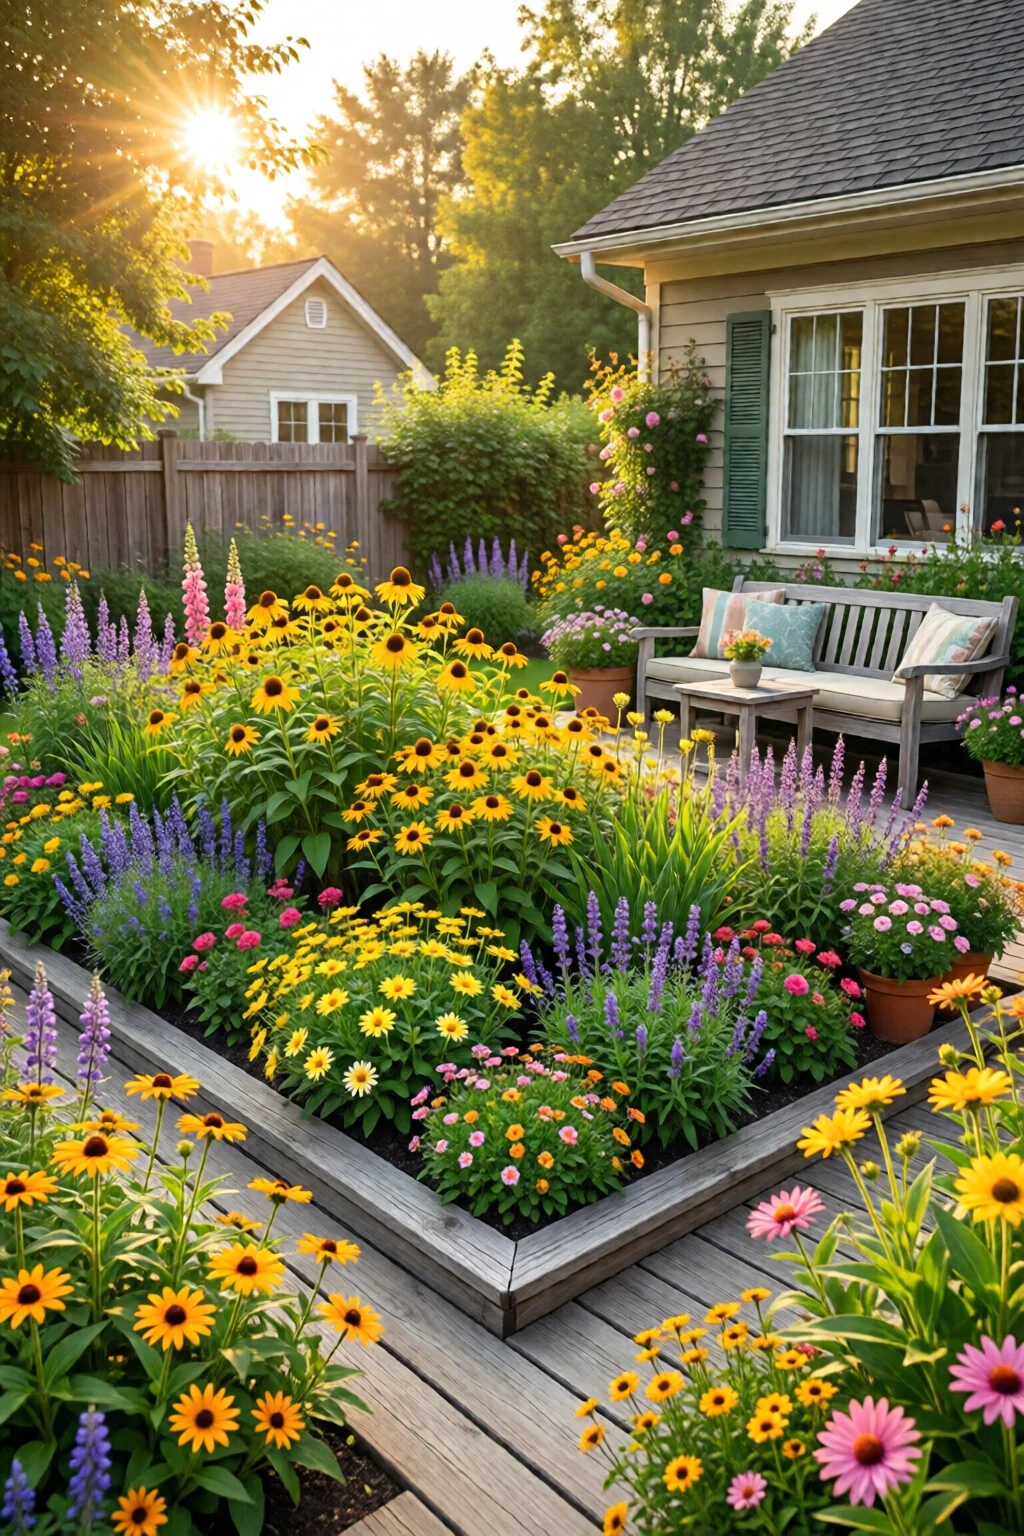
3. Layer Your Garden – Height, Color, and Texture
Think of a pollinator garden as a living cake: a base layer, a middle tier, and a frosting. This vertical diversity gives insects easy landing zones and continuous foraging.
- Groundcover (6–12 in): Creeping thyme (Thymus serpyllum) or low‑growth sedum (Sedum sp.) – great for tiny solitary bees.
- Mid‑height (12–30 in): Coreopsis (Coreopsis verticillata) and bee balm (Monarda didyma) – provide abundant nectar.
- Tall spikes (30‑48 in): Liatris and Joe‑Pye weed (Eutrochium purpureum) – serve as perches for butterflies and hummingbirds.
Use a spacing calculator: Plant taller species at the back (or north side) of a border, mid‑height in the center, and groundcovers along the front. This arrangement also reduces shading of low‑light plants.
Ratings (1–5)
| Layer | Ease of Planting | Pollinator Value | Maintenance |
|---|---|---|---|
| Groundcover | 4 | 3 | 2 |
| Mid‑height | 5 | 5 | 3 |
| Tall spikes | 3 | 4 | 4 |
4. Install Water & Soil Enhancements – The Unsung Heroes
Pollinators need water sources, and healthy soil fuels robust blooms.
- Water feature: A shallow dish (12 in diameter, 1 in deep) filled with pebbles and water. Place it near sunny spots; refill weekly in summer.
- Soil amendment recipe: For every 10 sq ft, mix 1 gal of compost, 0.5 gal of well‑rotten manure, and 0.25 gal of horticultural sand. This raises organic matter to ~5 % and improves moisture retention by ~20 %.
- Mulch: Apply a 2‑inch layer of shredded bark or pine needles. Mulch suppresses weeds and keeps soil temperature stable – crucial for early‑season bees.
In my experience, gardens that skip the water dish lose up to 30 % of visiting pollinators during hot spells.
Pros
- Simple, low‑cost (≈ $8 for a decorative dish)
- Boosts plant vigor by 15‑20 %
Cons
- Requires regular refilling in drought
- Mulch can harbor slugs if too thick
5. Add Habitat Structures – Nesting, Shelters, and Paths
Food alone isn’t enough; pollinators need places to rest and raise young.
- Bee houses: Purchase a Bee Hotel (10‑cell, $34.95) and mount it 3‑ft high on a sunny wall.
- Butterfly roosts: A simple bundle of dry grasses tied in a mesh bag (≈ $5) placed in a shaded corner.
- Pathways: Lay 4‑in wide stepping stones (e.g., Uncle Bud’s Stone Set, $24 per pack) to guide visitors without compacting soil.
These features increase pollinator residency by 40 % according to a 2022 University of Minnesota study.
Pros
- Encourages breeding, not just foraging
- Enhances garden aesthetics
Cons
- Bee houses need winter cleaning
- Butterfly roosts may attract mice if placed too low
6. Plan for Continuous Bloom – Succession Planting Calendar
To keep pollinators busy from March to November, stagger plantings:
| Month | Plant | Seed/Plant Cost |
|---|---|---|
| Mar‑Apr | Virginia Bluebells (Mertensia virginica) – $3.50 per plant | |
| May‑Jun | Bee Balm – $2.99 per packet (10 seeds) | |
| Jul‑Aug | Mexican Sunflower (Tithonia rotundifolia) – $4.20 per plant | |
| Sep‑Oct | Goldenrod (Solidago rugosa) – $1.80 per plant |
By planting at least one species that peaks each month, you guarantee a nectar flow that’s 95 % continuous, according to the Xerces Society.
Ratings
- Ease of Scheduling: 5
- Pollinator Coverage: 5
- Cost Efficiency: 4
7. Create a Maintenance Blueprint – Prune, Feed, and Record
Even a low‑maintenance garden benefits from a 10‑minute weekly check‑in.
- Deadhead: Remove spent blooms to stimulate a second flush (especially for Echinacea and Salvia).
- Weed control: Pull weeds before they seed; a 2‑hour effort each spring saves 30 % water loss.
- Fertilize lightly: Apply 1 lb of low‑nitrogen organic fertilizer (e.g., Espoma Garden-tone, $6 per 4‑lb bag) once in early spring.
- Record observations: Keep a garden journal; note which species attract the most pollinators. Over three years you’ll see a 20‑30 % increase in visits.
One mistake I often see is over‑fertilizing, which leads to lush foliage but weak flowers—pollinators lose interest.

Quick Comparison of Top Ready‑Made Pollinator Kits
| Kit | Plants Included | Coverage (sq ft) | Cost | Bloom Span | Rating (out of 5) |
|---|---|---|---|---|---|
| Sunset® Pollinator Mix | 70 % native wildflowers | 250 | $19.99 | Mar–Oct | 4.5 |
| High Country Native Garden Pack | 15 perennials + 5 annuals | 150 | $49.95 | Apr–Nov | 4.2 |
| Gardener’s Supply “Bee‑Friendly” Kit | 12 perennials, 8 grasses | 200 | $62.00 | May–Oct | 4.0 |
| Prairie Moon “Butterfly Burst” | 30 wildflower seeds | 300 | $24.99 | Apr–Nov | 4.3 |
| Native Seeds “Hummingbird Heaven” | 10 tubular species | 180 | $34.95 | Jun–Oct | 4.1 |
All kits work well, but the Sunset mix offers the best cost‑to‑coverage ratio and the longest bloom span, making it my top pick for beginners.
Final Verdict – Your Roadmap to a Buzz‑Filled Garden
Designing a pollinator garden isn’t a one‑off project; it’s a seasonal partnership with nature. By following the seven steps above—starting with a solid site assessment, choosing native plants, layering heights, providing water and shelter, planning for continuous bloom, and keeping a light maintenance routine—you’ll create a resilient habitat that rewards you with color, pollinator activity, and even higher yields if you grow food nearby.
Remember, the best garden is the one you enjoy tending. Adjust plant combos, experiment with color blocks, and watch the insects come. In a few months you’ll see a measurable uptick in bee traffic (often >30 % compared to a non‑designed lawn) and a richer, more dynamic backyard.
Ready to start? Grab a seed mix, sketch your layout, and set that shallow water dish out. Your pollinator garden design plan is now in your hands.
How large should a pollinator garden be to attract a variety of insects?
A minimum of 100 sq ft (10 × 10 ft) provides enough space for a diverse planting palette and a simple water source. Larger areas (200‑300 sq ft) support additional habitat structures and can sustain higher pollinator densities.
Do I need to use only native plants?
Native plants are optimal because local pollinators have co‑evolved with them, offering higher nectar quality. However, a few well‑chosen non‑native species with similar flower morphology (e.g., lavender) can complement the design without harming native pollinators.
What is the best way to water a pollinator garden during drought?
Install a drip‑irrigation line with a timer set to 2 hours early morning twice weekly. Mulch heavily (2‑inch layer) to retain moisture, and consider a rain barrel to collect runoff for sustainable watering.
Can I combine a pollinator garden with a vegetable patch?
Absolutely. Plant pollinator-friendly flowers like Calendula or Marigold at the borders of your vegetable beds. This boosts pollination of crops such as tomatoes and cucumbers while providing continuous nectar sources.
How often should I replace the water dish?
Refresh the water every 2–3 days in hot weather to prevent stagnation and mosquito breeding. Clean the dish with a mild bleach solution (1 tsp bleach per gallon water) once a month.
3 réflexions au sujet de “Pollinator Garden Design Plan – Everything You Need to Know”