Did you know that nearly 70% of gardeners who plant clematis report a bloom surge in the second year, provided they follow proper pruning and feeding routines? That’s the sweet payoff of learning how to grow and care for clematis the right way.
In This Article
- What You Will Need (Before You Start)
- Step 1 – Choose the Right Site
- Step 2 – Test and Amend the Soil
- Step 3 – Plant the Clematis Properly
- Step 4 – Install Support and Mulch
- Step 5 – Establish a Consistent Watering Schedule
- Step 6 – Feed and Fertilize for Abundant Blooms
- Step 7 – Prune According to Clematis Group
- Step 8 – Protect Over Winter
- Common Mistakes to Avoid
- Troubleshooting & Tips for Best Results
- Summary
What You Will Need (Before You Start)
- High‑quality clematis vines (e.g., Clematis montana ‘Elizabeth’’ or C. viticella ‘Alba’’) – seedlings cost $12‑$18 each at Burpee.
- Well‑draining soil amendment: 2 lb bag of Miracle‑Gro Water Soluble All Purpose Plant Food ($9.99) or 4 lb Espoma Organic Garden Plant Food ($12.95).
- Sturdy support: TrellisPro 6‑ft Steel Garden Trellis – $45.
- Mulch: 2 cu ft of shredded hardwood mulch ($4.50 per cu ft).
- Tools: 12‑inch root pruning shears (Gardeners Supply Company, $27), a garden trowel, and a watering can with a rose head.
- Optional: Jobe’s 1‑Quart Tree & Shrub Plant Food Sticks ($4.99) for slow‑release nutrition.
Step 1 – Choose the Right Site
Clematis thrives when its roots stay cool and moist while the crown enjoys sunlight. Aim for a spot where the crown receives at least 6 hours of direct sun, but the base of the plant is shaded by shrubs, a low wall, or a mulch blanket. In my garden, I plant a row of hostas directly in front of the clematis; the hostas shade the roots in midsummer and keep the soil temperature down by roughly 3‑5 °C.
Step 2 – Test and Amend the Soil
Before you dig, test the soil pH. Clematis prefers a range of 6.0–6.5. Use a simple kit from how to test soil pH at home – results come in minutes. If the pH is low, spread 1 cup of garden lime per 10 sq ft; if high, incorporate 1 cup of elemental sulfur per 10 sq ft. Mix in 2 inches of the Miracle‑Gro fertilizer to boost phosphorus, which supports strong root development.
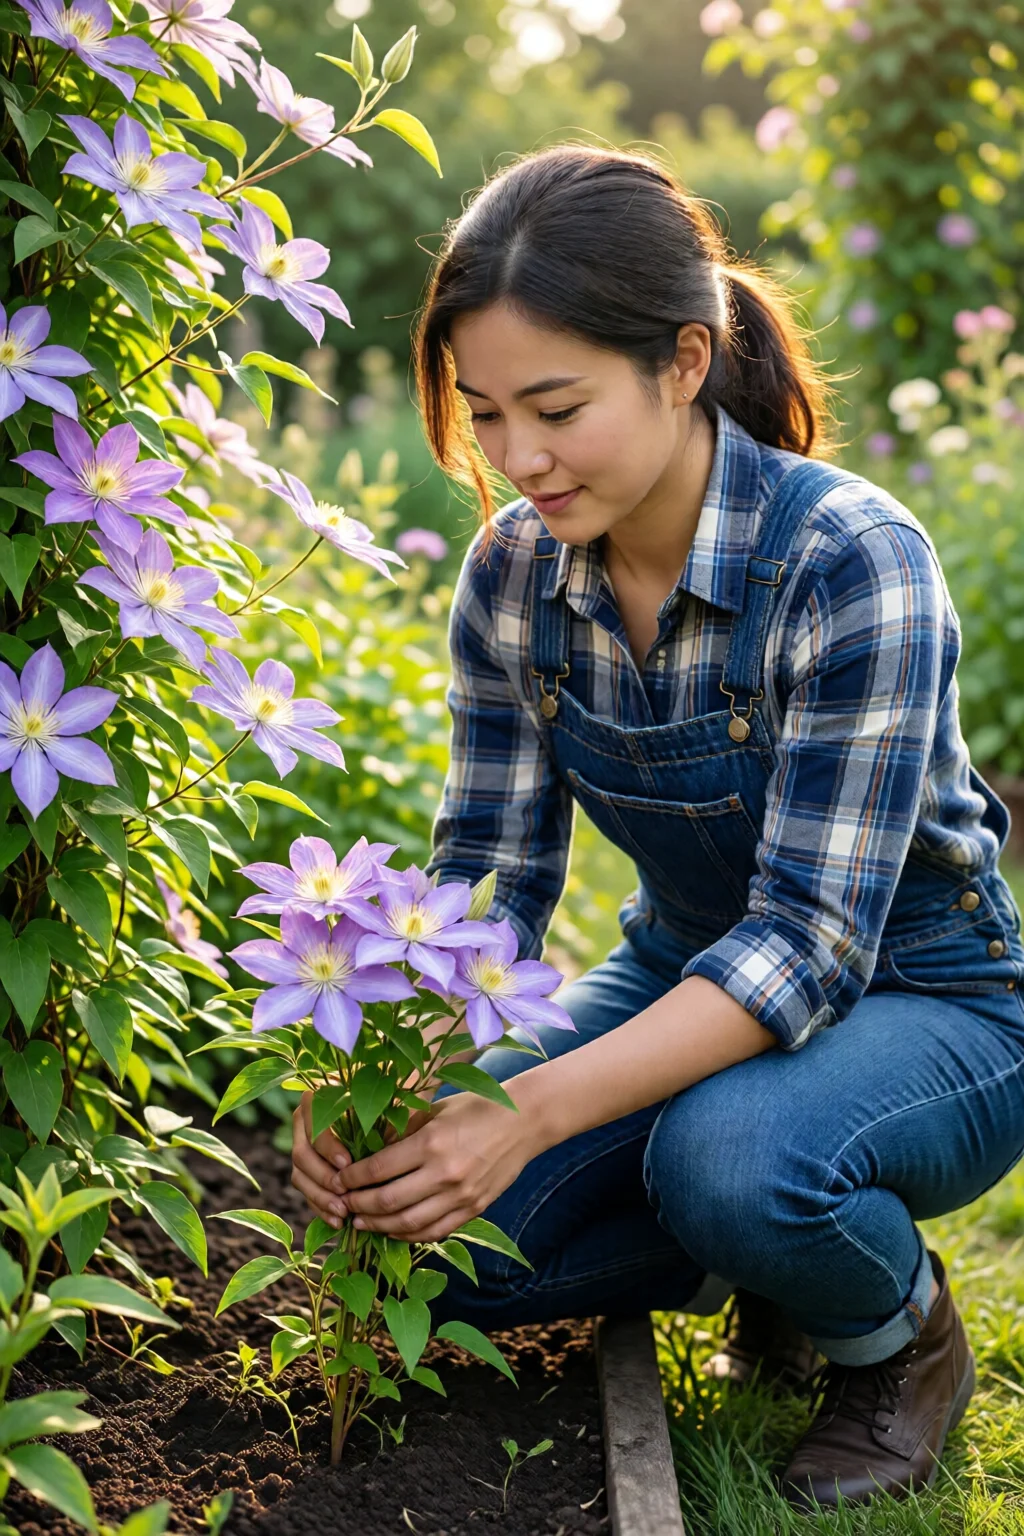
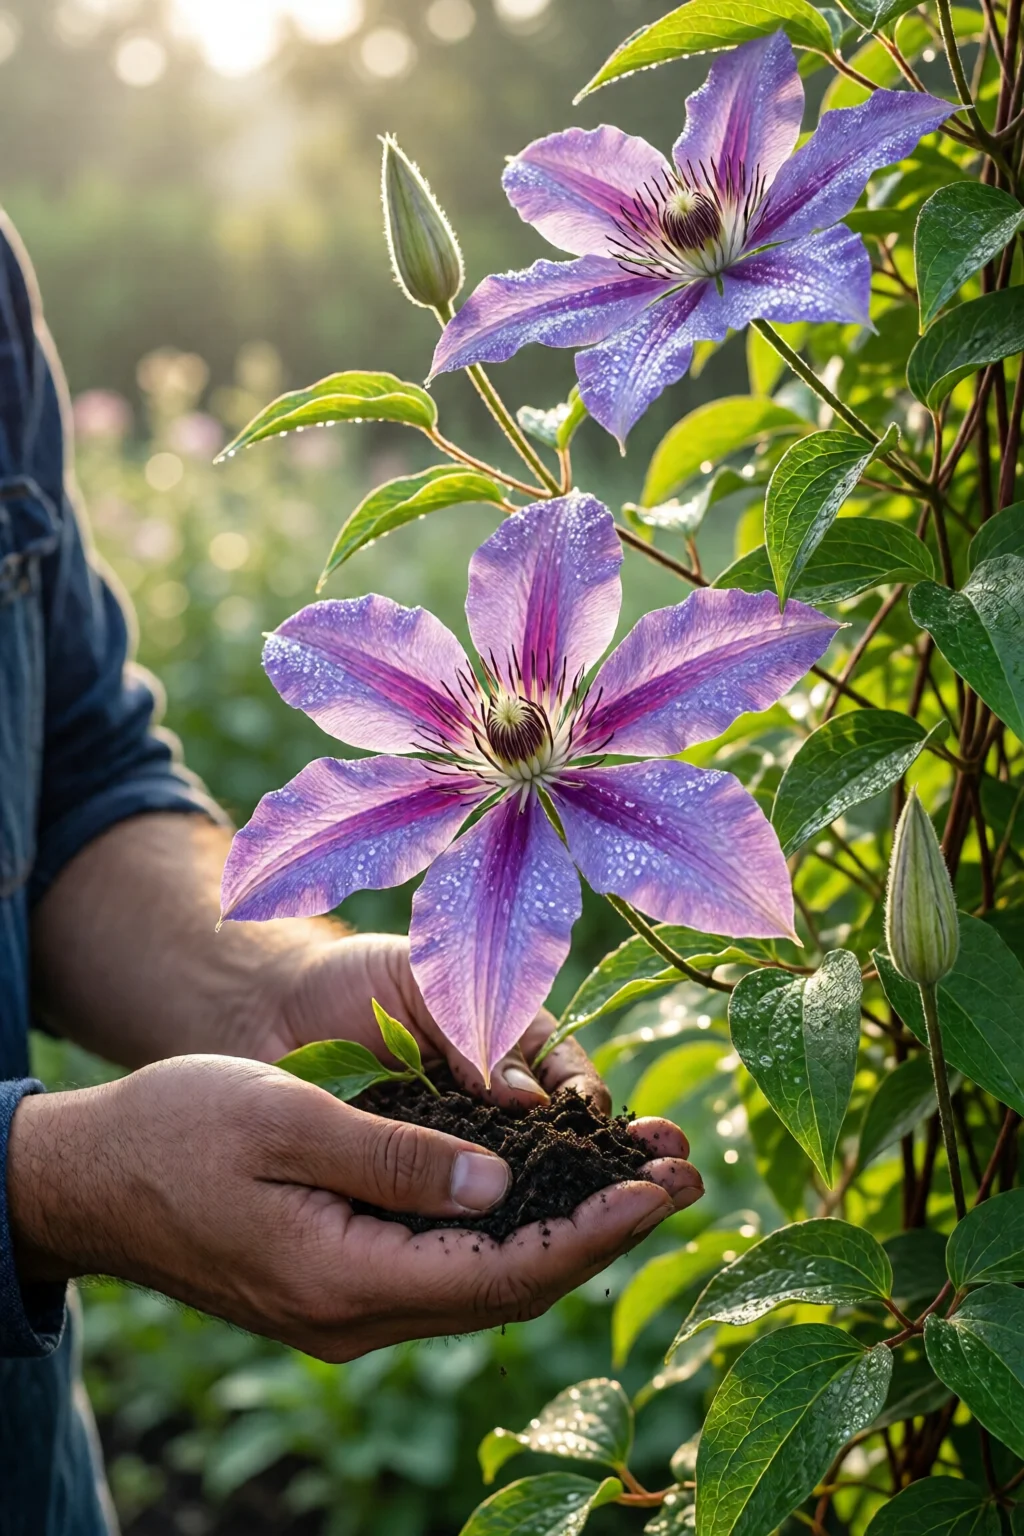
Step 3 – Plant the Clematis Properly
- Dig a hole 12 inches wide and 12 inches deep.
- Place a 2‑inch layer of coarse sand at the bottom for drainage.
- Set the plant so the crown sits 2‑3 inches below ground level. This “deep planting” protects the crown from winter freeze‑thaw cycles.
- Backfill with a 50/50 mix of native soil and compost, tamp gently.
- Water thoroughly – aim for 1 gal per plant.
In my experience, a slight depression around the base after planting helps funnel water toward the roots.
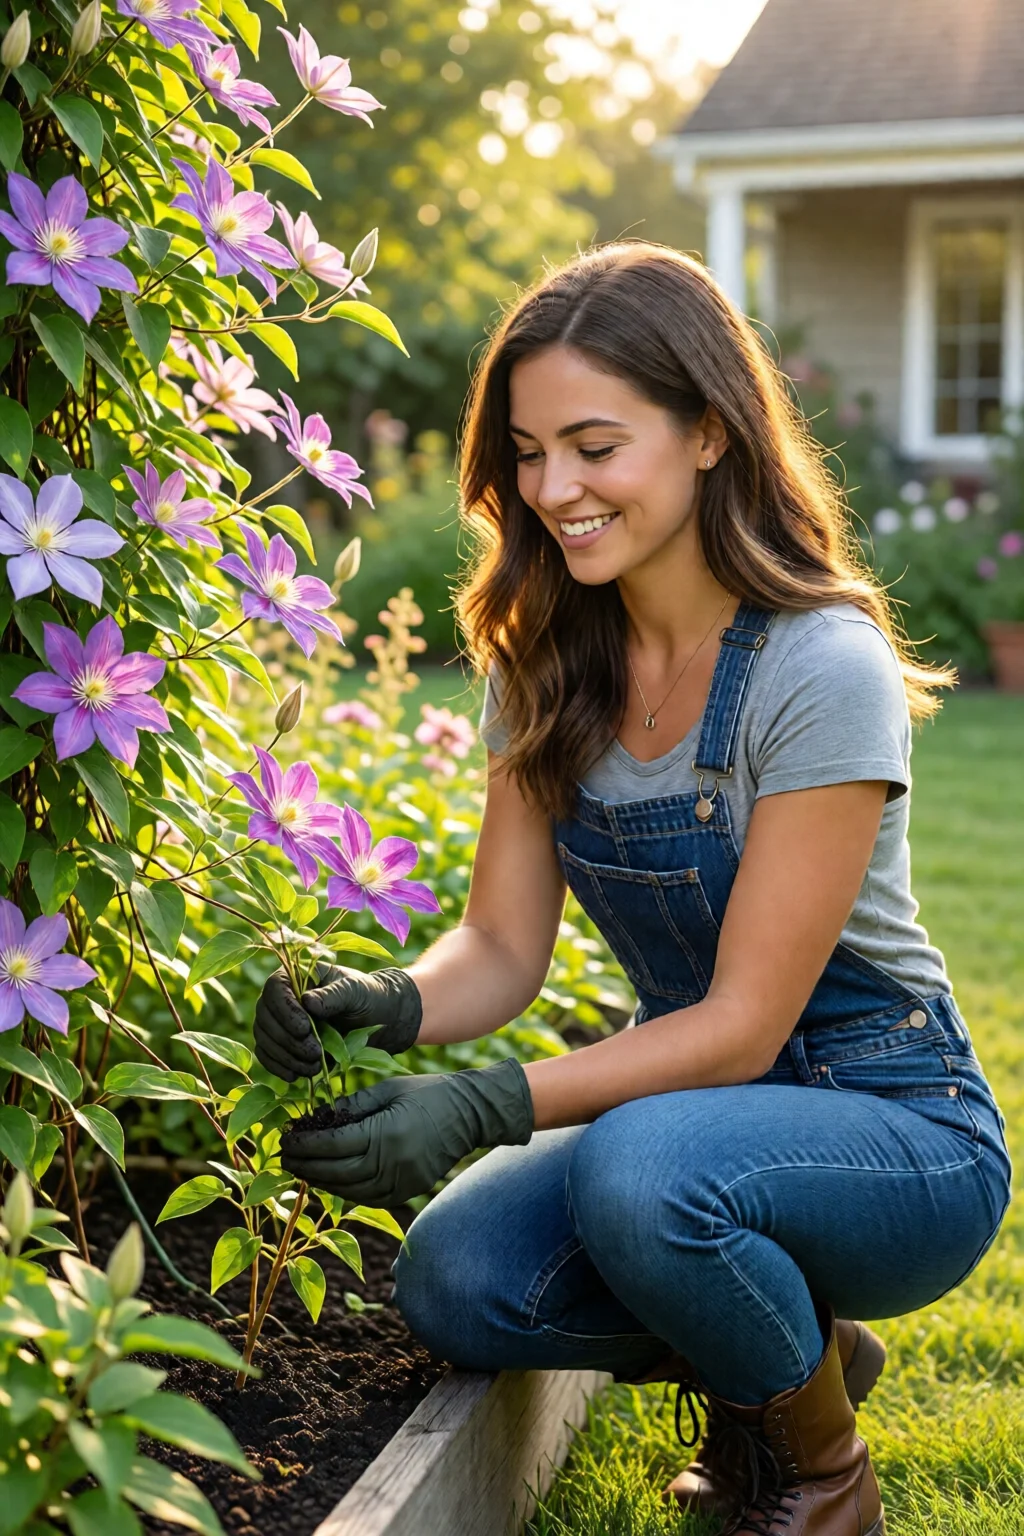
Step 4 – Install Support and Mulch
Anchor the TrellisPro trellis 6 inches behind the planting line, driving the stakes at least 12 inches into the ground. Tie the first set of vines to the trellis using soft garden twine; avoid metal clips that can gouge stems.
Apply a 3‑inch layer of shredded hardwood mulch, extending it 18 inches from the stem. Mulch conserves moisture, suppresses weeds, and maintains the cool root zone clematis loves.
Step 5 – Establish a Consistent Watering Schedule
For the first month, water twice weekly – 1 gal each time – ensuring the soil stays moist but never soggy. After establishment, reduce to once a week, delivering about 1.5 gal per plant. Early morning watering minimizes leaf‑spot disease by allowing foliage to dry before nightfall.
One mistake I see often is over‑watering in the fall, which encourages root rot. Use a soil moisture meter (available for $12‑$15) to keep readings between 40%–60%.
Step 6 – Feed and Fertilize for Abundant Blooms
Begin feeding in early spring when buds first swell. Use a balanced 10‑10‑10 granular fertilizer at 1 lb per 100 sq ft, or apply Jobe’s slow‑release sticks directly into the mulch (one stick per plant, every 3 months). Repeat feeding after the first flush of blooms (usually late May) to encourage a second wave.
Step 7 – Prune According to Clematis Group
Clematis are divided into three pruning groups. Identify your variety and follow the schedule:
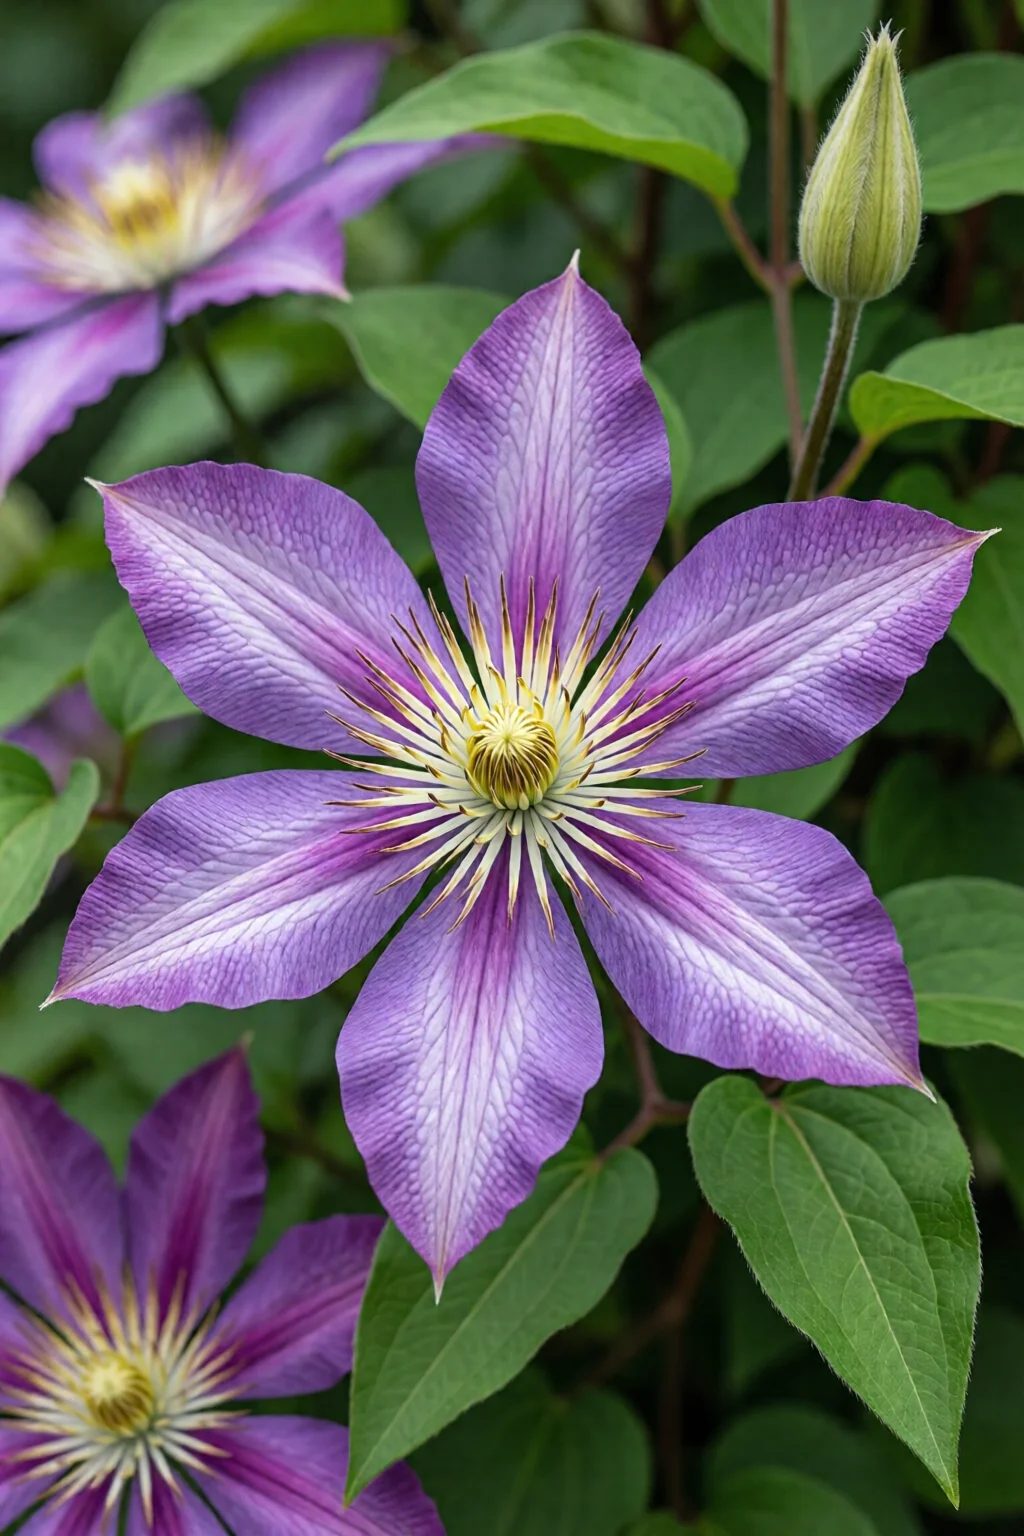
- Group 1 (Early‑flowering, e.g., C. montana): Prune right after the first bloom. Remove dead or weak stems; no cutting back to the base.
- Group 2 (Mid‑season, e.g., C. ‘Nelly Moser’): Light pruning in late winter – cut back to 12‑18 inches above ground.
- Group 3 (Late‑flowering, e.g., C. ‘Jackmanii’): Hard prune in early spring, cutting back to 24‑30 inches.
In my garden, I label each vine with a small color‑coded tag indicating its group – it saves me from a costly pruning mishap.
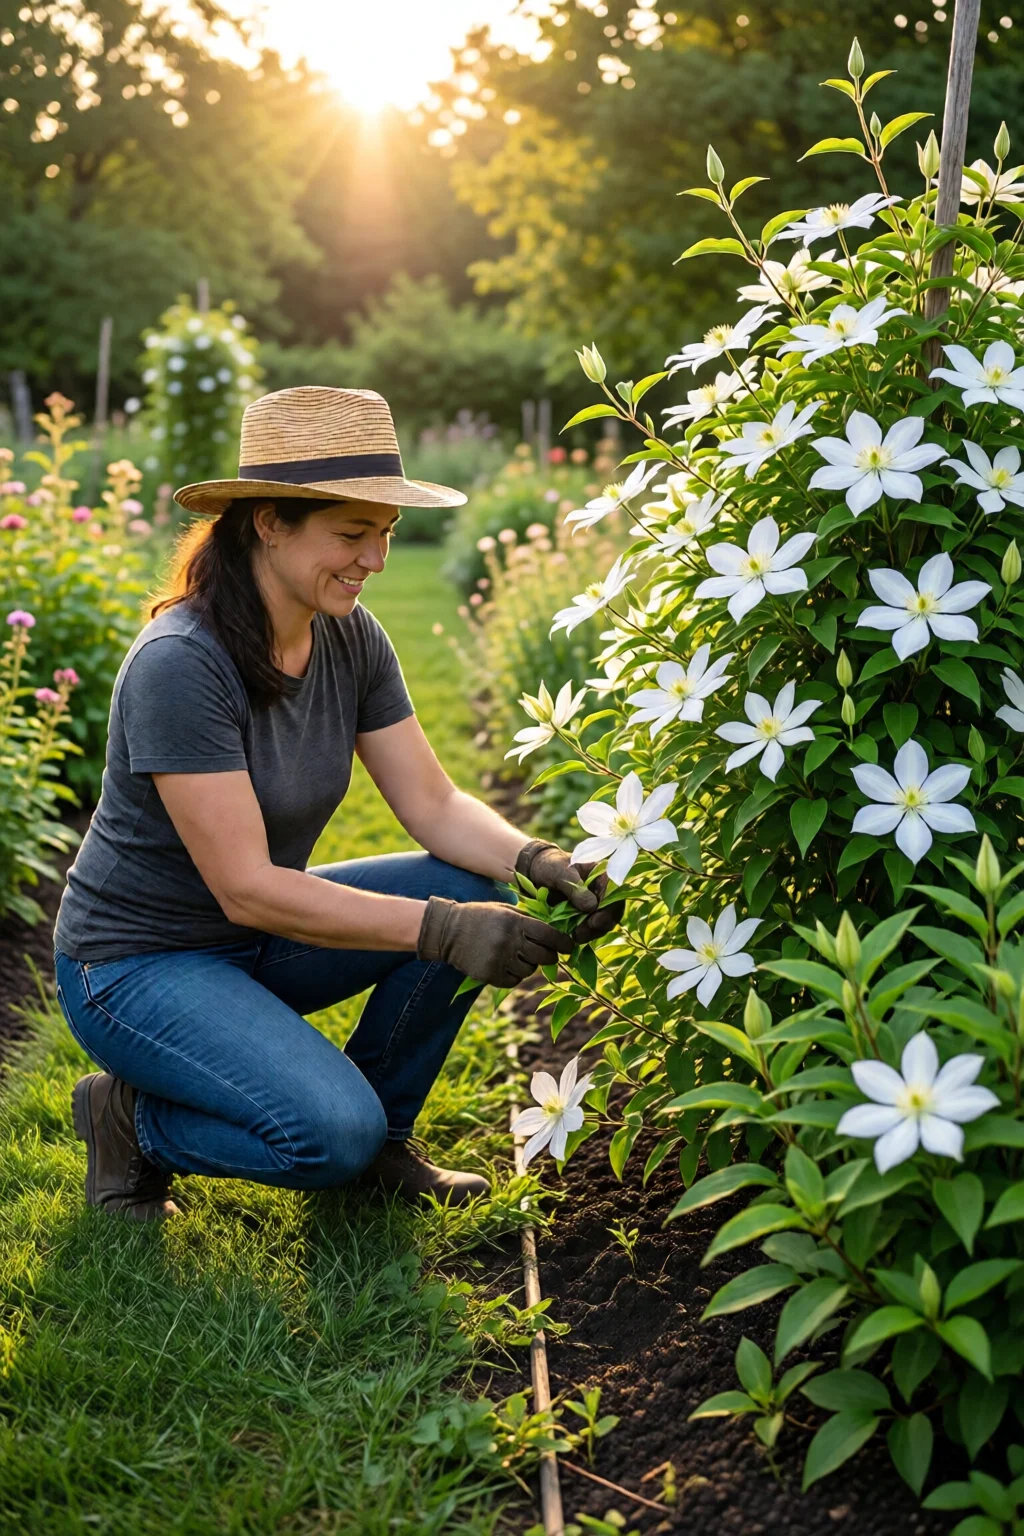
Step 8 – Protect Over Winter
In zones 5–7, wrap the base of the plant with burlap or horticultural fleece, leaving a 2‑inch gap for airflow. Add an extra 2‑inch mulch layer after the first hard freeze. If you expect heavy snow, loosely tie the vines to the trellis with soft ties to prevent breakage.
Common Mistakes to Avoid
- Planting too shallow. Shallow crowns are prone to winter injury; always plant 2‑3 inches deep.
- Ignoring soil pH. Clematis in alkaline soil (>7.0) often show yellowing leaves. Adjust with elemental sulfur.
- Over‑fertilizing. Excess nitrogen yields lush foliage but few flowers. Stick to the recommended 10‑10‑10 schedule.
- Wrong pruning time. Pruning a Group 1 vine in winter removes next year’s buds.
- Insufficient support. Weak trellises cause vines to sprawl on the ground, inviting disease.
Troubleshooting & Tips for Best Results
Yellow leaves? Check for iron deficiency – a common issue in high‑pH soils. Apply a chelated iron spray ($8 per 16‑oz bottle) and re‑test pH.
Bud blast? Likely caused by late‑season rain. Ensure good air circulation by spacing vines at least 3 ft apart and prune interior stems.
Pest pressure? Sawfly larvae and aphids love clematis. A quick spray of neem oil (2 tsp per gallon of water, $10 per 16‑oz bottle) every 7‑10 days keeps them at bay.
For a gorgeous backdrop, pair clematis with a butterfly garden design layout. The nectar‑rich flowers attract pollinators that boost overall garden health.
Summary
Mastering how to grow and care for clematis boils down to three principles: plant deep in cool, moist soil; feed and prune according to the vine’s group; and protect the crown from extreme temperatures. With the right site, support, and a consistent watering/fertilizing routine, you’ll enjoy cascading blooms year after year – and perhaps a 70% increase in flower production by the second season.
When should I plant clematis?
The best time to plant clematis is early spring (March–April) or early fall (September–October) when the soil is workable and temperatures are moderate.
How often should I water newly planted clematis?
Water twice a week for the first four weeks, providing about 1 gallon per plant each time, then reduce to once a week once established.
What fertilizer is best for clematis?
A balanced 10‑10‑10 granular fertilizer or a slow‑release stick like Jobe’s Tree & Shrub Food works well. Apply in early spring and after the first bloom.
How do I know which pruning group my clematis belongs to?
Check the flower time: early spring bloomers are Group 1, mid‑season bloomers are Group 2, and late‑summer/fall bloomers are Group 3. Plant tags or a quick reference guide can help.
Can I grow clematis in containers?
Yes, choose a 15‑gal container with drainage holes, use a high‑quality potting mix, and provide a trellis or stake for support. Water daily in hot weather.
1 réflexion au sujet de « How To Grow And Care For Clematis – Tips, Ideas and Inspiration »