Ever wondered why a single tomato plant can give you a whole season’s worth of fresh fruit without buying new seeds each year?
In This Article
What You Will Need (Before You Start)
- Sharp pruning shears or scissors – a Fiskars X7 model costs about $14.99 and stays sharp for years.
- Mesh sieve (½‑inch or 6 mm opening) – the inexpensive 2‑inch stainless steel sieve from Home Depot is $6.50.
- Paper towels or a clean cotton cloth.
- Silica gel desiccant packets (e.g., Spectrum Essentials 100 % silica gel, $9.99 for a pack of 20).
- Seal‑proof containers: Burpee Seed Storage Boxes, 12‑pack for $24.95, or small 4‑oz glass jars ($1.20 each at Amazon).
- Labels and a permanent marker – a set of 100 waterproof labels is $4.99.
- Optional: Jarden Seed Saver kit ($19.99) which includes a drying rack, humidity indicator, and a vacuum‑seal bag.
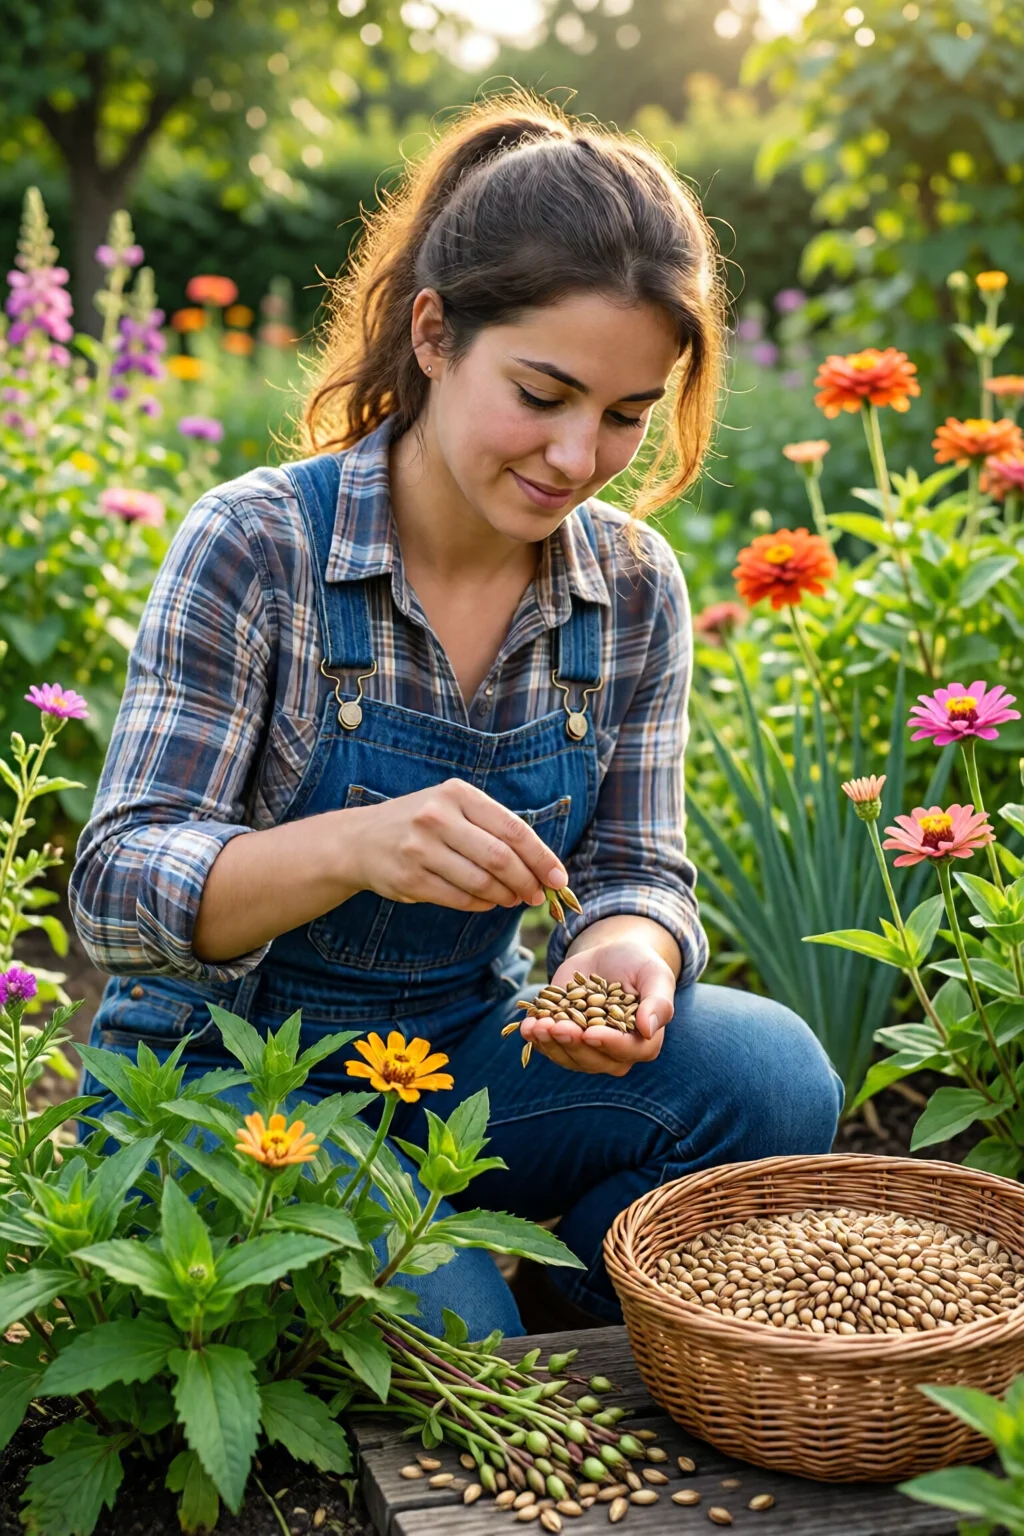
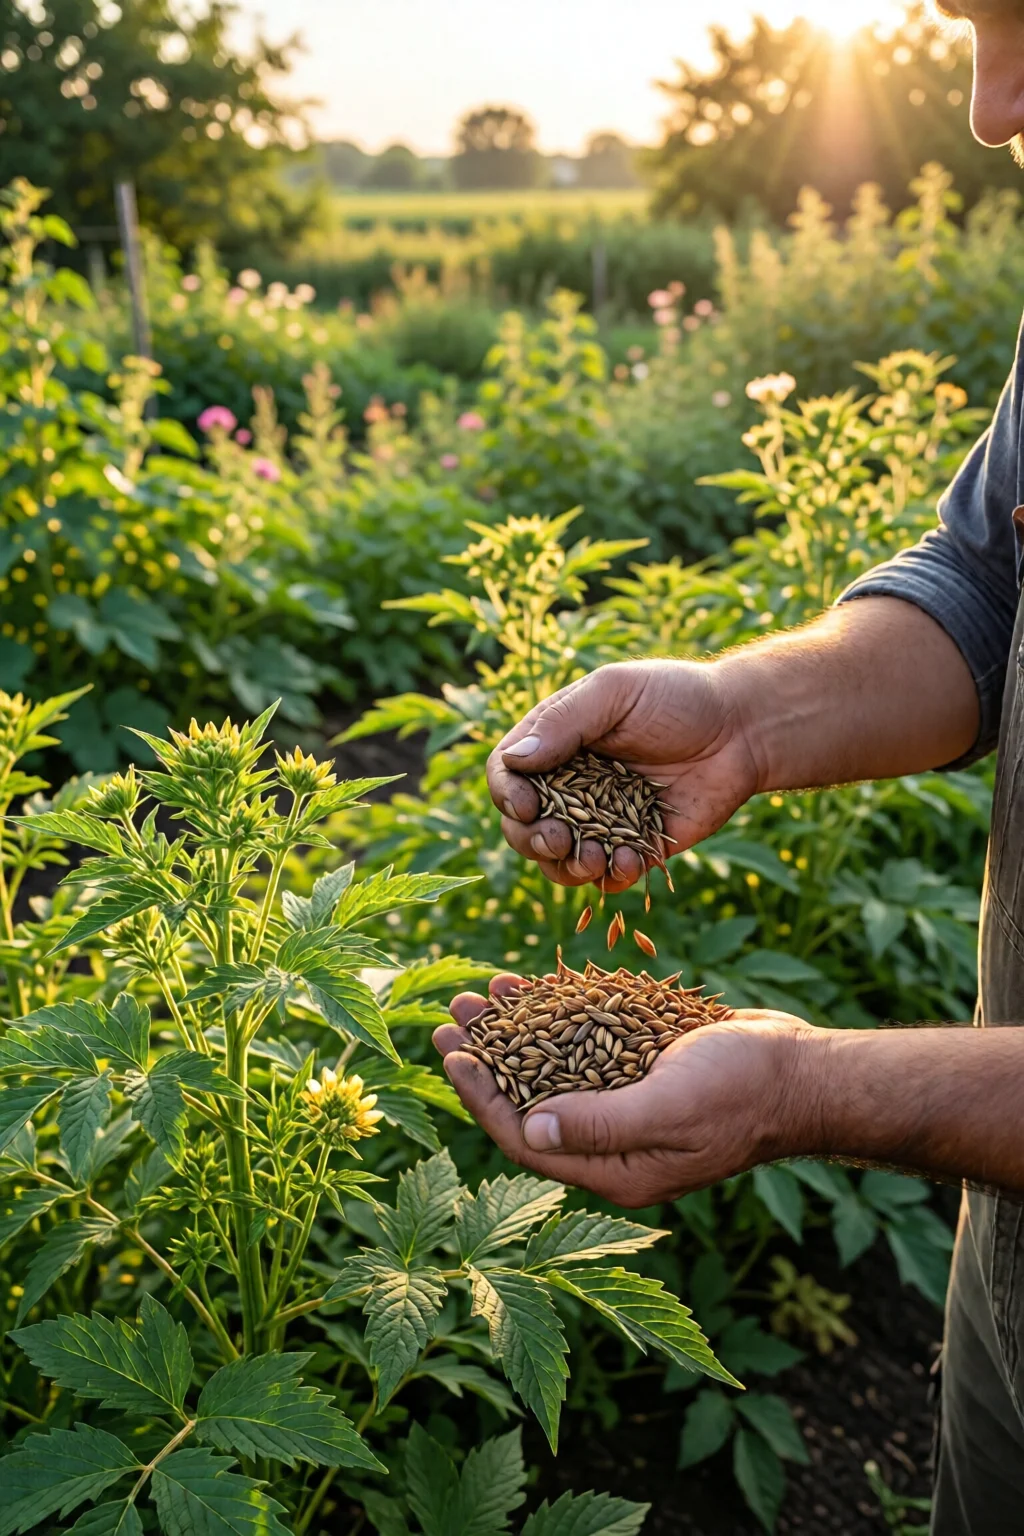
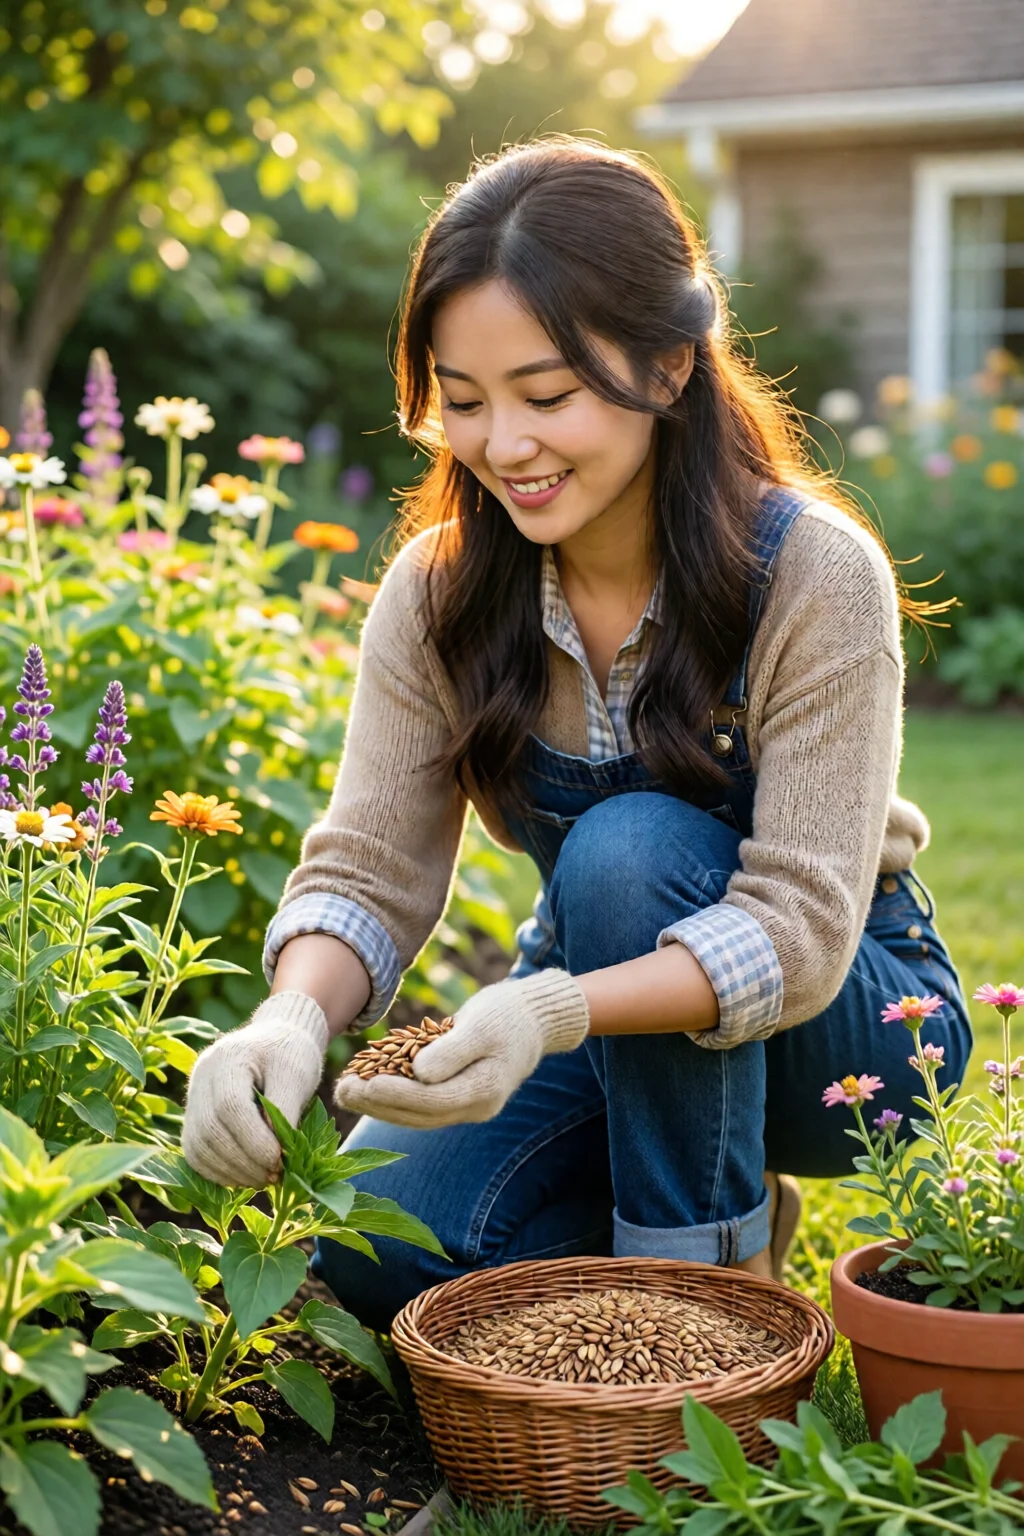
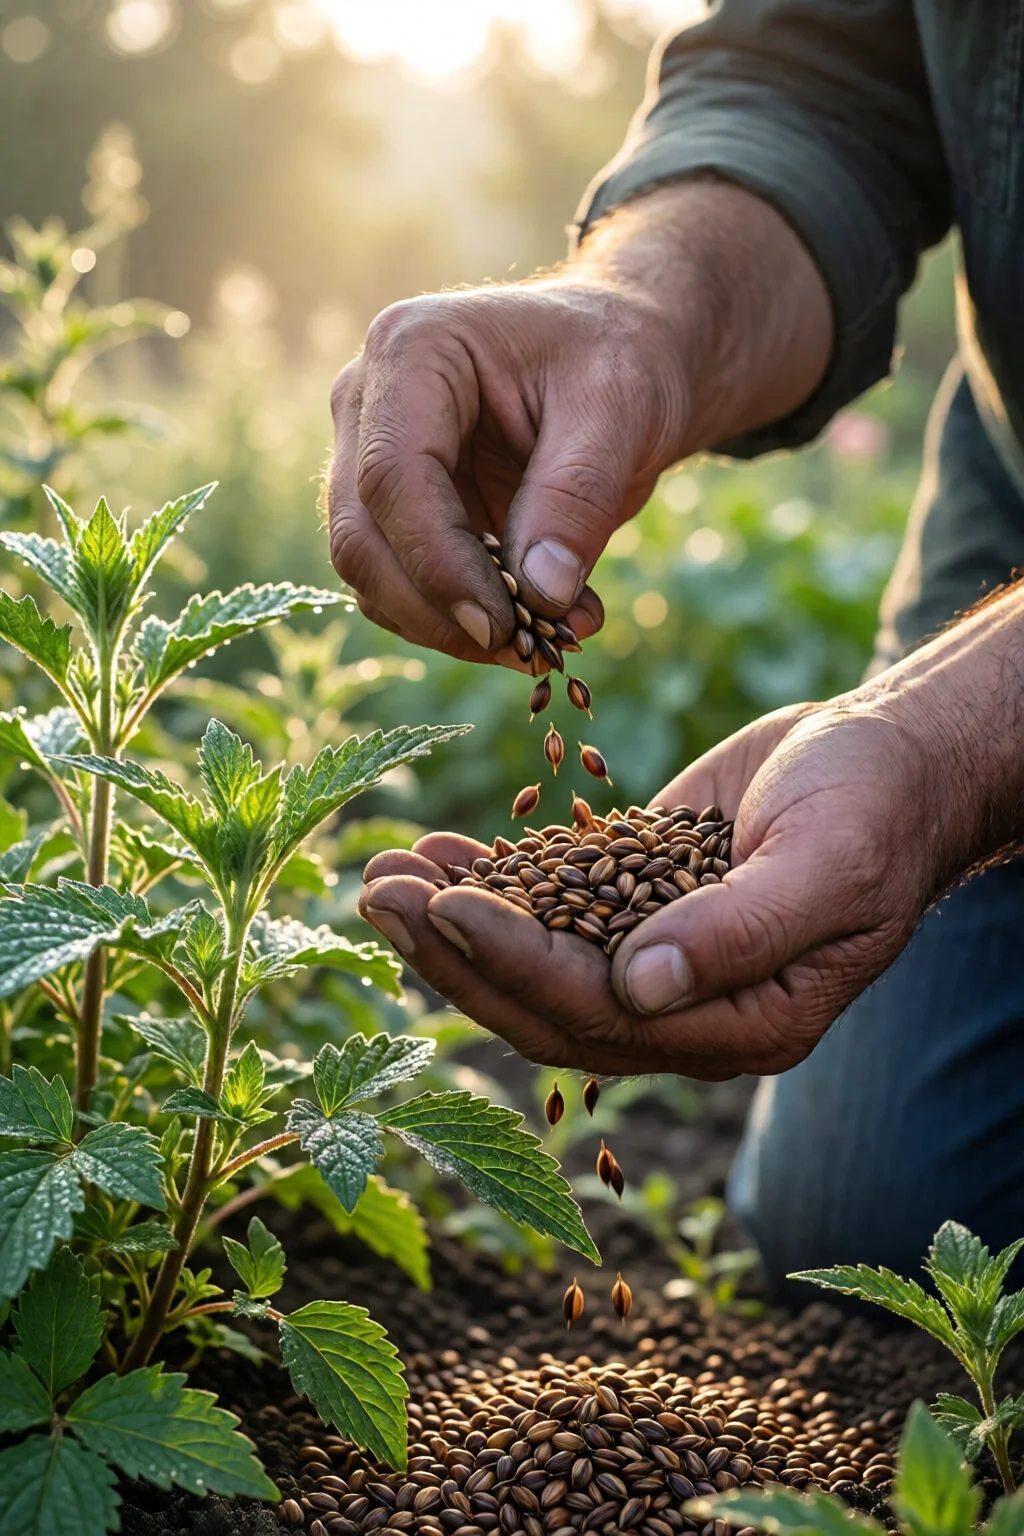
Step 1: Identify Mature Seed Pods
First, you must know when a plant’s seed pod is ready. In my experience, a mature seed pod changes color, feels firm, and often begins to split naturally. For tomatoes, wait until the fruit is fully ripe and the seeds are encased in a jelly‑like pulp. For beans, the pods should be dry, papery, and start to curl at the edges. A quick test: gently squeeze a pod; if it’s soft, it’s still immature.
Step 2: Harvest at the Right Time
Timing is everything. Harvest too early and the seeds won’t be viable; too late and they may be over‑ripe and prone to mold. For most annuals, the golden window is 2‑3 weeks before the first frost. Perennials like best perennial flowers for full sun often set seed in late summer. I set a reminder on my phone for the last frost date (e.g., April 15 in Zone 5) and start checking plants a fortnight before.
When cutting, use clean, sharp scissors to avoid crushing the pod. Place each pod in a separate paper bag to keep them organized.

Step 3: Clean and Dry the Seeds
Cleaning varies by plant:
- Tomatoes: Scoop out the pulp into a bowl, add a tablespoon of water, and stir. Let the mixture sit for 24 hours; viable seeds will sink while pulp floats. Pour off the floating debris, then rinse the seeds with a fine‑mesh sieve.
- Beans & Peas: Simply crush the dry pods between your fingers, then blow away the chaff. A 6‑mm sieve helps separate the tiny seeds from larger debris.
- Herbs (e.g., basil, dill): Rub the seed heads between paper towels to release the seeds.
After cleaning, spread the seeds on a single layer of paper towels in a well‑ventilated area away from direct sunlight. A temperature of 65‑70 °F (18‑21 °C) and 30‑40 % relative humidity is ideal. I usually leave them for 5‑7 days; the seeds should feel crisp, not leathery.
To speed drying, place silica gel packets on the towel. Each packet absorbs about 10 g of moisture, enough for a small batch of seeds.
Step 4: Store for Long‑Term Viability
Proper storage can keep many seeds viable for 5‑10 years. Follow these steps:
- Place each seed type in its own glass jar or Burpee box.
- Add a small silica gel packet (≈2 g) to each container to control humidity.
- Seal tightly. For extra protection, the Jarden Seed Saver kit’s vacuum‑seal bags remove 99 % of air and add a humidity indicator.
- Store the containers in a cool, dark place. A refrigerator drawer set at 40 °F (4 °C) works well for most vegetables; for woody plants (e.g., boxwood), a basement freezer at 0 °F (‑18 °C) extends viability to 15 years.
Remember, temperature fluctuations kill seed vigor. I keep a digital hygrometer in my seed cabinet; it reads 35 % RH and 55 °F constantly.
Step 5: Label and Record
A labeled seed bank is a garden’s best friend. Use waterproof labels and note:
- Plant name (including cultivar, e.g., ‘Brandywine’ tomato).
- Harvest date.
- Storage location (e.g., “Fridge Shelf B”).
- Any special treatment (e.g., “cold‑stratified 4 weeks”).
I maintain a simple spreadsheet on my laptop with columns for germination rate (tested each spring), which helps decide when to replace old stock.
Common Mistakes to Avoid
- Harvesting too early: Seeds from immature pods often have low germination (under 30 %).
- Insufficient drying: Moist seeds develop mold; I once lost an entire batch of cilantro seeds because they were stored while still damp.
- Storing in plastic bags without desiccant: Humidity builds up, cutting viability in half within a year.
- Mixing species: Cross‑contamination can lead to unexpected hybrids. Keep each species in separate containers.
- Ignoring temperature: A garage that swings from 30 °F to 90 °F ruins seeds faster than any other factor.
Troubleshooting & Tips for Best Results
Low germination rates? Conduct a simple viability test: place 10 seeds on a damp paper towel, keep at 70 °F, and count sprouts after 7 days. If less than 50 % germinate, consider re‑drying or discarding.
Seeds need stratification? Many woody perennials (e.g., oak, boxwood) require a cold period. Place seeds in a sealed bag with moist peat, refrigerate for 8‑12 weeks. I’ve saved boxwood seeds using this method and saw a 70 % success rate, as described in boxwood care and shaping tips.
Saving indoor plant seeds? For houseplants like philodendrons, harvest seeds from mature fruit, then soak them in water for 24 hours before planting. The philodendron types and care guide notes that a light scarification (scraping the seed coat) improves germination.
Dealing with pests? If you notice beetles in your seed trays, move the containers to a sealed cabinet and use neem oil spray (1 tsp per gallon water) around the storage area.
Finally, consider integrating your seed bank into a broader garden design. A small zen garden design for backyard can double as a seed‑saving showcase, with raised beds labeled for each heirloom variety.
Summary Conclusion
Saving seeds from garden plants is a rewarding cycle that reduces costs, preserves heirloom genetics, and deepens your connection to the soil. By identifying mature pods, harvesting at the right moment, meticulously cleaning and drying, storing in airtight, low‑humidity containers, and keeping precise records, you’ll enjoy robust germination rates year after year. Avoid common pitfalls like premature harvesting or moist storage, and apply targeted troubleshooting to keep your seed bank thriving.
How long can I store tomato seeds?
If kept dry, cool (40‑55 °F), and sealed with a desiccant, tomato seeds remain viable for 4‑6 years, though germination rates gradually decline after the third year.
Do I need to treat seeds from perennials?
Many perennials benefit from cold stratification. Place the seeds in a moist medium, seal in a zip‑lock bag, and refrigerate for 8‑12 weeks before sowing.
Can I reuse the same storage containers year after year?
Yes, but clean them thoroughly with a mild bleach solution (1 tbsp bleach per gallon water) and dry completely before refilling to prevent mold.
What is the best way to label my seed jars?
Use waterproof, acid‑resistant labels and a permanent marker. Include plant name, variety, harvest date, and any pre‑treatment notes.
Do I need a special container for herb seeds?
Herb seeds are small and can be stored in small glass jars or the Burpee Seed Storage Boxes. The key is keeping them dry and sealed; a simple zip‑lock bag with a silica packet works for short‑term storage.
1 réflexion au sujet de « How To Save Seeds From Garden Plants: Complete Guide for 2026 »