Turn your garden into a water‑wise oasis with a drip irrigation system for garden DIY that actually works. In the next few pages you’ll learn exactly what to buy, how to lay it out, and how to keep it humming for years—no plumber needed.
In This Article
- What You Will Need (or Before You Start)
- Step 1 – Plan Your Layout
- Step 2 – Install the Backflow Preventer and Filter
- Step 3 – Lay the Mainline and Branch Lines
- Step 4 – Install Emitters
- Step 5 – Connect the Timer and Test the System
- Step 6 – Bury and Protect the Tubing (Optional)
- Common Mistakes to Avoid
- Troubleshooting & Tips for Best Results
- Summary & Final Thoughts
- Frequently Asked Questions
What You Will Need (or Before You Start)
Gather these items before you cut the hose. Having everything at hand saves you from frantic trips to the hardware store mid‑project.
- Micro‑drip tubing (½‑inch ID) – 100 ft roll, $12.99 (Rain Bird DR100). Most gardens need 150‑200 ft, so buy two rolls for a 300 ft garden.
- Drip emitters – ¼‑gallon per hour (Rain Bird 2500 series) – $0.45 each. For a 200‑plant bed you’ll need about 200 emitters ($90).
- Pressure regulator – 30‑psi for drip lines – $9.95 (Orbit 57800).
- Backflow preventer – required by most local codes – $15.99 (Watts 30‑HD).
- Filter – 100‑micron screen – $8.50 (DIG 100‑Micron).
- Timer/controller – 7‑day programmable, 2‑zone – $45 (Hunter Pro‑4).
- Connectors & fittings – barbed tees, elbows, and couplers – $0.30 each; you’ll need roughly 30 pieces ($9).
- Stakes – 12‑inch plastic stakes to secure tubing – $0.10 each; 100 stakes = $10.
- Tools – scissors, hole‑punch, and a small screwdriver.
- Measuring tape – to space emitters 12‑18 in apart.
One mistake I see often is skimping on the filter. A clogged line will ruin the whole system and force you to dig up plants.

Step 1 – Plan Your Layout
Draw a quick sketch on graph paper (1 cm = 1 ft). Mark rows, raised beds, and any perennial zones. For a 10 × 20 ft vegetable plot, I usually run a main supply line down the center, then branch off to each row.
Calculate water pressure: Most residential lines deliver 40‑60 psi. With a pressure regulator set to 30 psi, you’ll get an even flow without blowing emitters off.
Tip: Use the seasonal garden maintenance checklist to decide where to place the timer—early spring is best for installation.
Step 2 – Install the Backflow Preventer and Filter
Turn off the main water supply. Screw the backflow preventer onto the outdoor faucet; tighten with a wrench (no more than 2 turns past snug). Attach the filter, then the pressure regulator. This three‑piece combo costs about $40 total and protects both your garden and municipal water supply.
Run a ¾‑inch PVC “supply line” from the regulator to the location where the drip network will start. Secure with pipe clamps every 2 ft.
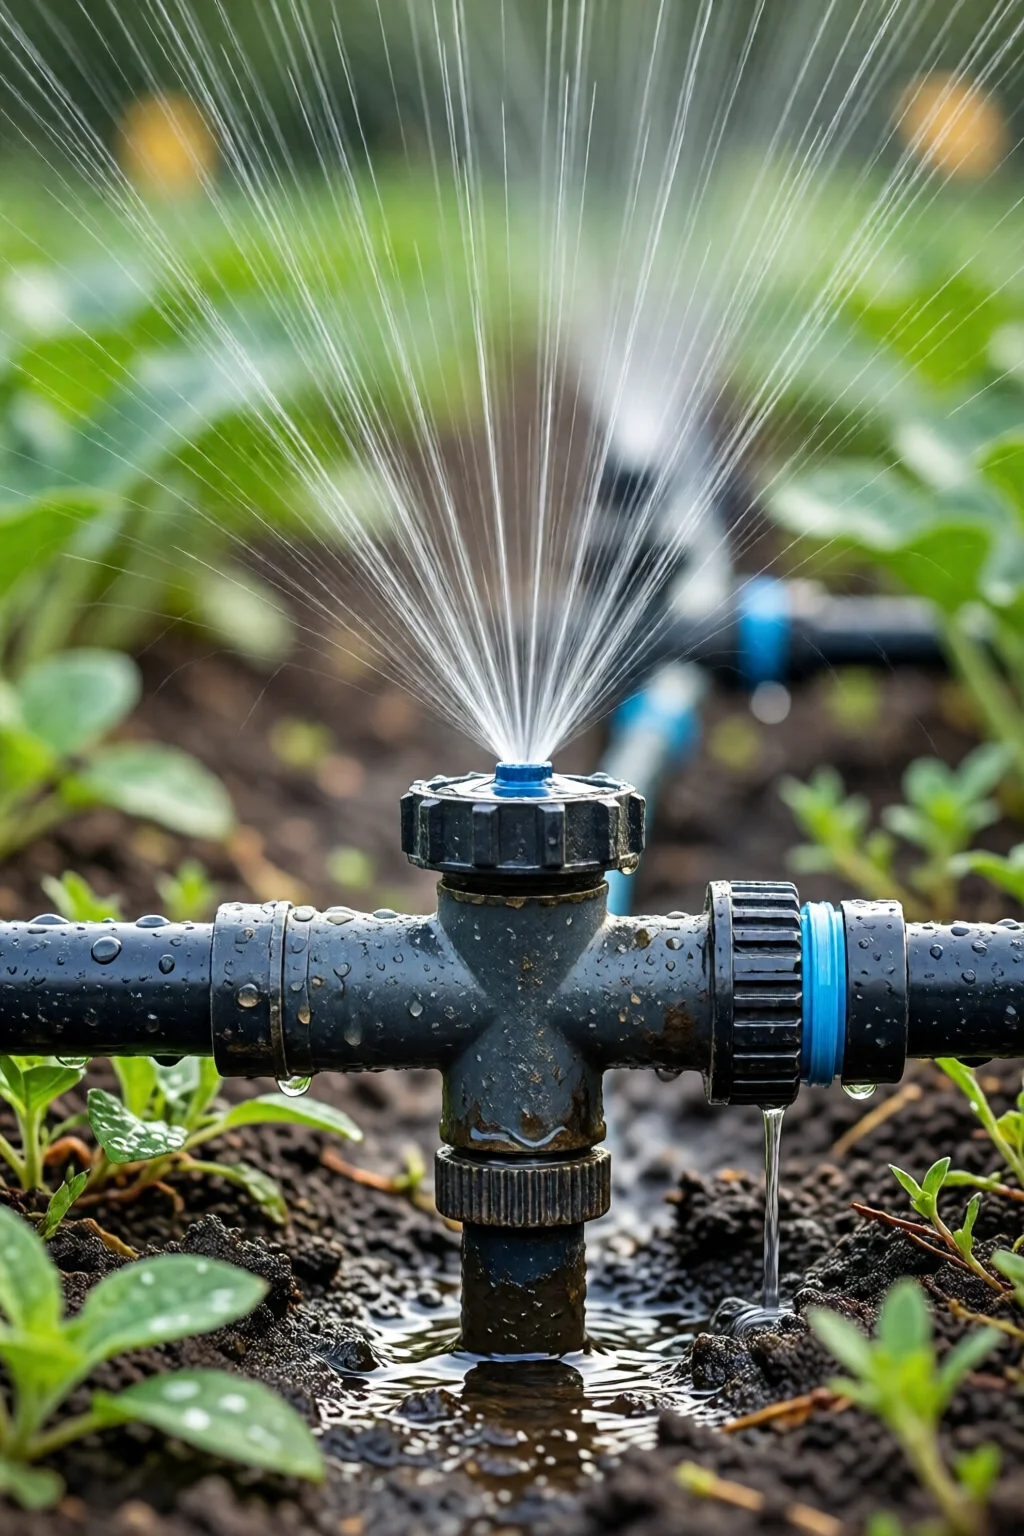
Step 3 – Lay the Mainline and Branch Lines
Unroll the ½‑inch micro‑drip tubing along your sketch. Use the 12‑inch stakes to pin the tube every 18 in. For a 300‑ft layout, you’ll need roughly 2 ft of tubing per foot of garden (including loops).
Cut the mainline with scissors, then insert a barbed tee where a branch will split off. Push the tube end onto the tee until it clicks; the barbed design creates a watertight seal without glue.
For each row, run a branch line parallel to the row, about 6 in from the base of the plants.
Step 4 – Install Emitters
Using a hole‑punch, make a tiny opening in the tubing at each plant location (12‑18 in apart for most vegetables). Snap a ¼‑gallon emitter into the hole; the internal spring holds it snugly.
If you’re watering shrubs, opt for a 1‑gallon emitter (Rain Bird 2500‑R). For a 50‑plant rose bed, that’s $22.50 total.
Double‑check spacing: too close and you waste water; too far and the soil stays dry.
Step 5 – Connect the Timer and Test the System
Attach the end of the mainline to the timer’s “zone 1” outlet. Set the timer to a 30‑minute run at 6 am—early morning watering reduces evaporation by up to 70 %.
Turn the water back on slowly, watching each emitter for leaks. If any drip out of the connector, tighten the fitting or add a small piece of T‑eflon tape.
Let the system run for 10 minutes, then check soil moisture 6 in below the surface with a simple probe. Adjust emitter flow rates (some have adjustable heads) until you achieve 1‑1.5 in of water per week, which is optimal for most garden vegetables.
Step 6 – Bury and Protect the Tubing (Optional)
For a tidy look and UV protection, cover the tubing with a thin layer of mulch (2‑3 in). Mulch also reduces weed growth and keeps the soil temperature stable.
If you have a high‑traffic area, lay a garden fabric over the tubing before mulching to prevent accidental cuts.
Common Mistakes to Avoid
- Skipping the pressure regulator. High pressure bursts emitters, leading to uneven watering and costly repairs.
- Using the wrong emitter size. A 2‑gallon emitter in a vegetable bed will drown seedlings; match flow rate to plant type.
- Over‑tightening fittings. This can crack the tubing. Hand‑tighten and give a final quarter turn with a wrench.
- Neglecting the filter. Sediment buildup clogs emitters. Clean the filter every 2‑3 months.
- Improper spacing. Plant rows that are too close cause water runoff; keep at least 12 in between emitters for most herbs.
Troubleshooting & Tips for Best Results
Problem: Emitters sputtering or not delivering water. Solution: Check for air bubbles. Release them by briefly opening a downstream faucet or gently tapping the tubing.
Problem: Uneven moisture across the bed. Solution: Verify that the pressure regulator is set correctly (30 psi). Add a flow‑adjustable emitter in the low‑flow area.
Problem: Leaking joints after a month. Solution: Replace worn‑out barbed fittings with silicone-lined couplers ($0.60 each). They seal better under constant pressure.
Tip: Integrate a soil moisture sensor (e.g., Netro Smart Sensor, $49) with the timer to automatically adjust watering based on real‑time data. This can cut water use by up to 25 %.
For a quick seasonal check, refer to my how to save seeds from garden plants guide—dry soil after watering is perfect for seed harvesting.
Summary & Final Thoughts
A well‑designed drip irrigation system for garden DIY can slash water bills by 30‑40 % while delivering plants exactly the moisture they crave. By following the six steps above—planning, installing a regulator, laying tubing, placing emitters, setting a timer, and protecting the lines—you’ll end up with a low‑maintenance, high‑efficiency garden that thrives year after year. Remember to service the filter, check emitter flow, and adjust the timer seasonally, and you’ll never wonder if you over‑ or under‑watered again.
Frequently Asked Questions
How much does a basic DIY drip system cost for a 200‑sq‑ft garden?
For a 200‑sq‑ft plot you’ll need about 150 ft of micro‑drip tubing, 200 emitters, a pressure regulator, filter, backflow preventer, and a simple 2‑zone timer. Total parts cost ranges from $150‑$190, plus $20‑$30 for tools if you don’t already own them.
Can I use a drip system for both vegetables and ornamental beds?
Absolutely. Just select emitter flow rates that match plant water needs—¼‑gallon emitters for vegetables, ½‑gallon or adjustable emitters for shrubs and perennials. Separate zones on the timer let you water each area independently.
Do I need professional installation to meet local codes?
Most municipalities require a backflow preventer, which you can install yourself if you follow the manufacturer’s instructions. If you’re unsure, a quick call to your local water authority confirms compliance.
How often should I flush the system?
Flush the entire line at the start of each season (spring and fall) by opening the main valve fully for 5‑10 minutes. This clears sediment and prevents clogs.
Can I integrate rainwater harvesting with my drip system?
Yes. Connect a rain barrel to the backflow preventer using a stainless‑steel hose and a simple float valve. The barrel supplies the system when the municipal supply is off, reducing water costs by up to 50 %.
Ready to get started? Grab your supplies, follow the steps, and enjoy a garden that drinks just the right amount.
2 réflexions au sujet de “Drip Irrigation System For Garden DIY – Everything You Need to Know”