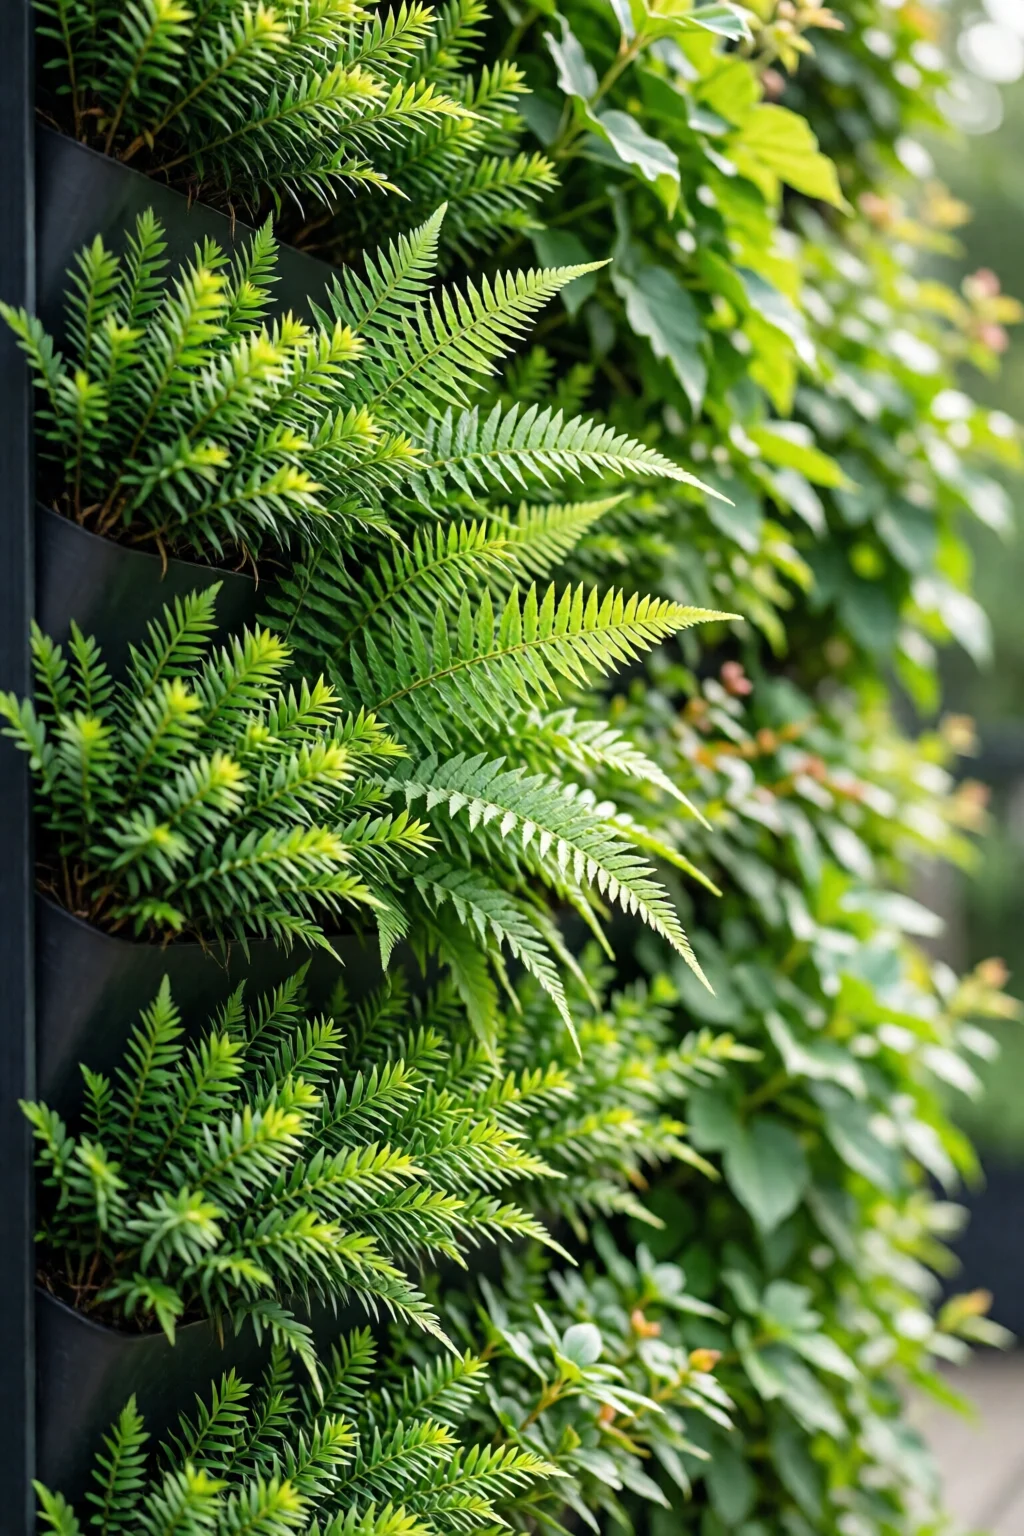
Imagine stepping onto your patio after a long day and being greeted by a lush, living tapestry that not only hides the unsightly brick but also cools the air and supplies fresh herbs for dinner. That’s the power of a well‑designed vertical garden wall outdoors – a striking backdrop that works as hard as it looks.
In This Article
- What You Will Need (or Before You Start)
- Step 1 – Choose the Right Wall and Check Structural Integrity
- Step 2 – Sketch Your Layout and Pick a Design Theme
- Step 3 – Build or Install the Frame
- Step 4 – Set Up the Irrigation System
- Step 5 – Fill Pockets and Plant
- Step 6 – Maintenance and Harvest
- Common Mistakes to Avoid
- Troubleshooting or Tips for Best Results
- Summary

What You Will Need (or Before You Start)
- Mounting system: Stainless‑steel L‑brackets (e.g., Hillman 28700, $12 per pair) or a modular panel kit like GreenStalk 24‑inch Pocket Planter ($89 per panel).
- Support structure: Pressure‑treated 2×4 lumber (8 ft, $3.45 each) or a metal frame kit (Lechuza Vertical Wall, $215).
- Irrigation: ½‑inch drip tubing, emitters (0.5 gph, $0.30 each), and a timer (e.g., Rain Bird ESP‑TM, $45).
- Growing medium: Lightweight soilless mix (e.g., Espoma Organic Cactus Mix, 4 qt, $9).
- Plants: A mix of succulents, herbs, and ferns. For a 6‑ft × 4‑ft wall, budget about 120 plants (≈$2–$5 each) – total $240–$600.
- Tools: Cordless drill, level, stud finder, garden trowel, and safety glasses.
- Optional accessories: Trellis netting, decorative stones, and a moisture sensor (e.g., Ecowitt WH51, $25).
In my experience, buying a pre‑fabricated pocket system saves a lot of time and ensures each pocket is watertight. If you’re on a shoestring budget, a simple wooden frame and reclaimed pallets can do the trick, but expect extra labor for waterproofing.
Step 1 – Choose the Right Wall and Check Structural Integrity
First, locate a wall that gets at least 4–6 hours of sunlight for most herbs and veggies. Use a stud finder to locate studs; you’ll need to anchor brackets into them or use masonry anchors (e.g., Tapcon 1/4‑in. concrete screws, $0.55 each). Measure the wall’s width and height; a common size is 8 ft wide by 4 ft tall, which provides roughly 32 sq ft of planting surface.
One mistake I see often is overlooking the wall’s weight limit. A fully planted vertical garden can weigh up to 30 lb/ft² when saturated. Verify that the wall can support at least 960 lb for an 8 × 4 ft installation, or reinforce with additional studs.
Step 2 – Sketch Your Layout and Pick a Design Theme
Draw a quick grid on graph paper: each square representing a 12‑inch pocket. Decide on a theme – perhaps “Mediterranean herb garden” on the lower half and “succulent cascade” on the top. I like to alternate texture: a row of Sedum ‘Dragon’s Blood’ (bright red foliage) followed by a row of Ocimum basilicum (sweet basil). This creates visual interest and makes maintenance easier because similar water needs stay together.
For a budget‑friendly option, check out front yard garden design on a budget for ideas on repurposing old wooden pallets into pocket planters.

Step 3 – Build or Install the Frame
If you’re using a modular system like GreenStalk, simply attach the panels to the wall with the supplied brackets. For a DIY wood frame:
- Cut two 2×4s to the wall’s width (e.g., 8 ft). These become the top and bottom rails.
- Attach vertical studs (2×4s) every 12 inches using 3‑inch deck screws ($0.15 each). This creates a sturdy grid.
- Seal the wood with exterior-grade polyurethane ($15 per gallon) to prevent rot.
- Mount the entire frame to the wall using lag bolts (½‑in., $0.80 each) driven into studs.
The whole frame costs roughly $120 in materials and takes about 4 hours to assemble.
Step 4 – Set Up the Irrigation System
Running a drip line behind the pockets ensures consistent moisture. Lay ½‑inch tubing along the top rail, securing it with zip ties every 12 inches. Install emitters at each pocket’s inlet – 0.5 gph works for most herbs and succulents. Connect the tubing to a timer set for 10 minutes twice daily (adjust based on climate). A moisture sensor can automate this, cutting water use by up to 30 %.
Don’t forget a backflow preventer ($8) to comply with local codes.
Step 5 – Fill Pockets and Plant
Start by adding a 1‑inch layer of coarse gravel for drainage, then fill with the soilless mix to within 1 inch of the pocket’s rim. Plant larger herbs first – space them 6 inches apart – then fill gaps with smaller succulents or trailing vines like String of Pearls.
Here’s a quick planting schedule for an 8 × 4 ft wall (≈120 plants):
- 20 × Rosmarinus officinalis (rosemary) – $3 each → $60
- 20 × Ocimum basilicum (basil) – $2.5 each → $50
- 20 × Thymus vulgaris (thyme) – $2 each → $40
- 30 × Sedum ‘Angelina’ – $4 each → $120
- 30 × Echeveria ‘Lola’ – $5 each → $150
In total, planting supplies run about $420. Adjust quantities based on your climate and taste.
Step 6 – Maintenance and Harvest
Schedule a quick visual check weekly. Trim dead foliage, and rotate herbs every 2–3 weeks to promote even growth. During hot summer months, increase irrigation to 15 minutes twice daily; in cooler seasons, reduce to once every 3‑4 days. Harvest herbs regularly – cutting just above a leaf node encourages bushier growth.
For a deeper dive on succulent care, see our succulent garden design ideas guide.

Common Mistakes to Avoid
- Ignoring weight limits: Overloading a brick wall can cause cracks. Use a stud finder and reinforce with additional brackets.
- Choosing the wrong plants: Mixing moisture‑loving ferns with drought‑tolerant succulents leads to over‑ or under‑watering. Group plants by water needs.
- Insufficient drainage: Skipping the gravel layer causes root rot. Always include at least 1 inch of drainage medium.
- Neglecting sunlight: Planting shade‑loving herbs in full sun burns them. Map sun exposure before finalizing layout.
- Skipping a timer: Manual watering leads to inconsistency. An automatic timer saves up to 25 % water.
Troubleshooting or Tips for Best Results
Yellowing leaves? Check for over‑watering – feel the soil; if it’s soggy, reduce run‑time by 20 %.
Dry, crispy edges? Likely wind desiccation. Install a windbreak (e.g., lattice) or mist the wall lightly in the early morning.
Pests? Aphids love basil. Spray a neem oil solution (2 tbsp per gallon of water) weekly.
Uneven growth? Rotate the wall 180° each season if possible, or rearrange plants to balance light exposure.
For edging ideas that complement your vertical garden, explore garden border ideas for edges.
Summary
Creating a vertical garden wall outdoors blends aesthetics, functionality, and sustainability. By selecting the right wall, planning a thoughtful layout, installing a sturdy frame, and setting up an efficient drip system, you can enjoy fresh herbs, striking succulents, and a cooler micro‑climate right at home. Remember to respect weight limits, group plants by water needs, and automate irrigation to keep your green wall thriving year after year.
How much does a DIY vertical garden wall cost?
A basic 8 ft × 4 ft wall using reclaimed wood and simple drip irrigation can be built for $250–$400, while a premium modular system with stainless‑steel brackets and automated timers can range from $800 to $1,200.
Can I install a vertical garden on a brick wall?
Yes, but you must anchor brackets into the mortar using masonry anchors and ensure the wall can support the saturated weight (approximately 30 lb/ft²). Adding a wooden backing board distributes the load and protects the brick.
What are the best plants for an outdoor vertical garden?
Mix drought‑tolerant succulents (e.g., Sedum, Echeveria) with herbs that enjoy full sun (basil, rosemary, thyme). In shadier spots, consider ferns, hostas (hostas care guide for shade gardens), or ivy varieties.
How often should I water my vertical garden?
With a drip system, 10 minutes twice daily in summer, reducing to 5‑10 minutes every 2–3 days in cooler months. Use a moisture sensor to fine‑tune watering and avoid over‑watering.
2 réflexions au sujet de “Vertical Garden Wall Ideas Outdoor: Complete Guide for 2026”