Did you know that over 70% of hosta growers say their plants thrive best when placed in a “deep shade” zone, yet many still struggle with leaf scorch and poor vigor? That gap between expectation and reality is why a solid hostas care guide for shade gardens is essential. In my 12‑year career landscaping suburban backyards, I’ve watched homeowners transform a dull, damp corner into a lush, textured masterpiece simply by mastering a few key steps. Below is the exact roadmap I use with clients, complete with product specifics, cost breakdowns, and the little tricks that keep hostas thriving year after year.
In This Article
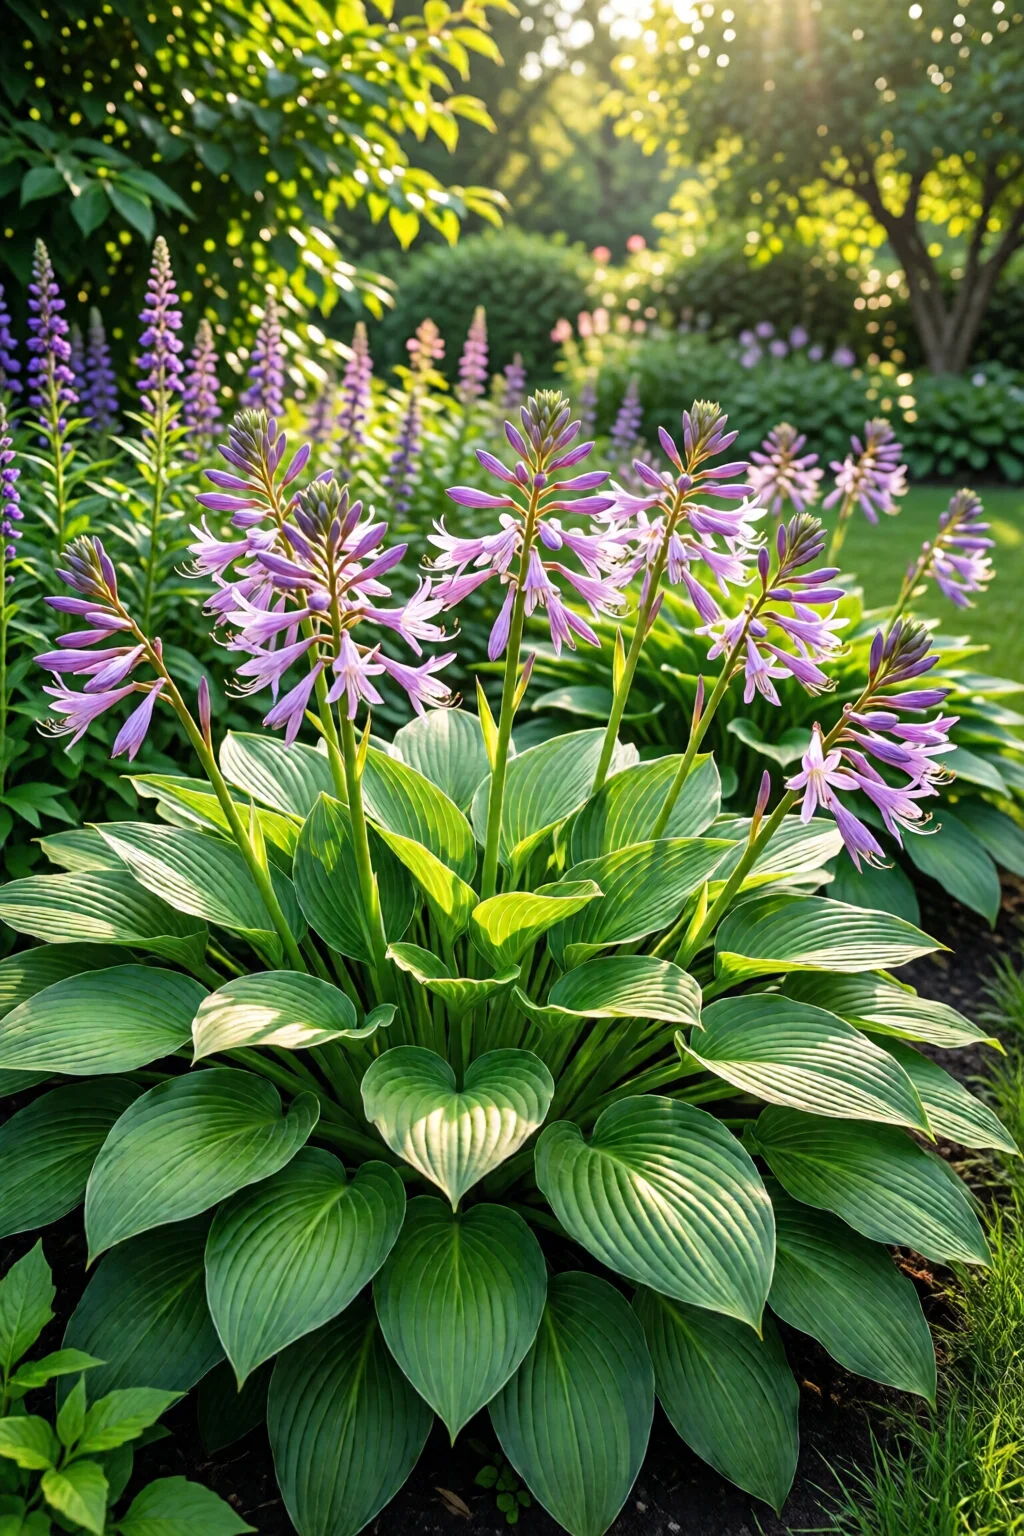
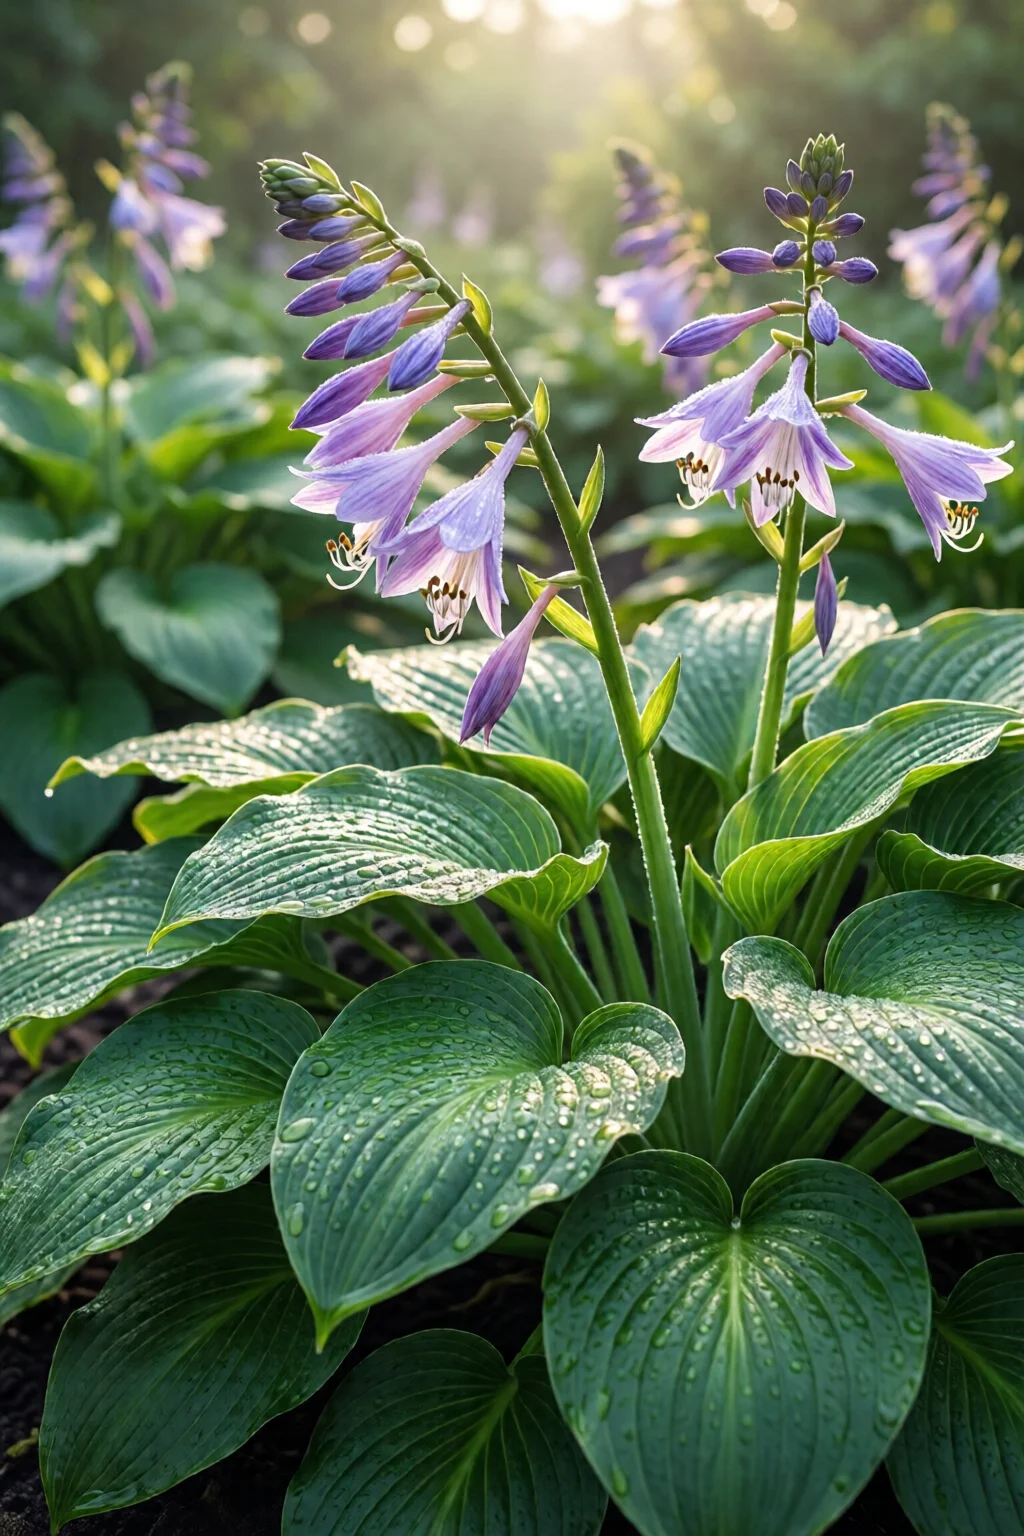
Whether you’re planting a single “Blue Angel” in a shady patio niche or establishing a 200‑square‑foot hosta border, the principles stay the same: understand the micro‑climate, prep the soil, water wisely, and stay ahead of pests. Let’s dive into the details.
Choosing the Right Hostas for Shade Gardens
Light Requirements and Shade Tolerance
Hostas are famously shade‑loving, but not all varieties tolerate the same level of darkness. A quick field test—placing a hand‑held flashlight under the planting spot at noon—helps you gauge the actual shade intensity. In my experience, “deep shade” (less than 2 hours of direct sun) is ideal for H. ‘Patriot’ and H. ‘Frances Williams’, while “partial shade” (2‑4 hours) works better for H. ‘Sum and Substance’ and H. ‘Krossa Regal’. Planting a sun‑preferring cultivar under a dense canopy is the fastest route to limp, yellowing leaves.
Size and Spread Considerations
Measure the planting area before you buy. Hostas range from dwarf 4‑inch rosettes (e.g., ‘Little Missy’) to massive 4‑foot spreads (‘June’). A good rule of thumb: leave a gap equal to half the mature spread between plants to allow air circulation—critical for disease prevention. For a 10‑ft border, I typically mix three sizes (small, medium, large) to create a tiered look that feels natural.
Popular Cultivars and Price Points
Here’s a snapshot of my go‑to varieties, complete with nursery pricing (as of 2024):
| Cultivar | Light Tolerance | Height × Spread | Price (USD) |
|---|---|---|---|
| ‘Blue Angel’ (Seaside Seedlings) | Deep shade | 12” × 18” | $7.99 per 1‑lb pot |
| ‘Patriot’ (Baker Creek) | Deep shade | 14” × 20” | $9.49 per 1‑lb pot |
| ‘Sum and Substance’ (Hirt’s Gardens) | Partial shade | 24” × 30” | $12.95 per 2‑lb pot |
| ‘Krossa Regal’ (Raintree Nursery) | Partial shade | 18” × 22” | $10.99 per 1‑lb pot |
| ‘Frances Williams’ (Baker Creek) | Deep shade | 10” × 12” | $8.25 per 1‑lb pot |
Buying from reputable growers ensures disease‑free plants and accurate labeling—something I’ve learned the hard way after a batch of mislabeled “sun‑tolerant” hostas turned brown within weeks.
Soil Preparation and Planting Basics
Soil pH, Texture, and Organic Matter
Hostas prefer a slightly acidic to neutral pH (6.0‑7.0). Use a simple garden test kit (about $4 at Home Depot) to check. If the pH is above 7.2, amend with elemental sulfur (1 lb per 100 sq ft) and re‑test after two weeks. For texture, aim for a loamy blend: 40% garden soil, 30% compost, 30% coarse sand or perlite. A bag of Miracle-Gro All-Purpose Compost (5 gal, $5.99) works well for a 100‑sq‑ft patch.
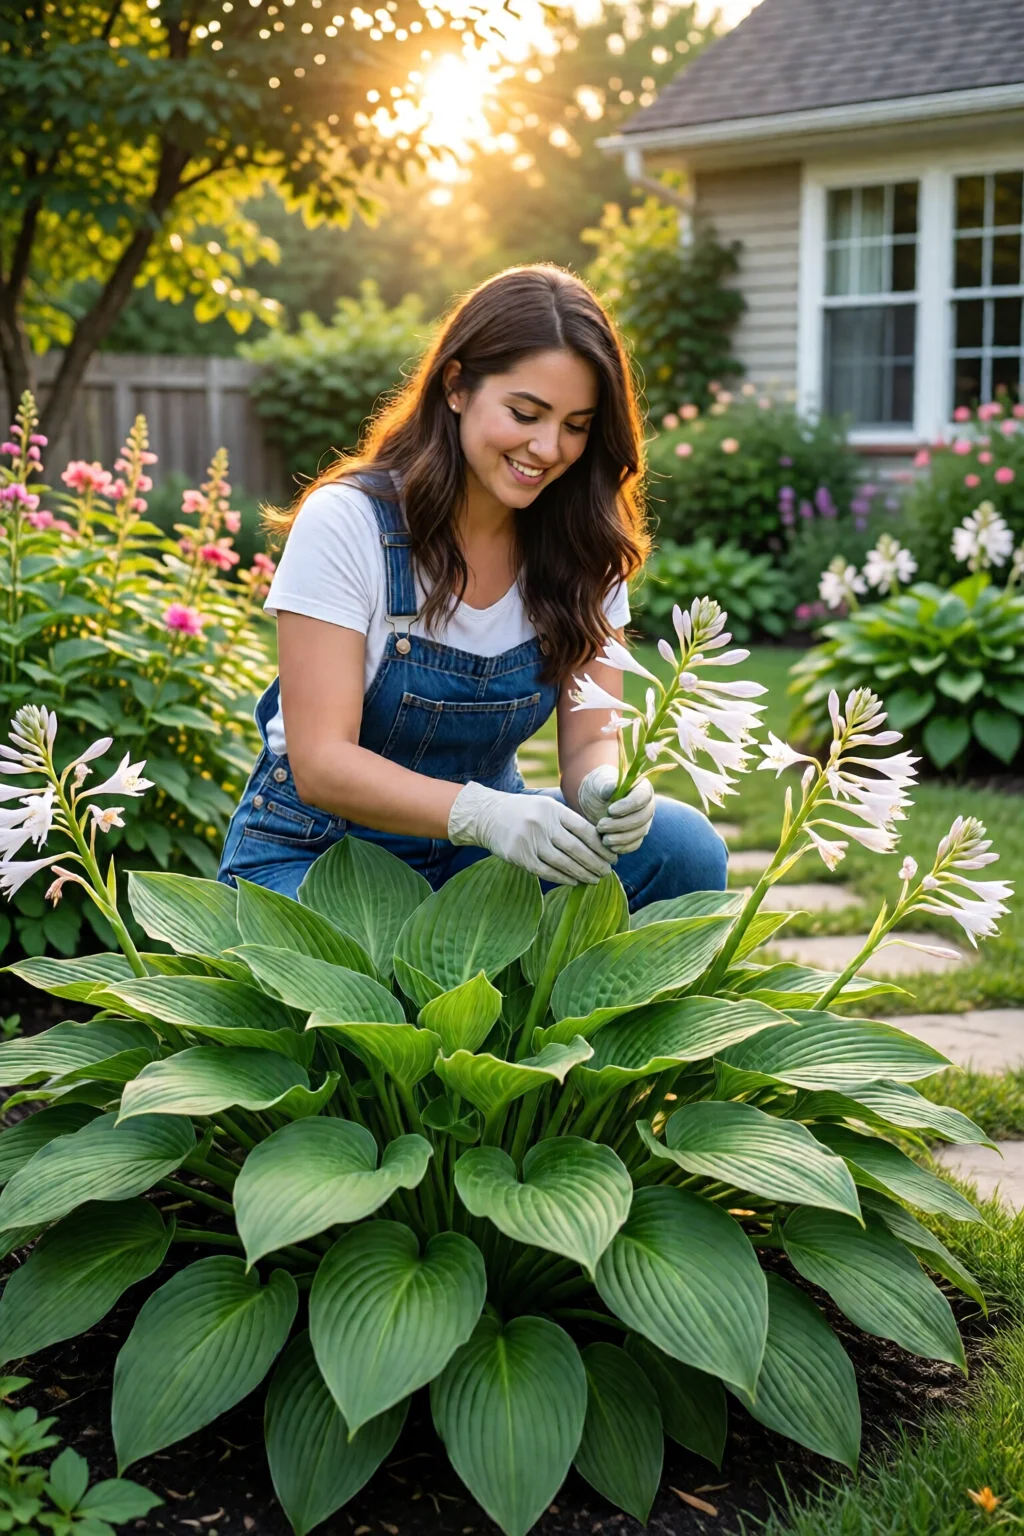
Planting Depth, Spacing, and Root Care
Dig a hole twice the width of the root ball but no deeper than the crown. The crown—the point where the leaves emerge—must sit at soil level; burying it causes rot. Gently tease out the roots, especially if they’re circling, to encourage outward growth. Place the plant, backfill with the amended soil mix, and firm lightly. Water immediately to settle the soil.
Mulching and Feeding
A 2‑inch layer of shredded oak mulch (approximately $3 per 2‑lb bag) does three things: retains moisture, suppresses weeds, and adds a slow‑release source of carbon. Keep mulch a few inches away from the crown to avoid rot. In early spring, apply a balanced granular fertilizer such as Espoma Garden Food 10‑10‑10 at 1 lb per 100 sq ft ($8 per 5‑lb bag). This provides the nitrogen needed for robust leaf production.
Watering and Fertilizing Strategies
Smart Irrigation Scheduling
Hostas need consistent moisture, especially during their active growth phase (April‑July). A drip‑line system—$0.45 per foot of ½‑inch tubing plus fittings—delivers water directly to the root zone, reducing evaporation. If you prefer a hose, aim for a deep soak (about 10 minutes) twice a week, adjusting for rainfall. For precise timing, see our watering schedule for garden plants guide.
Fertilizer Types, Application Rates, and Timing
Beyond the spring 10‑10‑10 feed, a light side‑dressing of slow‑release fertilizer (e.g., Osmocote Smart‑Release 14‑14‑14, $12 per 5‑lb bag) in mid‑summer keeps foliage vibrant. Apply 0.5 lb per 100 sq ft, working it into the top 2 inches of soil. Avoid high‑nitrogen formulations after July; excess nitrogen encourages tender growth that attracts slugs.
Diagnosing Over‑ and Under‑watering
Wilting, yellow margins, and soggy soil are classic signs of over‑watering. In contrast, dry, crisp leaf edges and a “leaf‑curl” indicate under‑watering. Use a simple soil probe (a wooden dowel works) to check moisture depth. The soil should feel moist but not waterlogged 2‑3 inches below the surface.
Managing Pests, Diseases, and Deer
Common Pests: Slugs, Snails, and Caterpillars
Slug damage shows as irregular holes with a slimy trail. I recommend a two‑pronged approach: hand‑pick at night and set up beer traps (a shallow dish of beer buried rim‑up). For larger infestations, apply Iron Phosphate Bait (e.g., Sluggo, $11 per 2‑lb container) around the perimeter—safe for pets and beneficial insects.
Leaf Spot, Crown Rot, and Other Diseases
Fungal leaf spots appear as brown speckles with concentric rings. The cure is preventative: maintain good air flow, avoid overhead watering, and apply a copper‑based fungicide like Bonide Copper Fungicide (1 qt, $14) at the first sign of disease. Crown rot, often caused by waterlogged soil, can be mitigated by raising planting beds 2‑3 inches with a mix of garden soil and coarse sand.
Deer Deterrence (Link to Deer‑Resistant Plants)
Deer occasionally nibble at hosta foliage, especially in winter when other food is scarce. A practical deterrent is a perimeter of deer resistant plants for landscaping—think Lavender or Boxwood. Additionally, spraying a solution of 1 % liquid dish soap mixed with water weekly makes the leaves less palatable.
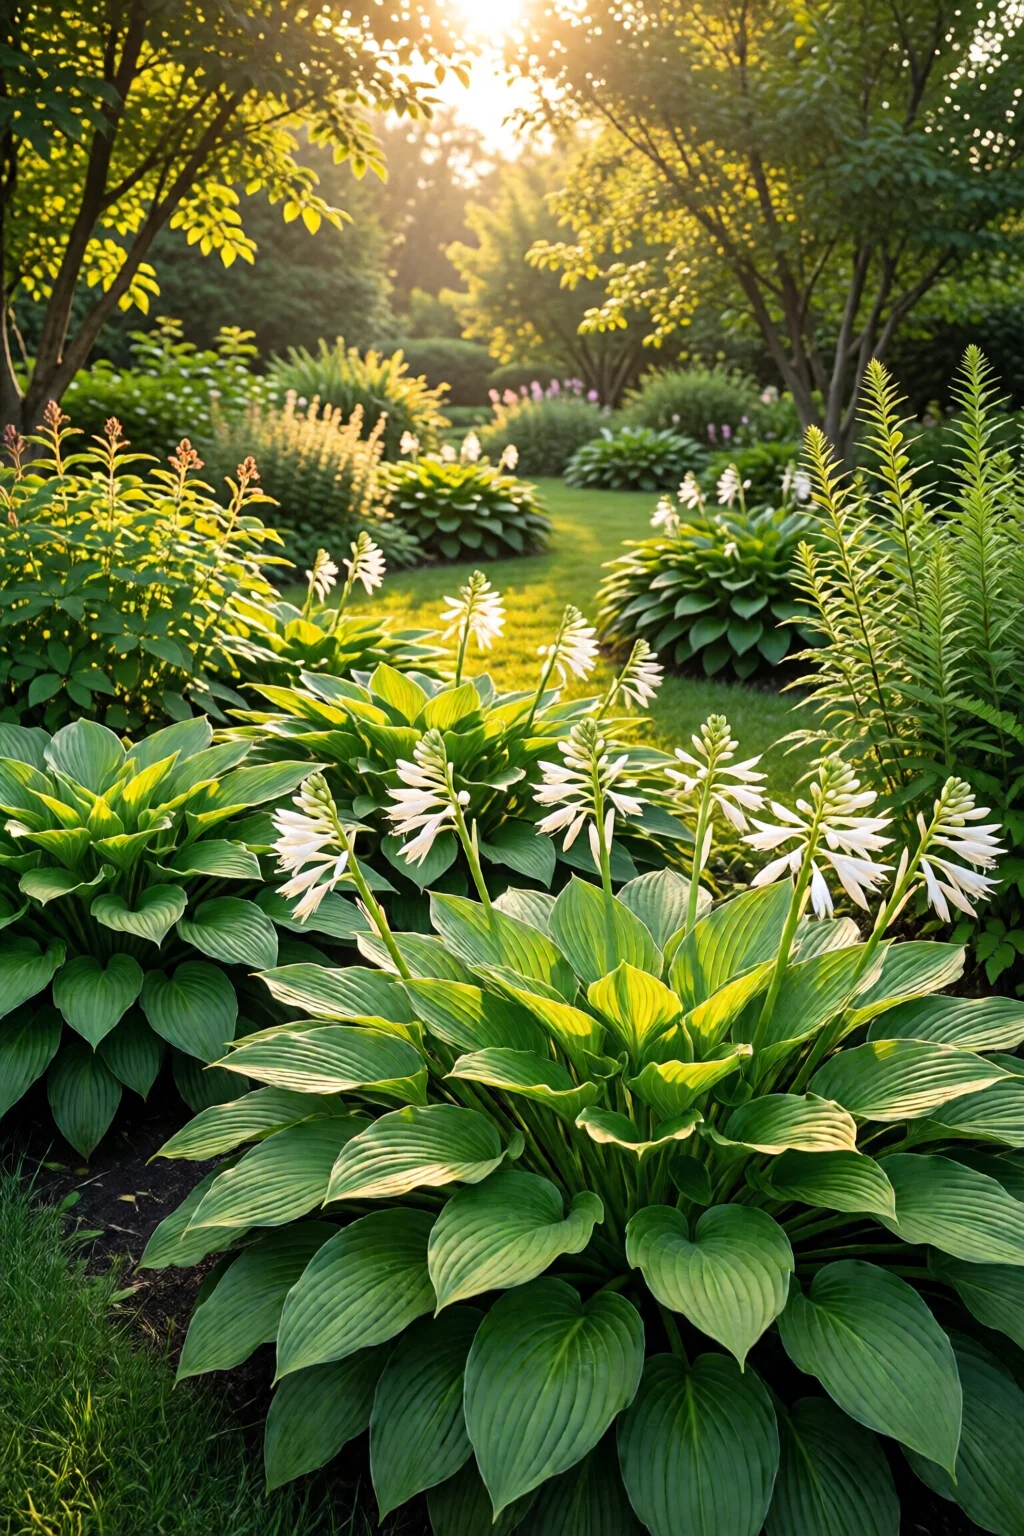
Seasonal Care and Maintenance
Spring: Division, Feeding, and Early Pest Checks
Early spring (when new shoots emerge) is the perfect time to divide overcrowded clumps. Gently lift the plant, separate sections with a clean, sharp knife, and replant at the same depth. Each division can produce a fresh plant for a new location. After division, apply a 10‑10‑10 fertilizer at the recommended rate.
Summer: Deadheading, Heat Protection, and Mulch Refresh
While hostas don’t flower dramatically, removing spent flower stalks (deadheading) redirects energy to leaf growth. In midsummer heat spikes (above 85 °F), provide a light shade cloth (30 % shade) for a few hours to prevent leaf scorch. Refresh mulch to maintain the 2‑inch layer, especially after heavy rains.
Fall/Winter: Mulching, Leaf Cleanup, and Winter Protection
In fall, add an extra inch of mulch to insulate roots against freezing temperatures. Clear fallen leaves promptly; they can trap moisture and foster fungal growth. In regions with harsh winters (below 20 °F), consider a burlap wrap or a layer of straw over the mulch to protect the crown.
Pro Tips from Our Experience
- Label Your Plants. Use waterproof garden tags with the cultivar name and planting date. I once confused a “Patriot” with a “Frances Williams” and spent an entire summer troubleshooting unnecessary yellowing.
- Combine Hostas with Ferns. The contrasting frond textures of Japanese Painted Fern (≈$9 per 1‑lb pot) create a dynamic shade garden that highlights hosta leaf patterns.
- Use a Soil Moisture Meter. A basic analog meter (≈$15) removes guesswork and helps you fine‑tune irrigation, especially during dry spells.
- Plan for Future Growth. Hostas expand slowly; leave a 12‑inch buffer zone around each plant for future spread. This prevents later overcrowding and the need for aggressive pruning.
- Test New Plants in a Small Bed First. Before committing 100 sq ft to a single cultivar, plant a few in a test plot. It’s a low‑cost way to see how they handle your micro‑climate.
Frequently Asked Questions
How often should I water newly planted hostas?
Water the plant thoroughly at planting, then keep the soil consistently moist for the first 3‑4 weeks. A gentle soak (about 10 minutes) every 3‑4 days works well, adjusting for rainfall.
Can hostas survive in full sun?
Only a few sun‑tolerant cultivars such as ‘Sum and Substance’ and ‘Krossa Regal’ can handle 4‑6 hours of direct sun, and even then they need ample moisture and afternoon shade. Most hostas will develop leaf scorch and decline in full sun.
When is the best time to divide hostas?
Early spring, just as new shoots emerge, is ideal. The plant is actively growing, which speeds up recovery after division.
What are the signs of slug damage?
Irregular, ragged holes in the leaves, often accompanied by a silvery slime trail. You may also notice a drop in leaf vigor and occasional “chewed” edges.
Do I need to fertilize hostas every year?
Yes, an annual spring feeding with a balanced 10‑10‑10 fertilizer promotes healthy foliage. A light side‑dressing of slow‑release fertilizer in midsummer can boost color and vigor, especially in nutrient‑poor soils.
Conclusion: Your Actionable Takeaway
Transforming a shady nook into a hosta showcase isn’t magic—it’s methodical care. Start by selecting shade‑appropriate cultivars, prep a loamy, slightly acidic soil mix, and install a drip‑line for consistent moisture. Feed in spring, watch for slugs, and protect the crown with mulch. Follow the seasonal checklist, and you’ll enjoy a carpet of lush, variegated foliage year after year.
Ready to get started? Pick three of the cultivars from the table above, order them from a reputable nursery, and set up your drip system this weekend. In four weeks you’ll see the first signs of thriving hostas, and from there, the garden will take care of itself.