Did you know that 62% of new gardeners start with a raised garden bed because it cuts weed pressure by up to 70% and boosts soil warming by 15 °F in the spring? That’s why raised garden bed ideas for beginners are the fastest track to fresh salads, herbs, and a sense of accomplishment.
In This Article
- What You Will Need (or Before You Start)
- Step 1 – Choose the Right Design
- Step 2 – Build the Frame
- Step 3 – Fill with the Perfect Soil Mix
- Step 4 – Plant Your First Crops
- Step 5 – Install Watering and Mulch
- Common Mistakes to Avoid
- Troubleshooting and Tips for Best Results
- Summary
- Frequently Asked Questions
What You Will Need (or Before You Start)
Gather these basics before you swing a hammer. Having everything on hand keeps the project moving and prevents costly trips to the hardware store.
- Materials for the frame: Untreated cedar boards (2 × 6, 8 ft long) – $2.99 per foot at Home Depot, or recycled composite lumber like EcoTimber at $3.45 per foot.
- Fasteners: Galvanized deck screws (3 in., 1‑lb box, $6.99) and corner brackets (optional, $3.50 each).
- Soil mix: 1 part compost, 1 part peat moss, 1 part vermiculite – about 1 cubic yard for a 4 × 8 ft bed, costing roughly $35 for bulk compost, $20 for peat, $15 for vermiculite.
- Tools: Circular saw, drill, measuring tape, level, and a sturdy wheelbarrow.
- Optional accessories: Landscape fabric (to line the bottom, $12 per roll), a drip irrigation kit (e.g., Rain Bird DRIP-ON, $29.99), and a trellis (4 ft × 6 ft, $45).
Make sure the site receives at least 6 hours of sunlight daily and has good drainage. If the ground is heavy clay, consider a shallow trench filled with gravel for extra drainage.
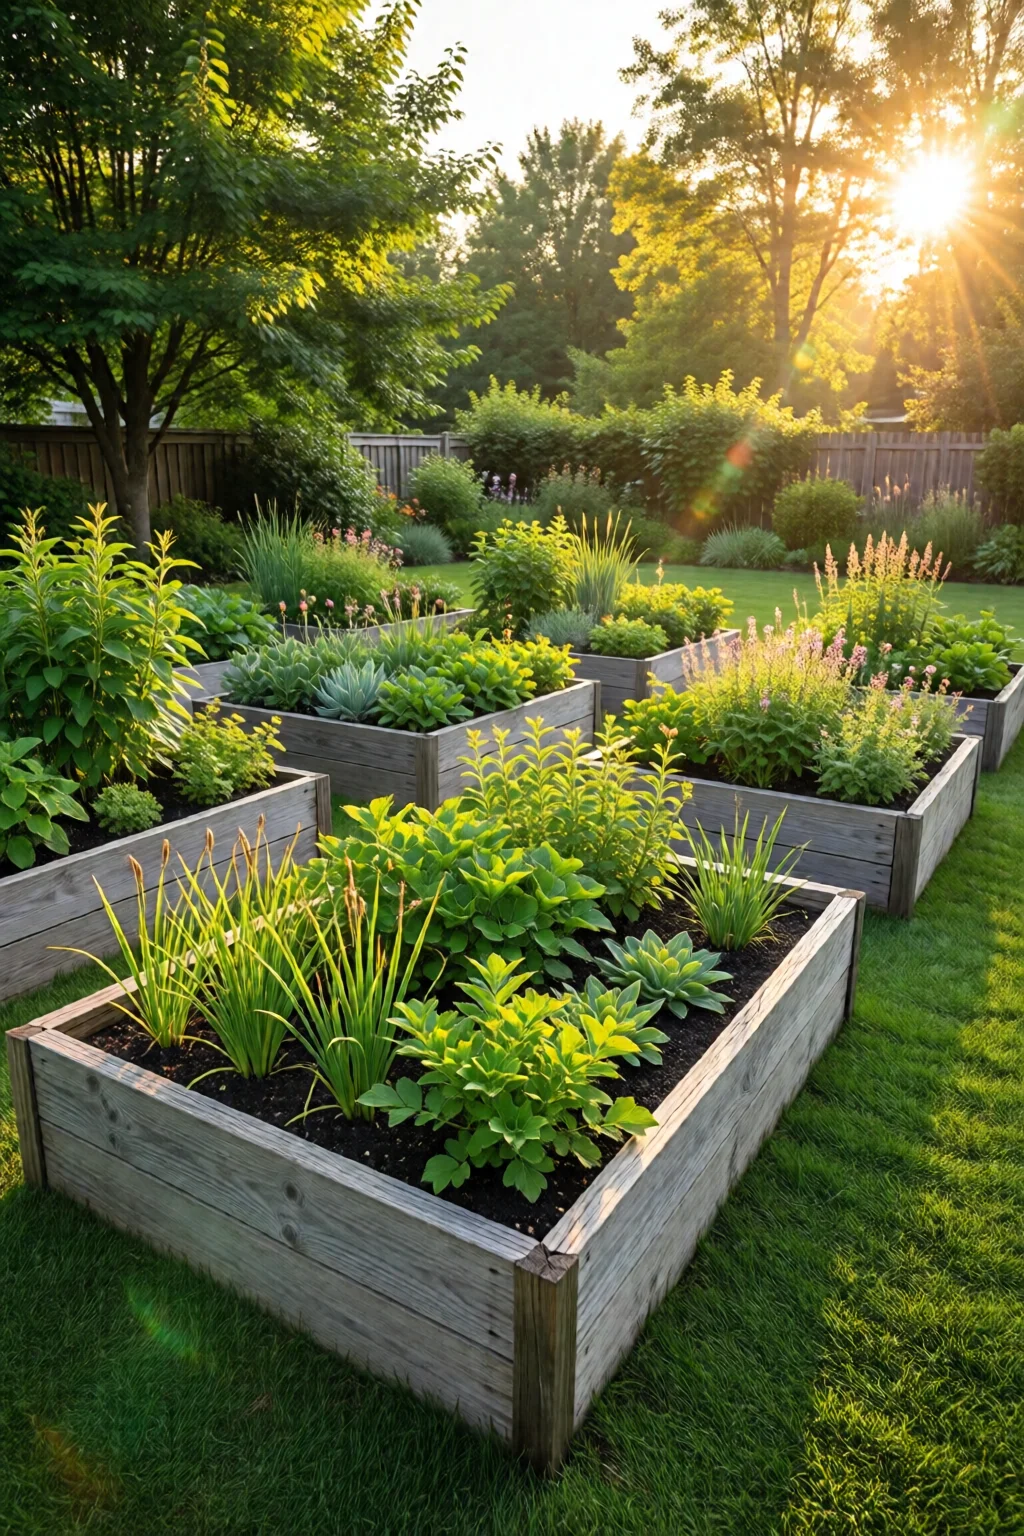
Step 1 – Choose the Right Design
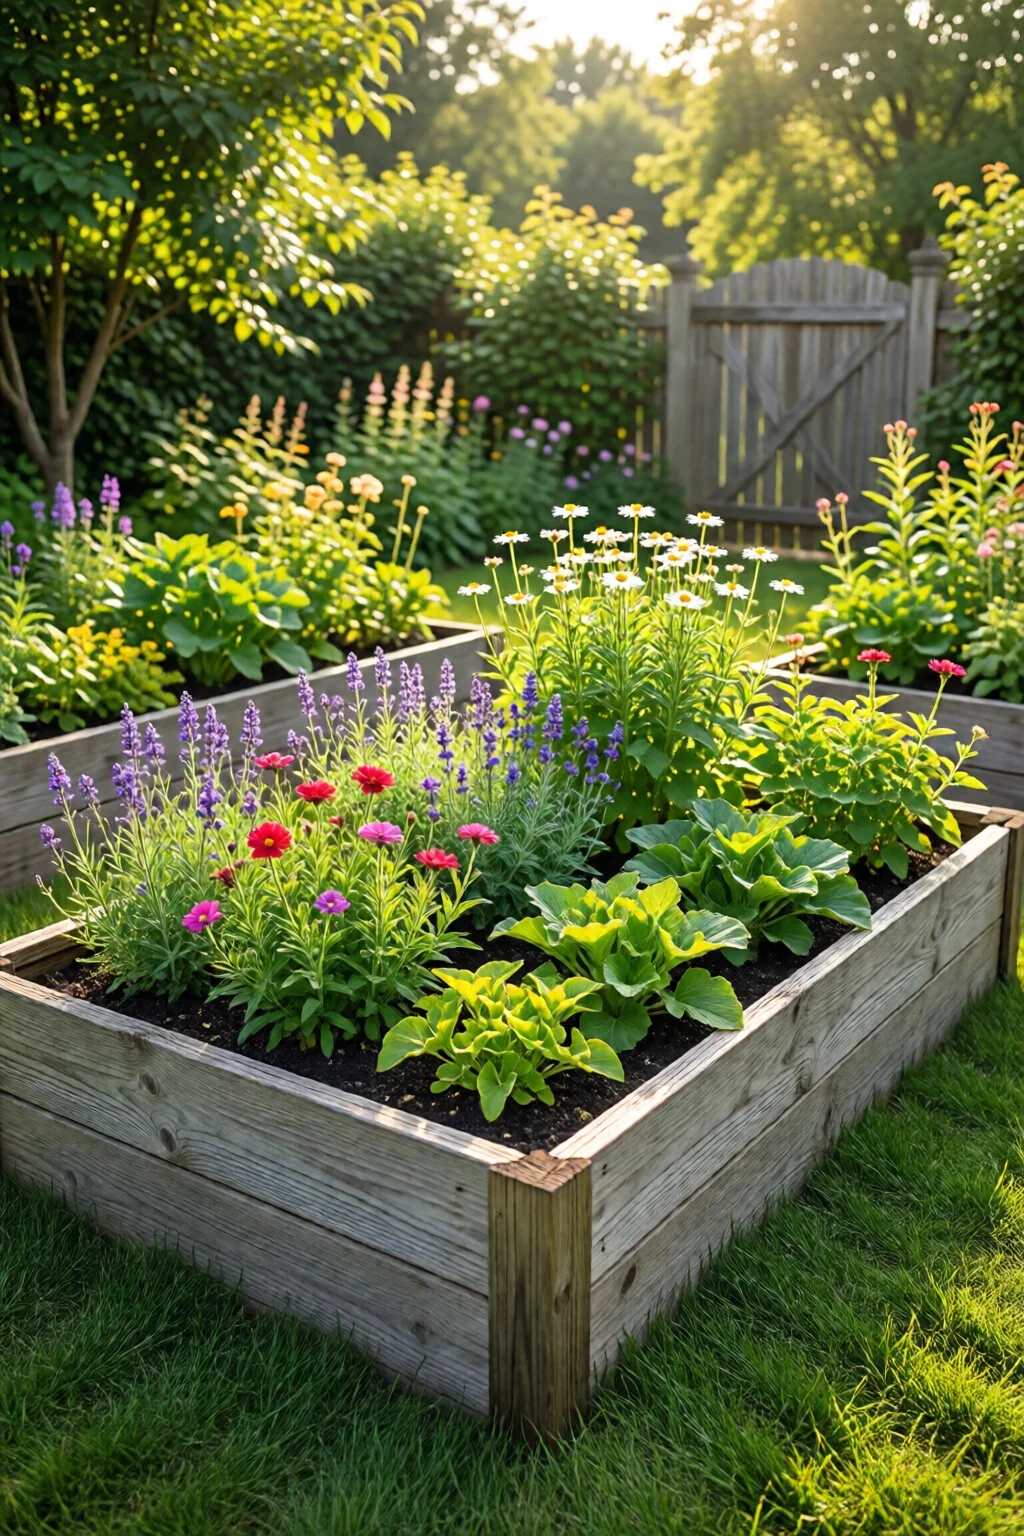
For beginners, simplicity wins. A rectangular 4 × 8 ft bed at 12 in. height fits most backyards and allows easy access from both sides. If you have limited space, a U‑shaped 3 × 3 ft layout maximizes planting area while keeping the center open for a potting bench.
In my experience, a raised bed that’s no wider than 4 ft lets you reach the middle without stepping on the soil, preserving its structure. Use a design that matches your garden’s style: rustic cedar, sleek metal (e.g., Greenhouse Megastore steel kits, $89), or even repurposed pallets for a budget‑friendly option – $0 if you snag free pallets from a local store.
Step 2 – Build the Frame
- Measure and cut the cedar boards to the desired length (e.g., four 8‑ft pieces for the long sides, four 4‑ft pieces for the short sides).
- Lay the boards on a flat surface, forming a rectangle, and pre‑drill holes to avoid splitting.
- Secure the corners with galvanized screws (four per corner) and reinforce with corner brackets if you anticipate heavy soil loads.
- Place the frame on the prepared site, ensuring it sits level. Use a spirit level; a difference of ¼ in. over the length can cause water pooling.
- If you’re using landscape fabric, line the bottom now – it keeps soil from slipping out while allowing water to drain.
One mistake I see often is forgetting to leave a 1‑in. gap between the frame and any adjacent hardscape; this prevents wood rot from moisture wicking.
Step 3 – Fill with the Perfect Soil Mix
The secret to thriving plants is a well‑balanced soil. Combine the compost, peat moss, and vermiculite in a wheelbarrow, then spread the mix evenly inside the frame. Aim for a depth of 10‑12 in.; this gives roots room to expand while maintaining moisture.
If you plan to grow root vegetables like carrots or beets, add 1 cup of coarse sand per cubic foot to improve drainage. For a pH‑neutral mix (ideal for most vegetables), test the soil with a simple kit (e.g., Luster Leaf 1840, $7.99) and adjust with lime or sulfur as needed.
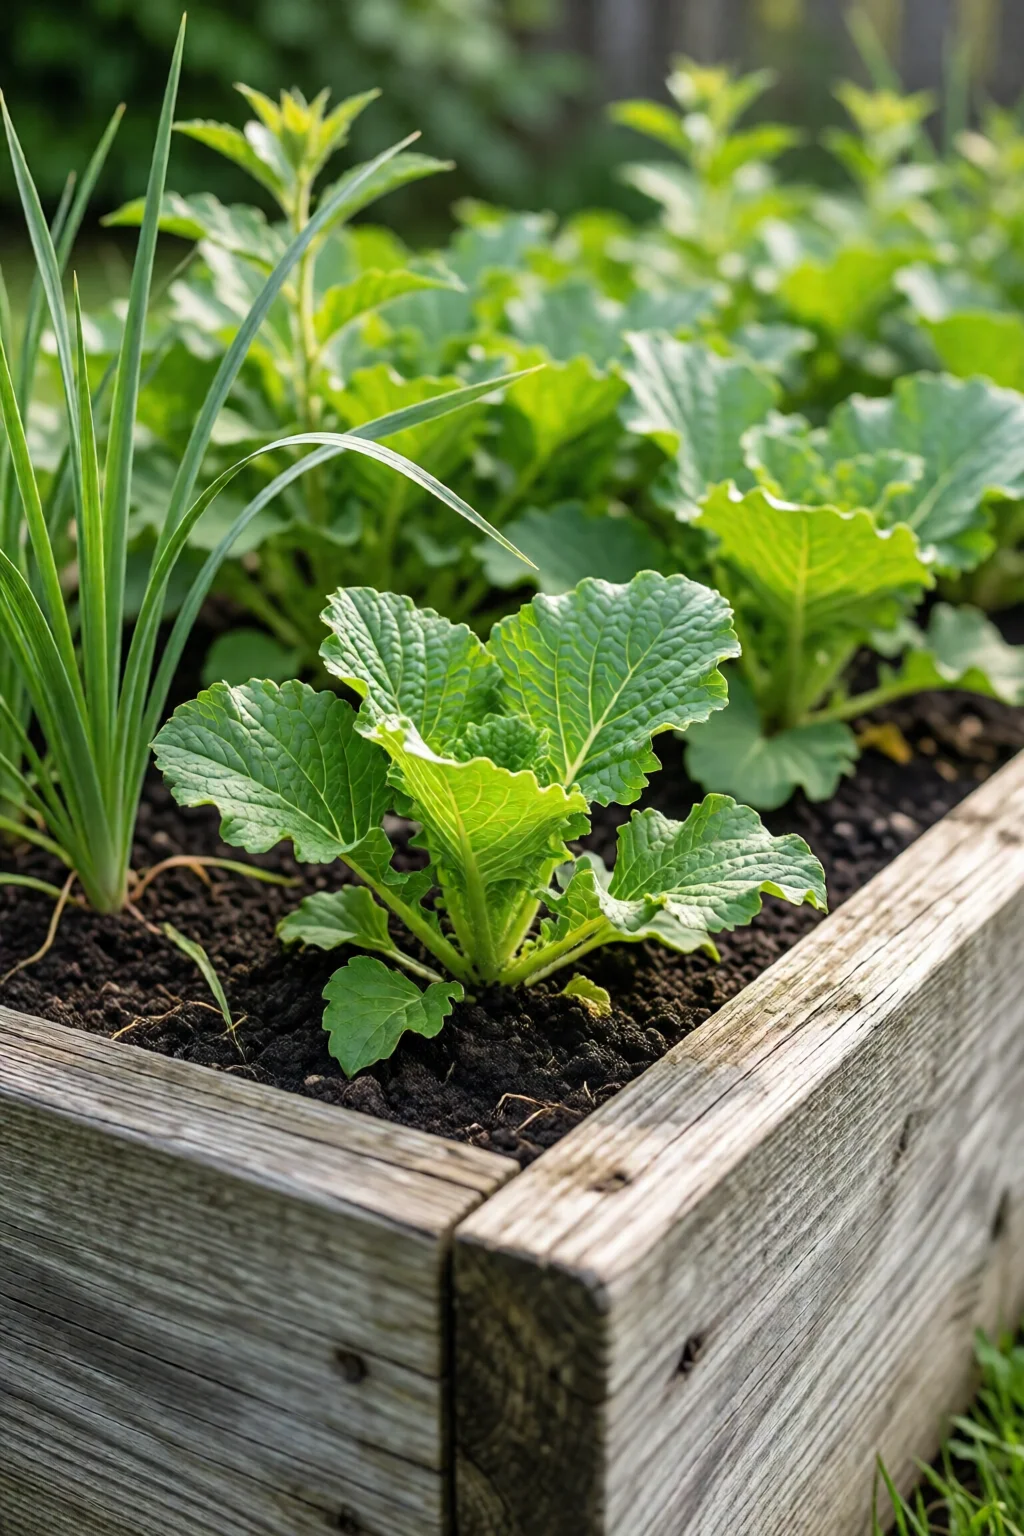
Step 4 – Plant Your First Crops
Start with easy, high‑yielding varieties. For a beginner’s raised bed, I recommend:
- Lettuce (leaf varieties) – sow seeds ¼ in. deep, 3 in. apart.
- Radishes – plant seeds ½ in. deep, 2 in. apart; harvest in 3‑4 weeks.
- Cherry tomatoes (e.g., Sun Gold) – transplant seedlings 18 in. apart, support with a trellis.
- Basil – space 12 in. apart; great companion for tomatoes.
- Green beans (pole variety) – sow 1 in. deep, 4 in. apart, and train to the trellis.
Follow the spring vegetable garden planting schedule for timing, and you’ll see steady growth within weeks.
Step 5 – Install Watering and Mulch
A drip irrigation kit saves time and delivers water directly to the root zone. Lay the main tubing along the bed’s length, attach emitters (½ gallon per hour each), and cover with a thin layer of mulch – straw, shredded bark, or coconut coir – about 2 in. thick. This conserves moisture, suppresses weeds, and keeps soil temperature stable.
Common Mistakes to Avoid
- Over‑filling the bed: Packing soil too tightly reduces aeration. Lightly tamp each layer as you fill.
- Choosing the wrong wood: Pressure‑treated lumber can leach chemicals. Opt for cedar, redwood, or naturally rot‑resistant composites.
- Ignoring drainage: A bed without a bottom slope or drainage layer can become waterlogged, leading to root rot.
- Planting too densely: Crowding cuts airflow, encouraging fungal diseases. Follow recommended spacing.
- Skipping soil testing: Unbalanced pH or nutrient deficiencies stunt growth. Test at planting and amend accordingly.
Troubleshooting and Tips for Best Results
Problem: Yellowing leaves – Often a sign of nitrogen deficiency. Add a side‑dressing of blood meal (½ cup per 10 sq ft) or a liquid kelp fertilizer (2 tbsp per gallon of water).
Problem: Aphids on beans – Spray a solution of 1 tsp dish soap in 1 quart water, or introduce ladybugs. For a natural approach, see how to get rid of aphids naturally.
Problem: Soil compaction after heavy rain – Gently loosen the top 2 in. with a garden fork; avoid digging deep to protect root systems.
For long‑term success, rotate crops each season. Plant legumes (e.g., peas) after heavy feeders like tomatoes to replenish nitrogen.
If you want a decorative touch, line the interior of the bed with reclaimed brick pavers; they add visual interest and help retain heat for early‑season planting.
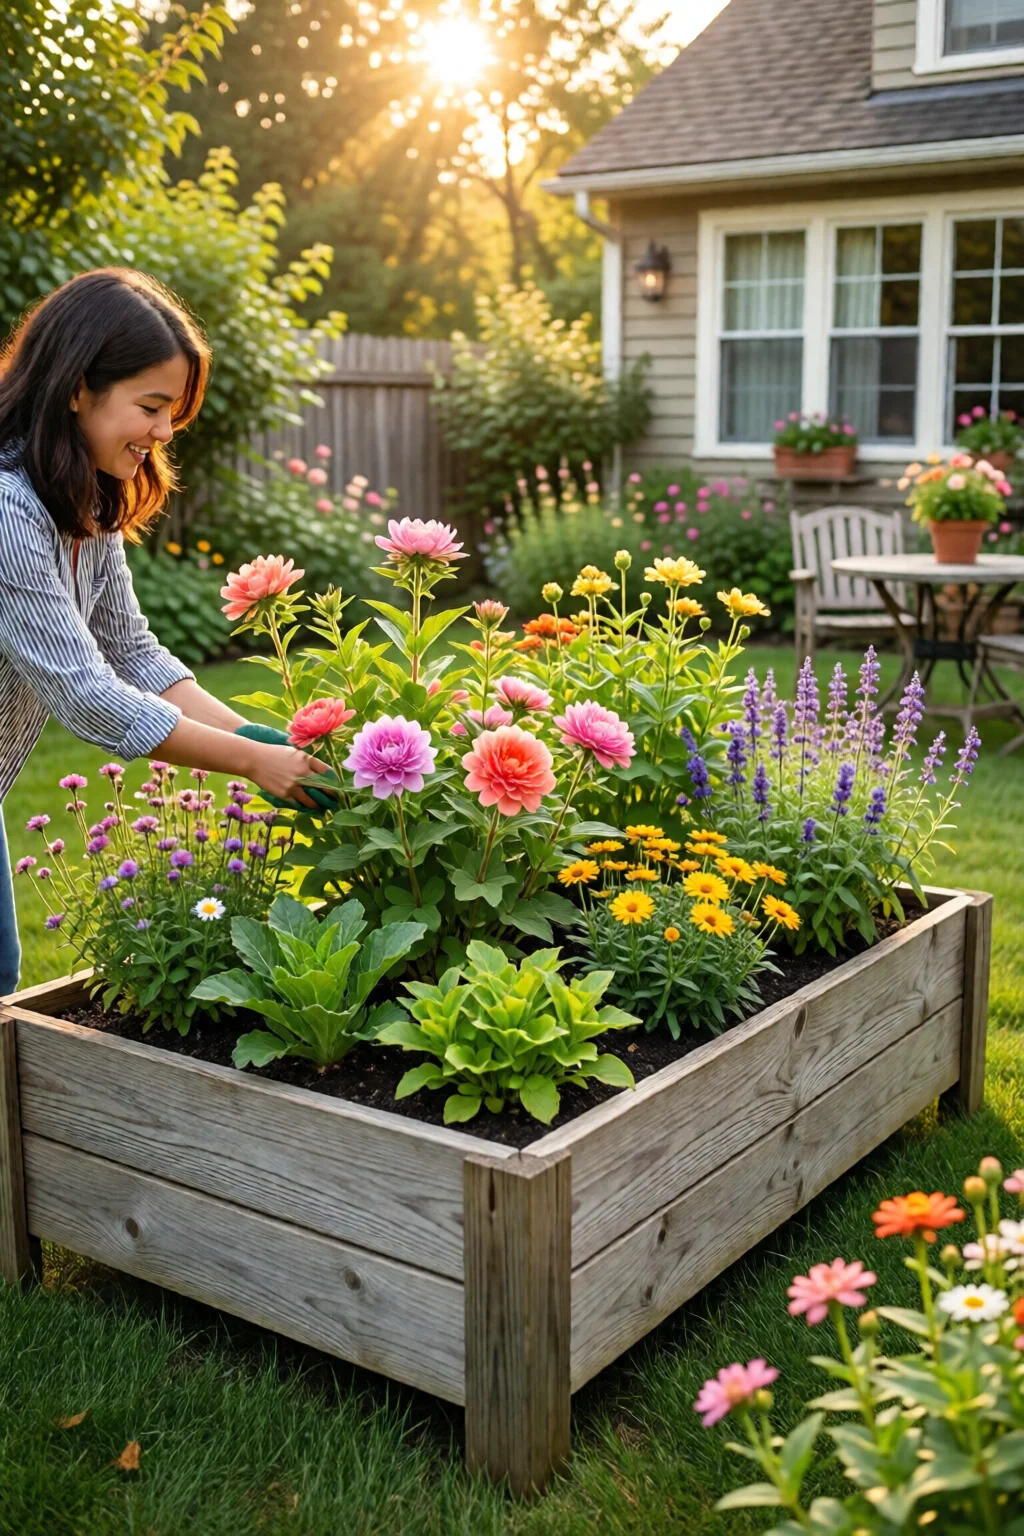
Summary
By following these raised garden bed ideas for beginners, you’ll have a functional, attractive growing space in under a weekend, at a cost of roughly $150–$250 depending on material choices. The key steps are picking a simple design, building a sturdy frame with rot‑resistant wood, filling with a balanced soil mix, and planting easy‑care vegetables. Avoid common pitfalls like over‑packing soil or using the wrong lumber, and you’ll enjoy a bountiful harvest with minimal upkeep.
Frequently Asked Questions
How deep should a raised garden bed be for vegetables?
A depth of 12 in. is ideal for most vegetables; root crops like carrots benefit from 14–16 in. depth.
Can I use regular garden soil in a raised bed?
It’s better to use a mix of compost, peat moss, and vermiculite. Regular garden soil can be heavy and may contain weed seeds.
Do I need to line the bottom of a raised bed?
Lining with landscape fabric helps prevent soil loss and weeds, but ensure drainage holes or a gravel layer underneath.
How often should I water a raised garden bed?
Typically 1–2 inches of water per week, depending on weather. A drip system set to 30‑minute cycles morning and evening works well.
Can I grow herbs and vegetables together?
Yes. Herbs like basil and parsley repel pests and complement tomatoes and peppers, creating a synergistic garden.
3 réflexions au sujet de “Raised Garden Bed Ideas For Beginners: Complete Guide for 2026”