It was a bright Saturday morning in my backyard when I realized my favorite roses were looking a little tired. The petals were curling, the colors dulling, and the garden felt a bit flat. I grabbed my trusty Felco F‑2 pruners (about $45 on Amazon) and gave those spent blooms a swift snip. Within a week the bush burst back into a riot of fresh pinks, and I remembered exactly why deadheading is such a game‑changer. If you’ve ever wondered how to deadhead flowers properly, you’re in the right place – I’m going to walk you through everything from timing to tools, with the kind of hands‑on advice that comes from more than a decade of digging in the dirt.
In This Article
Why Deadheading Matters
Boosts Bloom Longevity
When a flower’s petals fade, the plant shifts its energy from producing new blooms to forming seeds. By removing those spent flowers promptly, you keep the plant’s hormone balance in “bloom mode,” extending the flowering period by up to 30 % on many species, according to a 2022 study from the University of Minnesota.
Prevents Unwanted Seed Set
Unremoved faded buds can turn into seed heads that look messy and may self‑sow unwanted seedlings. In my garden, I’ve seen petunias self‑seed across the lawn, creating a thicket that took weeks to clear. A quick snip stops that cycle dead in its tracks.
Improves Plant Health
Deadheads reduce the risk of fungal infections that love lingering, damp petals. By cutting away the old tissue, you improve airflow and help the plant stay dry – a simple step that can cut disease incidence by roughly 15 % in humid climates.

When to Deadhead: Timing and Signs
Spotting Faded Buds
The easiest cue is color. As soon as a bloom loses its vivid hue and the petals begin to wilt or curl, it’s ready for removal. For roses, look for the moment the petal edges turn brown; for geraniums, a soft yellowing indicates the end of the show.
Seasonal Guidelines
In temperate zones, deadhead throughout the growing season – roughly March through October. In the Pacific Northwest, I find a weekly check works best because the climate keeps flowers blooming longer. In hot, dry regions like Arizona, you may need to deadhead every 3‑4 days to keep up with the rapid fade rate.
Special Cases (Roses, Perennials, Annuals)
- Roses: Remove the entire spent bloom back to the first set of five healthy leaves. This encourages a “flush” of new buds.
- Perennial clumps (e.g., coneflowers, black‑eye susans): Cut back to the first healthy leaf node; the plant will send up fresh stems from the base.
- Annuals (petunias, marigolds): Snip just the wilted flower and a small portion of the stem; the plant will keep producing all season.
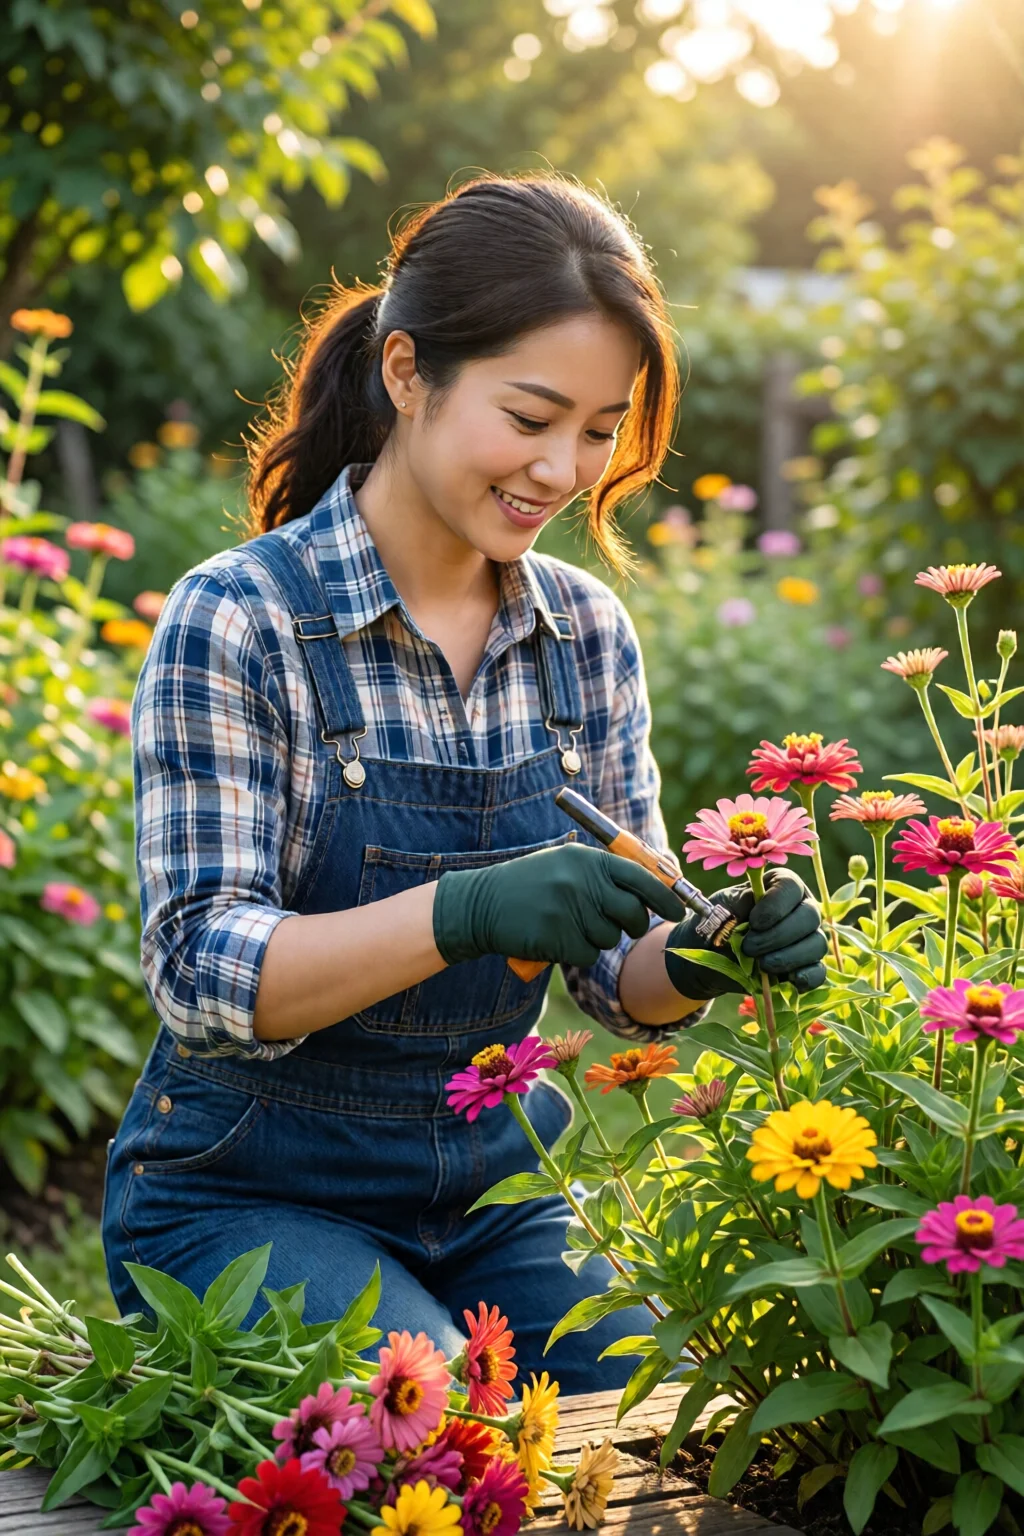
Tools of the Trade
Hand Pruners vs. Scissors
For most garden flowers, a pair of sharp hand pruners does the job. The Felco F‑2 features a 55 mm blade, a comfortable grip, and a lifetime warranty – about $45. If you prefer scissors, the Fiskars 9104 SoftTouch Scissors (price $20) have a 9 inch blade and ergonomic handles that reduce hand fatigue.
Cleaning and Sanitizing
Always sterilize tools between plants to avoid spreading disease. A quick dip in a 10 % bleach solution (1 part bleach to 9 parts water) for 30 seconds, followed by a rinse, does the trick. I keep a small spray bottle of 70 % isopropyl alcohol in my shed for on‑the‑go sanitizing.
Ergonomic Choices
Look for tools with padded handles and a spring‑loaded mechanism. The Gardenite 8‑inch Pruner (price $18) has a spring that reduces the cutting force by up to 40 %, which is a lifesaver for those with arthritis.
| Tool | Blade Length | Price (USD) | Ergonomic Rating |
|---|---|---|---|
| Felco F‑2 Hand Pruner | 55 mm | 45 | 9/10 |
| Fiskars 9104 SoftTouch Scissors | 9 in (229 mm) | 20 | 8/10 |
| Gardenite 8‑inch Pruner | 8 in (203 mm) | 18 | 9/10 |
| Basic Carbon Steel Shears | 7 in (178 mm) | 12 | 6/10 |
Step‑by‑Step Guide to Deadhead Properly
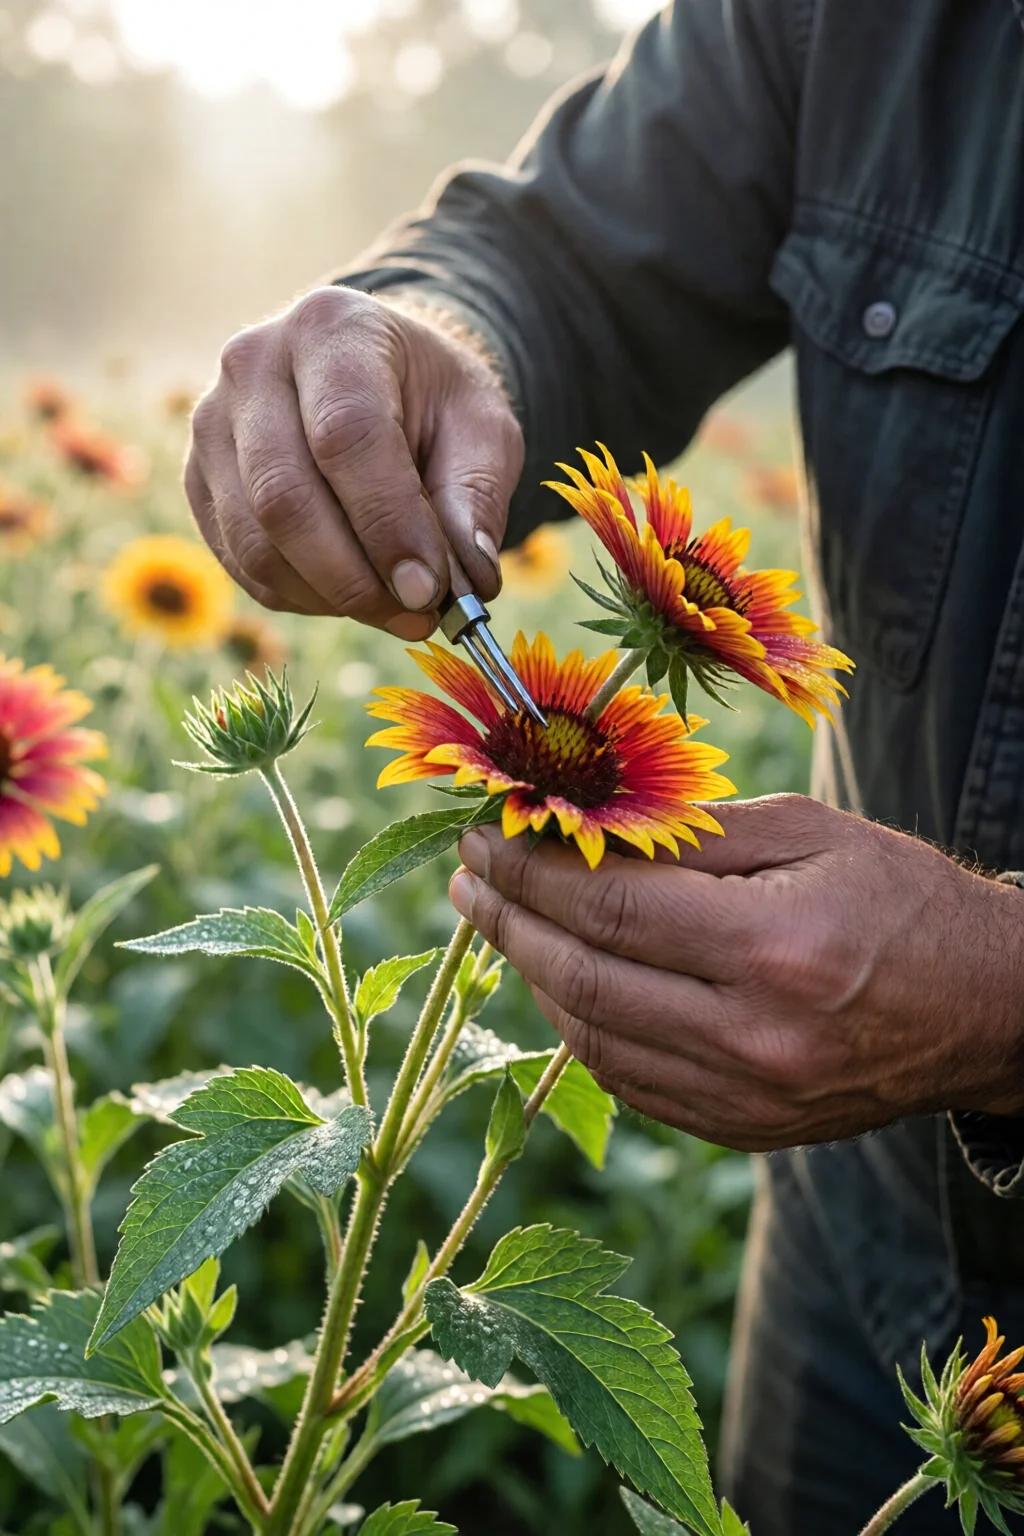
1. Identify the Right Stem
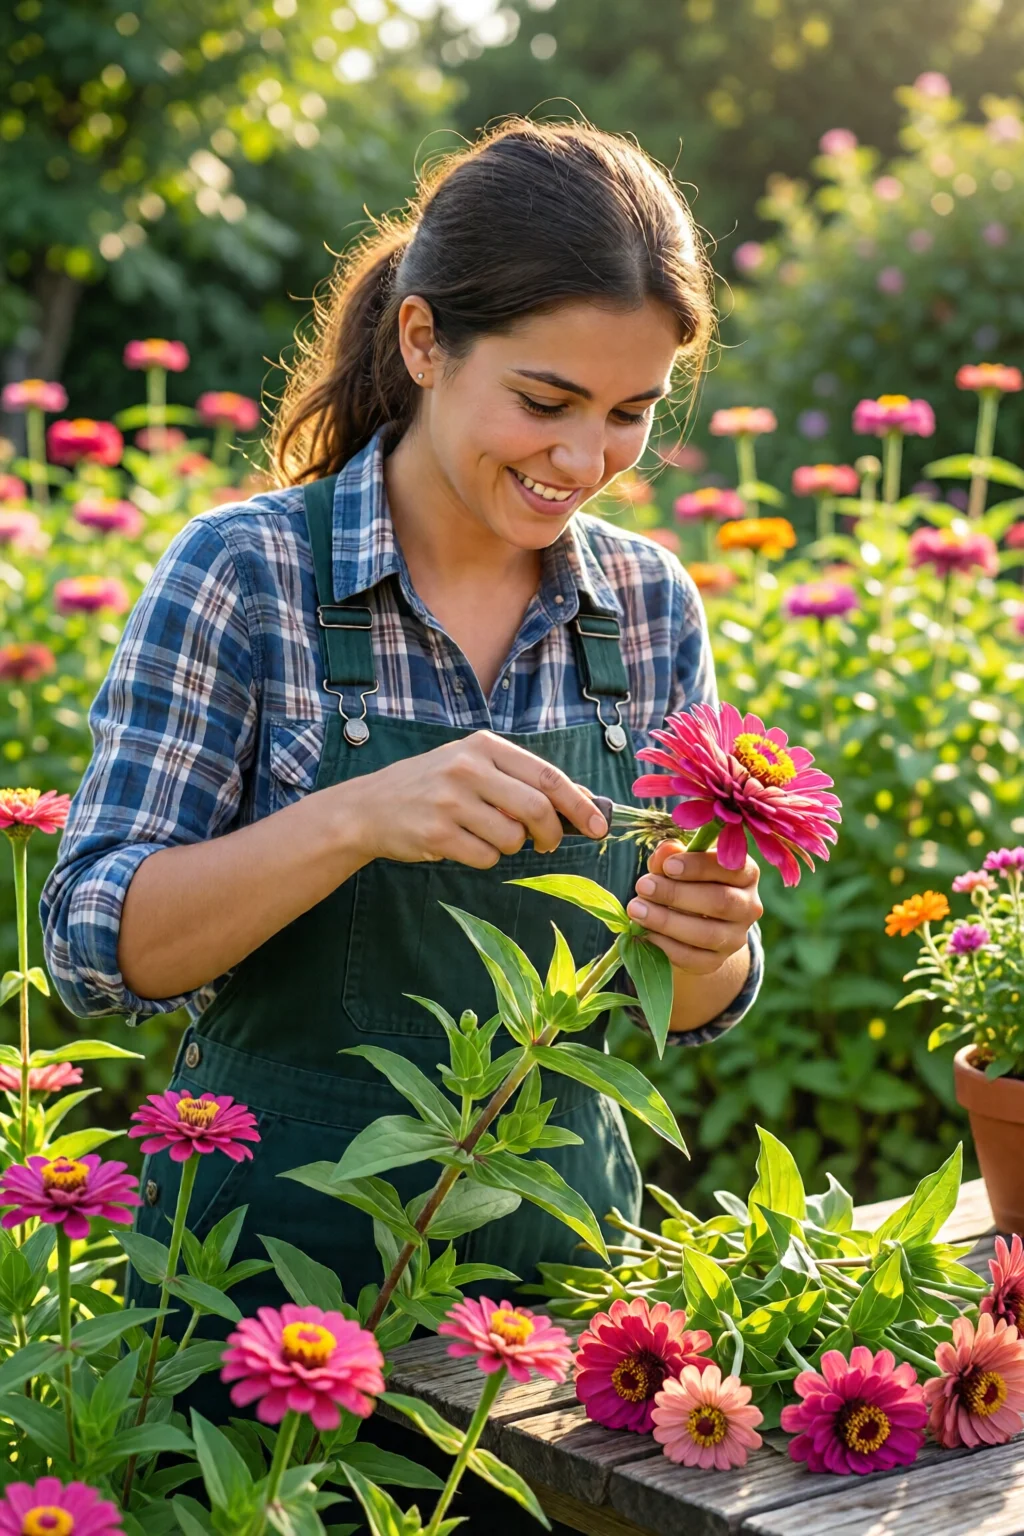
Locate the base of the wilted flower. For most species, you’ll see a small, unopened bud just below the faded petals. Aim to cut just above that bud. In roses, the ideal cut is just above the first five healthy leaves.
2. Make a Clean Cut
Position your pruner at a 45‑degree angle, cutting away from the main stem. The angled cut prevents water from pooling on the cut surface, reducing rot risk. Use a single, swift motion – a jagged or crushed cut invites disease.
3. Dispose or Compost
If the plant is disease‑free, you can toss the spent blooms into your compost bin. However, for roses or lilies that are prone to fungal issues, I recommend sealing them in a biodegradable bag before composting to keep spores contained.
4. After‑care
Give the plant a light watering in the morning and apply a balanced fertilizer (e.g., 10‑10‑10) at half the recommended rate. This provides a nutrient boost without encouraging excessive foliage growth that could shade new buds.
5. Repeat Regularly
Set a reminder on your phone – I use a weekly alarm on my iPhone – to walk the garden and deadhead. Consistency is the secret sauce; a neglected flower bed can lose up to 40 % of its bloom potential.
Deadheading Different Flower Types
Roses
Roses demand a bit more finesse. Use a sharp pruning shear to cut back to the first five healthy leaflets. For hybrid teas, aim for a ¼‑inch (6 mm) cut above the leaf node. A common mistake I see often is cutting too far back, which can remove next year’s buds.
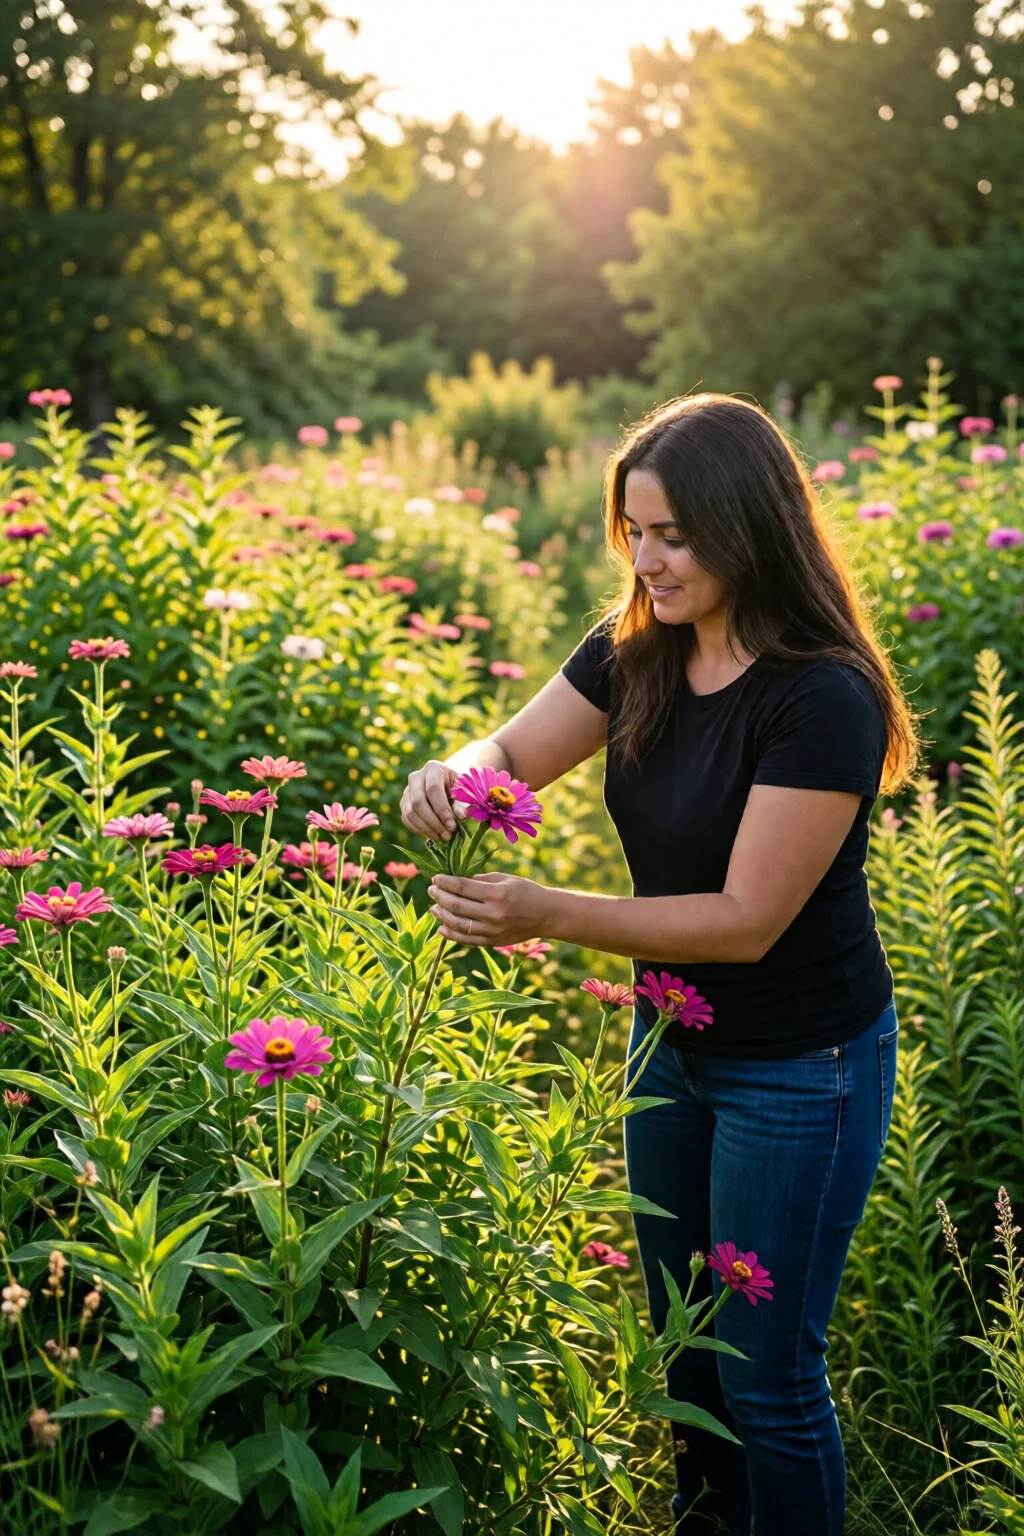
Petunias & Marigolds
These annuals are forgiving. Simply pinch off the wilted flower at the base of the stem or use scissors to snip a half‑inch (12 mm) above the faded bloom. This encourages the plant to produce side shoots, creating a fuller display.
Hydrangeas
Hydrangeas have two main types: bigleaf (Hydrangea macrophylla) and panicle (Hydrangea paniculata). For bigleaf varieties, deadhead only after the flower has turned brown and fallen – cutting too early removes the bloom cycle. Panicle hydrangeas can be cut back hard in late winter (down to 1‑foot/30 cm from the ground) for a fresh start. Need more detail? Check out our hydrangea care tips and colors guide.
Lavender
When lavender spikes turn gray, snip the entire spike just above the woody base. This encourages a second flush in late summer. I keep a pair of Felco F‑2 on hand because the thin stems need a precise cut.
Bee‑Friendly Flowers
If you’re aiming to attract pollinators, deadhead after the first wave of bloom, but leave a few flowers untouched for the bees. I balance this by deadheading 70 % of the blooms and leaving the rest.
Pro Tips from Our Experience
- Use a cutting board. Placing a small piece of garden‑grade plywood under the flower gives you a stable surface and protects delicate stems.
- Work in the early morning. The plants are hydrated and less stressed, and you’ll see the wilted buds more clearly.
- Label older perennials. Write the last deadheading date on a waterproof tag; this helps track bloom cycles over years.
- Pair deadheading with mulching. After a deadhead session, add a thin layer (½‑inch/1.3 cm) of shredded bark mulch to retain moisture.
- Combine with other tasks. Use the deadhead walk to also check for pests, soil moisture, and to how to transplant plants without shock if needed.
Conclusion: Your Actionable Takeaway
Deadheading isn’t just a cosmetic chore; it’s a vital part of plant physiology that can extend bloom time by up to a month, curb disease, and keep your garden looking polished. Grab a pair of sharp, ergonomic pruners (my go‑to is the Felco F‑2), sanitize them, and make clean, angled cuts just above the first healthy bud. Do this weekly during the growing season, and you’ll watch your flowers rebound with vigor.
Now step outside, give those tired petals a proper goodbye, and enjoy the fresh burst of color that follows. Your garden will thank you – and so will the hummingbirds that love a tidy, blooming oasis.
How often should I deadhead my roses?
Roses benefit from deadheading every 7‑10 days during the peak blooming period. Trim back to the first five healthy leaflets each time to encourage a continuous flush of new blooms.
Can I use garden scissors instead of pruners?
Yes, high‑quality garden scissors like the Fiskars 9104 work well for small‑stemmed flowers (petunias, marigolds). For thicker stems such as roses or hydrangeas, a sharp hand pruner provides a cleaner cut and reduces plant stress.
Should I compost deadheaded flowers?
If the plant is disease‑free, you can add the spent blooms to your compost bin. For plants prone to fungal issues (roses, lilies), place the material in a sealed biodegradable bag before composting to prevent spore spread.
What’s the best time of day to deadhead?
Early morning is ideal. The plants are fully hydrated, and wilted buds are easier to spot. Working in cooler temperatures also reduces stress on both you and the plant.
How do I prevent disease when deadheading?
Use sharp, clean tools, make angled cuts, and sanitize between plants with a 10 % bleach solution or isopropyl alcohol. Also, avoid cutting too close to the main stem, which can expose raw tissue to pathogens.
1 réflexion au sujet de « How To Deadhead Flowers Properly – Everything You Need to Know »