When I first moved to a modest lot in central Texas, I was determined to replace the tired, weed‑choked lawn with something that felt both beautiful and responsible. After months of trial and error, I finally landed on a cohesive native plant garden design that not only slashed my water bill by 40 % but also attracted hummingbirds, bees, and butterflies every summer. If you’re ready to create a garden that works with your local ecosystem, this step‑by‑step guide will walk you through everything you need—from site assessment to planting, maintenance, and troubleshooting.
In This Article
- What You Will Need Before You Start
- Step 1: Assess Your Site and Climate Zone
- Step 2: Choose the Right Native Species
- Step 3: Sketch Your Garden Layout
- Step 4: Prepare the Soil and Install Hardscape
- Step 5: Plant and Mulch
- Step 6: Set Up Irrigation and Maintenance Schedule
- Common Mistakes to Avoid
- Tips for Best Results and Troubleshooting
- Summary Conclusion
- Frequently Asked Questions
What You Will Need Before You Start
- Soil test kit (e.g., Luster Leaf 1601 pH Soil Test Kit – $9.95)
- Measuring tape (30 ft steel tape – Fiskars, $12.99)
- Garden planner software or graph paper (Free online tools like SketchUp Free or a 9 × 12 in. pad of graph paper)
- Native plant list for your USDA zone (download from side yard garden ideas narrow spaces for inspiration)
- Quality mulch (e.g., Gardener’s Supply Company Hardwood Mulch, 2 cu ft – $5.99)
- Compost or organic soil amendment (Miracle-Gro All Purpose Garden Soil, 1 cu ft – $7.49)
- Shovel, spade, and hand trowel (Stihl 4‑in‑1 garden tool set – $45.00)
- Watering system – drip irrigation kit (Rain Bird Drip Irrigation Kit, 50 ft – $34.95) or a simple soaker hose
- Garden edging or raised bed kits if you plan on defined borders (e.g., how to build raised garden bed DIY – cedar boards, 2 × 6 in., $3.20 per foot)
- Protective gear – gloves, safety glasses, hat
Step 1: Assess Your Site and Climate Zone
1A. Map Sun Exposure
Spend a sunny day with a notebook and sketch the garden area, marking zones that receive full sun (6+ hours), partial shade (3–6 hours), and full shade (<3 hours). In my own backyard, the south‑facing border gets eight hours of sun, perfect for drought‑tolerant grasses and Echinacea purpurea, while the western edge is filtered by a mature oak, ideal for shade‑loving ferns.
1B. Conduct a Soil Test
Using the Luster Leaf kit, collect samples from three spots: one each in the sunny, partial, and shady zones. Record pH, texture, and nutrient levels. Most native plants thrive in a pH of 6.0–7.0; if yours reads 5.2, plan to liming with garden lime (5 lb bag – $4.99) to raise the pH by about 0.5.
1C. Determine Your USDA Hardiness Zone
Locate your zip code on the USDA map; for example, Dallas, TX sits in zone 8a. This determines which native species will survive winter lows. Many native guides list plants by zone, simplifying selection.
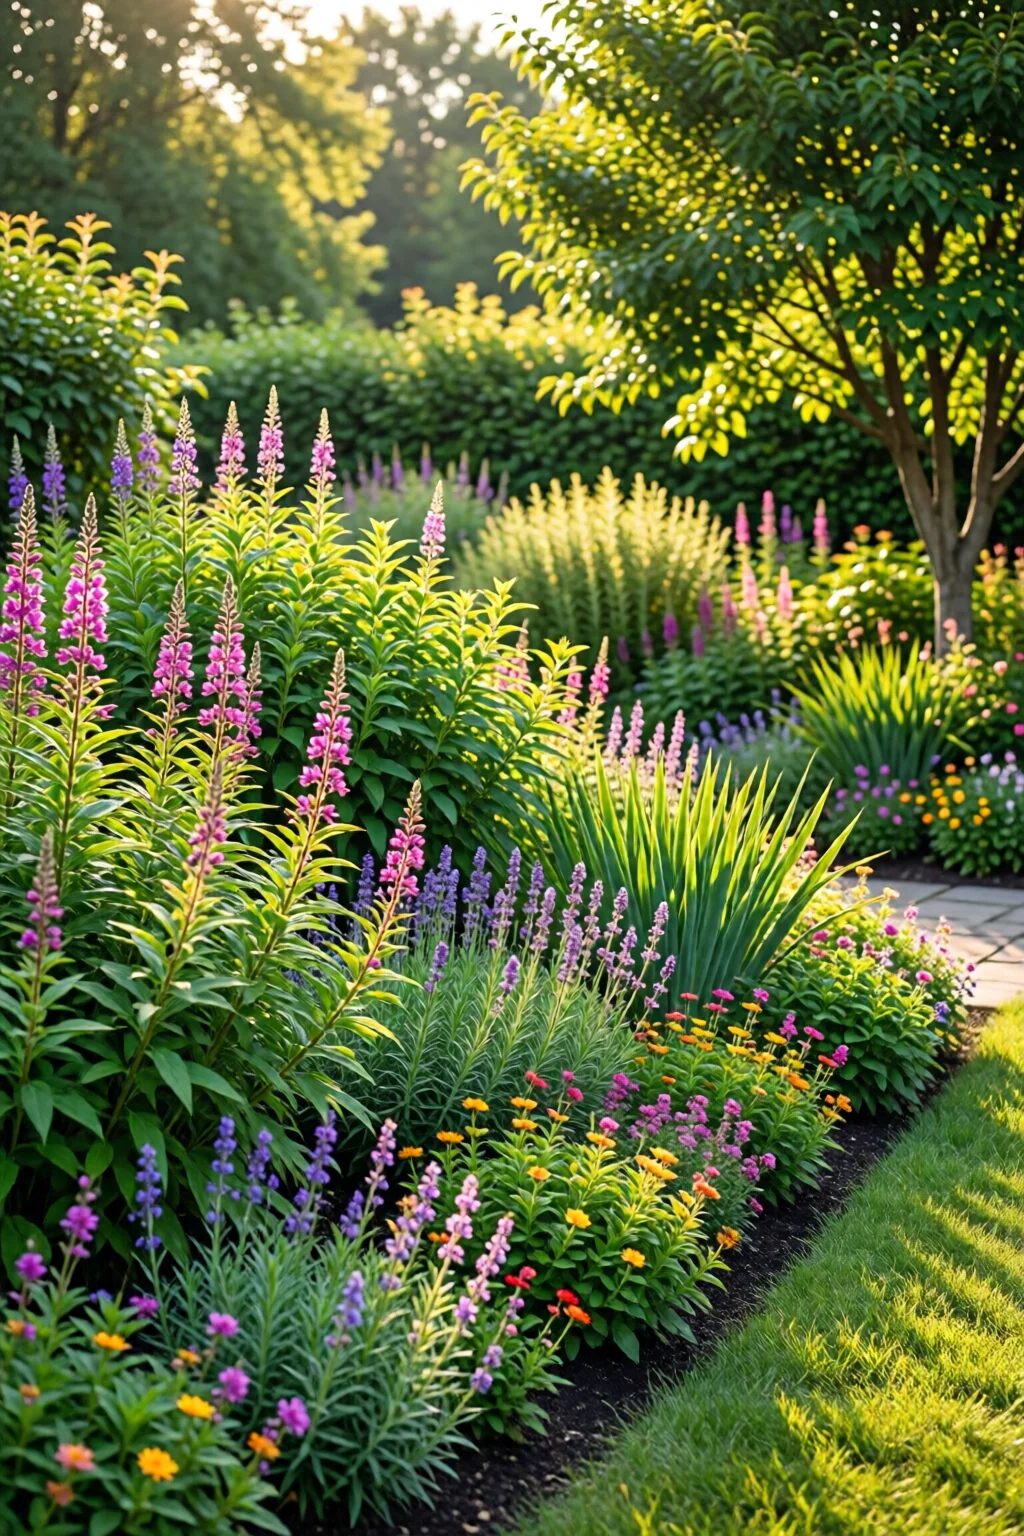
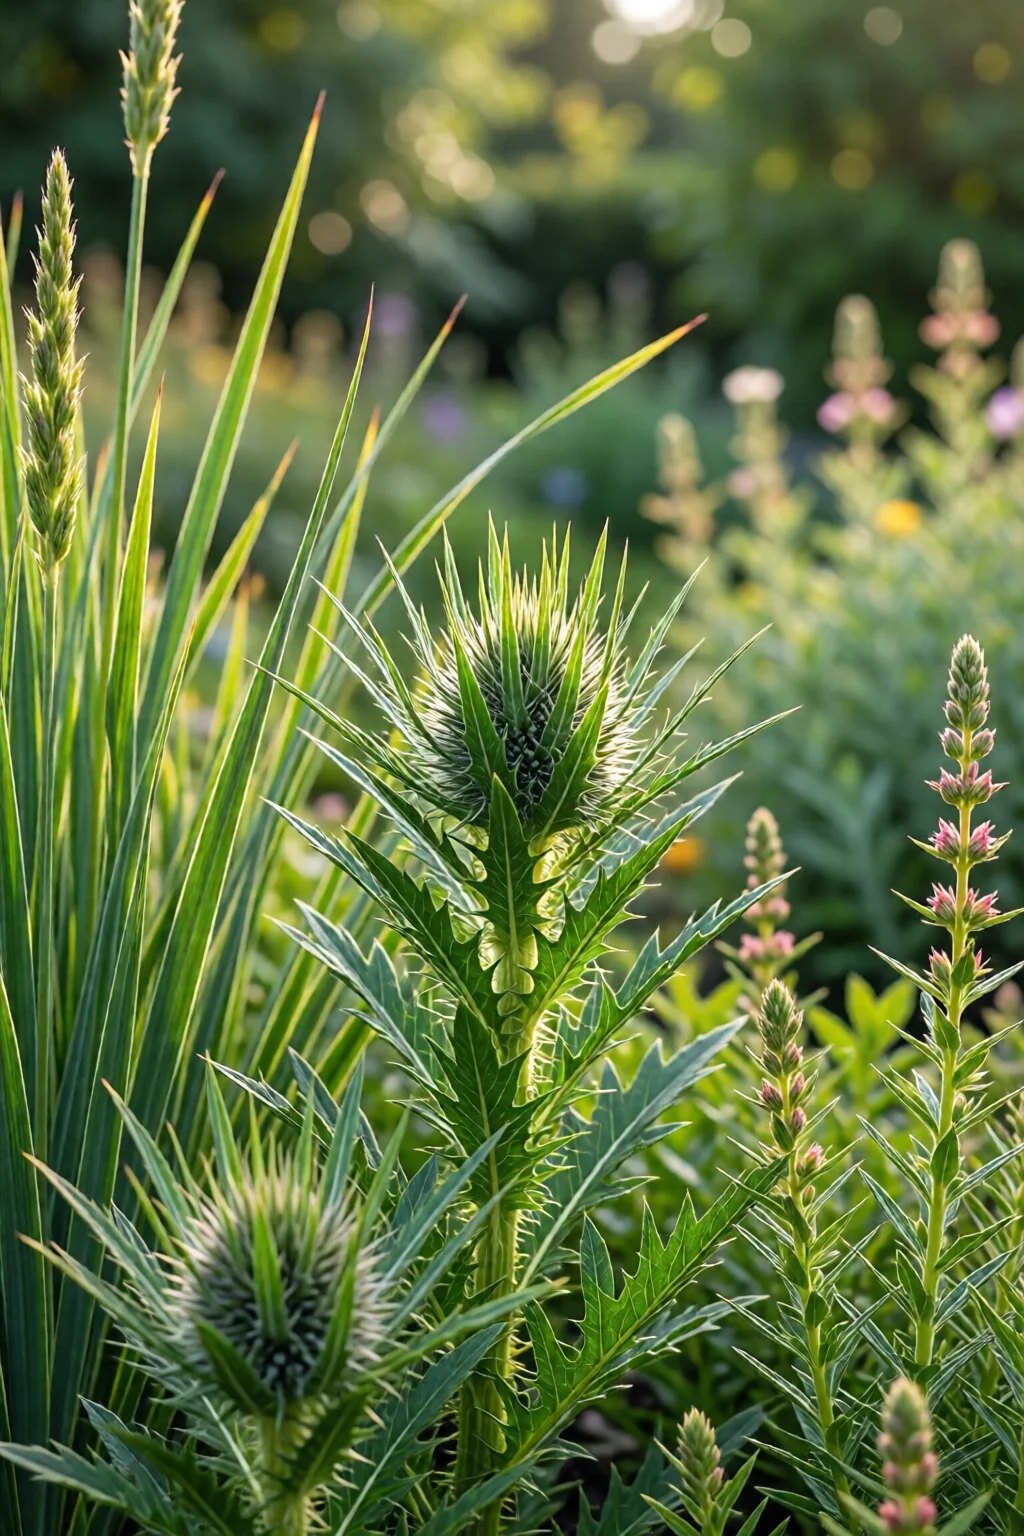
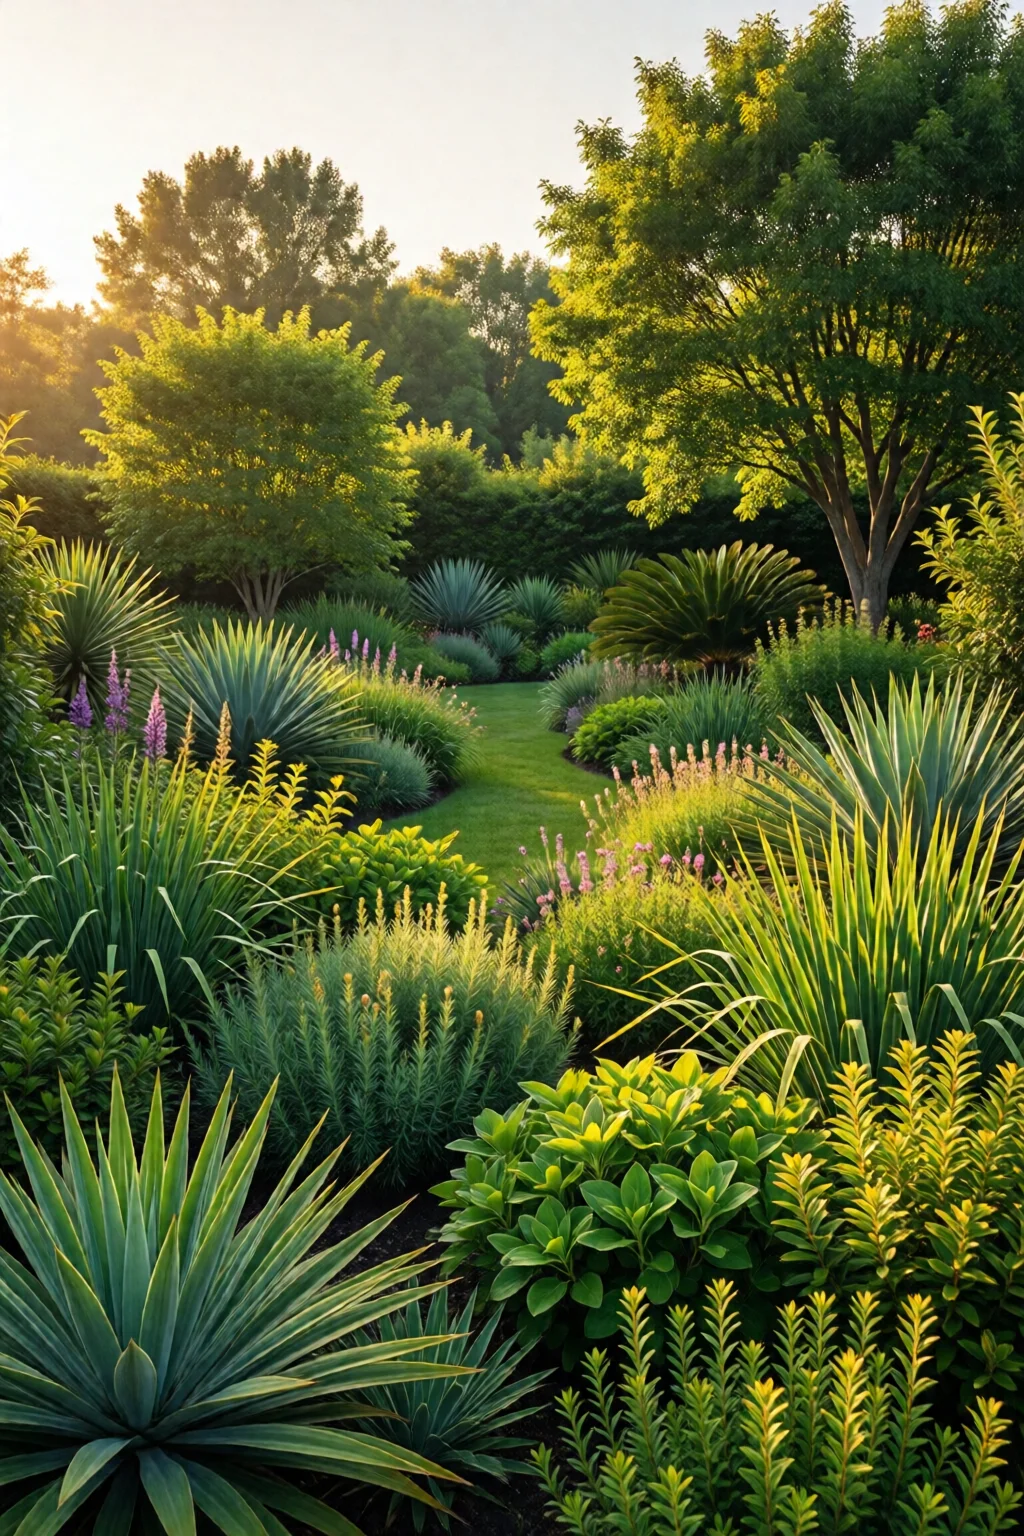
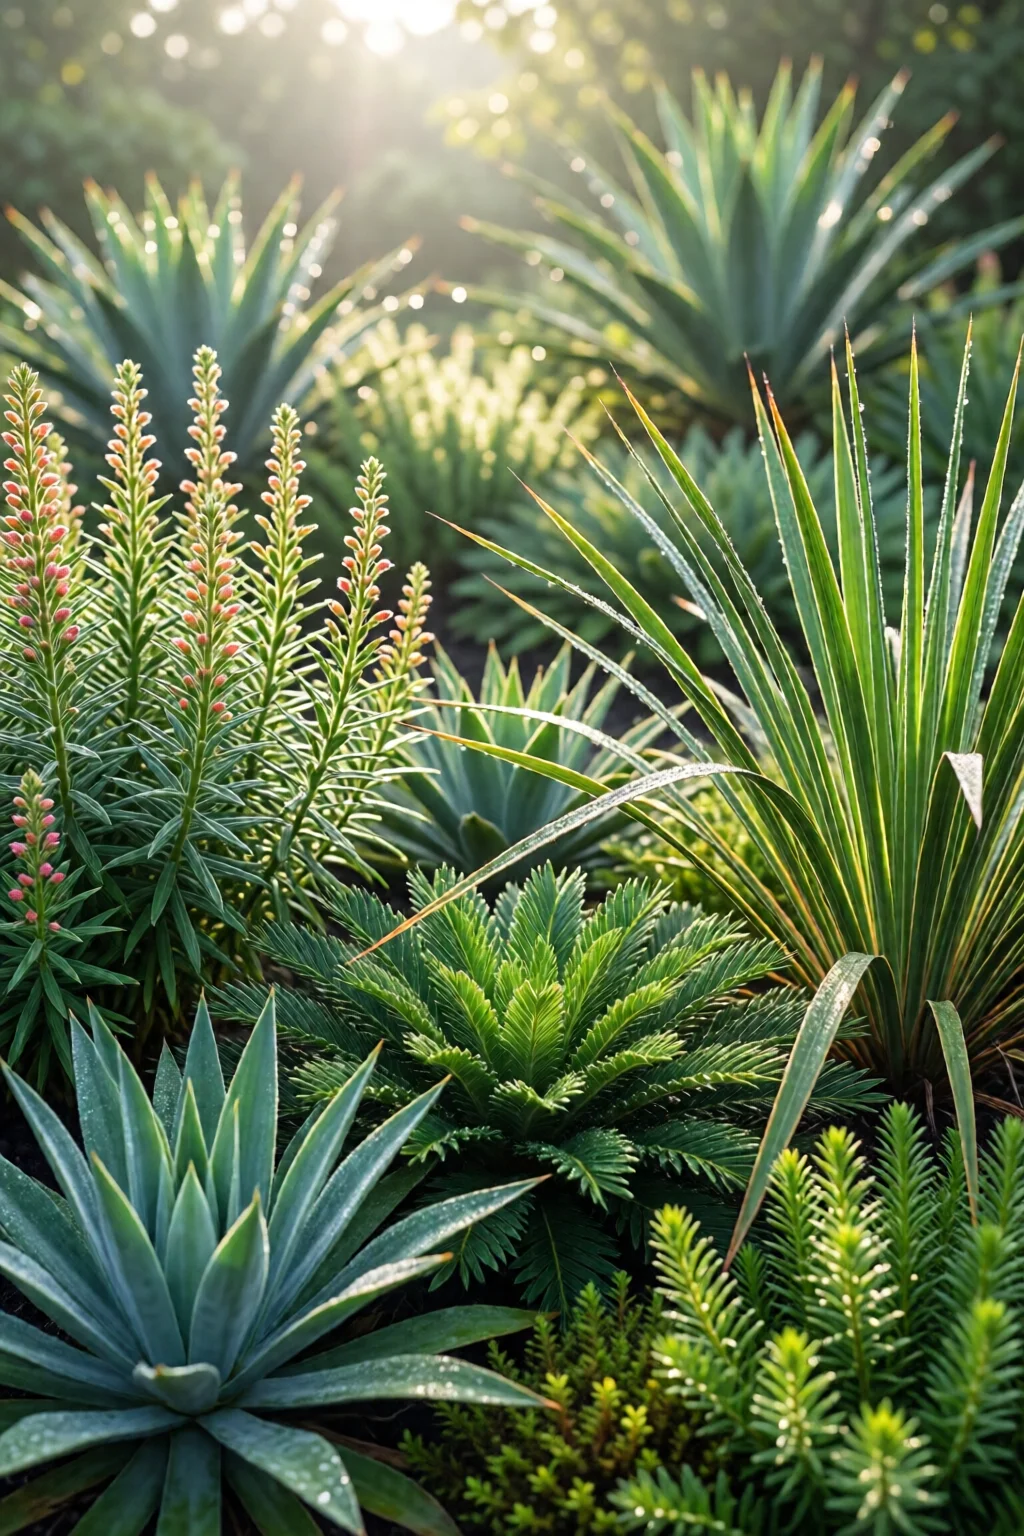
Step 2: Choose the Right Native Species
Pick plants that match the sun, soil, and moisture conditions you documented. Aim for a layered structure: canopy, sub‑canopy, herbaceous layer, and groundcover. This mimics natural plant communities and boosts biodiversity.
Below is a starter list for zone 8a, with average mature size, cost, and bloom time:
| Plant | Height | Sun | Cost (per plant) | Bloom Season |
|---|---|---|---|---|
| Eastern Redbud (Cercis canadensis) | 20‑30 ft | Full Sun–Partial Shade | $18.00 (from Native Plant Nursery) | Early Spring |
| Black-eyed Susan (Rudbeckia hirta) | 2‑3 ft | Full Sun | $4.50 | Summer‑Fall |
| Little Bluestem (Schizachyrium scoparium) | 2‑3 ft | Full Sun | $6.00 (3‑plant pack) | Late Summer |
| American Beautyberry (Callicarpa americana) | 4‑6 ft | Partial Shade | $12.00 | Fall (berries) |
| Wild Columbine (Aquilegia canadensis) | 1‑2 ft | Partial Shade | $5.00 | Spring |
One mistake I see often is over‑stocking a single species; instead, blend at least five species per 100 sq ft to create visual interest and resilience.
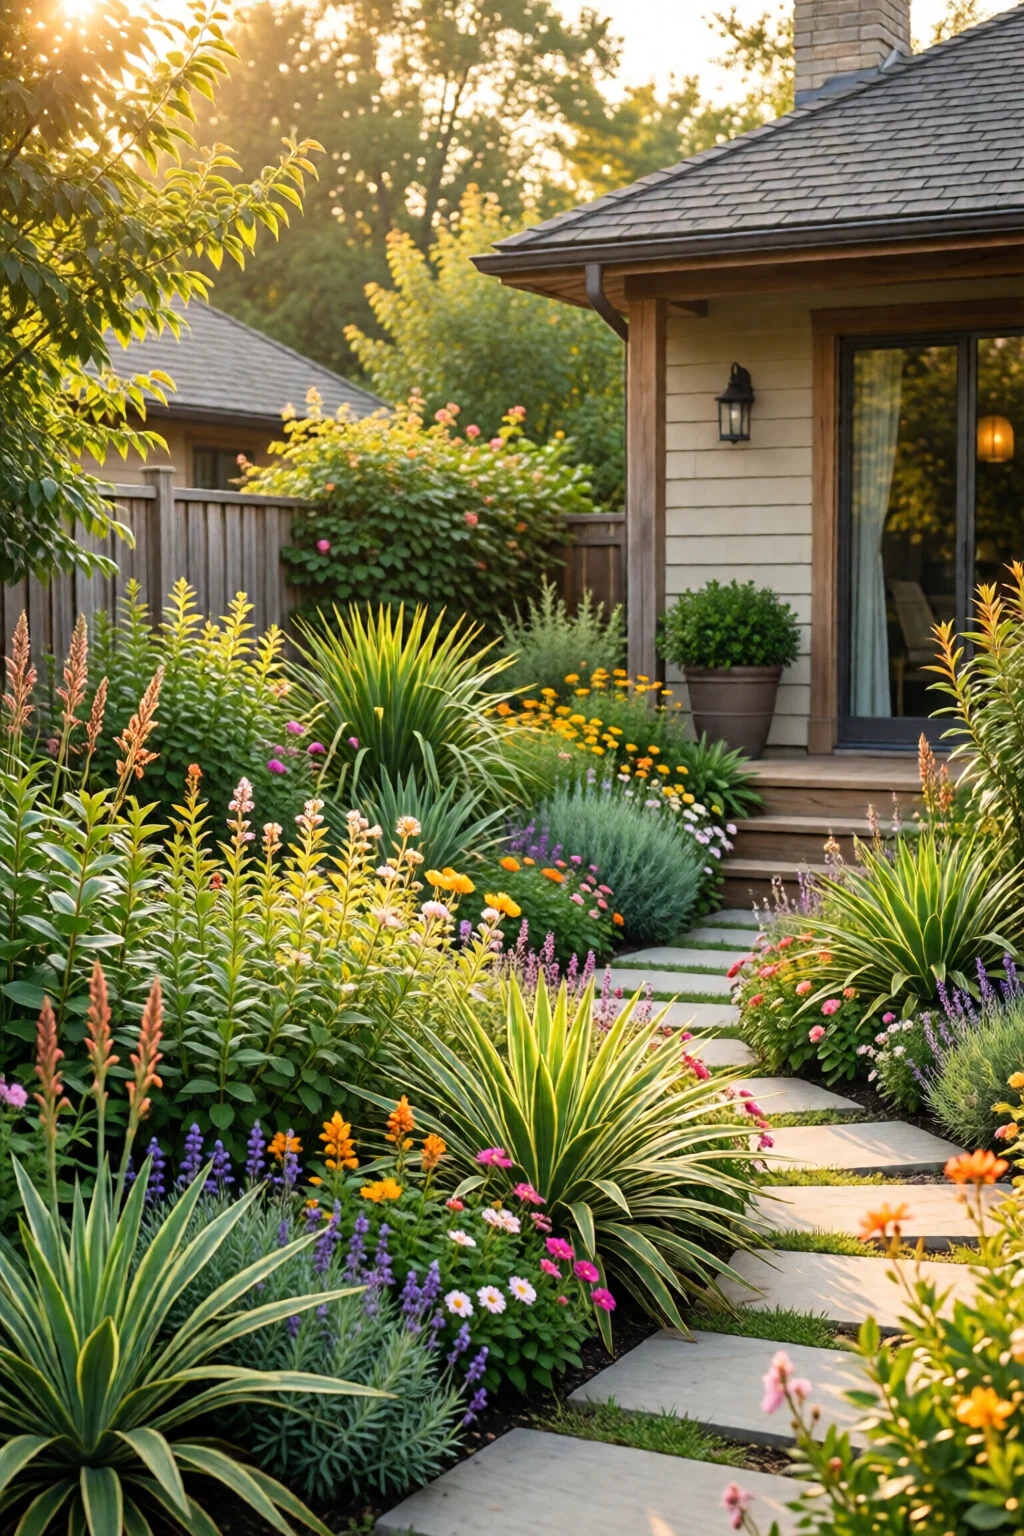
Step 3: Sketch Your Garden Layout
Using graph paper (1 sq ft per square) or a free app like Garden Planner, draw the garden’s perimeter. Place taller shrubs and trees on the north side to avoid shading lower plants. Plot pathways—consider garden pathway ideas with stepping stones—and allocate planting zones based on the sun map from Step 1.
For a 400 sq ft garden, a typical layout might be:
- North edge: 2 × 2 ft spacing for Eastern Redbud (3 plants)
- Center: 3‑foot circles of Little Bluestem (12 plants)
- West side: 1‑ft spacing for Black-eyed Susan (30 plants)
- East side: 4‑ft spacing for American Beautyberry (4 plants)
- Front border: 6‑inch spacing for Wild Columbine (48 plants)
Step 4: Prepare the Soil and Install Hardscape
4A. Clear Existing Vegetation
Remove invasive grasses and weeds by hand or with a sod cutter (Clemens Sod Cutter, 18‑in., $199). For stubborn perennials, apply a glyphosate‑free organic weed kill (EcoSmart Weed & Grass Killer, 16 oz – $8.99) and wait 24 hours before removal.
4B. Amend the Soil
Spread a 2‑inch layer of compost and mix it into the top 6 inches of soil. In my own yard, adding 10 cu ft of compost reduced soil compaction by 15 % and improved water infiltration.
4C. Install Edging or Raised Beds
If you prefer defined borders, use cedar boards (2 × 6 in., $3.20/ft). Build a 12‑in‑high raised bed around the perimeter; fill with a 50‑50 mix of topsoil and compost. This creates a clean line for stepping stones and prevents grass encroachment.
Step 5: Plant and Mulch
5A. Planting Technique
Dig holes twice as wide as the root ball and the same depth. Gently loosen the roots, set the plant at the same depth it was in the pot, and backfill with native soil mixed with a handful of mycorrhizal inoculant (MycoApply, 1 lb – $19.95) to boost root development.
5B. Mulching
Apply a 3‑inch layer of hardwood mulch, keeping it a couple of inches away from the stem base to prevent rot. Mulch conserves moisture, suppresses weeds, and adds organic matter as it breaks down.
5C. Watering After Planting
Give each plant a deep soak (about 10 minutes for a 15‑minute interval) using the drip kit. In the first two weeks, water every 2–3 days; after that, reduce to once a week—native plants are adapted to the local rainfall pattern.
Step 6: Set Up Irrigation and Maintenance Schedule
Install a timer on the drip system to water early morning (4–6 am) when evaporation is minimal. A 7‑day timer (Orbit 62061, $24.99) works well for most gardens. Set the flow rate to 0.5 gallon per hour per emitter; for a 400‑sq ft garden, 8 emitters suffice.
Maintenance tasks:
- Month 1–3: Inspect mulch depth, add more if it thins.
- Month 4–6: Prune dead stems, divide perennials as needed.
- Month 7–9: Apply a light organic fertilizer (Espoma Organic Plant Food, 4 lb – $9.99) if foliage looks pale.
- Month 10–12: Clean debris, check for winter damage, and mulch again for frost protection.
Common Mistakes to Avoid
One mistake I see often is planting too densely. Overcrowding leads to competition for water and nutrients, causing poor bloom and increased disease. Space plants according to their mature spread—add 20 % extra room for aggressive spreaders like Little Bluestem.
Another frequent error: ignoring soil pH. If your soil is too acidic, many native shrubs will develop iron chlorosis (yellowing leaves). Regularly test pH and amend as needed.
Finally, using synthetic fertilizers on native plants can actually harm the soil microbiome. Stick with organic amendments and let the plants establish natural nutrient cycles.
Tips for Best Results and Troubleshooting
Water Management
If you notice wilting after a rainstorm, check drainage. Native plants dislike waterlogged roots; install a French drain (perforated pipe, 4 in., $1.20/ft) if water pools.
Pest Control
Most native species are pest‑resistant, but aphids can appear on young shoots. A quick spray of neem oil (doTERRA Neem Oil, 4 oz – $12.95) resolves the issue without harming pollinators.
Pollinator Attraction
Plant a succession of bloomers—spring (Wild Columbine), summer (Black-eyed Susan), fall (American Beautyberry). Adding a small water feature, like a shallow bird bath, boosts visitation by hummingbirds.
Seasonal Clean‑up
In late fall, cut back dead foliage to the ground, but leave seed heads of grasses like Little Bluestem for winter interest and to feed birds.
For those with limited space, consider tropical garden ideas that incorporate native palms and understory plants—just be mindful of their water needs.
Summary Conclusion
Designing a native plant garden is less about imposing a vision and more about listening to the land. By assessing sun, soil, and climate; selecting appropriate native species; planning a functional layout; and committing to thoughtful planting and maintenance, you’ll create a resilient, low‑maintenance oasis that supports local wildlife and saves you money. Remember, the goal is a garden that thrives with minimal input—once established, it will reward you with seasonal color, fragrance, and a chorus of pollinators.
Frequently Asked Questions
How long does it take for a native plant garden to look established?
Most native perennials will show noticeable growth and fill in within 2–3 years. Shrubs typically take 5–7 years to reach their mature shape, but even in the first season you’ll see structure forming if you space plants correctly.
Do I need to water native plants during the first summer?
Yes. While native plants are drought‑tolerant, they need consistent moisture for the first 6–8 weeks to develop deep roots. After that, watering once a week (or less, depending on rainfall) is sufficient.
Can I mix non‑native ornamental plants with natives?
You can, but keep non‑native species to a small percentage (no more than 10 % of total plant count) to avoid competition and maintain the ecological benefits of a native garden.
What is the best mulch depth for a native garden?
A 2–3 inch layer of organic mulch works best. It conserves moisture, suppresses weeds, and gradually enriches the soil as it decomposes.
How can I attract pollinators without using chemicals?
Plant a variety of native species that bloom at different times, provide a shallow water source, and avoid pesticides. Adding a few native grasses for nesting and a sunny, flat rock for bumblebee roosting also helps.
2 réflexions au sujet de “How to Native Plant Garden Design (Expert Tips)”