Turn your backyard into a year‑round retreat with the right garden gazebo ideas and designs, and you’ll have a space that feels both intimate and grand without breaking the bank. In this guide I’ll walk you through everything you need—from the first sketch on graph paper to the final string of fairy lights—so you can build a gazebo that matches your style, budget, and climate.
In This Article
- What You Will Need (or Before You Start)
- Step 1 – Choose the Perfect Spot and Size
- Step 2 – Pick a Style That Matches Your Landscape
- Step 3 – Secure the Necessary Permits
- Step 4 – Prepare the Foundation
- Step 5 – Assemble the Frame
- Step 6 – Add Finishing Touches
- Common Mistakes to Avoid
- Tips for Best Results (Troubleshooting)
- Frequently Asked Questions
- Summary
What You Will Need (or Before You Start)
- Design plan: a 1:50 scale drawing or a digital model (SketchUp or Garden Planner).
- Materials: cedar lumber (2×4 × 8 ft, $3.45 per board), pressure‑treated pine (4×4 × 10 ft, $7.20 each), steel brackets (Heavy‑Duty 4‑inch, $1.75 each), roofing panels (polycarbonate 12‑ft, $32 per sheet), or a pre‑fitted kit such as the Sunset Gazebo 12‑ft Premium Kit ($1,299, includes all hardware).
- Tools: circular saw, power drill, level, tape measure, post‑hole digger, and a ladder (10‑ft, $79 from Home Depot).
- Foundation supplies: concrete mix (50‑lb bag, $4.90, 2 bags per post), gravel (1 cu ft, $3.20), or a pre‑made deck block (e.g., Trex T‑Block, $12 each).
- Finishing touches: outdoor fabric curtains (Sunbrella, 84 in × 84 in, $45 each), LED string lights (30 ft, $22), and weather‑proof cushions (Sunbrella, $68 per set).
- Permits: check local zoning; most municipalities require a building permit for structures over 8 ft², typically $45–$120.
Step 1 – Choose the Perfect Spot and Size
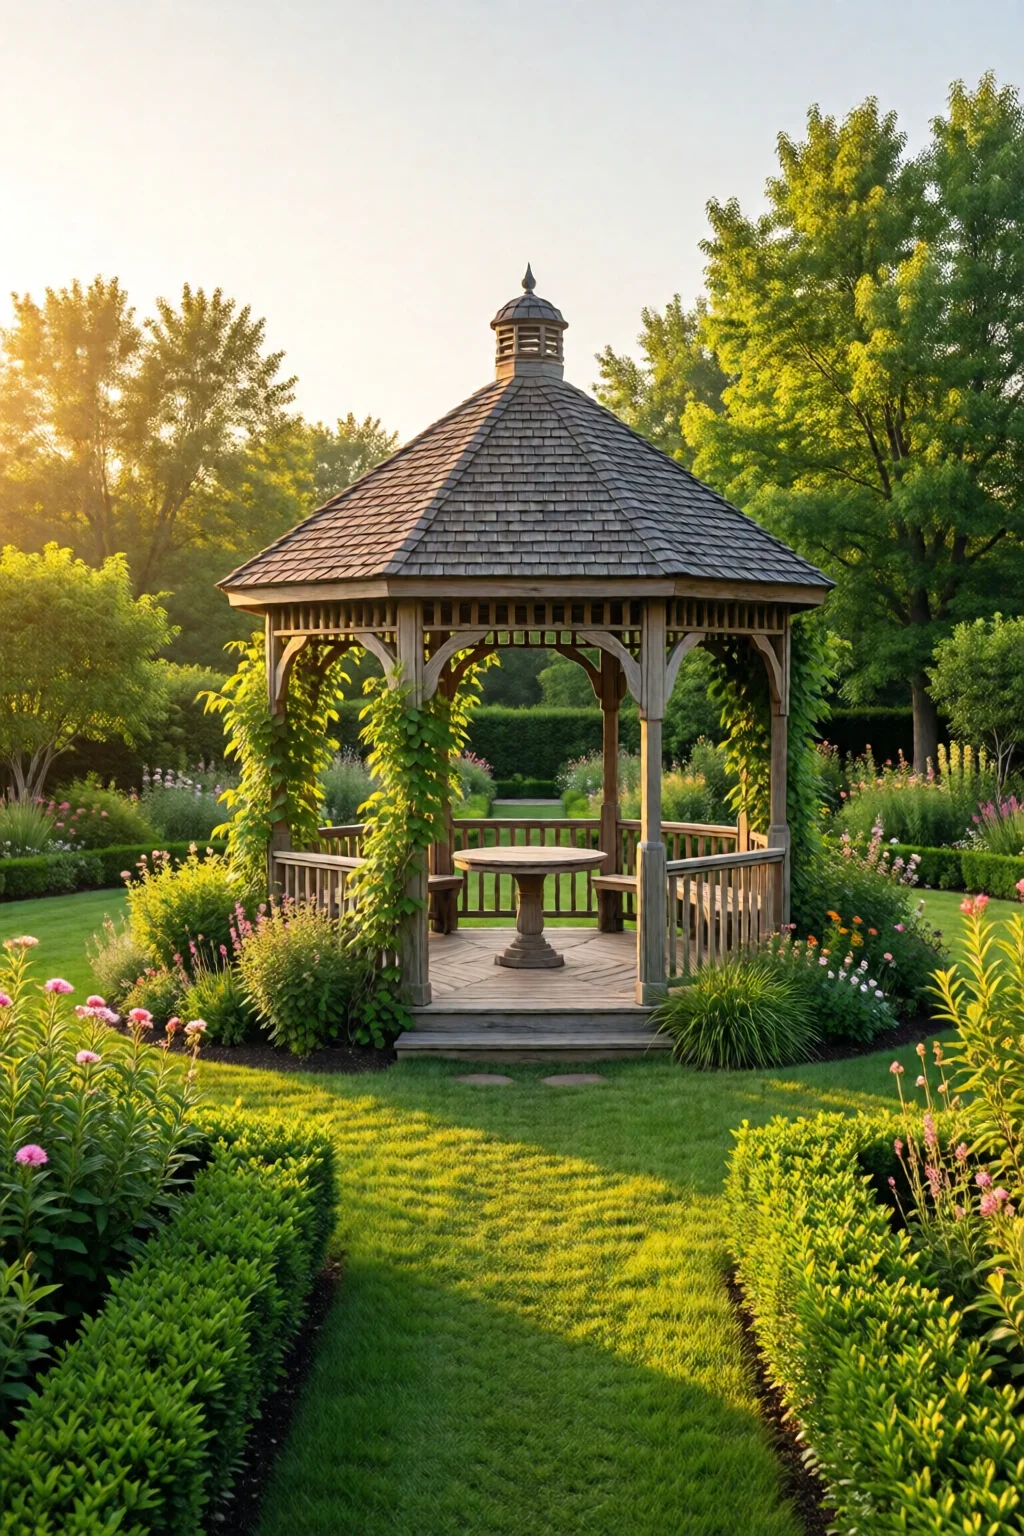
Start by measuring the usable area of your garden. A classic 10 ft × 10 ft gazebo provides 100 sq ft of floor space, enough for a small table and four chairs, while a 12 ft × 12 ft version (144 sq ft) can host a lounge set. Keep at least 4 ft clearance on all sides for walking paths and to avoid conflict with underground utilities.
Orientation matters: face the entry toward the sun in the morning if you enjoy coffee, or toward the west for evening barbecues. Use a garden hose to outline the footprint; you’ll instantly see how the shape fits with existing features like a English garden design or a butterfly garden layout.
Step 2 – Pick a Style That Matches Your Landscape
There are three dominant styles that dominate garden gazebo ideas and designs:
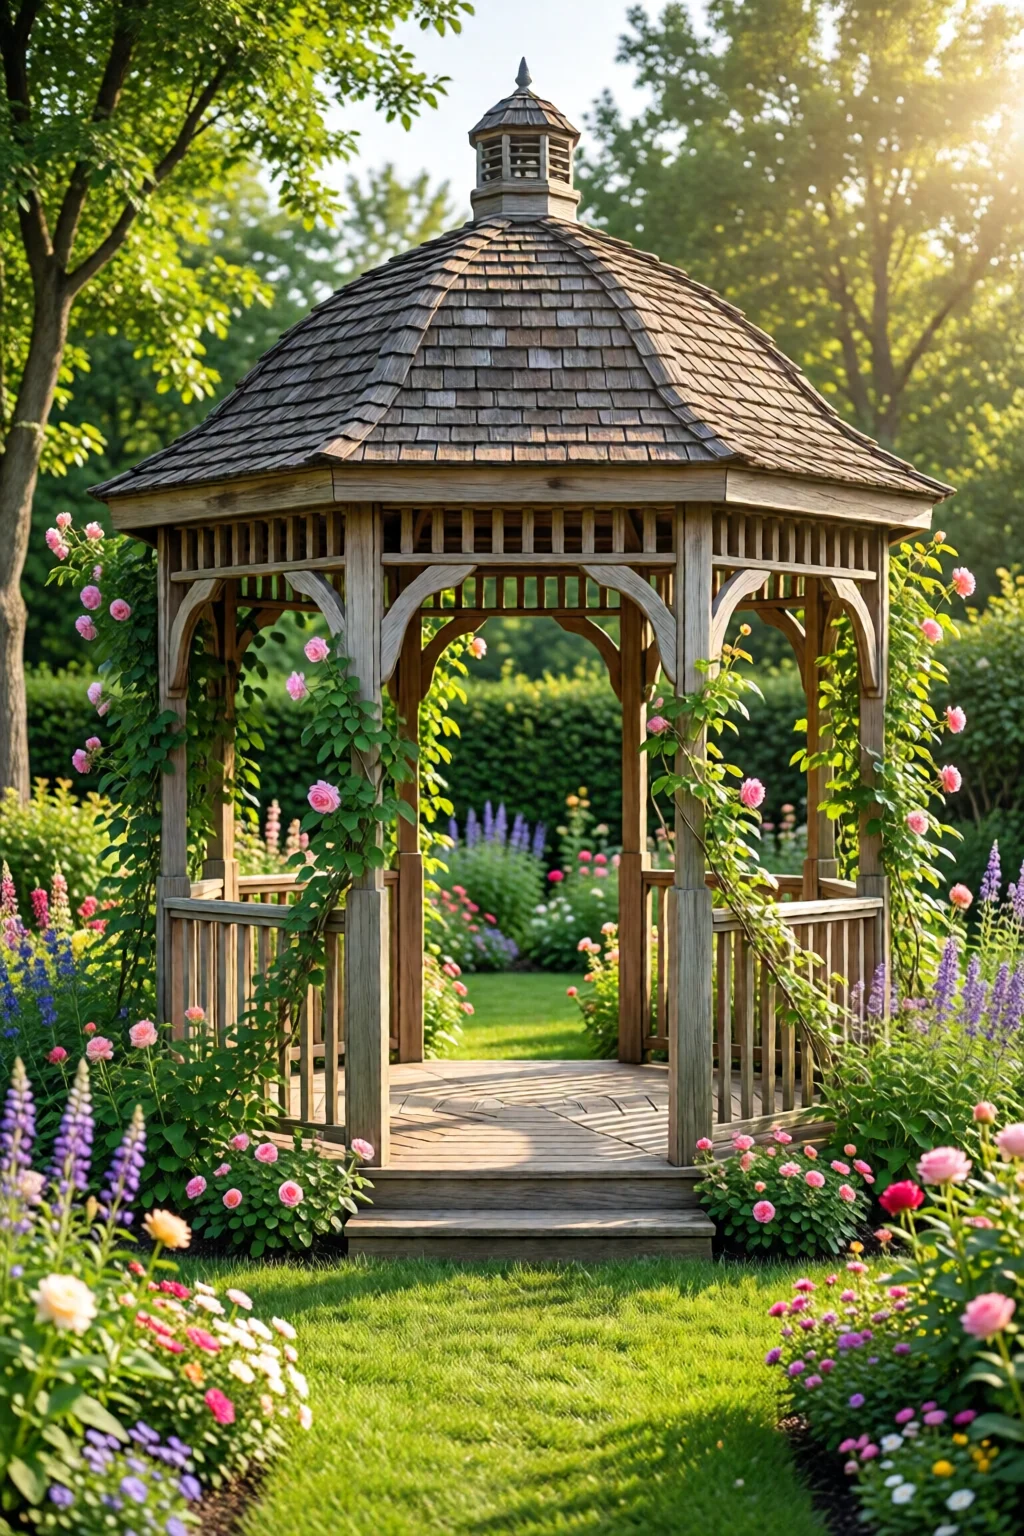
- Traditional timber: Cedar or redwood with a peaked roof, often paired with lattice walls. A 12‑ft cedar gazebo from GardenMate sells for $1,475.
- Modern metal and glass: Powder‑coated steel frames with acrylic panels; the Alpine 10‑ft Modern Kit runs $1,850 and includes a sliding glass door.
- Rustic canvas: Wooden frame with a canvas canopy (polyester, UV‑protected). The Canvas Breeze 10‑ft kit is $899 and can be re‑dyed.
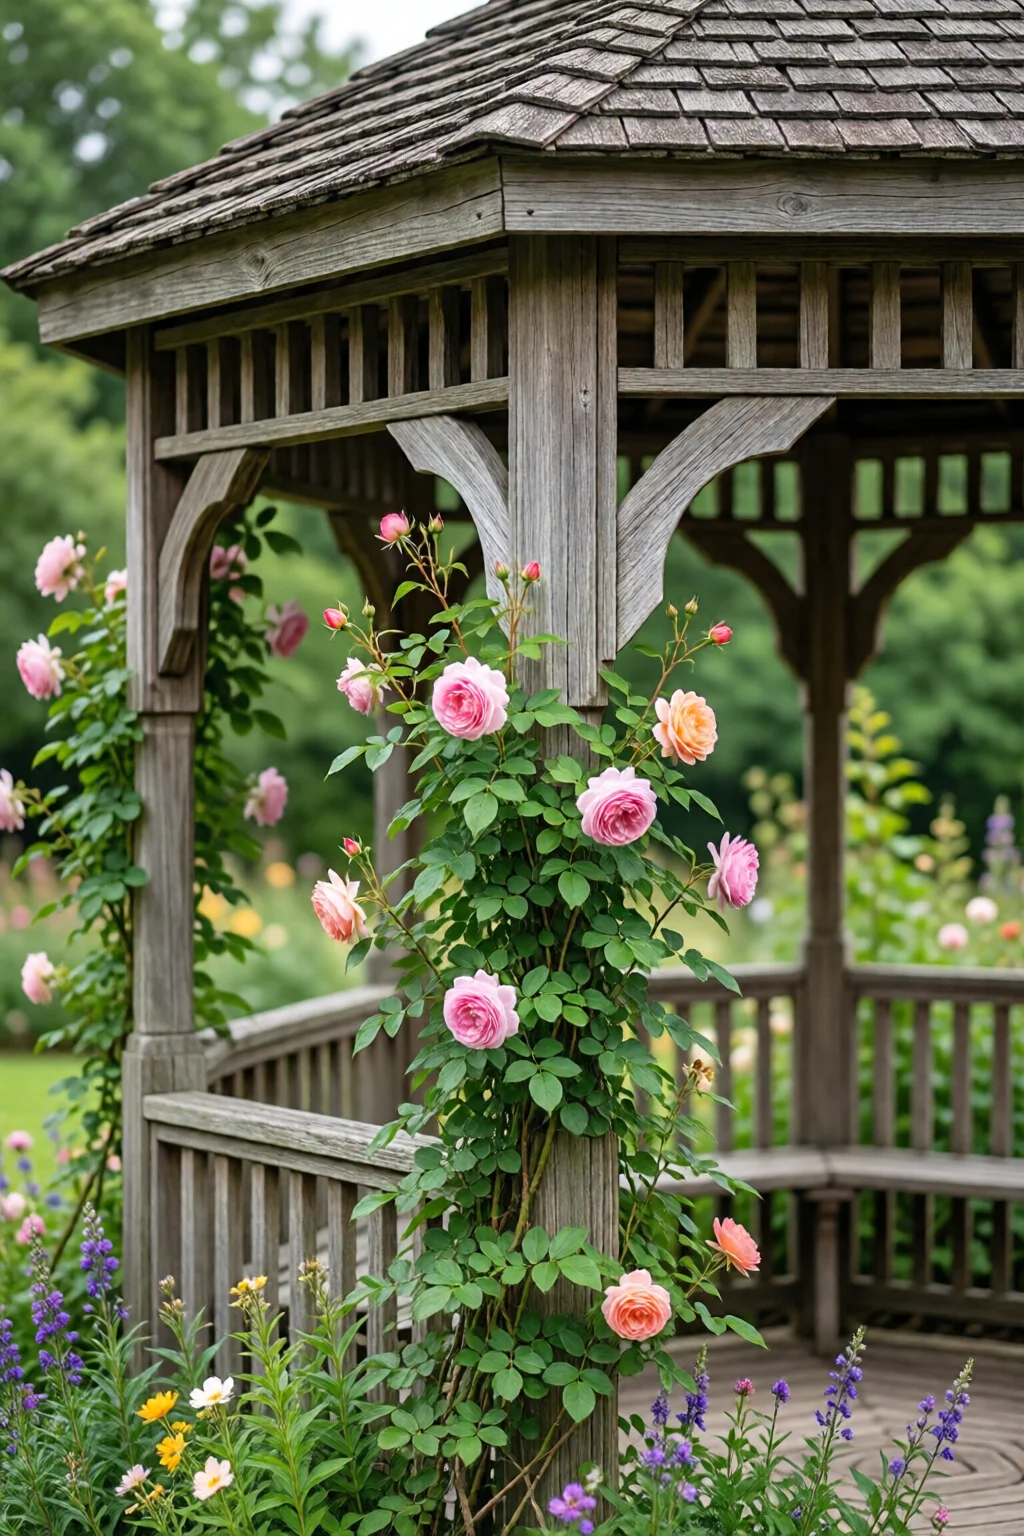
One mistake I see often is choosing a design that clashes with the existing plant palette; a sleek metal gazebo looks out of place among a cottage garden of roses and lavender. Pair the material with complementary planting: climb a wisteria vine over a timber gazebo, or install a trellis of roses (see how to grow roses from cuttings) around a metal frame.
Step 3 – Secure the Necessary Permits
Contact your city’s building department; most require a site plan showing setbacks and dimensions. If your gazebo exceeds 120 sq ft, you may need to submit structural calculations. For DIY kits, the paperwork is usually simple: a completed Permit Application Form, a copy of the manufacturer’s specifications, and a $80 fee.
Allow 1–2 weeks for approval. While you wait, prep the site—clear debris, level the ground, and mark post locations.
Step 4 – Prepare the Foundation
Concrete footings are the most durable option. Dig 12‑inch‑wide holes 24 inches deep (or to frost line depth in colder climates). Place 6 inches of gravel at the bottom, then pour a 4‑inch‑thick concrete base, inserting a metal post anchor (e.g., Simpson Strong‑Tie anchor, $2.30 each). For a 10‑ft gazebo with four corners, you’ll need four anchors and roughly 2 bags of concrete per post—total cost under $30.
If you prefer a less permanent solution, use Trex T‑Blocks set on compacted sand; they’re removable and cost about $48 for a full set.
Step 5 – Assemble the Frame
- Lay out the bottom beams on the anchors, ensuring they are square (use a 3‑ft carpenter’s square). Fasten with ½‑inch galvanized lag bolts ($0.45 each).
- Erect the vertical posts, then attach the roof rafters using heavy‑duty steel brackets. For a pitched roof, a 30‑degree angle provides optimal runoff.
- Install roofing material: polycarbonate panels snap together, sealing with silicone sealant ($6 per tube). For a shingled look, use cedar shingles (30 per bundle, $22 each) and a roofing nail gun.
- Apply a water‑repellent sealant to all wood surfaces; a gallon of Thompson’s WaterSeal ($23) covers a 10‑ft gazebo.
Most kits can be assembled in a single weekend with two helpers. I’ve built a 12‑ft Sunset Gazebo in 16 hours, spending $1,320 total (including labor). The time savings compared with custom carpentry (often 3–5 days) is worth the modest price premium.
Step 6 – Add Finishing Touches
Lighting: wrap the perimeter with warm‑white LED rope lights (15 ft, $18) and hang a few solar lanterns (4 × $12) for ambience. Curtains: attach a tension rod to the interior frame and drape Sunbrella curtains; they block wind and provide privacy, reducing heat loss by up to 20 %.
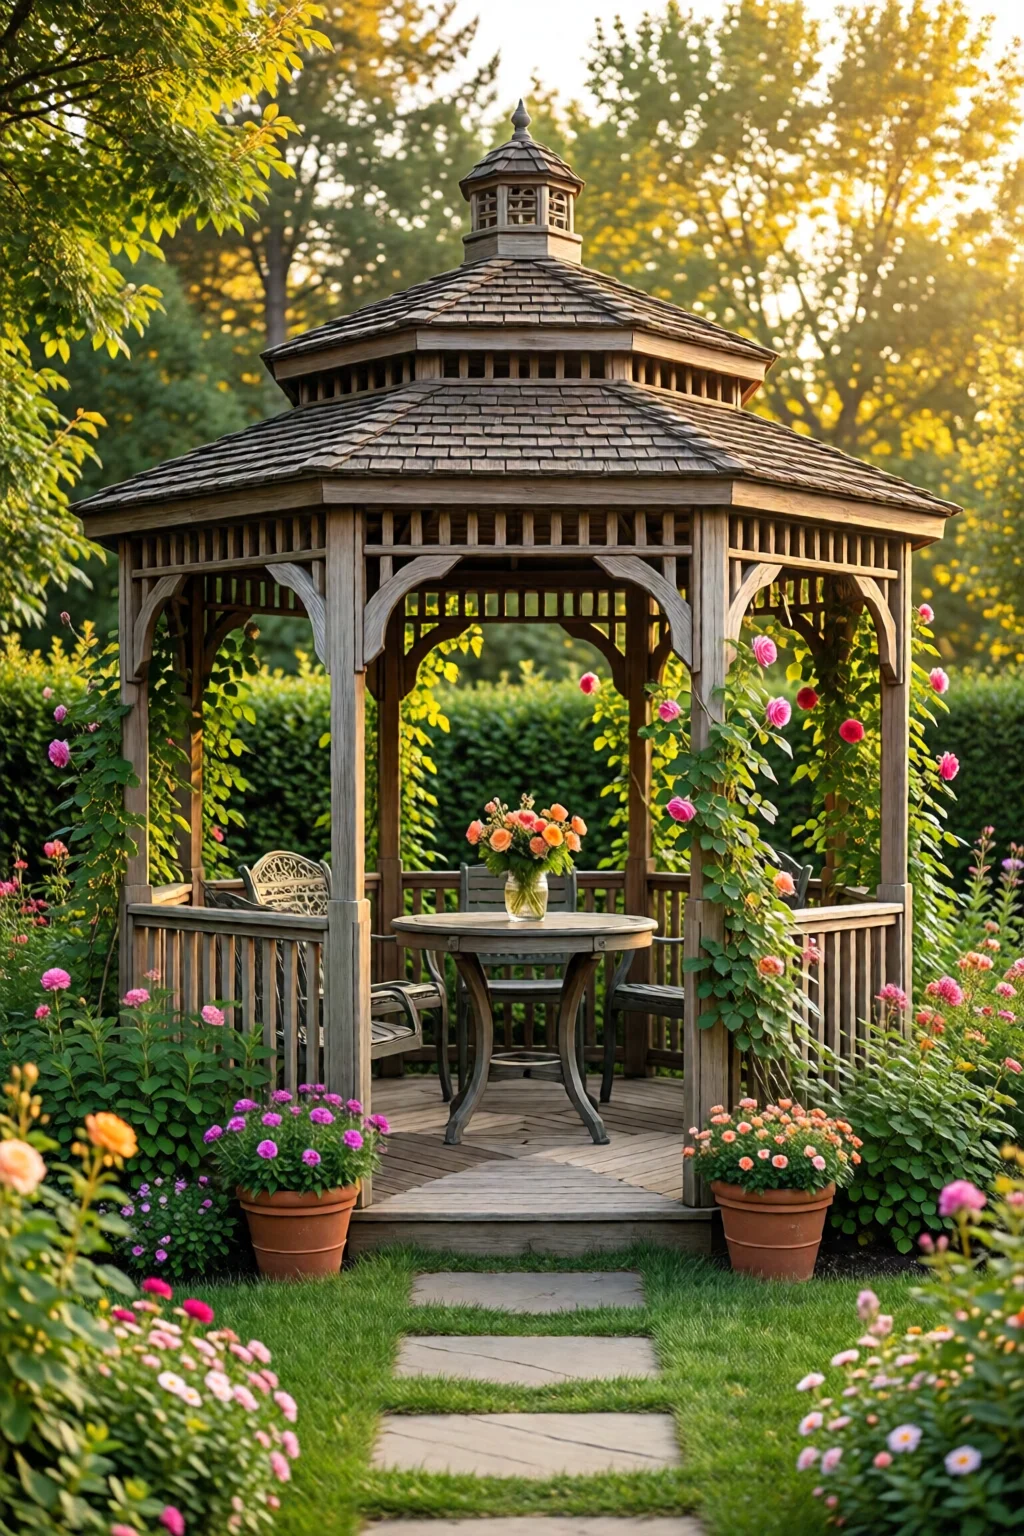
Furniture: a weather‑proof teak table (48 in × 30 in, $299) plus four IKEA ÄPPLARÖ chairs ($79 each) creates a functional dining area. Add a fire pit (propane, 36‑in diameter, $149) for cooler evenings.
Plant integration: place a low‑maintenance border of lavender (2 ft × 4 ft, $15 per plant) around the gazebo, and train climbing vines along the sides. This not only looks stunning but also improves privacy.
Common Mistakes to Avoid
- Ignoring soil drainage: Water pooling under the floor can rot wood. Always incorporate a 2‑inch gravel layer beneath the concrete footings.
- Oversizing without structural support: A 14‑ft gazebo needs extra bracing; using only corner posts can lead to sagging roofs.
- Choosing the wrong roofing material for climate: Polycarbonate is ideal for sunny regions but can become brittle in sub‑zero temperatures; in colder zones opt for metal roofing with a snow load rating of at least 30 lb/ft².
- Skipping permits: Fines range from $200 to $1,000, and you may be forced to dismantle the structure.
- Neglecting maintenance: Untreated wood should be resealed every 2 years; otherwise, rot can set in, reducing lifespan by up to 40 %.
Tips for Best Results (Troubleshooting)
Wind resistance: Install diagonal bracing between posts and rafters. A 2 × 4 brace every 4 ft can increase wind load capacity by 25 %.
Leveling the floor: Use a laser level; if the site is uneven, shim the bottom joists with pressure‑treated lumber shims (½‑inch thick, $0.30 each).
Preventing condensation: Add vent slots (2 in × 4 in) at the eaves; this improves airflow and reduces mildew on ceiling panels.
Electrical wiring: If you want built‑in lighting, run UF‑rated cable (12/2 AWG, $0.90 per foot) through conduit before sealing the roof. Always use a GFCI outlet (≈$12) for safety.
Extending lifespan: Apply a clear epoxy sealant on the roof panels every 5 years; it adds a UV‑blocking layer that can cut fading by 60 %.

Frequently Asked Questions
How much does a DIY garden gazebo typically cost?
A complete kit ranges from $850 for a basic canvas model to $2,200 for a premium cedar structure with a polycarbonate roof. Adding foundation work, lighting, and furniture usually brings the total to $1,200–$3,000, depending on material choices and local labor rates.
Do I need a building permit for a gazebo?
Most U.S. municipalities require a permit for structures larger than 8 ft × 8 ft or taller than 10 ft. Check with your city’s planning department; the application fee is usually $45–$120 and the process takes 1–2 weeks.
What foundation is best for a permanent gazebo?
Concrete footings with embedded post anchors provide the most stability and are recommended for gazebos over 10 ft in diameter. For temporary or seasonal use, deck blocks or pressure‑treated wood sleepers on compacted gravel work well and cost under $100 for a full set.
Can I add electricity for lights and fans?
Yes. Run UF‑rated cable through conduit before closing the roof, install a GFCI‑protected outlet, and use low‑voltage LED fixtures. If you’re not comfortable with wiring, hire a licensed electrician; the job typically costs $150–$250.
How do I protect my gazebo from the elements?
Seal all wood with a water‑repellent finish, apply UV‑blocking coating to polycarbonate roofs, and add side curtains or lattice to block wind. Regular maintenance—re‑sealing every 2 years and cleaning roof panels twice a year—keeps the structure looking fresh for 15 + years.
Summary
With thoughtful planning, the right materials, and a few pro tips, you can turn garden gazebo ideas and designs into a functional, beautiful retreat that adds value to your property. Whether you choose a classic cedar pavilion, a sleek metal‑and‑glass modernist, or a breezy canvas canopy, the steps above will guide you from concept to completion. Remember to respect local codes, lay a solid foundation, and protect your investment with regular maintenance. In no time you’ll be sipping tea under the shade of your own handcrafted oasis.
1 réflexion au sujet de « Garden Gazebo Ideas And Designs – Everything You Need to Know »