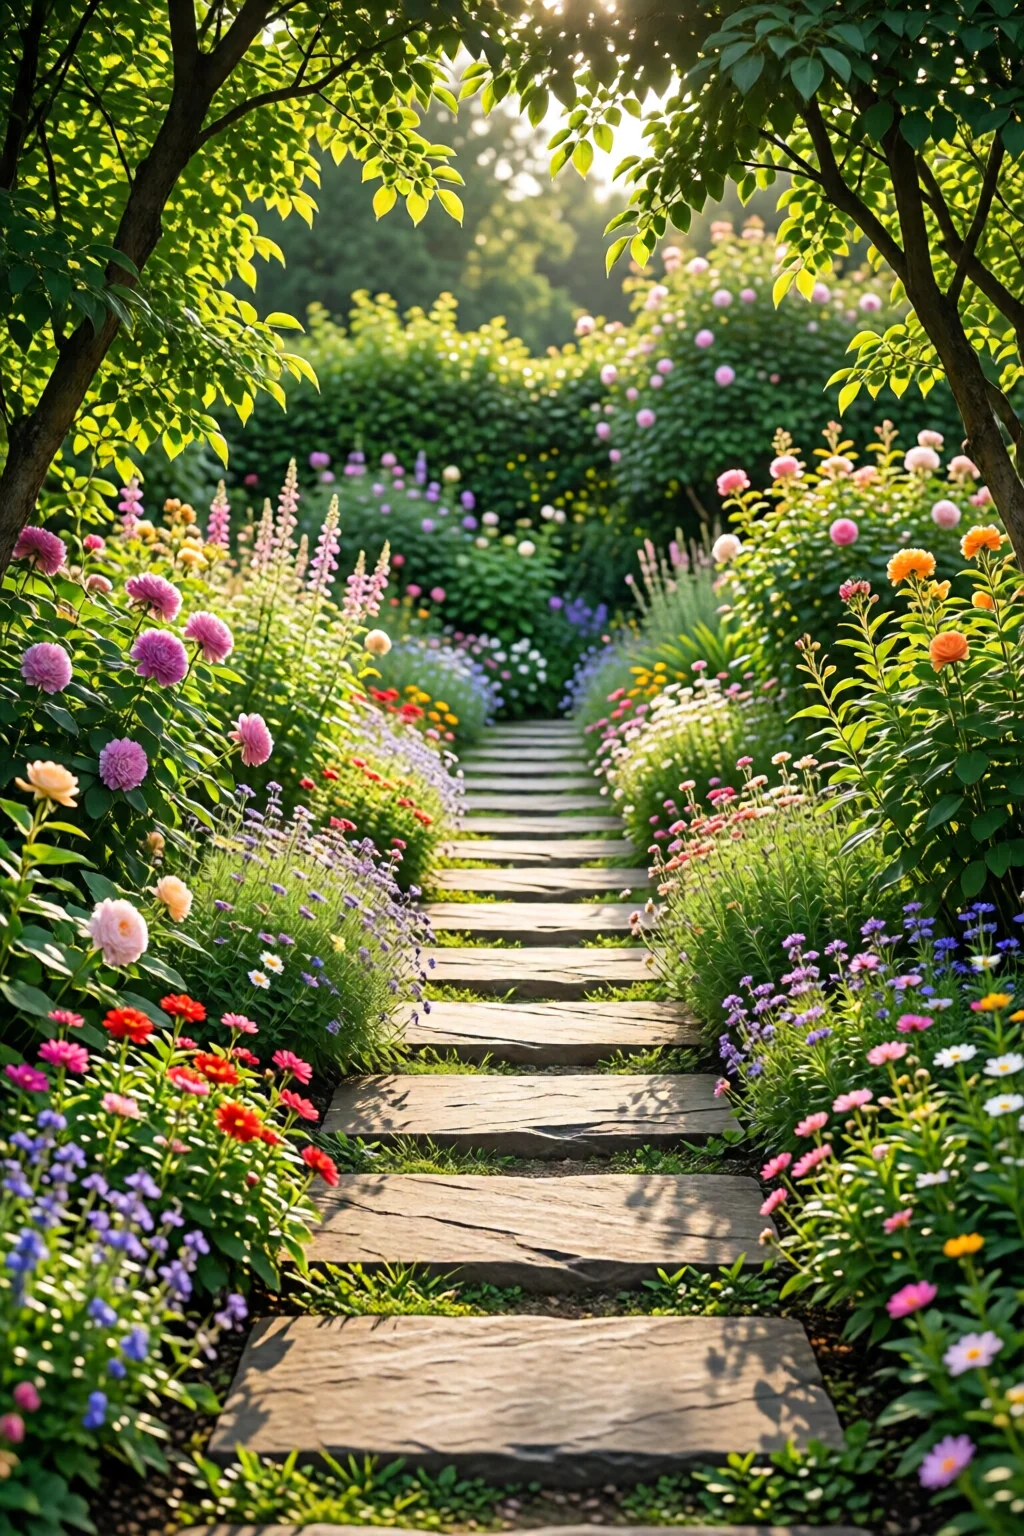
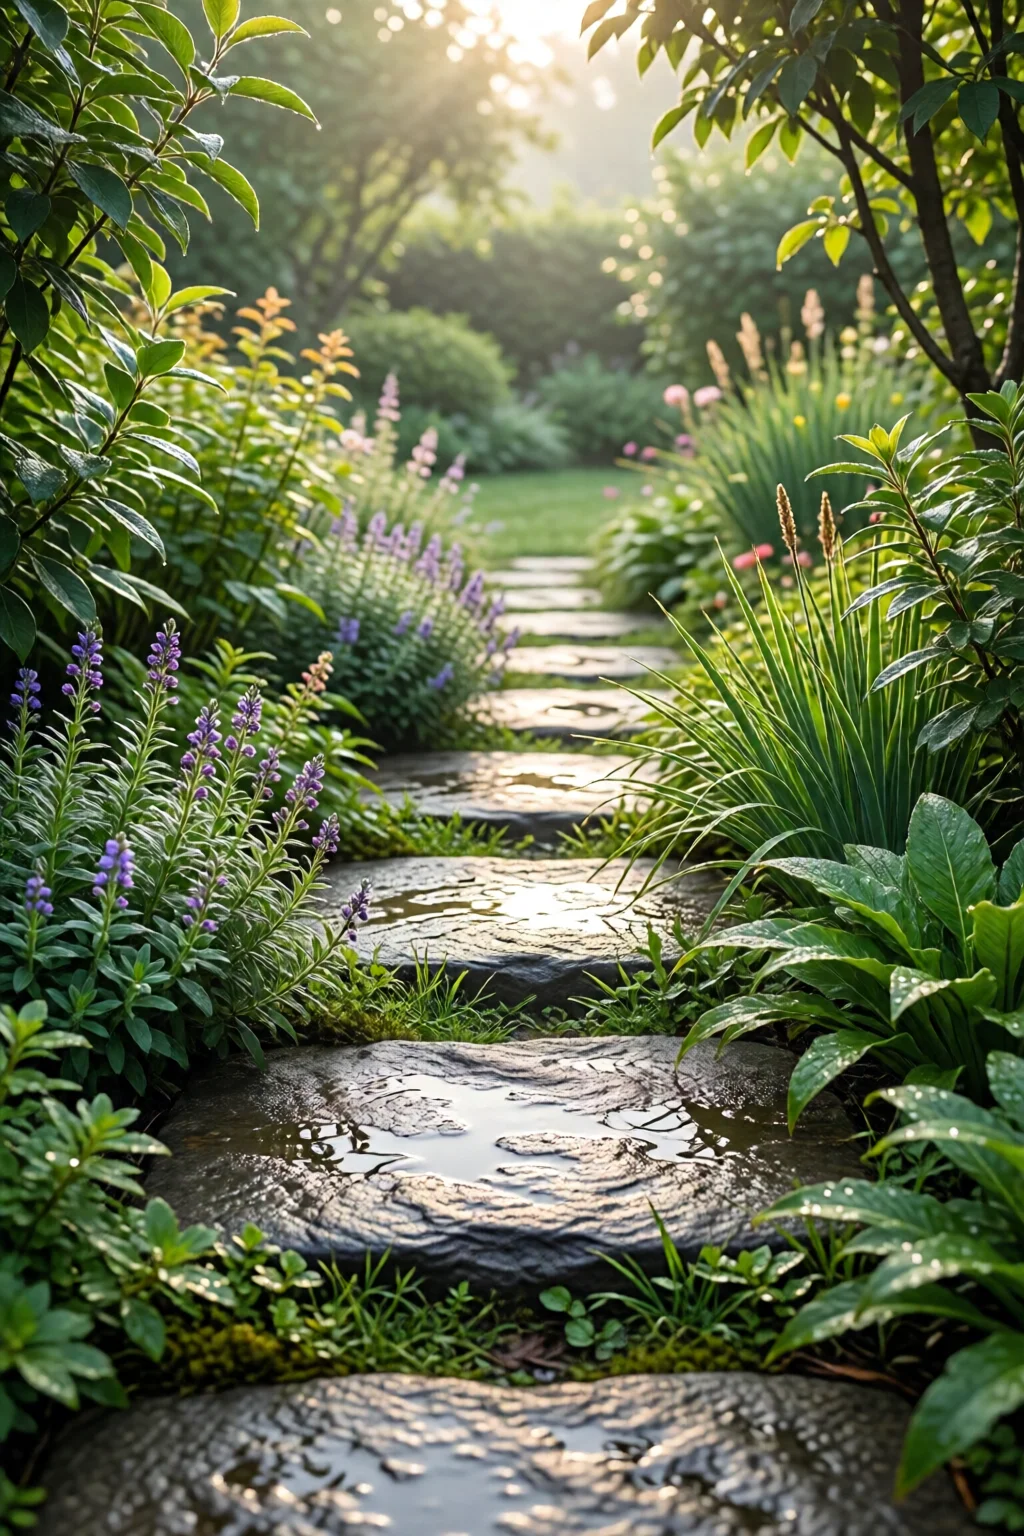
Imagine stepping out onto a sun‑warmed stone that feels just right beneath your feet, guiding you from the back door to the rose bed without a single tripping hazard. That’s the magic of a well‑planned garden pathway with stepping stones, and today I’m going to walk you through everything you need to create one that looks polished, lasts for years, and fits your budget.
In This Article
- What You Will Need (Before You Start)
- Step 1 – Choose the Path Layout
- Step 2 – Prepare the Ground
- Step 3 – Lay the Base Layer
- Step 4 – Position the Stepping Stones
- Step 5 – Secure the Edges
- Step 6 – Fill the Gaps and Finish
- Common Mistakes to Avoid
- Tips for Best Results (Troubleshooting)
- Budgeting and Timeframe
- Adding Personality to Your Pathway
- Summary
What You Will Need (Before You Start)
- Stepping stones: I prefer the 12 × 12 in. “Graceful Stone” pavers from Home Depot ($12.99 each). For a more rustic look, try the “River Rock” set from Lowe’s ($9.49 each, 10 × 10 in.).
- Base material: Coarse river gravel (½‑inch × ½‑inch) – about 2 cu ft per 10 ft of path, roughly $30 per bag.
- Landscape fabric: Scotts Weed‑Block fabric, $0.75 per sq ft, to keep weeds at bay.
- Edge restraints: Galvanized steel edging strips (10 ft, $8) or flexible plastic edging ($5 per 10 ft roll).
- Tools: Shovel, rubber mallet, level, measuring tape, garden hose, and a hand tamper (or a plate compactor for larger jobs).
- Optional decorative touches: LED strip lights (e.g., Philips Hue Outdoor Lightstrip, $39), low‑profile mulch (e.g., Scotts Pebble‑Lite, $45 per 50‑lb bag), and a few border plants.
Before you even break ground, sketch a quick layout on graph paper. One square equals one foot; this visual aid helps you see spacing, curves, and where the stones will land. In my experience, a simple 1‑inch gap between stones works best for drainage and weed control.
Step 1 – Choose the Path Layout
Start by deciding whether you want a straight line, a gentle “S” curve, or a more free‑form meander. Curves feel natural and hide any unevenness in the ground. Measure the total length; a typical garden walkway ranges from 8 ft to 20 ft. For a 12‑ft path using 12‑in. stones, you’ll need about 12 stones (allowing a 1‑in. gap). Mark the intended line with a garden hose or string; this is your guide.
Step 2 – Prepare the Ground
Excavate a trench 4‑in. deep and 12‑in. wide (for 12‑in. stones). For a 12‑ft path, you’ll remove roughly 0.33 cu ft of soil per foot, about 4 cu ft total. Remove any grass or roots, then lay down the landscape fabric to suppress weeds. I always overlap the fabric edges by 6 in. and secure them with staples.
Step 3 – Lay the Base Layer
Spread a 2‑in. layer of coarse river gravel over the fabric. Use a hand tamper to compact it firmly; a compacted base prevents stones from sinking later. If you have a plate compactor, a single pass across the length will save time. Test the level with a long carpenter’s level – the surface should be even within ±¼ in.
Step 4 – Position the Stepping Stones
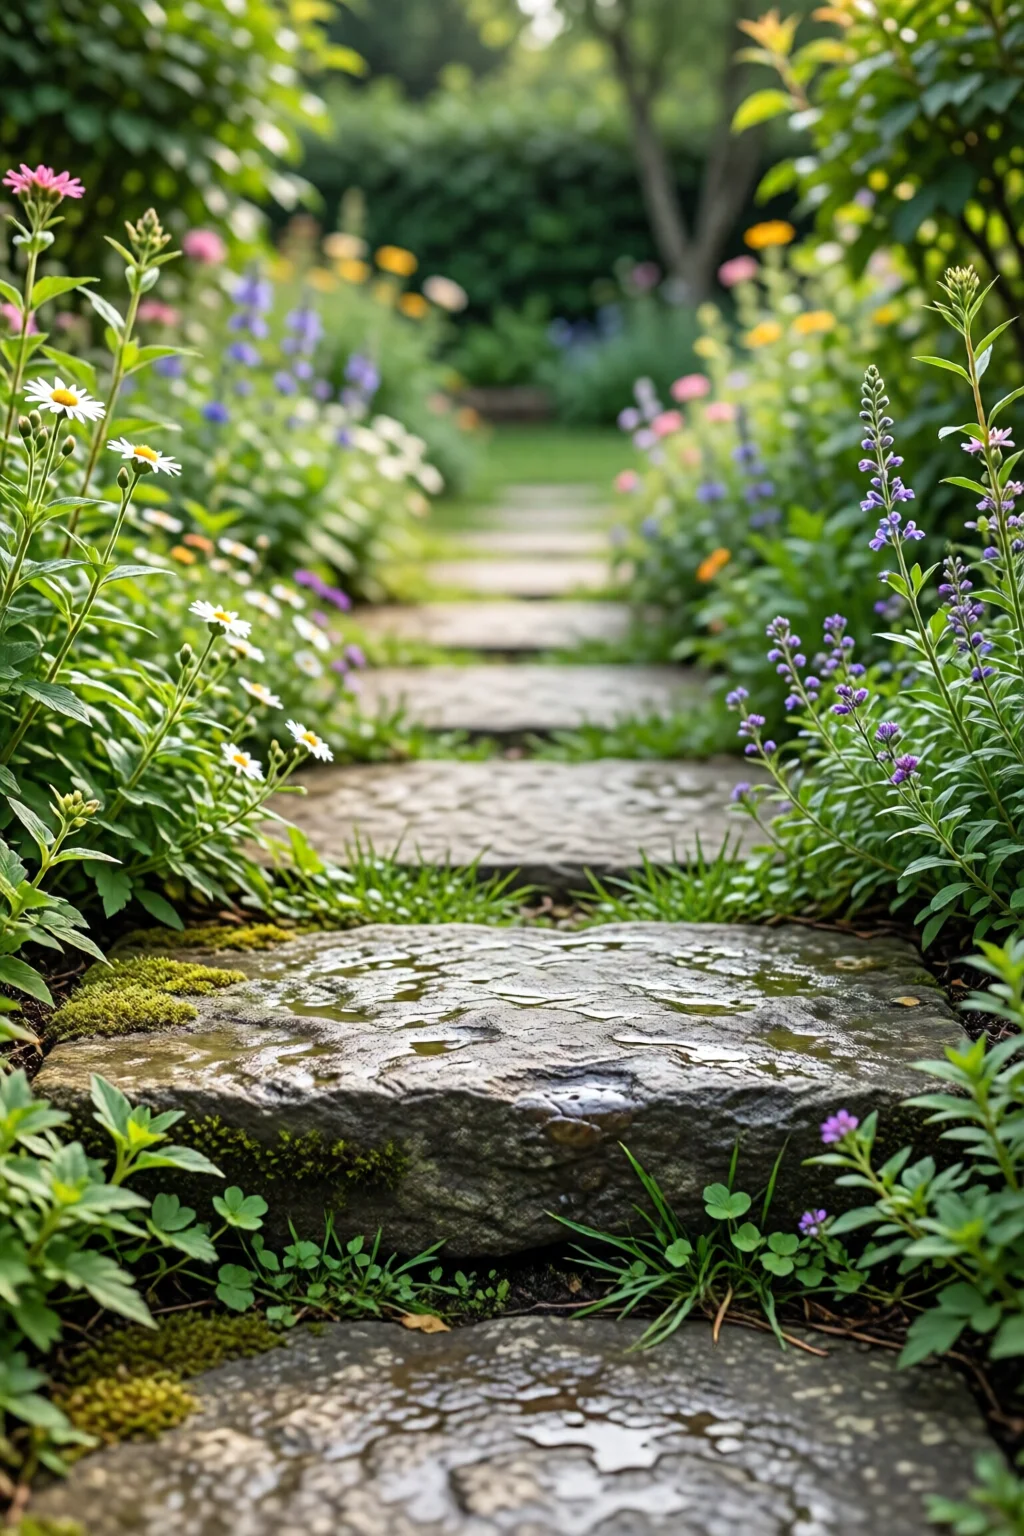
Place each stone on the compacted gravel, aligning them with your string guide. Leave a 1‑in. gap for mulch or sand to fill later. Tap each stone gently with a rubber mallet until it sits flush with the surrounding gravel. In my projects, I’ve found that a slight “lip” (½‑in. higher on the outer edge) helps water run off the path, reducing erosion.
Step 5 – Secure the Edges
Install the galvanized steel edging or plastic edging directly against the outermost stones. This step keeps the stones from shifting and defines the pathway’s shape. Secure the edging with landscape staples (usually three per 2‑ft section). For a seamless look, snap a thin strip of metal edging into the gaps between stones.
Step 6 – Fill the Gaps and Finish
Mix a blend of sand and fine gravel (50/50) and sweep it into the 1‑in. gaps. Lightly mist the area with a garden hose to settle the material, then re‑sweep any excess. Finally, add a thin layer (about ½‑in.) of mulch or pebble‑lite for a soft, natural finish. If you love a night‑time ambience, tuck Philips Hue Outdoor Lightstrip along the edges – see my garden lighting ideas for night for more inspiration.
Common Mistakes to Avoid
- Skipping the base layer: Without gravel, stones settle unevenly, leading to an uneven walk.
- Using too much sand in gaps: Sand washes away with rain. A sand‑and‑gravel mix stays put.
- Placing stones too close: A ½‑in. gap looks tidy but doesn’t allow drainage; aim for 1 in.
- Ignoring slope: Even a 2% slope helps water run off the path rather than pooling.
- Choosing the wrong stone size: Oversized stones (over 18 in.) become tripping hazards; stay under 12 in. for comfort.
Tips for Best Results (Troubleshooting)
Water pooling? Add a slight crown to the center of each stone (≈¼ in.) to direct water to the sides.
Weeds breaking through? Ensure the landscape fabric overlaps at seams and that the gap filler is compacted well. A thin layer of pre‑emergent herbicide can be applied before laying the stones.
Stones shifting after heavy rain? Re‑compact the base gravel and consider adding a geotextile mesh under the fabric for extra stability.
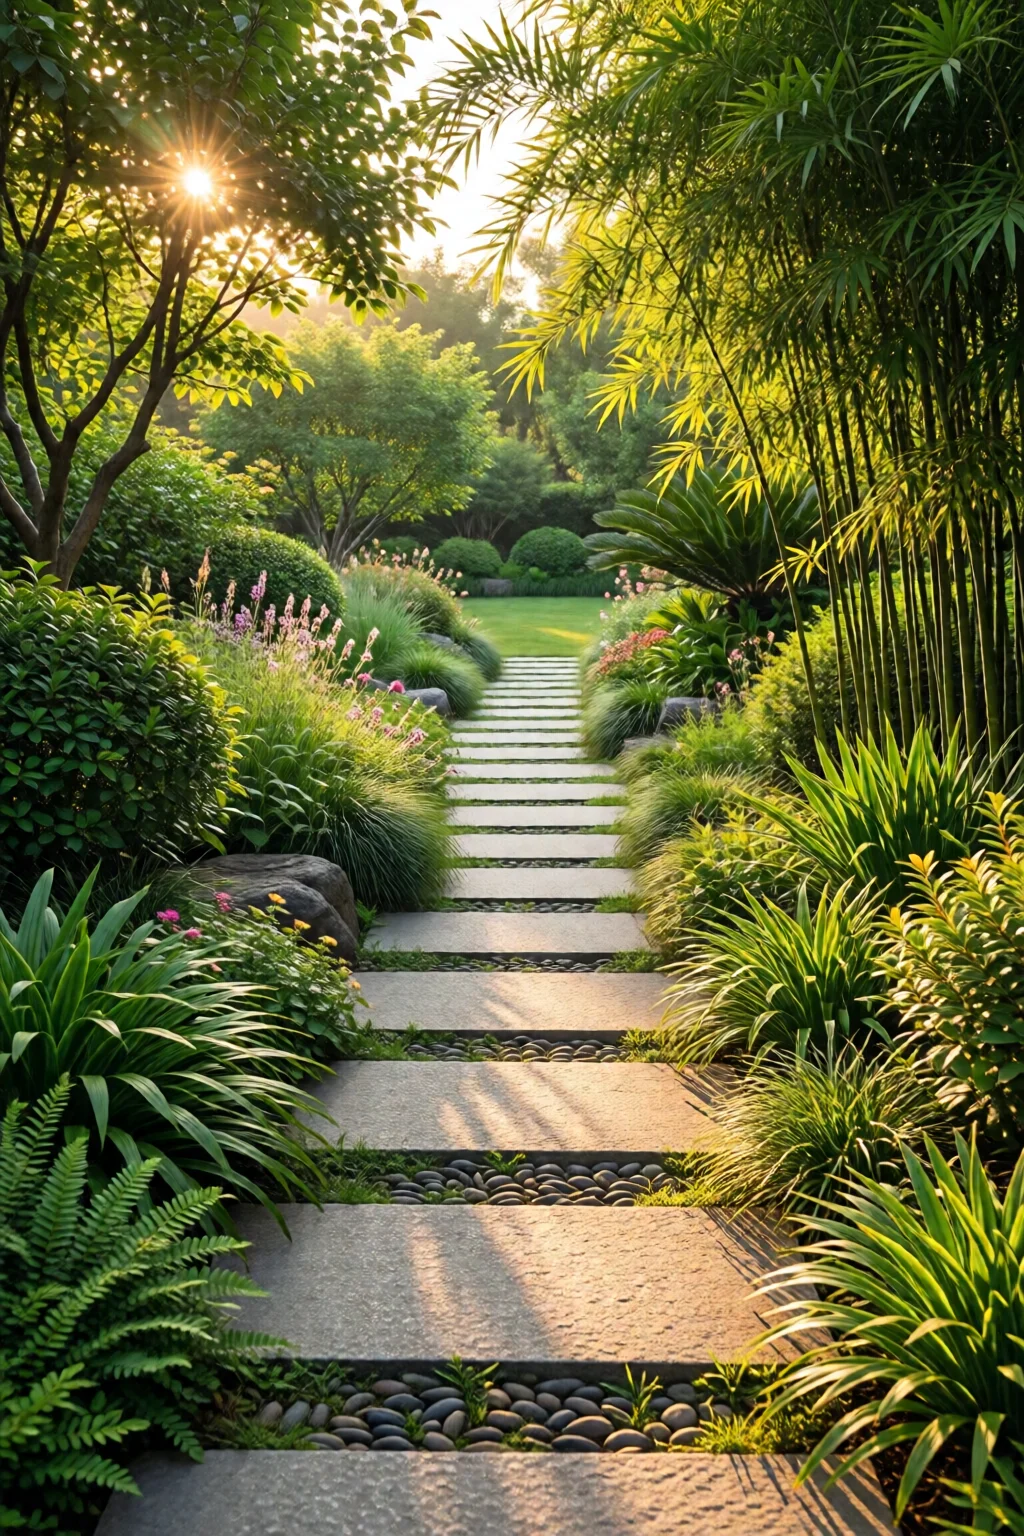
Want a themed look? Pair your pathway with japanese garden ideas for small spaces – use smooth river stones, low‑grow moss, and bamboo edging for an authentic feel.
Budgeting and Timeframe
A typical 12‑ft garden pathway using mid‑range stepping stones runs about $150–$200 total:
- Stepping stones (12 × 12 in.): 12 × $12.99 = $155.88
- Gravel (2 bags @ $30): $60
- Landscape fabric (150 sq ft @ $0.75): $112.50
- Edge restraints (steel edging 10 ft @ $8): $8
- Tools (if you need to purchase): $40–$80 for a basic kit
With a small crew (or just you and a friend), the project can be completed in one weekend – roughly 6 hours of work, plus a few hours for site prep and cleanup.
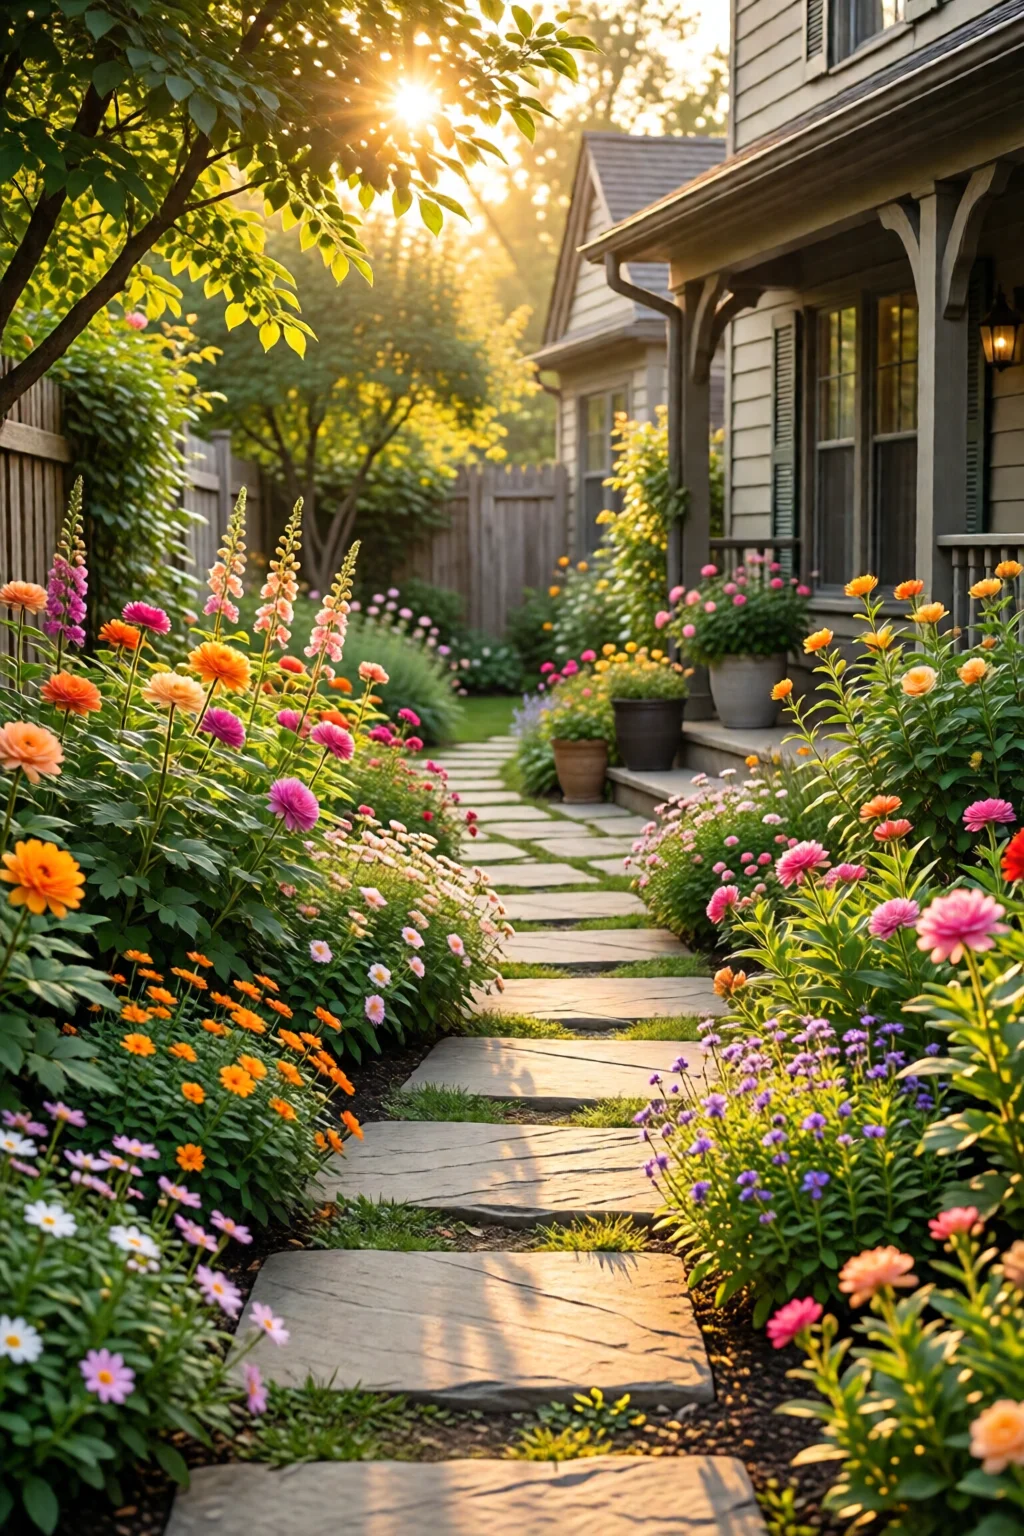
Adding Personality to Your Pathway
Consider these finishing touches to make your garden pathway truly yours:
- Embedded LED lights: Small waterproof lights set into the stone tops create a subtle glow.
- Border plants: Low‑growing lavender or creeping thyme fill the edges, offering scent and color.
- Artistic inlays: Mosaic tiles or reclaimed glass pieces set into a few stones add visual interest.
- Seasonal décor: Place a few potted herbs from my how to grow herbs at home outdoors guide along the pathway for culinary convenience.
Summary
Creating a garden pathway with stepping stones is a rewarding DIY project that blends function and beauty. By planning your layout, preparing a solid base, choosing the right stones, and paying attention to drainage, you’ll end up with a walkway that feels like a natural extension of your garden. Avoid common pitfalls like skipping the gravel base or using too little gap filler, and you’ll enjoy a low‑maintenance path for years to come. Ready to start? Grab your materials, follow the steps, and watch your garden transform.
How far apart should stepping stones be placed?
A 1‑inch gap between stones works best for drainage and weed control. This spacing also allows you to fill the gaps with sand‑and‑gravel mix or mulch.
Can I use natural river rocks instead of manufactured pavers?
Yes, river rocks are great for a rustic look. Choose stones that are roughly 10‑12 in. across and have a relatively flat side to step on safely.
Do I need to level the ground before laying the stones?
Absolutely. A level base prevents stones from shifting. Use a long carpenter’s level and a tamper to achieve a surface even within ±¼ in.
How much does a typical 12‑ft stepping stone path cost?
For mid‑range materials, expect to spend between $150 and $200, including stones, gravel, fabric, edging, and any optional lighting.
What maintenance is required for a stepping stone pathway?
Periodically sweep out debris, re‑compact the gaps with sand‑and‑gravel mix after heavy rain, and replace any displaced stones. A yearly weed check around the edges keeps the path looking tidy.
1 réflexion au sujet de « Garden Pathway Ideas With Stepping Stones – Your Complete Resource »