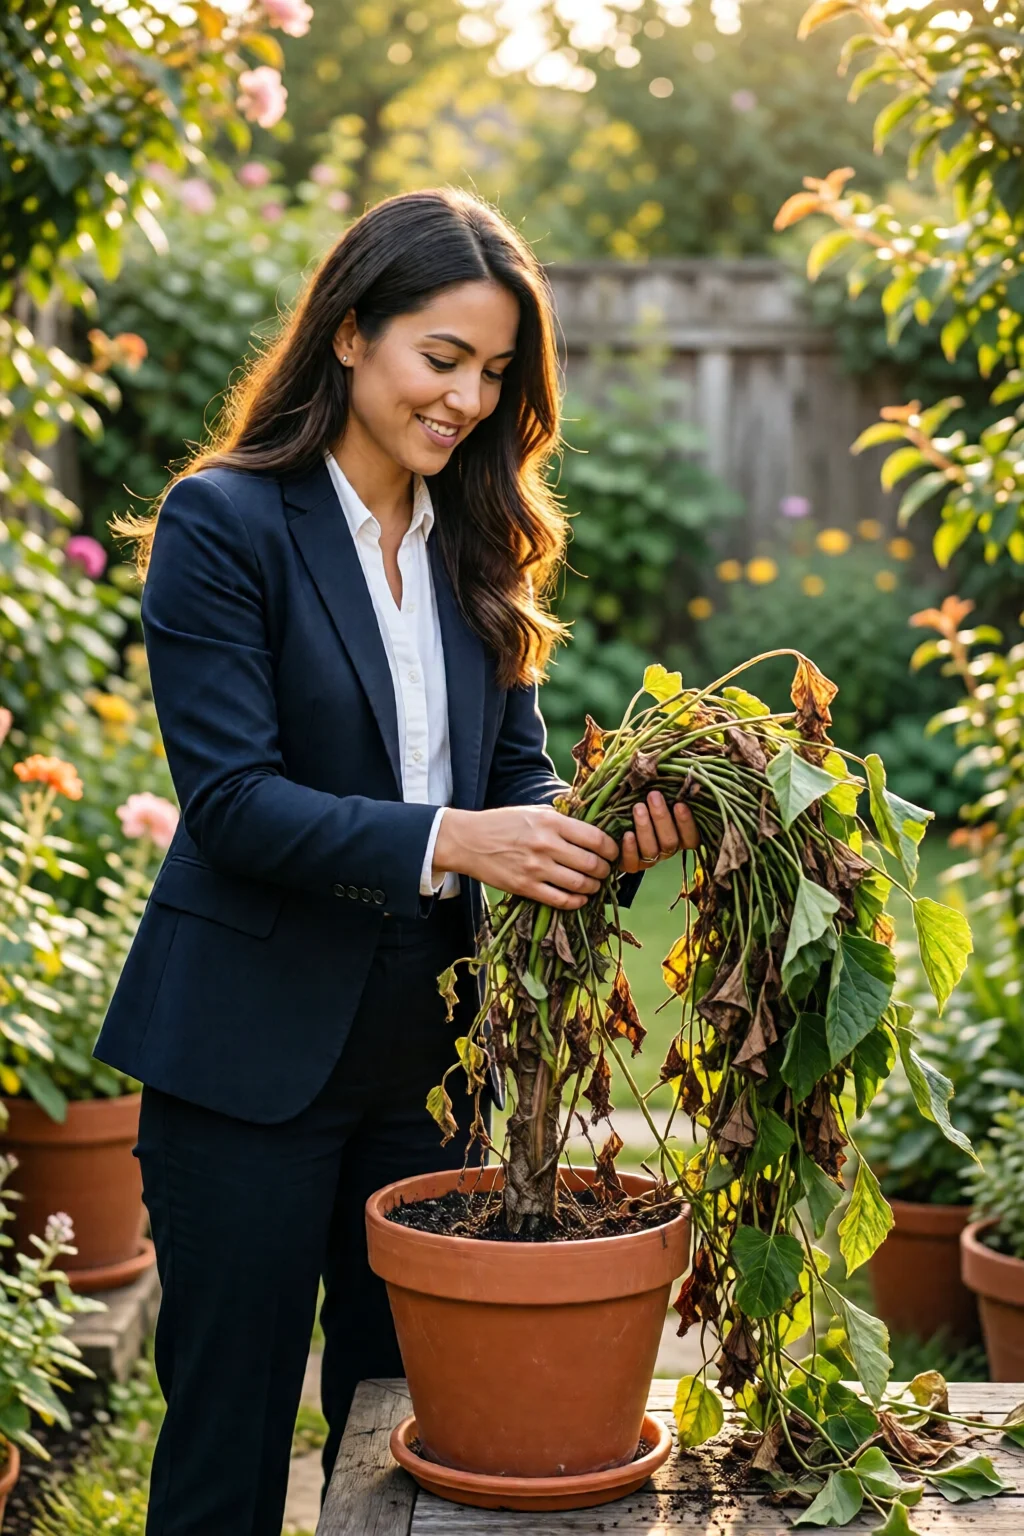
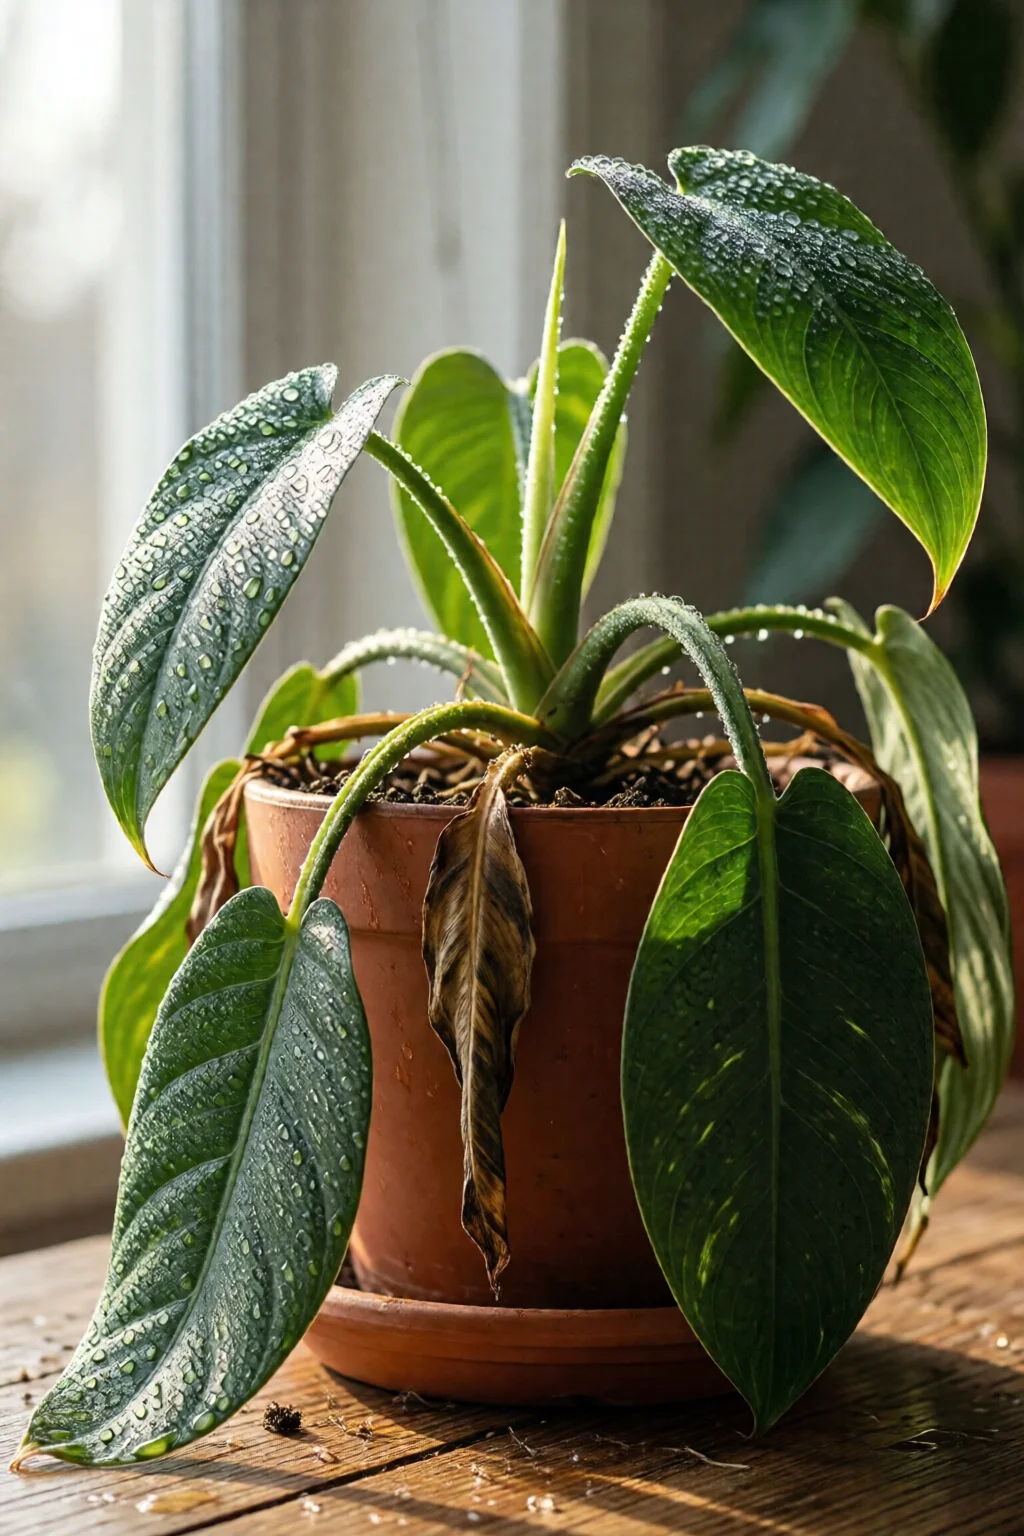
Bring your wilted green friend back to life—learn exactly how to revive a dying indoor plant with proven steps, tools, and a dash of garden wisdom.
In This Article
- What You Will Need (Before You Start)
- Step 1: Diagnose the Real Problem
- Step 2: Adjust Watering Practices
- Step 3: Improve Soil Drainage
- Step 4: Repot with Care
- Step 5: Optimize Light and Humidity
- Step 6: Feed Wisely
- Common Mistakes to Avoid
- Troubleshooting & Tips for Best Results
- Summary & Conclusion
- Frequently Asked Questions
What You Will Need (Before You Start)
Gather these items so you’re not scrambling mid‑rescue:
- Watering can with a long spout – a 1‑liter Fiskars 1 L can costs about $14.99.
- Root‑testing probe or a clean screwdriver – a 12‑in flathead screwdriver ($6.49) works fine.
- Well‑draining potting mix – Miracle‑Gro Indoor Potting Mix, 1 qt, $8.99.
- Perlite or coarse sand – 2 lb bag of Espoma Perlite ($5.99).
- Fertilizer – a balanced 20‑20‑20 water‑soluble formula like Jack’s Classic 1‑L ($12.49).
- Pruning scissors – Fiskars 1‑8 in. Pruners, $9.99.
- Humidity tray or pebble tray – a shallow tray (30 × 30 cm) with pebbles, DIY for under $5.
- Thermometer and hygrometer combo – ACRUX 2‑in‑1, $19.99.
Having these on hand saves you from the “I need a drill” panic when you discover root rot.
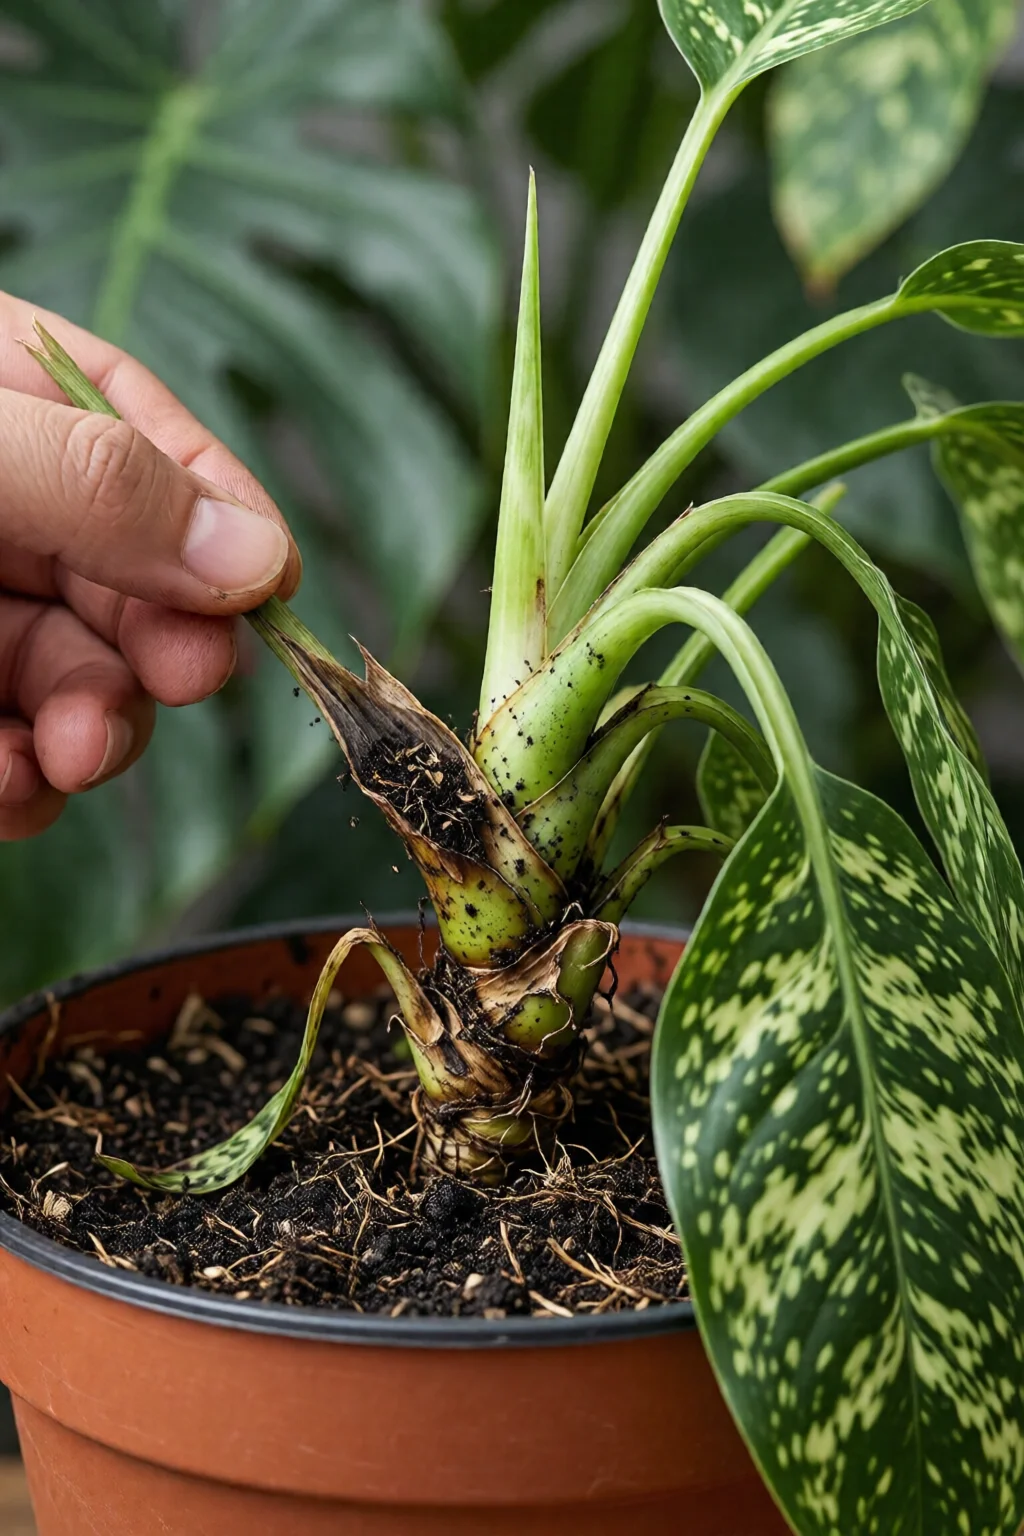
Step 1: Diagnose the Real Problem
Before you water, over‑water, or repot, take a forensic look at the plant:
- Leaves – Yellowing edges often signal nitrogen deficiency; brown tips point to low humidity or salt buildup.
- Stem – A soft, mushy stem is classic root rot.
- Soil – If it feels soggy after 15 minutes of standing, drainage is insufficient.
- Roots – Gently loosen the plant from its pot. Healthy roots are white and firm; brown, foul‑smelling roots are dead.
In my experience, the most common misdiagnosis is “just water it more,” which actually worsens fungal infections.
Step 2: Adjust Watering Practices
Water is the lifeblood, but too much is a toxin. Follow these numbers:
- Check moisture – Insert a screwdriver 2 inches deep; if it comes out clean, the soil is dry.
- Water amount – For a 10‑cm pot, give about 150 ml (½ cup) of water until it drains out the bottom.
- Frequency – Most indoor foliage thrives on a 7‑day schedule in 20‑22 °C (68‑72 °F) rooms. Adjust to every 4‑5 days during winter when heating dries air.
Use a NETGEAR Smart Watering Sensor ($29.99) to automate reminders.
Step 3: Improve Soil Drainage
Even the best potting mix can become compacted. Mix 30 % perlite with your existing soil. For a 5‑liter bag, add 1.5 liters of perlite. This creates air pockets that let excess water escape.
If the current pot has no drainage holes, drill two 5‑mm holes at the bottom. In my workshop, a 3‑mm drill bit works perfectly for ceramic pots.
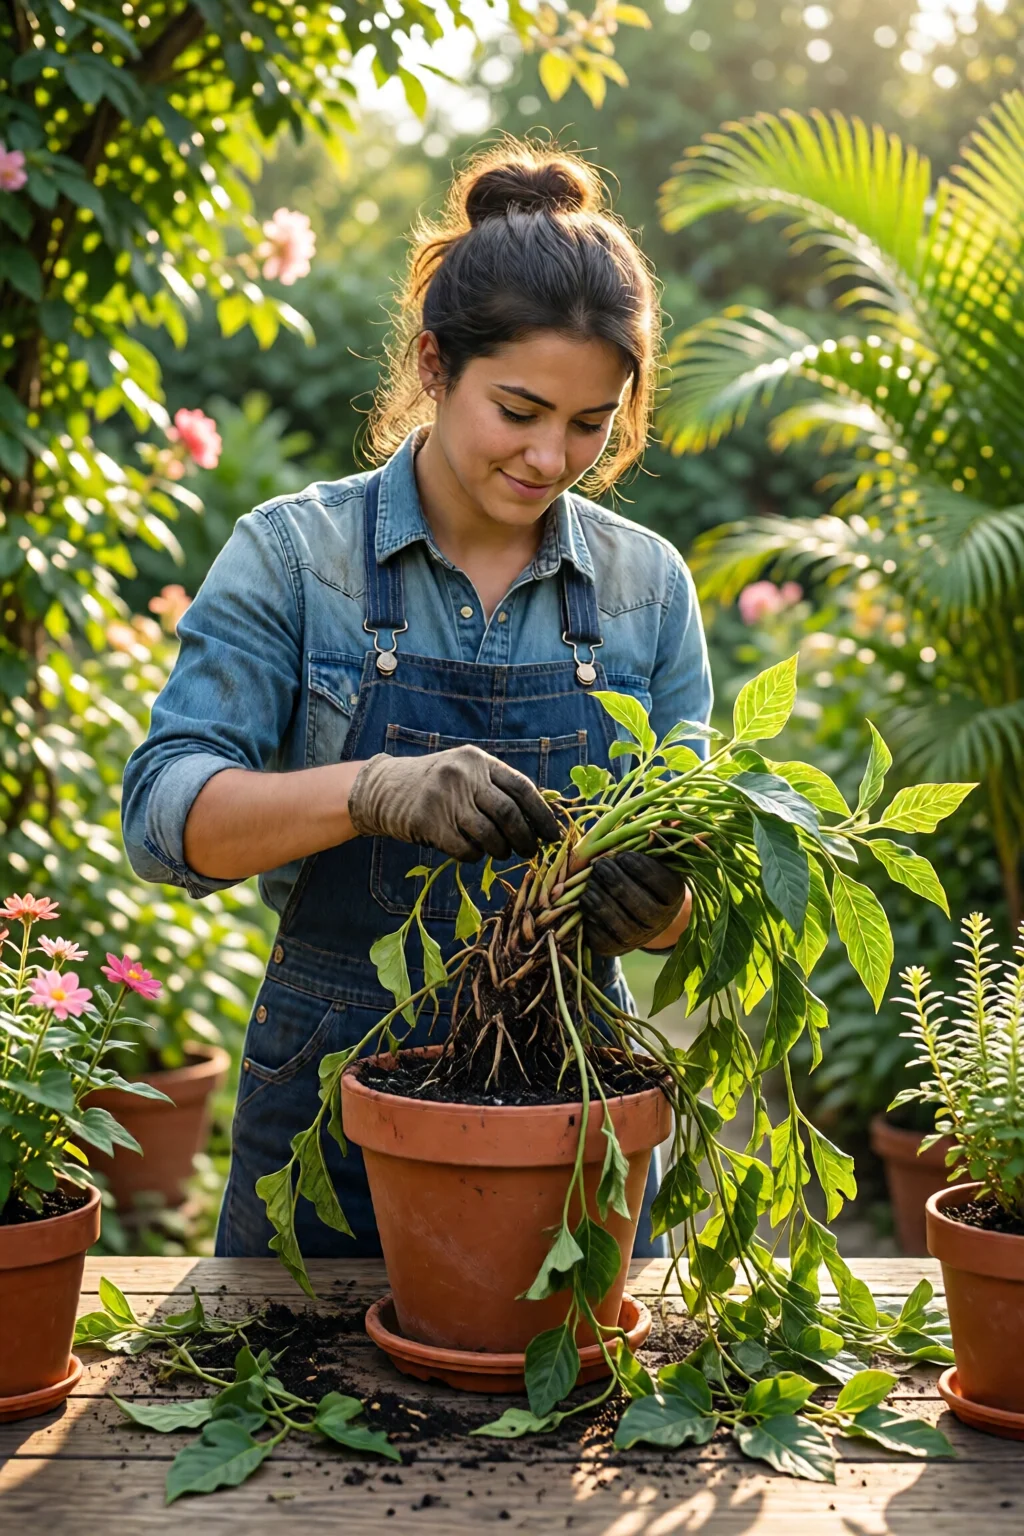
Step 4: Repot with Care
When you’ve confirmed root rot, trim away all brown, mushy roots with sterilized scissors. Cut back to healthy white tissue—usually about 1 cm from the tip.
Place a layer of fresh potting mix (≈2 cm) in the bottom of a clean pot that’s 2 cm larger in diameter than the old one. Position the plant, fill around it, and gently tap the sides to settle the soil.
Water lightly (≈100 ml) to settle the mix, then let the pot sit on a saucer for 15 minutes to allow excess to drain.
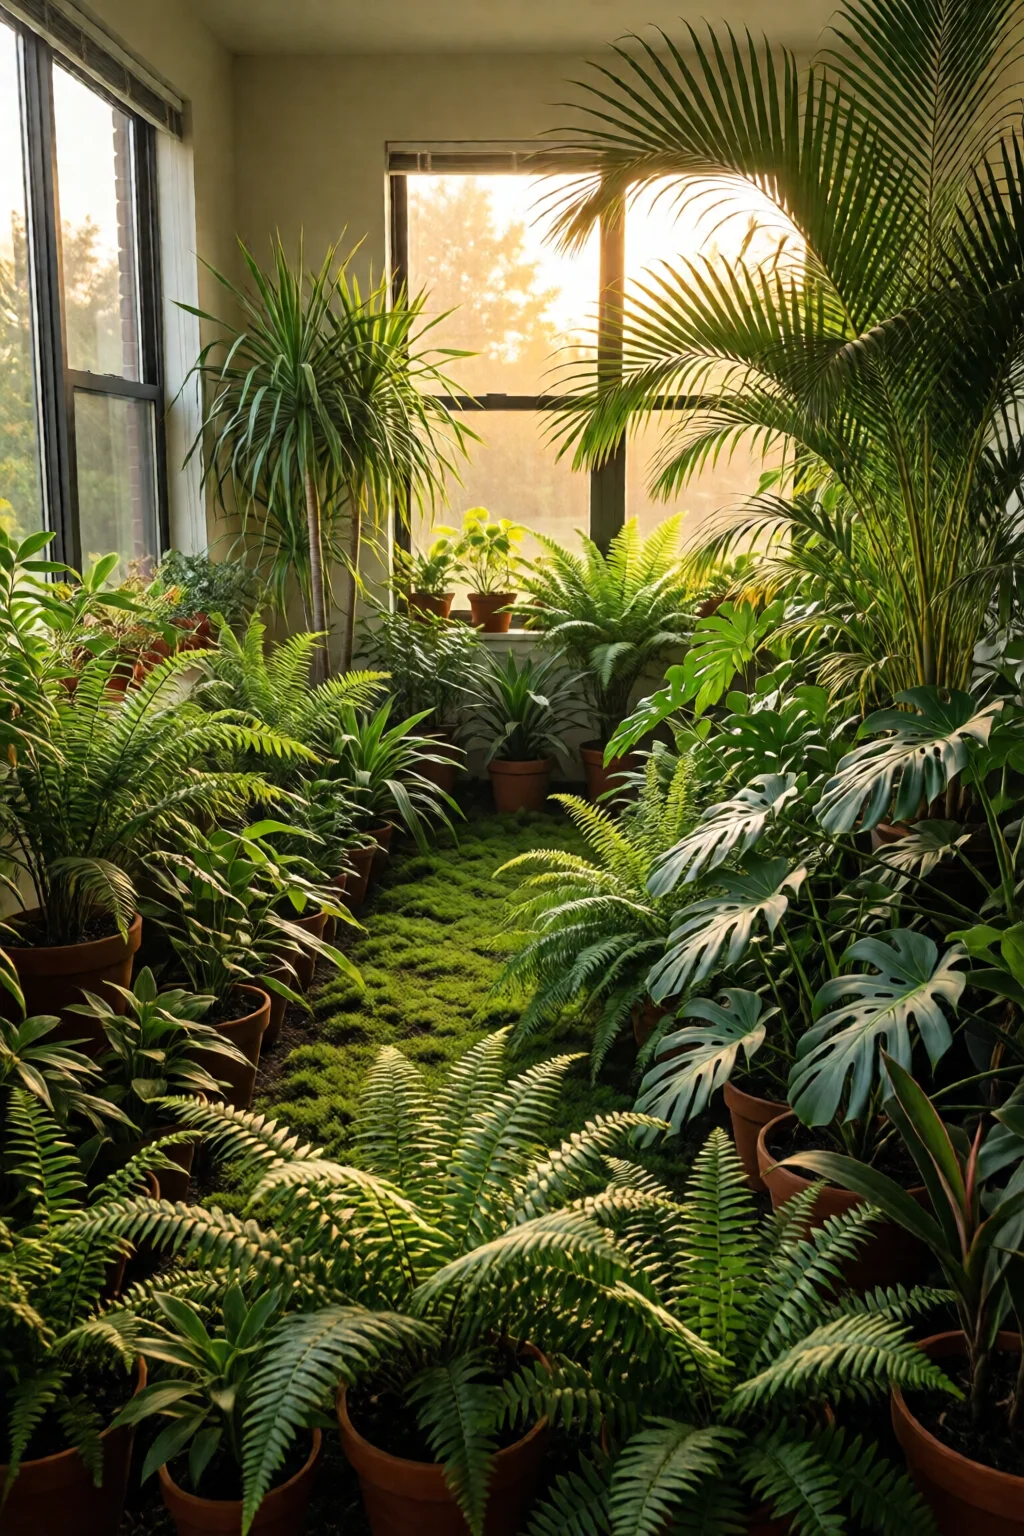
Step 5: Optimize Light and Humidity
Most indoor foliage prefers bright, indirect light—about 200‑400 µmol·m⁻²·s⁻¹. Place the plant near an east‑facing window or use a Roleadro LED grow light set to 12 hours per day (≈$34.99).
Maintain humidity between 45‑60 %. A pebble tray filled with 2 cm of water can raise humidity by roughly 10 % in a 2‑m² room. For larger spaces, a TaoTronics 2‑L humidifier ($39.99) does the trick.
Step 6: Feed Wisely
After repotting, wait two weeks before fertilizing. Then apply a diluted ¼‑strength solution of the 20‑20‑20 fertilizer every 4 weeks. For a 1‑L bottle, that’s 2.5 ml per 1 L of water—roughly a half‑teaspoon per gallon.
If the plant is a succulent, switch to a low‑nitrogen, high‑phosphorus formula like General Hydroponics Cactus Plant Food ($9.99). Over‑feeding succulents leads to leggy growth and root rot.
Common Mistakes to Avoid
- Over‑watering based on “leaf droop” alone – Drooping can also mean low humidity.
- Using garden soil indoors – It compacts quickly and retains too much moisture.
- Neglecting to clean pot surfaces – Dust blocks stomata and encourages pests.
- Fertilizing too soon after repotting – Roots need time to recover; premature feeding burns them.
- Placing plants in direct afternoon sun – Scorching burns are irreversible.
One mistake I see often is stacking multiple plants in one large pot to “save space.” This creates competition for water and nutrients, accelerating decline.
Troubleshooting & Tips for Best Results
If after three weeks the plant still shows signs of stress, try these adjustments:
- Check pH – Indoor soils should sit at 6.0‑6.5. A simple test kit (Bluelab 2‑in‑1, $24.99) can pinpoint acidity.
- Increase airflow – A small oscillating fan on low (≈2 m s⁻¹) reduces fungal spores.
- Apply a preventive fungicide – A neem oil spray (2 ml per litre) works for most fungal issues.
- Rotate the plant – Turn it 90° every week for even light exposure.
- Monitor temperature spikes – Keep heating vents at least 30 cm away.
For a quick boost, a ½‑cup of coffee grounds mixed into the top inch of soil adds organic nitrogen without over‑feeding.
Remember, revival is a marathon, not a sprint. Patience plus the right data points—moisture, light, nutrients—will bring the plant back to vibrant health.
Summary & Conclusion
Reviving a dying indoor plant hinges on three pillars: accurate diagnosis, balanced water‑soil dynamics, and stable environmental conditions. By following the six steps—diagnose, adjust watering, improve drainage, repot, optimize light/humidity, and feed wisely—you give your green companion the best odds of recovery.
Keep a weekly log of moisture readings, light duration, and any leaf changes. Over time you’ll spot patterns and prevent future crises.
For more specific cases, check out our spider plant care and babies guide, explore the succulent care guide for indoors, or learn how to create indoor jungle aesthetic. Happy gardening!
Frequently Asked Questions
How often should I water a rescued indoor plant?
After repotting, water lightly once the top 2‑3 cm of soil feels dry—typically every 5‑7 days in a 20‑22 °C room. Adjust based on a moisture probe.
Can I use regular garden fertilizer on indoor plants?
No. Garden fertilizers are too strong and can burn roots. Use a balanced indoor formula like 20‑20‑20 or a low‑nitrogen mix for succulents.
What’s the best way to increase humidity without a humidifier?
Place a pebble tray filled with water beneath the pot, mist leaves daily, or group several plants together to create a micro‑climate.
How can I tell if root rot is irreversible?
If more than 50 % of the root mass is brown, mushy, and smells foul, the plant may not recover. Start with aggressive pruning and a sterile potting mix; if no improvement after 4 weeks, consider propagation.
Is it safe to use tap water for indoor plants?
Generally yes, but let tap water sit for 24 hours to allow chlorine to dissipate. For plants sensitive to salts, use filtered or rainwater.