Starting seeds indoors is one of the most rewarding steps you can take to ensure a bountiful garden season, especially for gardeners across the United States who want a head start on vegetables, herbs, and even flowers. By controlling the early growing environment, you can boost germination rates, produce stronger seedlings, and extend your growing season well beyond the typical frost dates. This step‑by‑step guide walks you through every detail—from planning the perfect seed‑starting space to transplanting vigorous seedlings into your garden beds—so you can feel confident and excited about each stage of the process.
Why Start Seeds Indoors?
Starting seeds indoors offers several distinct advantages that make the extra effort worthwhile:
- Earlier Harvests: Get a jump‑start on crops like tomatoes, peppers, and basil, allowing you to enjoy fresh produce weeks before outdoor planting is even possible.
- Better Control: Optimize temperature, light, and moisture levels, which reduces the risk of unpredictable weather, pests, and disease.
- Higher Success Rates: Many commercially produced seedlings are started under ideal conditions; replicating those conditions at home can dramatically improve your germination percentages.
- Space Efficiency: Using compact trays or a square foot gardening layout plan lets you grow a surprising number of plants in a small indoor area.
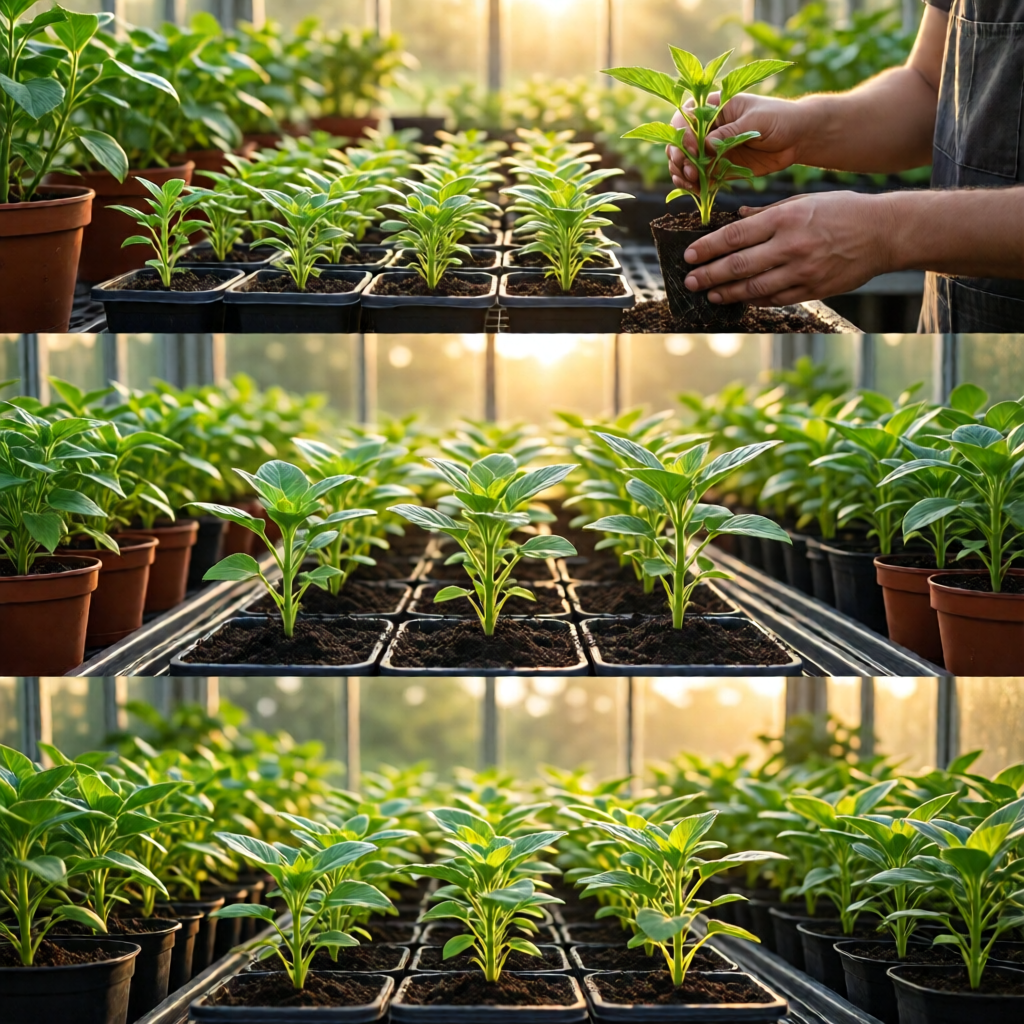
Step 1: Planning Your Seed‑Starting Space
The first decision is where you’ll set up your seed‑starting station. Choose a location that can accommodate a grow light or a sunny window, offers good airflow, and stays relatively stable in temperature. Common choices include a spare closet, a corner of the kitchen, or a dedicated grow tent.
When planning, consider the following factors:
- Light Availability: South‑facing windows can provide natural light, but most seedlings need 12–16 hours of bright light daily, which usually means supplemental grow lights.
- Temperature Consistency: Aim for a range of 65–75°F (18–24°C) for most vegetables. A small space heater or a seedling heat mat can help maintain warmth during colder weeks.
- Ventilation: Good air circulation prevents fungal diseases. A small fan set on low can provide a gentle breeze that mimics outdoor conditions.
- Accessibility: Arrange trays and shelves so you can easily reach each seedling for watering, feeding, and transplanting.
Step 2: Gathering Essential Supplies
Having the right tools on hand makes the seed‑starting process smoother and more enjoyable. Below is a checklist of must‑have items:
- Seed‑Starting Trays or Containers: Flat trays with cells, peat pots, or recycled yogurt cups work well. Ensure they have drainage holes.
- Seed‑Starting Mix: A sterile, lightweight mix (often peat‑based) promotes quick root development and reduces disease risk.
- Grow Lights: LED or fluorescent lights with a full‑spectrum output. Position them 2–4 inches above seedlings and adjust as they grow.
- Heat Mat: Especially useful for heat‑loving crops like peppers and tomatoes.
- Labels and Markers: Keep track of varieties, sowing dates, and germination expectations.
- Watering Tools: A fine‑mist spray bottle or a gentle watering can helps avoid displacing tiny seeds.
- Humidifier or Plastic Domes: Maintains high humidity during germination.
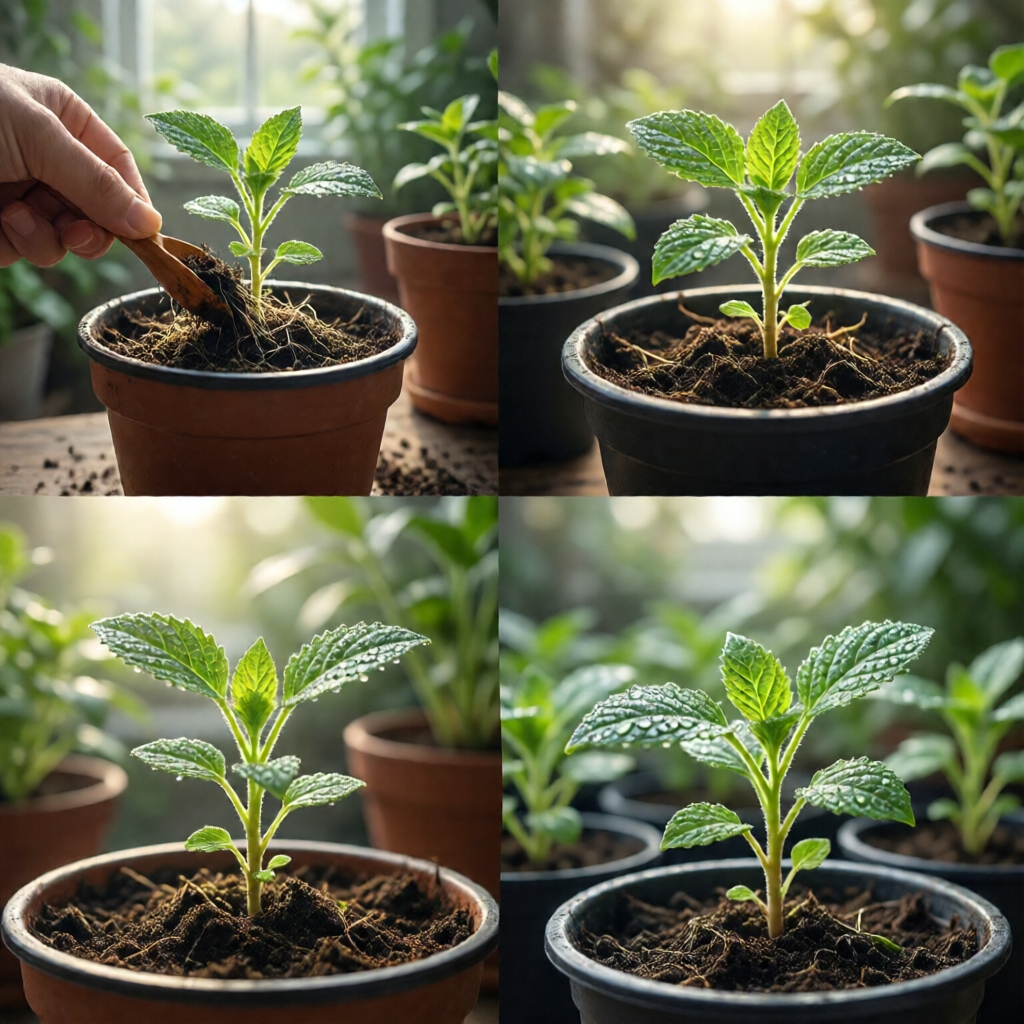
Investing in quality supplies pays off in stronger seedlings and fewer setbacks. For visual inspiration, check out a well‑organized seed‑starting station in the image above.
Step 3: Preparing the Growing Medium
The growing medium is the foundation of healthy seedlings. Follow these steps to prepare it properly:
3.1 Choose the Right Mix
Opt for a sterile seed‑starting mix rather than garden soil. These mixes typically contain peat moss, perlite, and vermiculite, providing excellent drainage and aeration. Avoid using garden compost, which can harbor pathogens.
3.2 Moistening the Mix
Before filling your trays, moisten the mix until it feels like a wrung‑out sponge—damp but not soggy. You can do this by placing the mix in a large container, adding water, and mixing until uniform. Let excess water drain away.
3.3 Filling the Trays
Fill each cell or pot to about ½ inch below the rim. Lightly tap the tray to settle the mix, then smooth the surface. This creates a stable base for sowing seeds.
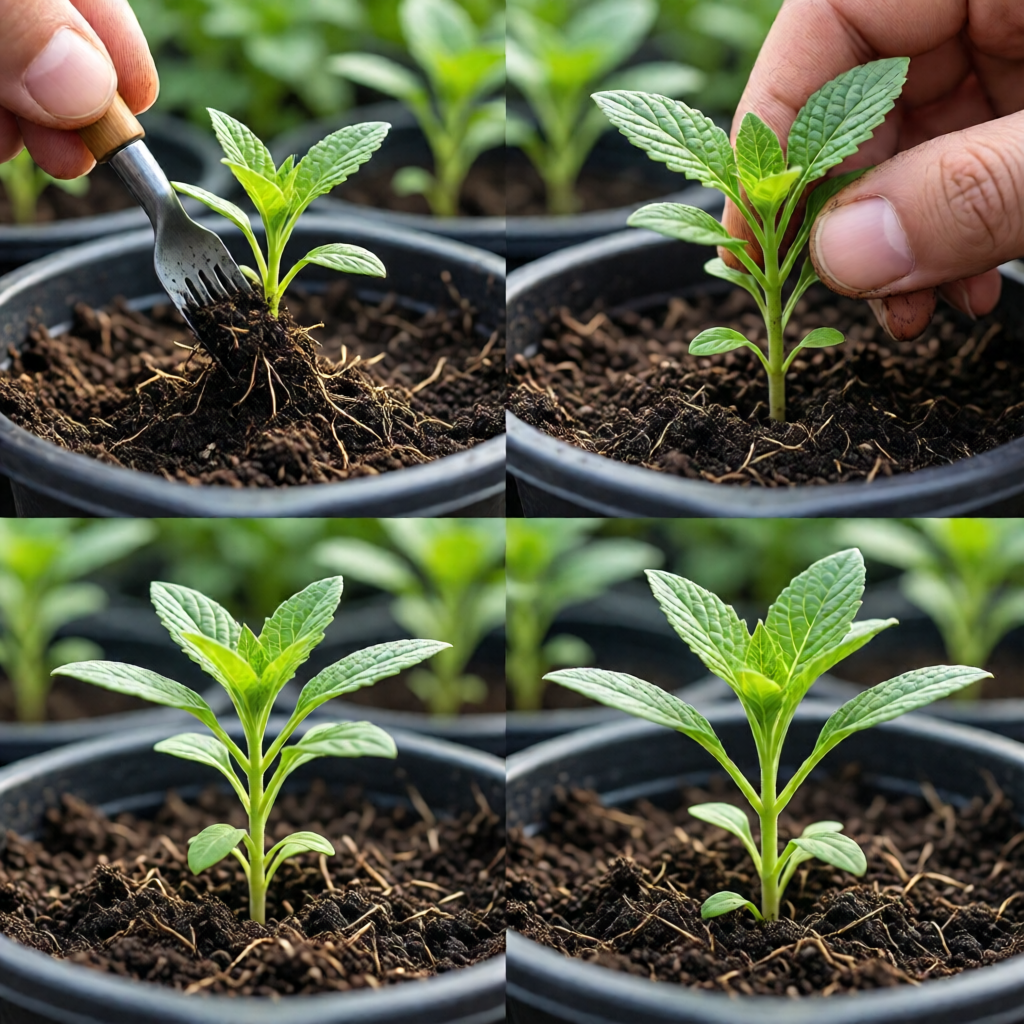
Step 4: Sowing Seeds Properly
Accurate sowing techniques maximize germination. Below is a detailed, step‑by‑step approach:
4.1 Read the Seed Packet
Each seed variety has specific depth and spacing requirements. As a rule of thumb, sow seeds at a depth of roughly twice their diameter. For tiny seeds like lettuce, surface‑sow and lightly press them into the mix.
4.2 Plant the Seeds
Using a small dibber or a pencil tip, make a shallow hole in the center of each cell. Drop the seed in, then cover it with the appropriate amount of mix. Gently firm the soil over the seed without compacting it.
4.3 Label Everything
Immediately label each cell with the plant name, variety, and sowing date. This habit prevents confusion later when seedlings look similar.
4.4 Create a Humid Environment
Cover the tray with a clear plastic dome or a piece of cut‑off plastic wrap. This traps moisture and mimics the natural soil environment, encouraging faster germination.
Step 5: Managing Light and Temperature
Once the seeds are sown, light and temperature become the two most critical factors for healthy seedling development.
5.1 Temperature Control
Most vegetables germinate best at 70–75°F (21–24°C). Use a heat mat to maintain this range, especially in cooler homes or during early spring. Monitor temperature with an inexpensive digital thermometer.
5.2 Light Requirements
After germination, seedlings need intense light to prevent legginess. Position your grow lights 2–4 inches above the tops of the seedlings and keep them on for 12–16 hours a day. Adjust the height weekly as the plants grow taller.
5.3 Photoperiod Consistency
Consistent lighting schedules are essential. If you’re using a timer, set it to turn lights on and off at the same times each day. This mimics natural day length and supports strong, compact growth.
Step 6: Watering and Feeding Seedlings
Proper moisture management is a balancing act—overwatering can drown roots, while under‑watering can stunt growth.
6.1 Watering Technique
Use a fine‑mist spray bottle or a watering can with a narrow spout to gently water the surface. Aim for a moist but not soggy medium. If the top layer dries out, lightly mist again.
6.2 Avoiding Waterlogging
Ensure trays have adequate drainage. If water accumulates in the bottom, tilt the tray to let excess drain away, or place trays on a raised rack with a tray underneath to catch runoff.
6.3 Feeding Seedlings
After the first true leaves appear (the second set of leaves beyond the cotyledons), start feeding with a diluted, balanced liquid fertilizer—about half the recommended strength. Continue feeding every two weeks until transplanting.
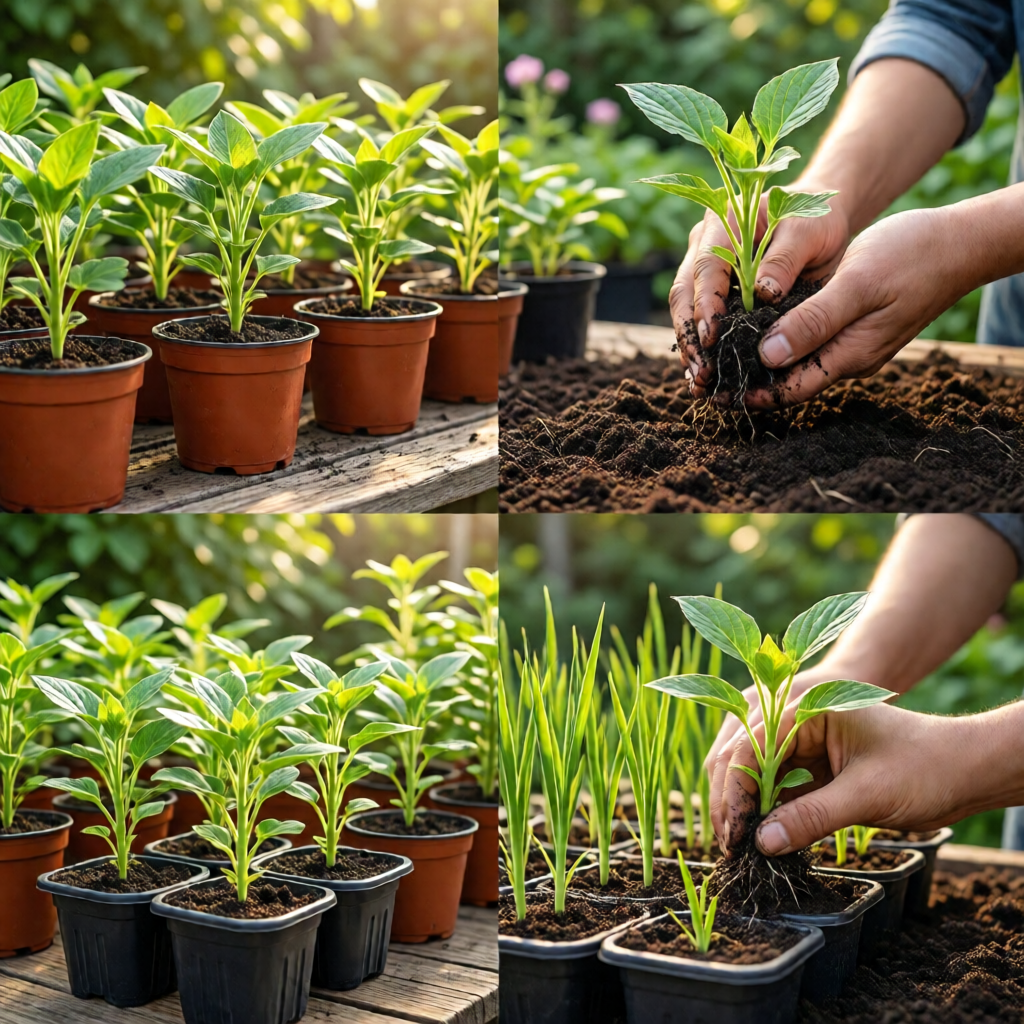
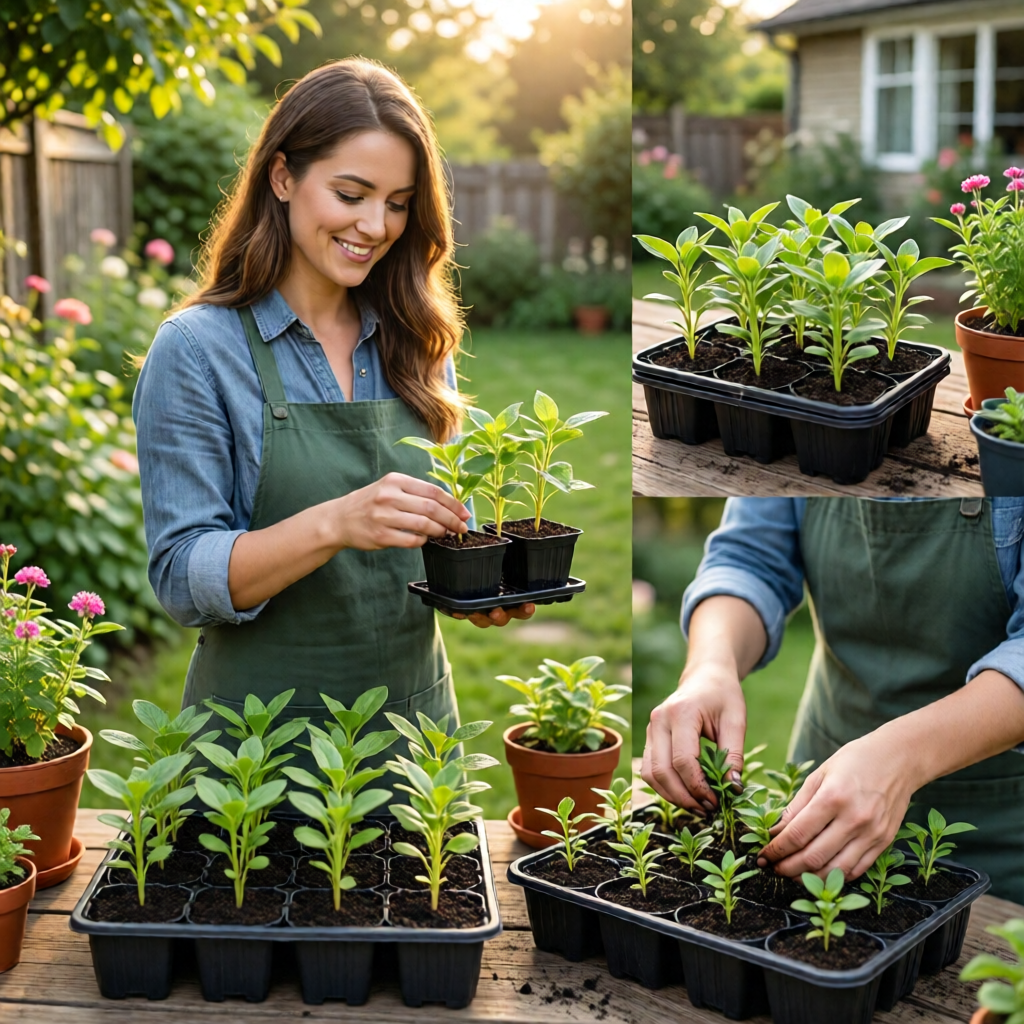
Step 7: Hardening Off and Transplanting
Hardening off prepares indoor‑grown seedlings for the harsher outdoor environment. Follow this gradual process to avoid transplant shock.
7.1 The Hardening Process
Begin 7–10 days before your intended transplant date:
- Place seedlings outdoors in a shaded, protected spot for 2–3 hours on the first day.
- Gradually increase exposure to sun and wind by 1–2 hours each day.
- Bring seedlings back indoors at night until nighttime temperatures stay consistently above 50°F (10°C).
7.2 Preparing the Garden Bed
While seedlings are hardening, ready your garden soil. Incorporate compost, aged manure, or a balanced organic amendment. For a raised bed, consider using a companion planting chart for vegetables to maximize space and pest resistance.
7.3 Transplanting Technique
When seedlings are sturdy and the danger of frost has passed (or you’re using a winter vegetable gardening guide for cold‑tolerant crops), gently remove them from their cells, being careful not to damage the roots. Plant them at the same depth they were growing in the tray, spacing according to the seed packet recommendations.
Step 8: Common Mistakes and Troubleshooting
Even seasoned gardeners encounter hiccups. Here’s how to identify and fix the most frequent problems:
8.1 Leggy Seedlings
Legginess usually indicates insufficient light. Move lights closer, increase duration, or add an extra light source. Also, ensure the light spectrum includes blue wavelengths, which promote compact growth.
8.2 Damping‑off Disease
This fungal issue appears as a thin, water‑soaked film on seedlings, causing them to collapse. Prevent it by using sterile seed‑starting mix, providing good airflow, and avoiding over‑watering. If it occurs, discard affected seedlings immediately.
8.3 Poor Germination
Check seed viability by performing a simple germination test: place a few seeds on a damp paper towel for a week. If they sprout, the issue may be environmental (temperature or light). If not, the seed may be old or stored improperly.
8.4 Seedling Shock After Transplant
Transplant shock can manifest as wilting or yellowing. Minimize shock by hardening off properly, planting on a cloudy day, and watering thoroughly after transplanting.
Step 9: Extending the Season with Indoor Growing
Starting seeds indoors isn’t limited to spring planting. You can also use indoor seed starting to:
- Grow Early Summer Crops: Start beans, cucumbers, and melons in late winter for a head start.
- Produce Winter Greens: Kale, spinach, and arugula thrive under grow lights year‑round, especially when paired with a winter vegetable gardening guide.
- Raise Perennials: Herbs like rosemary and thyme can be started indoors and later transplanted to a sunny patio or garden.
Step 10: Creative Uses for Your Indoor Seedlings
Beyond traditional garden planting, indoor seedlings can enhance your home decor and culinary experiences:
- Kitchen Herb Garden: Keep basil, cilantro, and parsley on a sunny windowsill for fresh flavors at your fingertips.
- Living‑Room Greenery: Tall seedlings like dwarf tomato varieties add a splash of green to indoor spaces.
- Educational Projects: Involve children in the seed‑starting process to teach biology and responsibility.
For a stylish way to showcase your indoor garden, consider adding a garden gazebo or a decorative plant stand that blends with your home aesthetic.
Conclusion: Your Path to a Thriving Garden Starts Indoors
By following this comprehensive, step‑by‑step guide, you’ll master the art of indoor seed starting and set the stage for a flourishing garden season. Remember, success lies in preparation, consistent care, and a willingness to learn from each batch of seedlings. Whether you’re a seasoned horticulturist or a beginner eager to grow your first tomato, the indoor seed‑starting journey offers endless opportunities for growth, flavor, and satisfaction.
Now, gather your supplies, set up that bright grow space, and watch tiny seeds transform into vibrant plants ready to fill your garden beds, kitchen windowsill, or cozy indoor nook.
What is the best time of year to start seeds indoors?
The optimal time varies by crop, but most vegetables are started 6–8 weeks before the last expected frost date in your region. For warm‑season crops like tomatoes and peppers, begin 8–10 weeks before the frost date. For cool‑season crops such as lettuce and broccoli, start 4–6 weeks before the last frost.
Do I need a special seed‑starting soil?
Yes. Use a sterile, lightweight seed‑starting mix that contains peat moss, perlite, and vermiculite. This mix provides excellent drainage and prevents soil‑borne diseases that can affect delicate seedlings.
How long should I keep seedlings under grow lights?
Seedlings generally need 12–16 hours of light per day until they develop true leaves and are ready to be hardened off. Adjust the height of the lights as the seedlings grow to maintain a 2–4 inch distance from the foliage.
When should I start feeding my seedlings with fertilizer?
Begin feeding with a diluted, balanced liquid fertilizer (½ strength) once the first set of true leaves appears. Continue feeding every two weeks until you transplant the seedlings outdoors.
What are the best practices for hardening off seedlings?
Start hardening off 7–10 days before transplanting. Begin with a few hours of shade in a protected outdoor spot, gradually increasing exposure to sunlight and wind each day. Keep nighttime temperatures above 50°F (10°C) and water lightly to prevent stress.