Lavender is more than just a fragrant herb; it’s a versatile, drought‑tolerant plant that adds color, texture, and a calming scent to any garden. Whether you’re a seasoned horticulturist or a beginner looking to add a touch of Mediterranean charm to your backyard, mastering lavender care and pruning is essential for vibrant blooms and healthy growth. This comprehensive guide walks you through everything you need to know—from soil preparation and watering schedules to expert pruning techniques and seasonal maintenance—so you can enjoy thriving lavender year after year.
Understanding Lavender: Varieties and Their Unique Needs
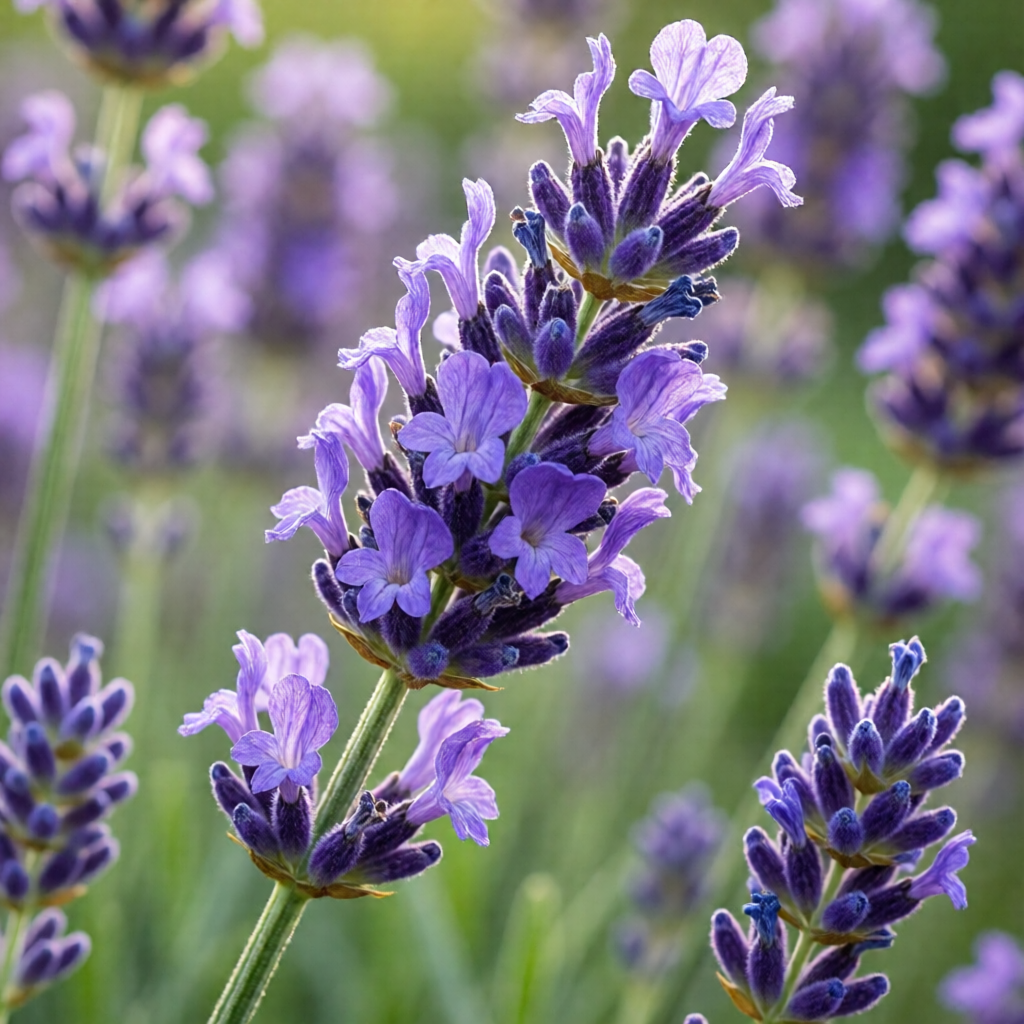
Lavender (Lavandula spp.) belongs to the mint family and includes several popular species and cultivars, each with distinct characteristics. The most common types grown in the United States are English lavender (Lavandula angustifolia), French lavender (Lavandula dentata), Spanish lavender (Lavandula stoechas), and Lavandin (Lavandula × intermedia). English lavender is prized for its sweet aroma and cold hardiness, while French and Spanish varieties favor warmer climates and produce striking, sometimes “rabbit‑ear” foliage.
Choosing the right variety for your USDA hardiness zone is the first step toward successful lavender cultivation. English lavender thrives in zones 5‑9, whereas French and Spanish lavenders are best suited for zones 8‑10. Understanding these preferences will guide your decisions on site selection, soil amendments, and winter protection.

Preparing the Perfect Soil Mix
Lavender thrives in well‑draining, slightly alkaline soils with a pH between 6.5 and 7.5. Heavy clay or soggy conditions can quickly lead to root rot, so amending the soil before planting is crucial. Start by testing your garden’s pH and texture. If the soil is too acidic, incorporate garden lime; if it’s too dense, blend in coarse sand, perlite, or small gravel to improve drainage.
For a DIY mix, combine one part native soil, one part coarse sand or grit, and one part organic compost. This blend provides the needed nutrients while maintaining excellent drainage. For a deeper dive on how to enrich your soil, consult our soil amendment guide for healthy plants.
Choosing the Right Location
Lavender loves full sun—at least six to eight hours of direct light daily. Planting in a spot with good air circulation reduces humidity around the foliage, helping prevent fungal diseases. If you have a patio or raised bed, consider adding a pergola or trellis to create a micro‑climate that maximizes sunlight while providing a decorative backdrop.
Watering Strategies for Healthy Lavender
One of lavender’s most beloved traits is its low water requirement once established. Overwatering is a common mistake, especially for beginners. Water newly planted lavender deeply once a week for the first three to four weeks, allowing the soil to dry out between sessions. After establishment—typically after the first growing season—reduce watering to once every two to three weeks, depending on rainfall and temperature.
During hot, dry spells, a light sprinkle in the early morning can help prevent leaf scorch. Avoid watering the foliage; aim water at the base of the plant to keep the leaves dry and reduce the risk of fungal infections.
Mulching to Conserve Moisture
A light layer of inorganic mulch, such as crushed gravel or fine bark, helps retain soil warmth and moisture while maintaining excellent drainage. Organic mulches, like straw, can be used sparingly but should be kept away from the crown to prevent rot. For more mulching ideas, check out our mulching tips for flower beds.
Fertilizing and Feeding Lavender
Lavender is naturally adapted to nutrient‑poor soils, so heavy fertilization can lead to weak, leggy growth. In most cases, a single application of a balanced, low‑nitrogen fertilizer (10‑10‑10) in early spring is sufficient. Over‑feeding can result in lush foliage at the expense of flower production.
If your soil test reveals a severe deficiency, amend with a modest amount of well‑rotted compost during planting. Avoid high‑phosphorus fertilizers, as they can encourage excessive vegetative growth and diminish the plant’s aromatic oils.
Pruning Lavender: Timing and Techniques
Pruning is the cornerstone of a thriving lavender garden. Proper pruning encourages compact growth, improves air flow, and maximizes bloom production. Below are step‑by‑step guidelines for pruning English, French, Spanish, and Lavandin varieties.
When to Prune
For most lavender, the ideal pruning window is late summer to early fall, after the final flush of blooms but before the first frost. In colder regions, an early spring prune—once new growth appears—can also be effective. Avoid pruning in late autumn, as new shoots may not harden off before winter, making them vulnerable to cold damage.
Tools of the Trade
Use sharp, clean pruning shears or garden scissors to make clean cuts. Dull tools can crush stems, creating entry points for disease. For larger, woody stems, a pruning saw or loppers may be necessary. Disinfect tools with a 10% bleach solution between plants to prevent cross‑contamination.
Step‑by‑Step Pruning Process
- Assess the Plant: Identify any dead, woody, or diseased stems. These should be removed first.
- Trim for Shape: Cut back about one‑third of the plant’s height, shaping it into a tidy mound. Keep the cut just above a leaf node or a pair of healthy leaves.
- Remove Flower Stalks: Snip spent flower spikes at the base to redirect energy back into the foliage.
- Thin Out Crowded Stems: If the plant is overly dense, selectively remove a few interior stems to improve airflow.
- Final Clean‑Up: Sweep away all cuttings and debris to reduce the risk of fungal spores lingering near the crown.
For English lavender, be especially careful not to cut into the woody heart of the plant; this can cause a “bushy” appearance and reduce flowering. French and Spanish lavenders tolerate slightly deeper cuts, but the same principle of preserving the plant’s natural shape applies.
Post‑Pruning Care
After pruning, give the plant a light watering to settle the soil around the cut stems. Apply a thin layer of inorganic mulch to protect the roots and retain warmth. Avoid fertilizing immediately after pruning; wait until new growth appears in the spring.
Seasonal Care: From Spring to Winter
Lavender’s needs shift throughout the year. Understanding these seasonal nuances ensures the plant remains healthy and productive.
Spring
As new shoots emerge, monitor for soft, green growth that may be prone to fungal issues. Remove any weak stems early, and apply a light dusting of organic compost around the base. If you live in a zone where frost is still possible, consider covering the plants with a frost cloth on particularly cold nights.
Summer
Summer is the peak blooming period for most lavender varieties. Keep an eye on soil moisture; while lavender tolerates drought, extreme heat combined with prolonged dryness can cause leaf scorch. Light, early‑morning watering and occasional misting can help mitigate stress.
Fall
Post‑bloom pruning, as described earlier, prepares the plant for the cooler months. This is also the time to inspect for any pest damage—especially from aphids or spittlebugs—and treat with a gentle insecticidal soap if needed.
Winter
In colder climates (zones 5‑7), protect lavender by mulching heavily with straw or pine needles, creating a breathable insulating layer. For container‑grown lavender, move pots to a sheltered location such as a garage or unheated greenhouse. Avoid excessive moisture during winter; ensure drainage holes remain clear.
Common Lavender Pests and Diseases
While lavender is generally resilient, a few pests and diseases can threaten its vigor.
Aphids
Aphids cluster on new growth and excrete honeydew, which can lead to sooty mold. Control by spraying a strong jet of water to dislodge them or applying insecticidal soap.
Spittlebugs
These insects produce frothy “spittle” on stems and leaves. Hand‑picking or using a neem oil spray can keep populations in check.
Root Rot
Caused by overwatering or poorly drained soil, root rot manifests as yellowing foliage and a mushy root system. Prevention is key—ensure excellent drainage and avoid waterlogged conditions.
Gray Mold (Botrytis)
Wet, humid conditions promote Botrytis, which appears as grayish, fuzzy spots on buds. Improve airflow, avoid overhead watering, and remove infected flowers promptly.
Integrating Lavender Into Garden Design
Lavender’s silvery foliage and spikes of purple flowers make it an excellent choice for borders, herb gardens, and even structural elements like hedges. Here are a few design ideas to inspire you:
Lavender Borders and Pathways
Plant a low hedge of English lavender along garden pathways. Its compact form creates a fragrant “green wall” that guides visitors while providing a natural scent barrier against pests.
Mixing With Other Herbs
Companion planting with rosemary, sage, and thyme creates a Mediterranean herb garden that thrives on similar soil and water requirements. The combination also deters many garden pests.
Lavender in Container Gardens
For small yards or patios, grow lavender in terracotta pots. Pair with dwarf ornamental grasses for a chic, low‑maintenance display. If you’re looking for additional backyard inspiration, explore our stock tank pool ideas for backyard.
Pollinator Gardens
Lavender attracts bees, butterflies, and hummingbirds. Incorporate it into a pollinator garden alongside flowering perennials like coneflowers and bee balm to support local ecosystems.
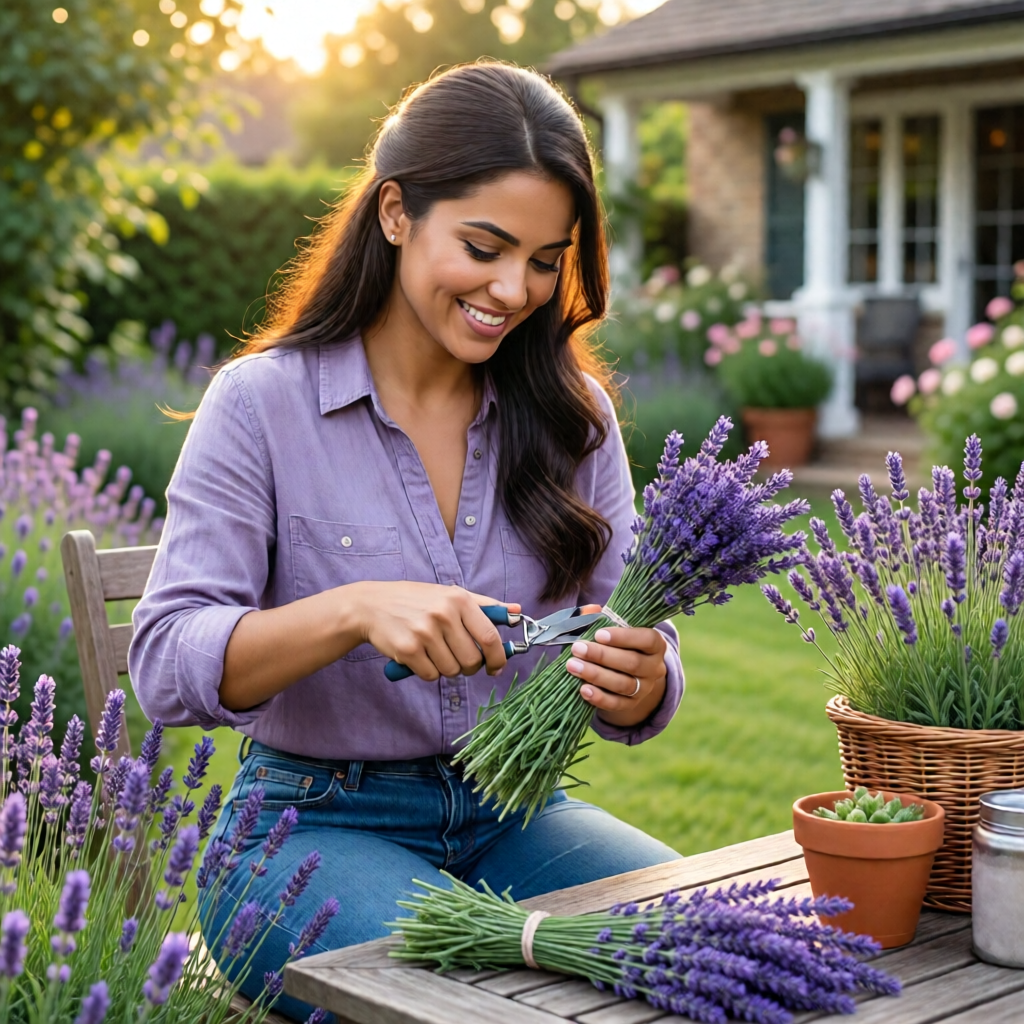
Harvesting Lavender for Use
Harvesting at the right time maximizes fragrance and oil content. Cut stems just before the buds fully open—when they are still tight but beginning to swell. Use clean, sharp scissors to snip stems in the early morning after dew has dried.
Bundle the stems in small bunches, tie with twine, and hang them upside down in a cool, dark, well‑ventilated area. After two to three weeks, the buds will dry, and you can strip the flowers for use in sachets, potpourri, culinary dishes, or essential oil extraction.
Storing Dried Lavender
Store dried lavender in airtight glass jars away from direct sunlight. For maximum longevity, add a small packet of silica gel to absorb residual moisture.
Troubleshooting Common Lavender Issues
Even experienced gardeners encounter challenges. Below are quick fixes for frequent problems.
Leggy Growth
Leggy lavender often results from too much nitrogen or insufficient sunlight. Reduce fertilizer applications, and ensure the plant receives at least six hours of direct sun. A hard pruning in late summer can also rejuvenate the plant.
Leaf Drop
Excessive watering or poor drainage can cause leaf drop. Check soil moisture levels, improve drainage, and allow the soil to dry between waterings.
Faded Flower Color
Faded blooms can be a sign of nutrient imbalance or insufficient sunlight. Amend the soil lightly with compost, and consider repositioning the plant to a sunnier spot.
Winter Damage
If stems appear blackened or wilted after winter, the plant may have suffered frost damage. Trim back damaged portions in early spring and apply a fresh layer of mulch to protect new growth.
Expert Tips for Exceptional Lavender Success
- Mind the pH: Regularly test soil pH and adjust with lime or sulfur as needed to keep it slightly alkaline.
- Rotate Plantings: Avoid planting lavender in the same spot year after year; rotate to prevent soil‑borne diseases.
- Use Gravel Mulch: A 2‑inch layer of gravel not only conserves moisture but also reflects heat, encouraging better bloom production.
- Prune Regularly: Even if you’re not aiming for a formal shape, a light annual trim keeps the plant from becoming woody and unproductive.
- Harvest Early: Cut stems before full bloom for the strongest fragrance and oil content.
Conclusion: Your Path to Lavender Mastery
Lavender care and pruning may seem simple, but mastering the nuances of soil preparation, watering, seasonal maintenance, and precise pruning techniques can transform a modest shrub into a garden centerpiece that delights the senses all year long. By following the actionable steps outlined in this guide, you’ll enjoy abundant, fragrant blooms, attract pollinators, and create a resilient, low‑maintenance addition to your landscape. Remember, the key to thriving lavender lies in well‑drained soil, ample sunlight, mindful pruning, and a touch of patience. Happy gardening!
How often should I water newly planted lavender?
Water newly planted lavender deeply once a week for the first three to four weeks, allowing the soil to dry out between waterings. After the plant is established, reduce watering to once every two to three weeks, depending on rainfall and temperature.
When is the best time to prune lavender?
The ideal pruning window is late summer to early fall, after the final bloom but before the first frost. In colder regions, an early spring prune once new growth appears is also effective.
Can I fertilize lavender, and if so, how?
Lavender requires minimal feeding. Apply a balanced, low‑nitrogen fertilizer (10‑10‑10) once in early spring. Avoid heavy fertilization, as it can reduce flower production and lead to weak growth.
What soil conditions are best for lavender?
Lavender thrives in well‑draining, slightly alkaline soil with a pH of 6.5‑7.5. Incorporate coarse sand, gravel, or perlite to improve drainage, and add lime if the soil is too acidic.
How do I protect lavender over winter?
In colder zones, apply a thick layer of straw or pine needles as mulch to insulate the roots. For container plants, move them to a sheltered location like an unheated garage. Ensure the soil remains well‑drained to prevent root rot.