Mulching flower beds is one of the simplest yet most effective gardening practices you can adopt to boost plant health, conserve water, and keep your garden looking polished throughout the growing season. Whether you’re a seasoned horticulturist or a weekend garden enthusiast, understanding the nuances of mulching—from selecting the best material to mastering the timing of application—can transform a modest bed of blossoms into a vibrant showcase. In this guide we’ll dive deep into practical mulching tips, expert advice, and actionable steps that will help you create thriving, low‑maintenance flower beds that delight the eye and the soil alike.
Why Mulch Is Essential for Flower Beds
Mulch serves several critical functions that directly impact the performance of your flower beds. First, it acts as a protective blanket, insulating roots against temperature extremes—keeping them cool in the scorching summer heat and warm during unexpected spring chills. Second, a well‑chosen mulch suppresses weeds, reducing competition for nutrients and water. Third, mulches break down over time, enriching the soil with organic matter that improves structure, drainage, and nutrient availability. Finally, a tidy layer of mulch adds a polished aesthetic, giving your garden a finished look that invites admiration from neighbors and passersby.
Choosing the Right Mulch for Your Flowers
Not all mulches are created equal, and the best choice depends on factors such as flower type, climate, and personal preference. Below are the most popular options, along with their pros and cons.
Organic Mulches
Organic mulches—like shredded bark, pine needles, leaf mold, straw, and compost—decompose slowly, adding valuable humus to the soil. They are excellent for nutrient‑loving perennials such as roses, peonies, and daylilies. For example, shredded hardwood bark provides a coarse texture that discourages weeds while allowing air and water to penetrate. Pine needles, often called “pine straw,” create a slightly acidic environment ideal for azaleas and rhododendrons.
Inorganic Mulches
Inorganic mulches—including gravel, crushed stone, rubber mulch, and black plastic—do not break down, making them low‑maintenance options for high‑traffic areas or for gardeners who prefer a minimalist look. Gravel works well in sunny, drought‑prone zones and pairs beautifully with modern garden design with gravel. However, inorganic mulches do not improve soil fertility, so they should be combined with periodic organic amendments.
Living Mulches
Living mulches consist of low‑growth groundcovers such as clover, creeping thyme, or dwarf mondo grass. These plants suppress weeds, retain moisture, and provide a living carpet that adds biodiversity. When selecting a living mulch, ensure it won’t compete aggressively with your flower species for nutrients or light.
Consider the following checklist when selecting mulch:
- Shade tolerance of the flower bed (e.g., pine needles for shade‑loving plants).
- Desired aesthetic—natural, rustic, or contemporary.
- Maintenance level you’re comfortable with.
- Soil pH considerations.
- Local climate and water availability.
Preparing Your Flower Bed Before Mulching
A successful mulching job begins with proper bed preparation. Skipping this step can lead to uneven moisture distribution, persistent weeds, and reduced mulching effectiveness.
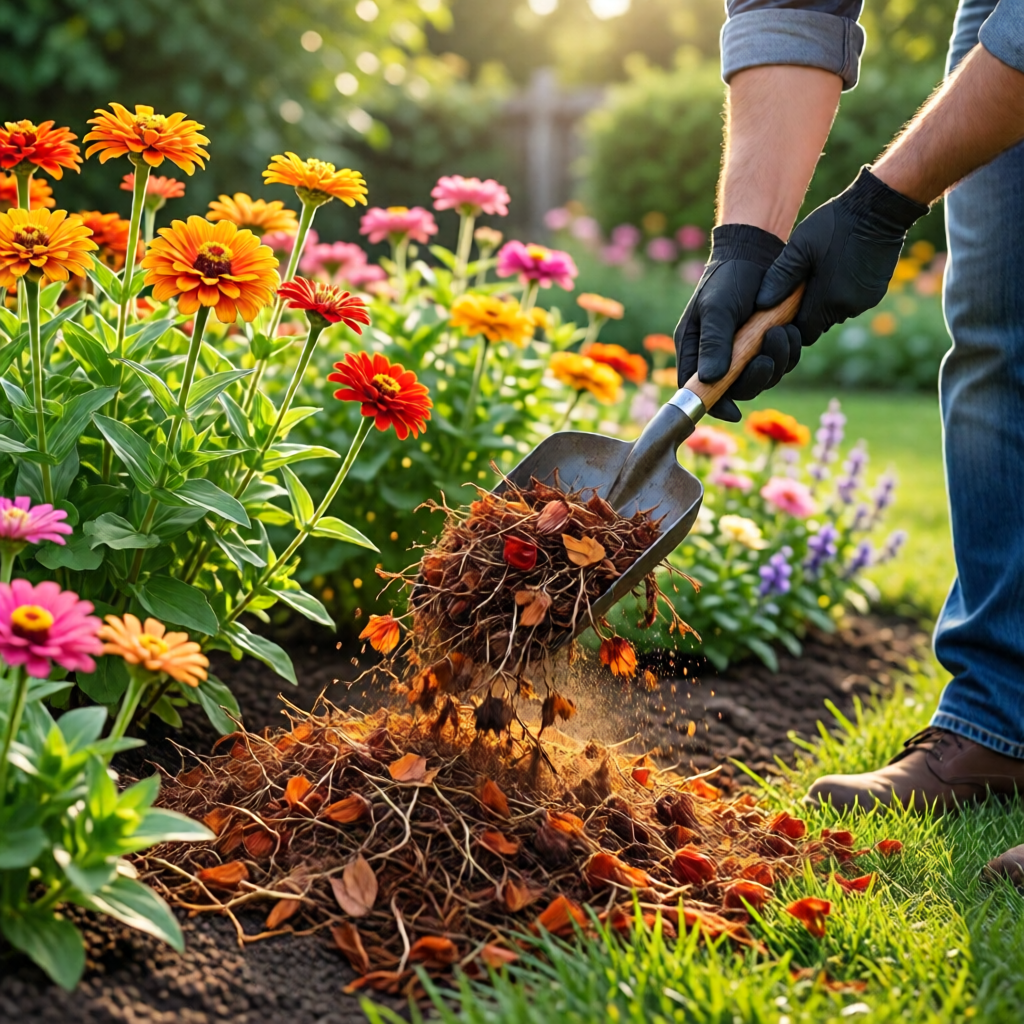
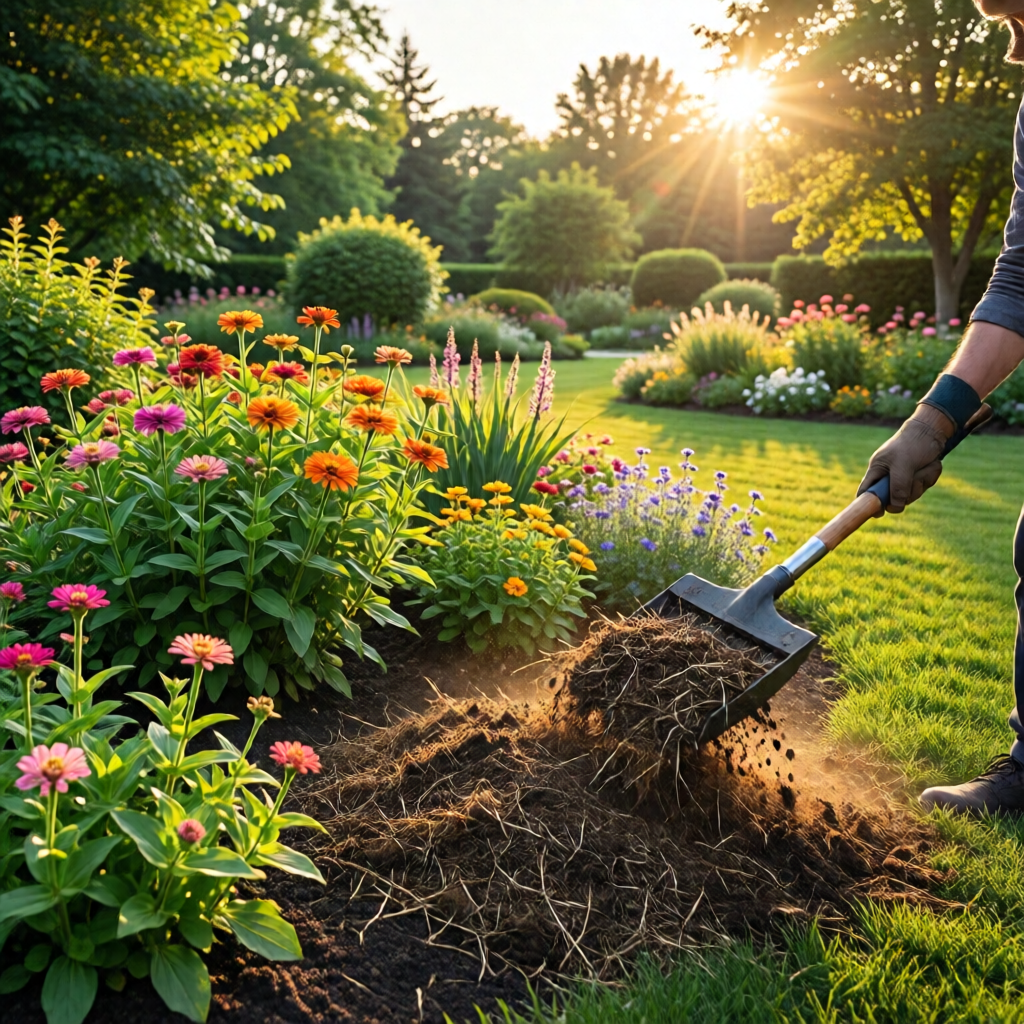
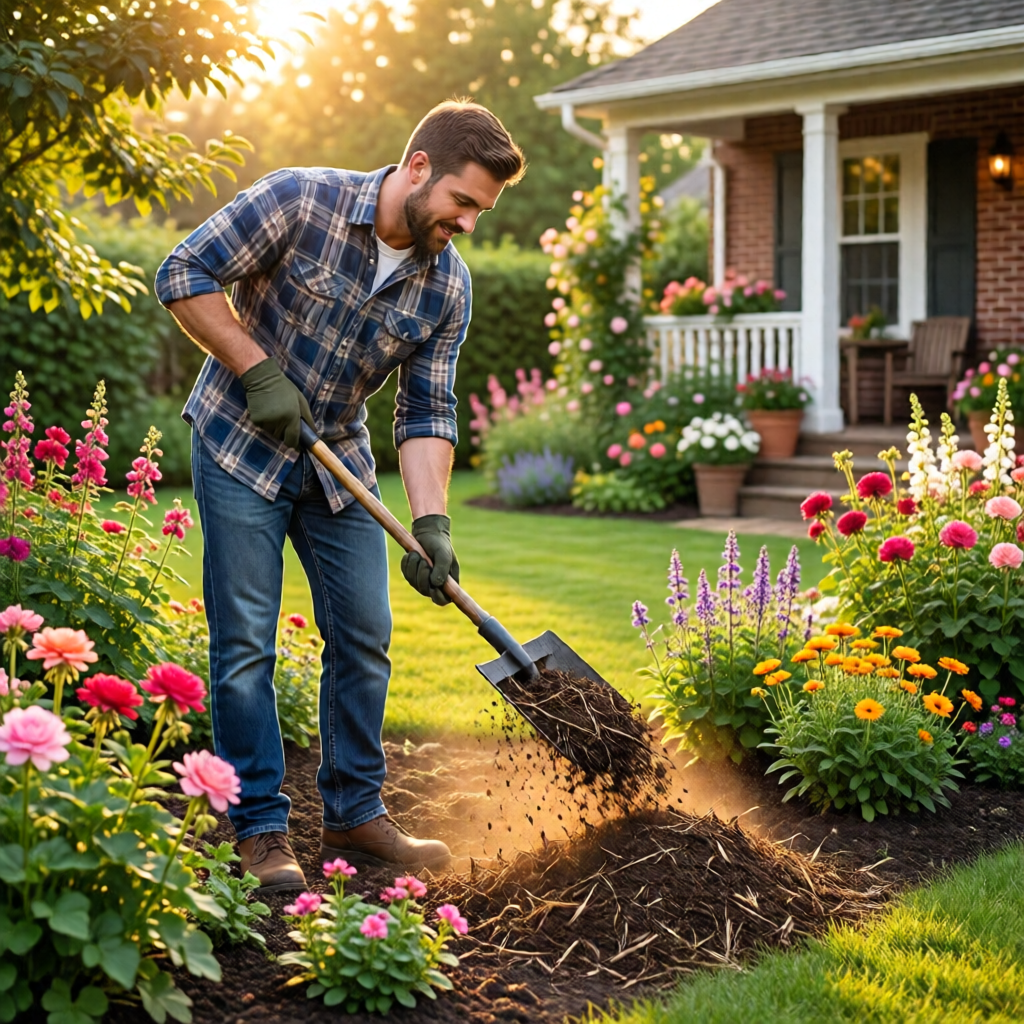
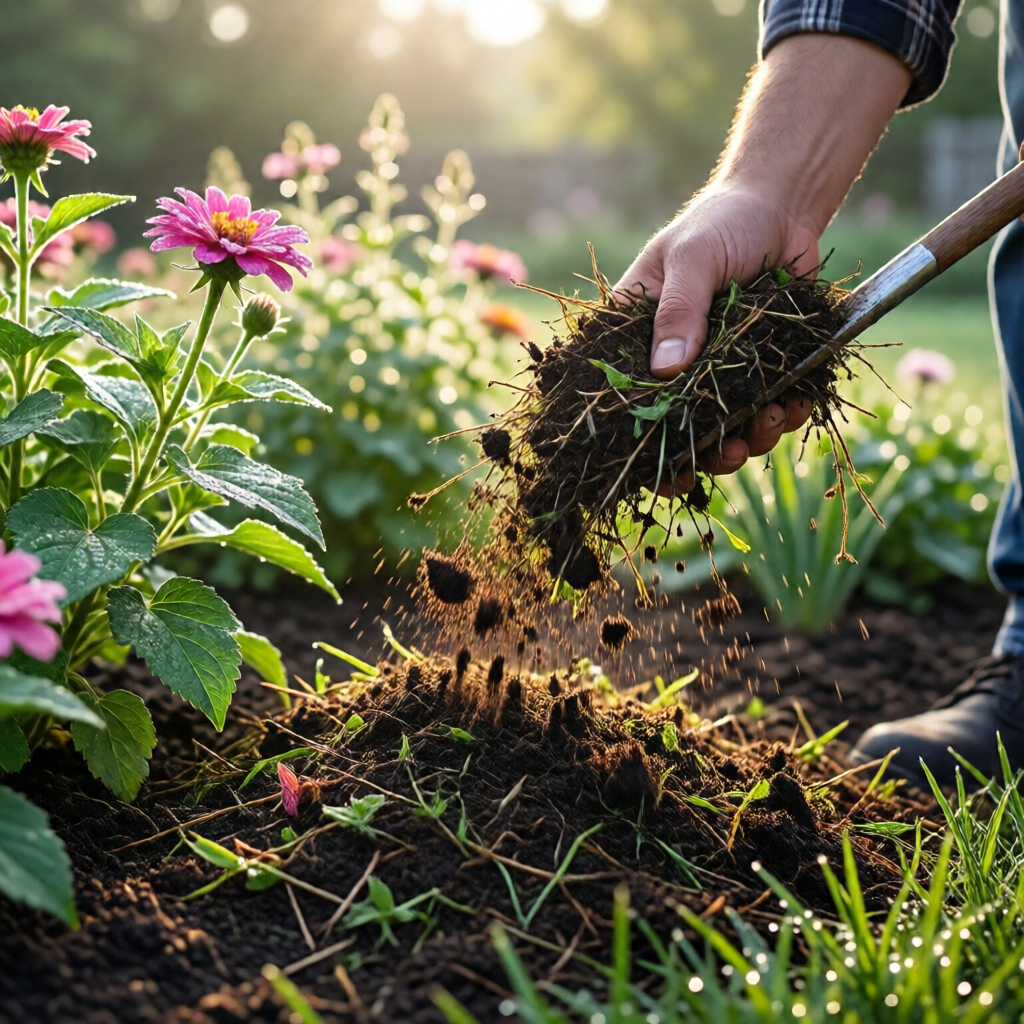
Step 1: Clean the Bed
Remove all existing weeds, dead plant material, and debris. Hand‑pull any deep‑rooted weeds and dispose of them in a compost heap rather than the trash to prevent seed spread. A light raking will level the surface and expose any hidden pests.
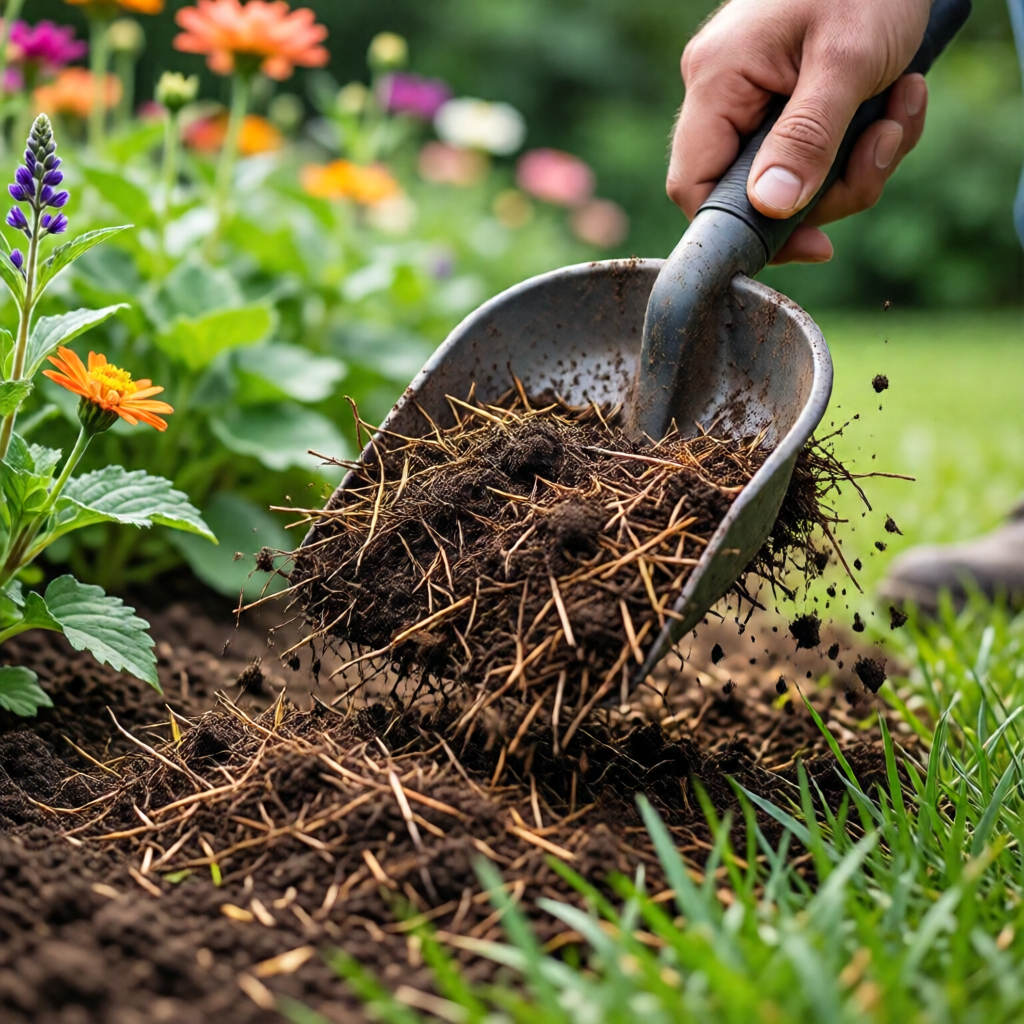
Step 2: Improve Soil Structure
If your soil is compacted, gently loosen it with a garden fork to a depth of 6–8 inches, being careful not to disturb the roots of established perennials. Incorporate a 1–2 inch layer of compost or well‑aged manure to boost fertility and improve drainage. This step is especially important for new beds where soil may be poor or heavily compacted.
Step 3: Edge Definition
Define clear, clean edges using a garden edger or a spade. Sharp edges prevent mulch from spilling onto lawns or pathways, creating a tidy border. For inspiration, explore garden border ideas for edges that complement your mulching plan.
How to Apply Mulch Properly
Applying mulch correctly ensures you reap its full range of benefits. Follow these step‑by‑step guidelines for a uniform, effective mulch layer.
Determine the Right Depth
Most organic mulches work best at a depth of 2–4 inches. Too thin a layer won’t suppress weeds effectively, while too thick a layer can smother plant crowns and impede water infiltration. For woody mulches like bark, aim for 3 inches; for finer mulches like leaf mold, 2 inches is sufficient.
Spread Evenly
Using a garden rake, spread the mulch evenly across the bed, keeping a small gap (about 1 inch) around the base of each plant stem to prevent rot. This “donut” shape allows air circulation and protects the crown from moisture buildup.
Water In After Mulching
After spreading mulch, water the bed thoroughly. This helps settle the mulch, eliminates air pockets, and ensures that moisture reaches the soil beneath. In dry climates, consider using a soaker hose or drip irrigation system for consistent, deep watering.
Re‑Mulch Annually
Organic mulches decompose and settle over time, so it’s essential to replenish them each spring or after heavy rains. Adding a fresh layer keeps the bed looking fresh and maintains its protective functions throughout the growing season.
Seasonal Mulching Strategies
Mulching isn’t a “set it and forget it” task; it requires seasonal adjustments to align with plant needs and climate conditions.
Spring Kick‑Start
In early spring, after the last frost date, apply a fresh layer of organic mulch to warm the soil and suppress early‑season weeds. This is also an ideal time to incorporate a thin layer of compost for a nutrient boost.
Summer Heat Management
During hot summer months, increase mulch depth slightly (by about ½ inch) to enhance soil cooling and moisture retention. In regions with extreme heat, consider using light‑colored inorganic mulches, such as white gravel, to reflect sunlight and keep soil temperatures lower.
Fall Preparation
In the fall, add a thicker mulch layer (up to 4 inches) to insulate roots against winter cold. This is especially beneficial for perennials that remain dormant over winter. For gardeners wondering how to winterize garden for cold weather, a generous mulch blanket is a key component.
Winter Maintenance
Monitor the mulch throughout winter. If heavy snow accumulates, gently brush it off to prevent the mulch from becoming compacted into an icy slab that could damage plant crowns. In early spring, remove any compacted mulch before the growing season resumes.
Mulching for Specific Flower Types
Different flowers have distinct mulching requirements. Tailoring your mulching approach can optimize growth and bloom performance.
Bulb Gardens
Bulbs such as tulips, daffodils, and crocuses benefit from a light mulch of shredded leaves or straw after planting. A 1‑inch layer protects the bulbs from frost while allowing enough light penetration for spring emergence.
Acid‑Loving Flowers
Azaleas, rhododendrons, and camellias thrive with pine needle mulch, which gradually acidifies the soil. Apply a 2‑inch layer, and refresh annually to maintain the desired pH.
Sun‑Loving Annuals
Annuals like marigolds, petunias, and zinnias benefit most from a moderate 2‑inch layer of dark organic mulch (e.g., shredded bark). This helps retain moisture in hot, sunny beds and reduces the need for frequent watering.
Moisture‑Sensitive Flowers
Plants such as ferns and hostas, which prefer consistently moist conditions, respond well to a thicker 3‑inch layer of fine leaf mold or peat moss. This type of mulch holds water while allowing gradual release to the roots.
Mulching and Water Conservation
One of the biggest advantages of mulching is its ability to conserve water—a critical benefit in many parts of the United States facing drought conditions. Mulch reduces evaporation by up to 70%, meaning you can water less frequently and still keep your flower beds hydrated. Pair mulch with an efficient irrigation system, such as drip lines or soaker hoses, to maximize water savings.
Best Practices for Water‑Smart Mulching
- Apply mulch before the hottest part of the season to lock in soil moisture.
- Use a moisture meter to monitor soil wetness beneath the mulch, ensuring you’re not over‑ or under‑watering.
- Choose mulches with high water‑holding capacity (e.g., composted bark, leaf mold) for water‑wise gardens.
- Combine mulch with rain barrels or greywater systems for an eco‑friendly watering approach.
Common Mulching Mistakes and How to Avoid Them
Even experienced gardeners can slip up when mulching. Below are frequent errors and practical solutions.
Mulch Too Close to Plant Stems
Placing mulch directly against stems or crowns can cause rot and invite pests. Always leave a 1‑inch gap around each plant base.
Using the Wrong Mulch Type
Inappropriate mulch—such as using alkaline garden lime on acid‑loving plants—can disrupt soil pH. Match mulch to plant needs, as discussed earlier.
Over‑Mulching
Applying more than 4 inches of mulch can suffocate roots and hinder water infiltration. Stick to recommended depths and adjust seasonally.
Neglecting Mulch Replenishment
Mulch decomposes over time, losing its protective qualities. Schedule a spring re‑mulch and a fall top‑up to maintain effectiveness.
Ignoring Soil Health
Mulch alone cannot fix poor soil. Combine mulching with regular soil testing and amendments (e.g., compost, lime, or sulfur) to keep your flower beds thriving.
DIY Mulch Recipes for the Creative Gardener
If you love a hands‑on approach, crafting your own mulch blends can be rewarding and cost‑effective. Here are three easy recipes.
Herb‑Infused Mulch
Combine equal parts shredded rosemary, thyme, and oregano with a base of shredded hardwood bark. This aromatic mulch not only deters pests but also releases pleasant scents as it breaks down.
Nut Shell Mulch
Gather crushed walnut shells and mix with a thin layer of compost. Walnut shells decompose slowly, providing long‑lasting structure while adding nitrogen to the soil.
Coffee Ground Mulch
Collect used coffee grounds from your kitchen, dry them, and blend with leaf mold. Coffee grounds add a modest amount of nitrogen and create a slightly acidic environment—perfect for azaleas and blueberries.
Integrating Mulch with Garden Design Elements
Mulch can be more than a functional layer; it can enhance the visual composition of your garden. Pair mulch colors and textures with design features such as pathways, borders, and plant groupings.
Contrast with Hardscape
Use dark mulch next to light‑colored stone pathways for striking contrast. This technique draws the eye toward the flower beds and creates a cohesive look.
Color Coordination
Choose mulches that complement flower hues—e.g., reddish pine bark with pink geraniums, or golden straw with yellow marigolds—to amplify the color palette.
Edge Accents
Define beds with a narrow strip of decorative gravel or crushed stone, then transition into a broader mulch area. This layered approach adds depth and visual interest, echoing ideas from garden border ideas for edges.
When to Plant Trees and Shrubs Near Flower Beds
Integrating trees or shrubs can provide shade, structure, and seasonal interest. However, timing matters to avoid competition for resources. The best time to plant trees and shrubs is during the dormant season—late fall to early spring—so roots can establish before the heat of summer. When planting near mulched flower beds, leave a clear mulch-free zone of at least 12 inches around the trunk to prevent moisture buildup and bark rot.
Maintaining Mulch Health Over Time
Even after a perfect application, mulch requires ongoing care to stay effective.
Regular Inspection
Walk your garden monthly and look for signs of compaction, mold, or pest activity. Fluff compacted mulch with a garden fork to restore aeration.
Weed Management
Despite mulch’s suppressive qualities, some weeds may still emerge. Pull them promptly, preferably by hand, to prevent root establishment.
Re‑application Schedule
Set a calendar reminder to re‑mulch in early spring and again in late fall. In regions with heavy rain or wind, you may need to top‑up mid‑season.
Seasonal Adjustments
As temperatures rise, monitor moisture levels more closely. If mulch dries out quickly, lightly water the surface to keep it from becoming a fire hazard.
Wrapping Up: Your Mulch Mastery Checklist
By now you should feel confident in your ability to select, apply, and maintain mulch for any flower bed. Here’s a quick recap to keep on hand:
- Choose mulch type based on flower needs and aesthetic preference.
- Prepare the bed: clean, amend soil, and define edges.
- Apply mulch 2‑4 inches deep, leaving a 1‑inch gap around stems.
- Water thoroughly after application to settle the mulch.
- Adjust mulch depth seasonally—thicker in fall/winter, lighter in spring.
- Re‑mulch annually; top‑up as needed throughout the growing season.
- Monitor for pests, compaction, and weeds; address promptly.
- Pair mulching with efficient irrigation for water conservation.
- Consider DIY blends for added pest control and fragrance.
- Integrate mulch into overall garden design for visual harmony.
With these steps in place, your flower beds will not only look stunning but also enjoy healthier roots, reduced water usage, and fewer weeds—making your gardening experience more rewarding and less labor‑intensive.
How often should I re‑apply mulch in my flower beds?
Most organic mulches should be refreshed once a year—typically in early spring—and topped up again in late fall. In hot, dry climates you may need a mid‑season top‑up to maintain moisture retention.
Can I use the same mulch for both vegetable gardens and flower beds?
Yes, many mulches work well for both. However, avoid using mulches that may contain herbicides or high levels of nitrogen in beds where delicate flowers are grown, as they could cause leaf burn or affect bloom quality.
What’s the best mulch for acid‑loving flowers like azaleas?
Pine needles (pine straw) are ideal because they gradually acidify the soil while providing excellent moisture retention and a natural look that blends with shade‑loving plants.
Should I mulch around newly planted perennials?
Yes, but wait until the plants have established a few true leaves. Apply a thin (1‑inch) layer of mulch to protect roots and retain moisture, then increase depth as the plants mature.
How does mulch help with weed control?
Mulch blocks sunlight from reaching weed seeds, preventing germination. A 2‑inch layer of dense organic mulch can suppress up to 90% of common garden weeds, reducing the need for manual weeding.
1 réflexion au sujet de « Mulching Tips For Flower Beds – Expert Guide and Ideas »