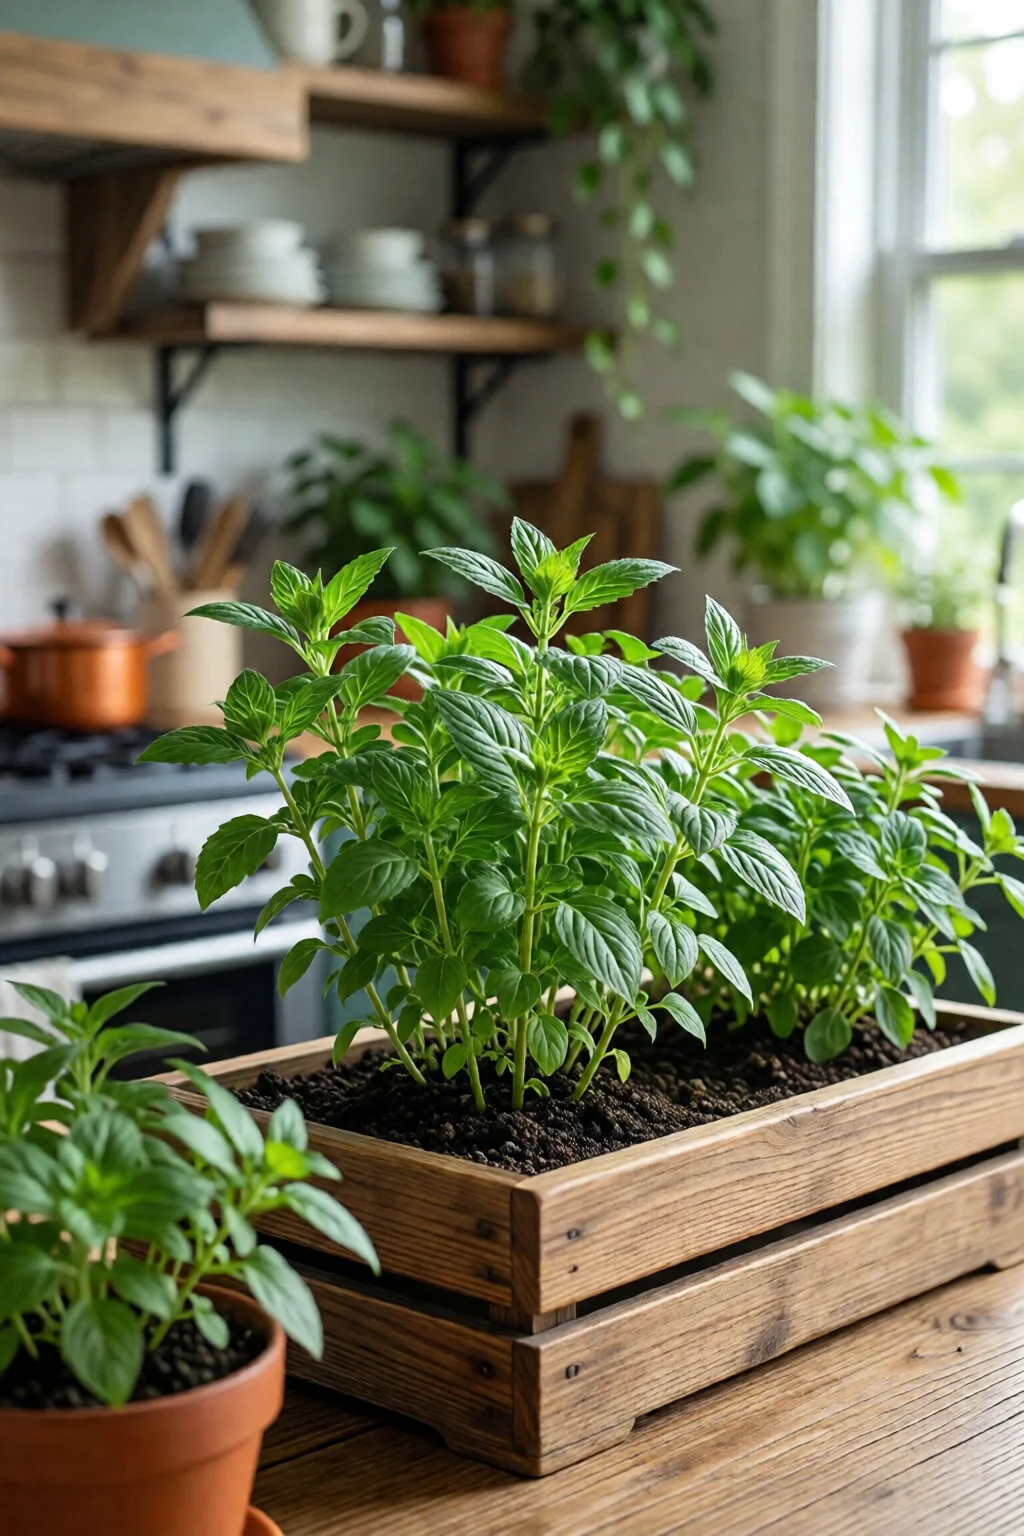
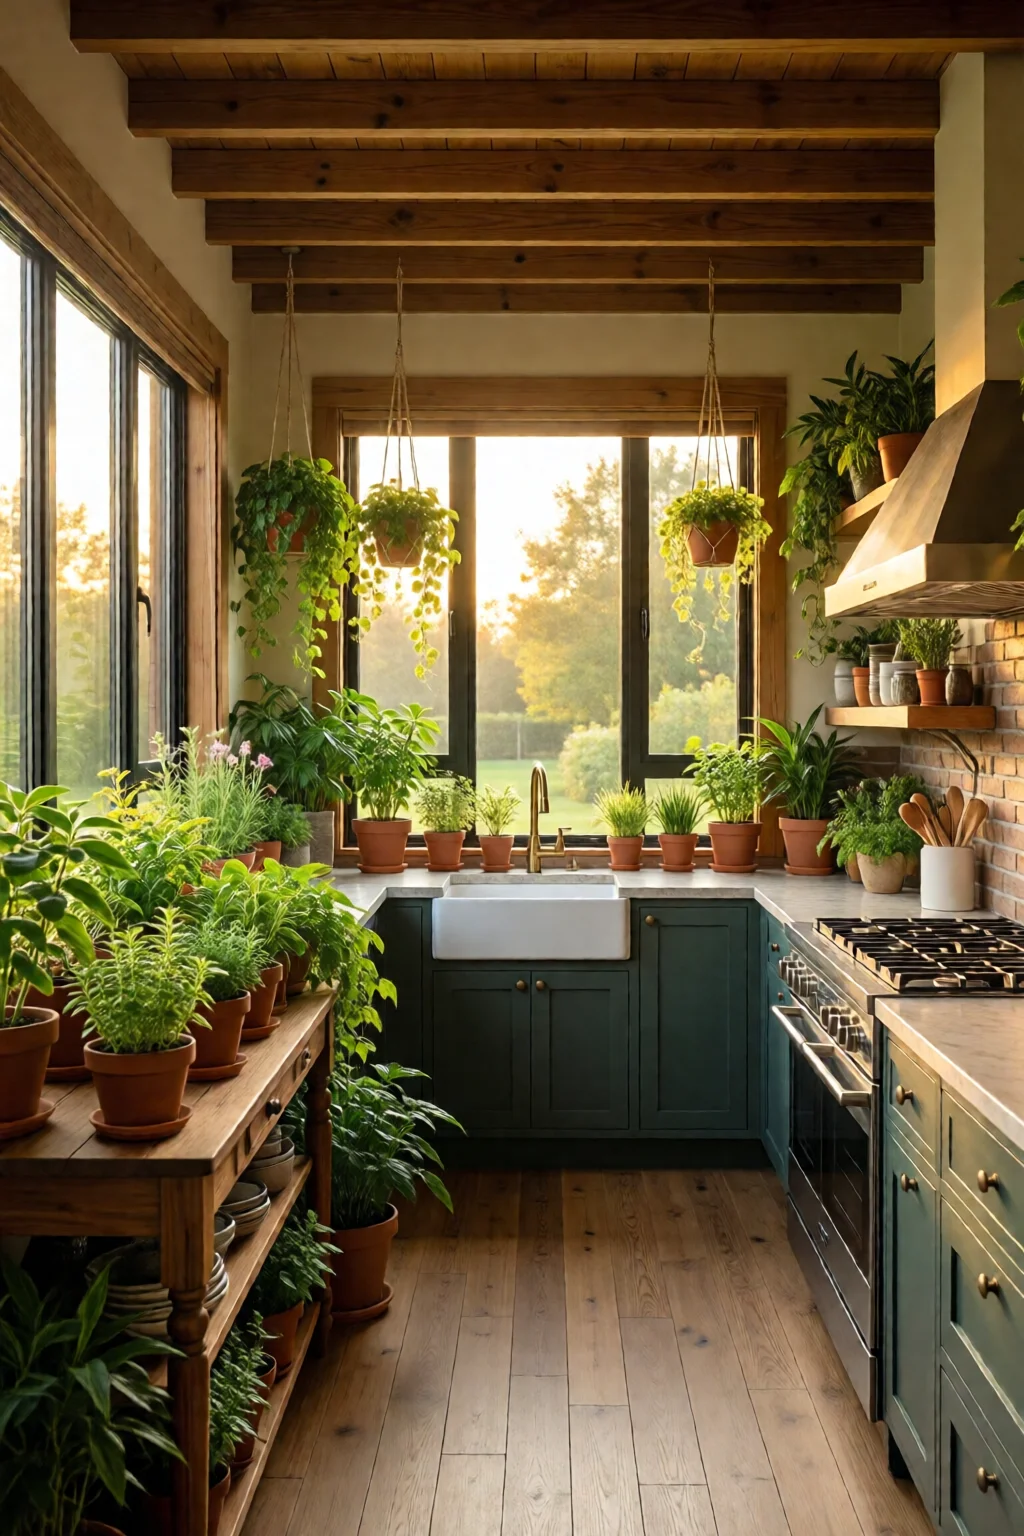
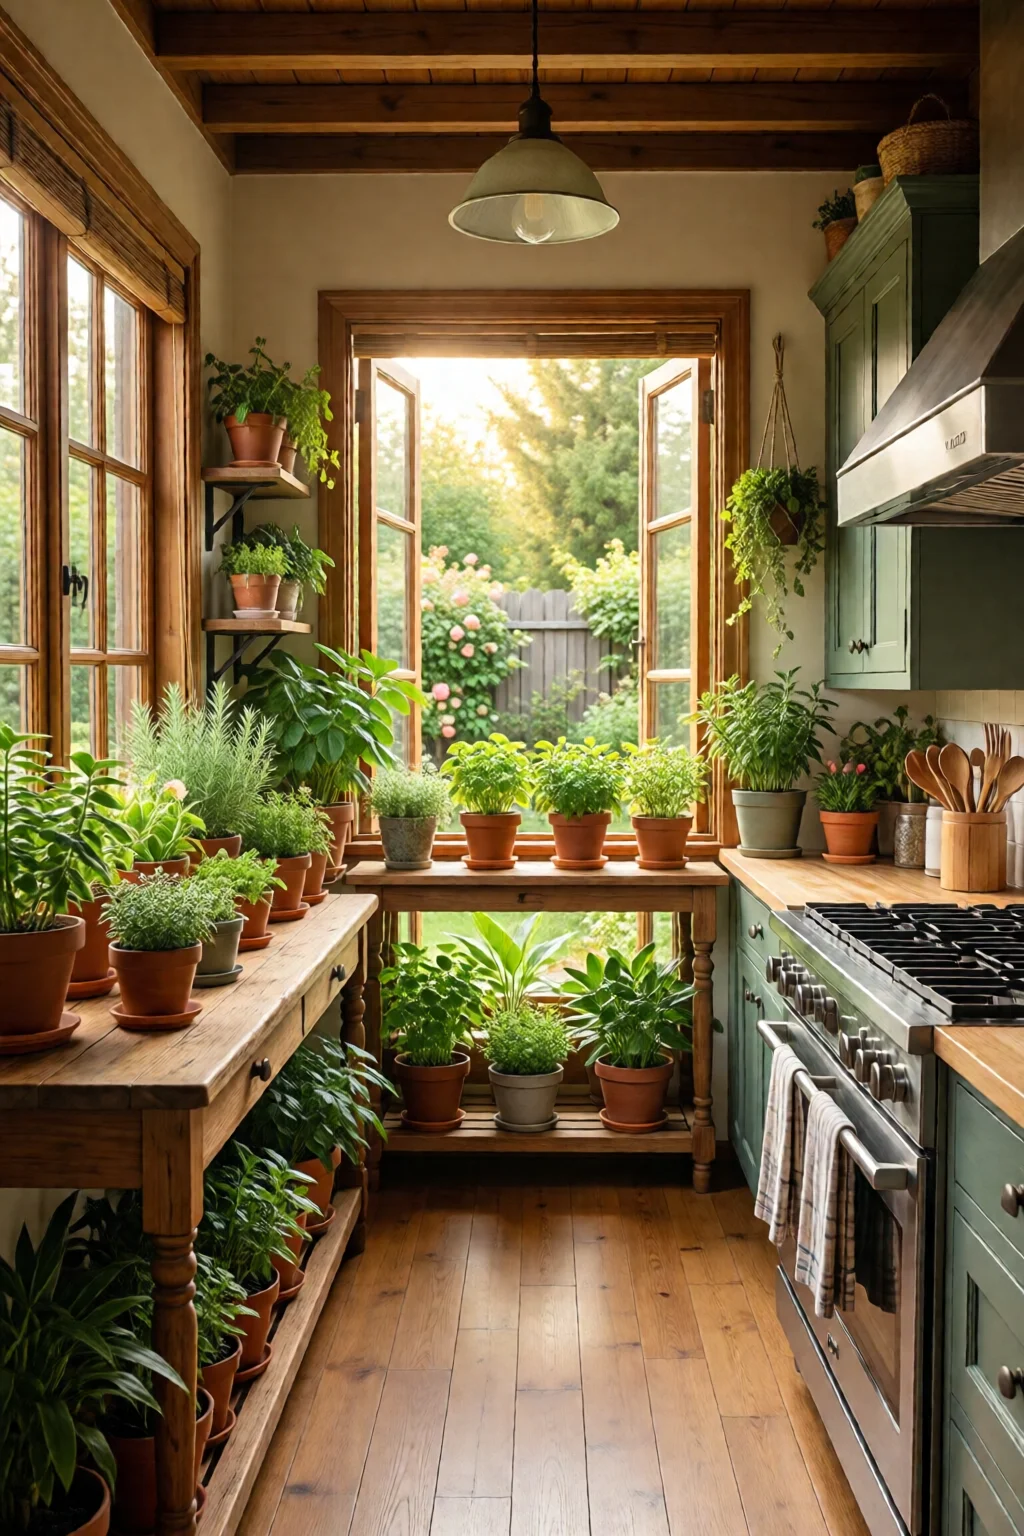
Imagine you’re prepping a fresh pesto on a rainy Tuesday, and you realize the basil you need is wilting on the counter. A few weeks ago I turned that frustration into a thriving little corner of green right above my stovetop, and now I never scramble for store‑bought herbs again. Below are my favorite indoor herb garden ideas for the kitchen, each tested, tweaked, and proven to keep flavor at your fingertips.
In This Article
- 1. Window‑Sill “Mini‑Farm” – The Classic Starter
- 2. LED Grow‑Light Shelf – Year‑Round Harvest
- 3. Hydroponic Countertop System – Soil‑Free Simplicity
- 4. Mason‑Jar Hanging Garden – Rustic Charm
- 5. Vertical Pocket Planter – Maximizing Space
- Comparison Table: Top Picks for Your Kitchen Herb Garden
- 6. DIY Recycled Plastic Bottle Garden – Eco‑Friendly & Cheap
- 7. Kitchen Herb Wall – A Living Backplash
- Final Verdict
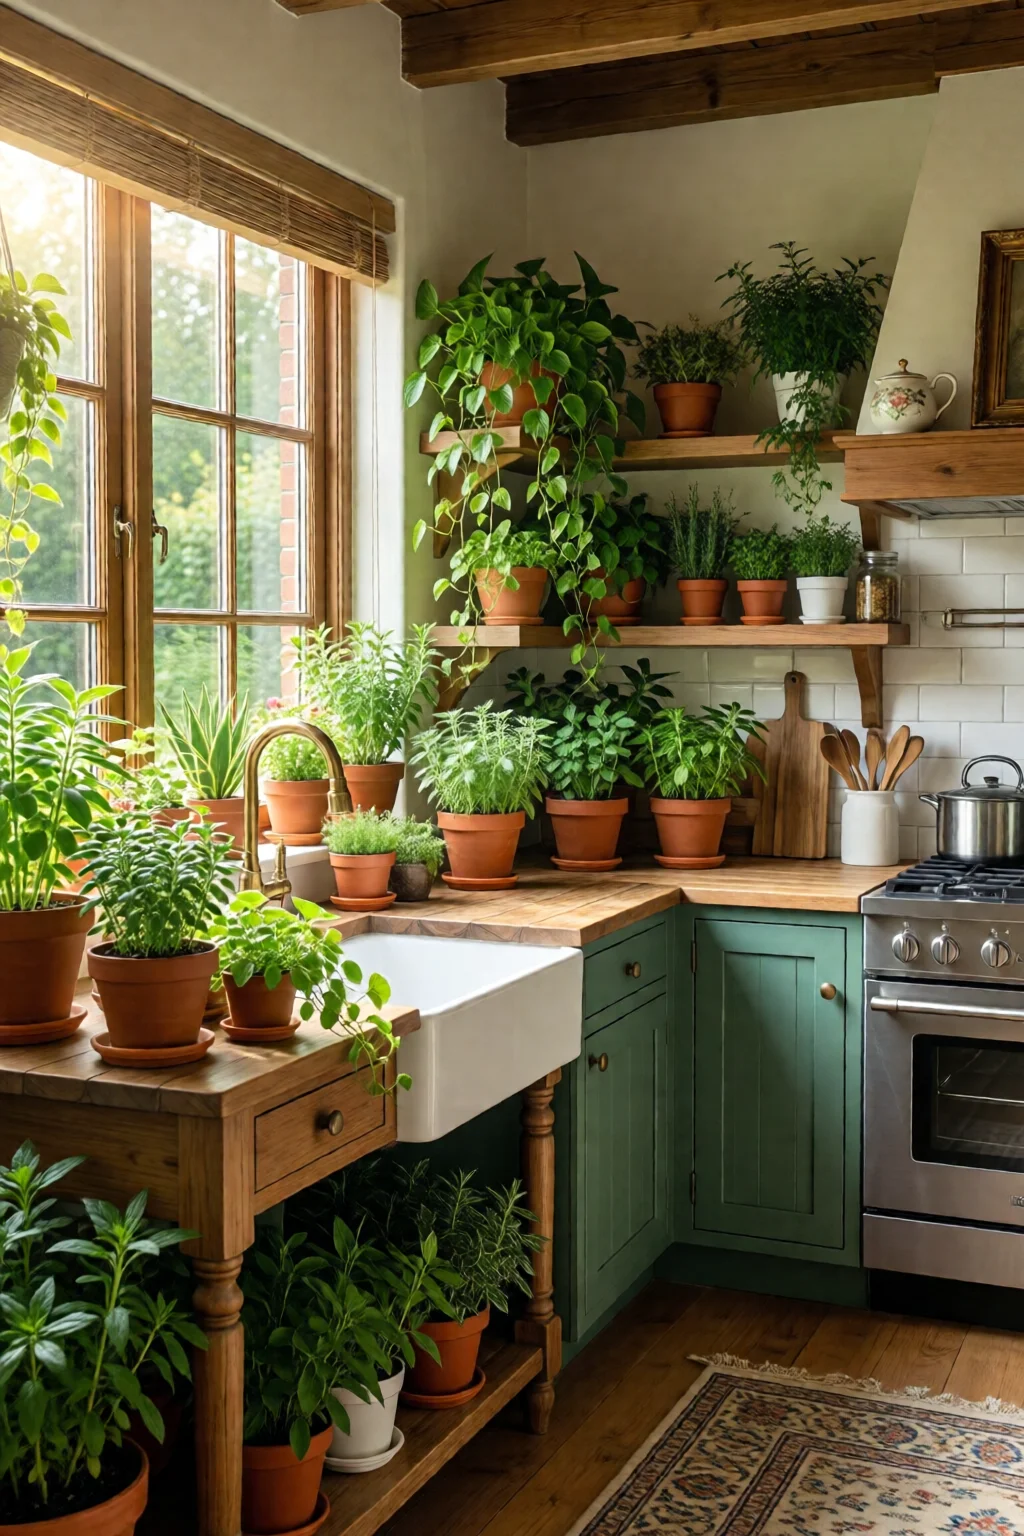
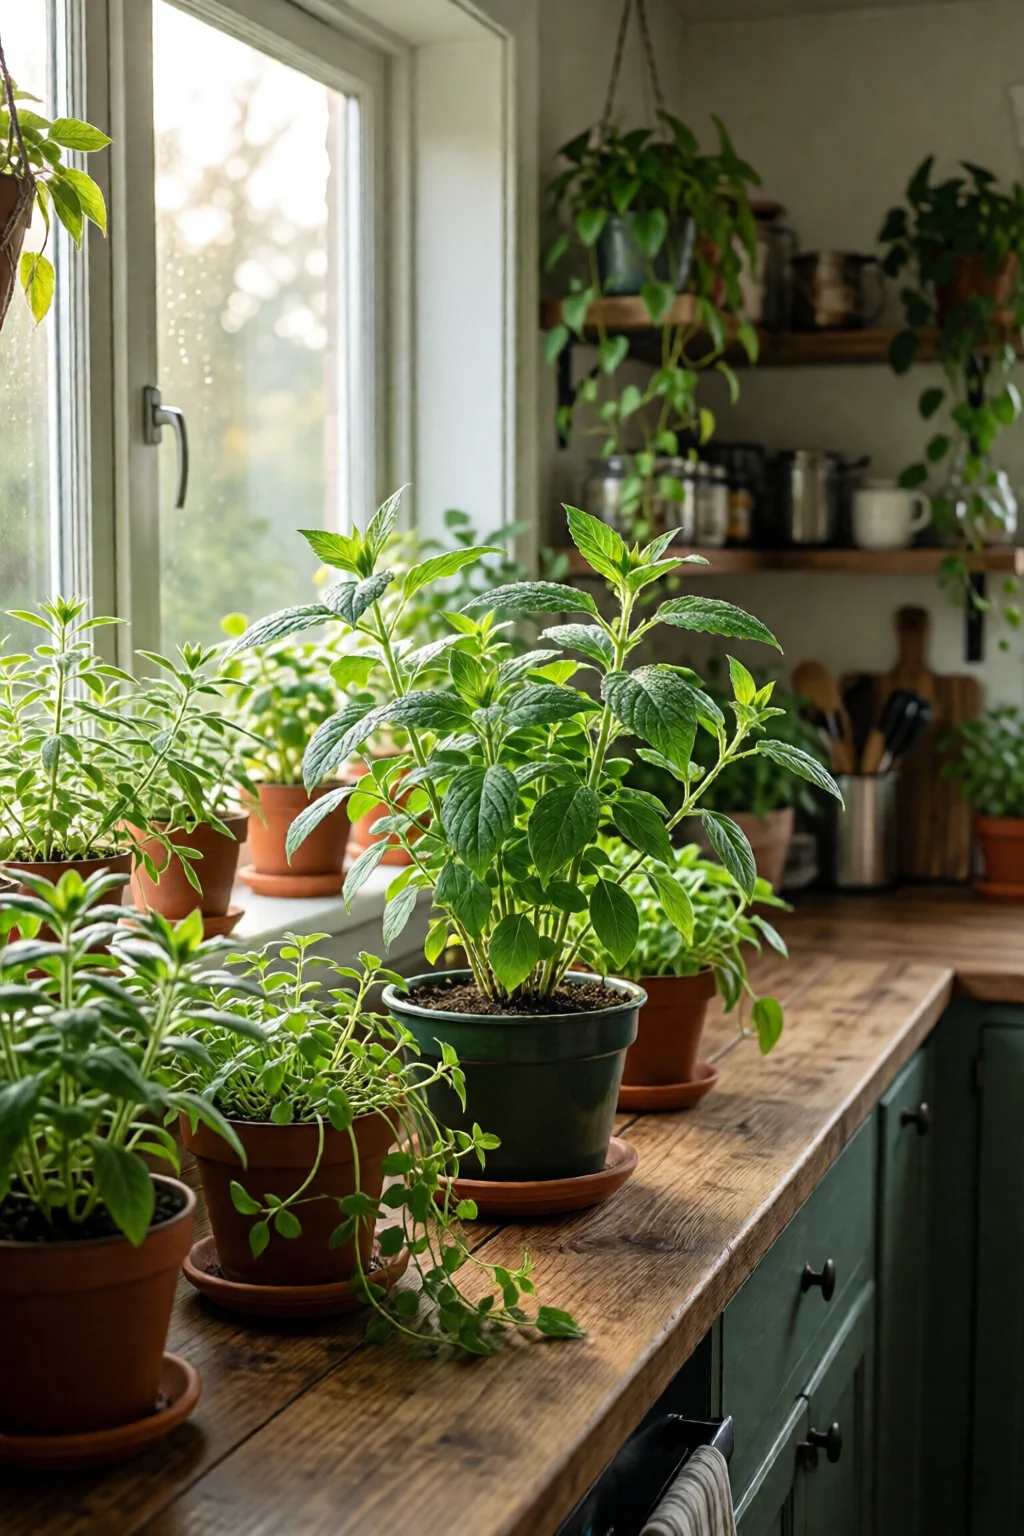
1. Window‑Sill “Mini‑Farm” – The Classic Starter
For most beginners, the simplest way to begin an indoor herb garden ideas kitchen project is to harness natural sunlight. A south‑facing window provides 4–6 hours of direct light, perfect for basil, parsley, cilantro, and chives.
What you need:
- Three 8‑inch terra‑cotta pots (≈ $1.50 each from Home Depot)
- High‑quality organic potting mix – 1 qt costs $6 on Amazon (Miracle-Gro Cactus, Palm & Citrus)
- Self‑watering saucers (optional) – $12 for a set of 4 from IKEA
Setup steps:
- Fill each pot with potting mix, leaving 1 inch from the rim.
- Plant seeds ¼ inch deep; water gently until soil is moist.
- Arrange pots side‑by‑side, ensuring the tallest (basil) is in the center.
- Rotate the arrangement weekly to even out light exposure.
Pros:
- Low cost – total under $30.
- Minimal maintenance – water every 2–3 days.
- Immediate visual feedback; you see growth daily.
Cons:
- Dependent on window orientation; north‑facing windows may need supplemental light.
- Limited to herbs that tolerate direct sun.
One mistake I see often is crowding the pots too tightly, which restricts airflow and invites mildew. Keep at least an inch between containers.
2. LED Grow‑Light Shelf – Year‑Round Harvest
If your kitchen lacks a sunny window, an LED grow‑light shelf is a game‑changer. I installed a snake plant care and benefits style shelf using the VIPARSPECTRA 600W LED grow light ($79 on Amazon) and a 36‑inch steel rack ($45 from Home Depot).
Materials:
- LED grow light panel – 600 µmol·m⁻²·s⁻¹ intensity.
- Four 10‑inch fabric grow bags (≈ $2 each).
- Hydroponic rockwool cubes for seed starting.
- Timer plug – $12, set to 14 hours on, 10 hours off.
How to assemble:
- Mount the LED panel on the back of the shelf, ensuring the light hangs 12 inches above the plants.
- Insert grow bags into the shelf slots; fill with a 1:1 mix of coco coir and perlite.
- Plant seeds or seedlings; water with a diluted fertilizer (see indoor plant fertilizer guide).
- Set the timer; watch the lights mimic sunrise and sunset.
Pros:
- Independent of window placement – works in any kitchen.
- Consistent light spectrum boosts leaf production by up to 30%.
- Compact footprint; fits under a countertop.
Cons:
- Higher upfront cost – about $150 total.
- Electricity usage ≈ 50 W per day (≈ $0.07/month).
In my experience, the biggest benefit is the ability to grow heat‑loving herbs like thyme and oregano even in winter.
3. Hydroponic Countertop System – Soil‑Free Simplicity
For a sleek, modern look, consider a countertop hydroponic unit. The AeroGarden Harvest (price $99 on Target) offers a self‑watering reservoir, built‑in LED, and pre‑seeded pods for basil, parsley, dill, and mint.
Key features:
- 6‑inch wide, fits on most kitchen counters.
- Water reservoir holds 1 L, lasts up to 3 weeks.
- Adjustable LED spectrum from 8,000 K to 12,000 K.
Setup:
- Fill the reservoir with tap water; add the AeroGarden liquid plant food (2 ml per L).
- Insert the pre‑seeded pods; the system automatically wets the grow medium.
- Plug in and set the timer – default is 16 hours light.
- Harvest leaves after 3–4 weeks; the plant will keep producing.
Pros:
- Mess‑free – no soil, no spills.
- Consistent yields; you can harvest daily.
- Beginner‑friendly – no germination guesswork.
Cons:
- Recurring cost – each pod pack ≈ $8 for 6 plants.
- Limited plant variety – cannot grow root herbs like ginger.
One mistake many new users make is neglecting to change the water every two weeks, which can lead to algae buildup and reduced nutrient uptake.
4. Mason‑Jar Hanging Garden – Rustic Charm
If you love a farmhouse vibe, hanging mason‑jar herb gardens add both utility and décor. I repurposed three 16‑oz Ball Mason jars ($1.25 each) and installed a simple wooden dowel rack ($15 at Michaels).
Materials:
- Three 16‑oz mason jars with lids.
- Wooden dowel (1 × 12 in) and two L‑shaped brackets.
- Potting soil – 1 qt, $5.
- Herb seedlings (basil, thyme, rosemary) – $4 per plant at local nursery.
Assembly:
- Drill a ¼‑inch hole in each lid for a small metal eye screw.
- Thread a length of ¼‑inch rope through the eye and tie a knot.
- Fill each jar with soil, leaving 1 inch from the top.
- Plant seedlings, water lightly, and hang the jars from the dowel rack.
Pros:
- Very low cost – under $30 total.
- Eye‑catching design; doubles as kitchen art.
- Easy to relocate.
Cons:
- Limited soil volume – may need more frequent watering.
- Weight of water can strain the rope; use sturdy cotton or nylon.
In my experience, placing a small saucer under each jar catches drips and protects countertops.
5. Vertical Pocket Planter – Maximizing Space
Small kitchens can’t afford a sprawling herb bed, but a vertical pocket system makes every inch count. The Click and Grow Smart Garden 3 ($119 on Click & Grow) uses fabric pockets that hold a peat‑based substrate.
Features:
- Three vertical pockets – each holds a different herb.
- Built‑in LED, 18 hours light per day.
- Automatic water reservoir (400 ml).
How it works:
- Insert the pre‑filled smart soil pods (basil, mint, oregano).
- Fill the reservoir with water; the system releases moisture as needed.
- Harvest leaves after 4–5 weeks.
Pros:
- Space‑saving – stands only 12 in tall.
- Low maintenance – water sensor prevents over‑watering.
- Stylish – modern white design fits any kitchen aesthetic.
Cons:
- Higher price point – $119 upfront, pods $9 each.
- Limited to three herbs at a time.
One mistake I see is over‑filling the reservoir; the system is calibrated for 400 ml, and extra water can cause root rot.
Comparison Table: Top Picks for Your Kitchen Herb Garden
| System | Cost (USD) | Space Required | Light Source | Herb Variety | Maintenance | Rating (out of 5) |
|---|---|---|---|---|---|---|
| Window‑Sill Mini‑Farm | $30 | 12 in × 12 in | Natural sun (4‑6 hrs) | 8‑10 herbs | Low – water 2‑3 days | 4.2 |
| LED Grow‑Light Shelf | $150 | 36 in × 12 in | LED (600 µmol·m⁻²·s⁻¹) | 12+ herbs | Medium – monitor timer | 4.6 |
| AeroGarden Harvest | $99 | 6 in × 12 in | LED (full spectrum) | 6 herbs (pre‑seeded) | Low – auto‑water | 4.5 |
| Mason‑Jar Hanging Garden | $28 | Vertical, 8 in wide | Natural sun | 3 herbs | Medium – frequent watering | 4.1 |
| Click & Grow Smart Garden 3 | $119 | 12 in × 12 in | LED (18 hrs) | 3 herbs (pods) | Very low – auto‑water | 4.4 |
6. DIY Recycled Plastic Bottle Garden – Eco‑Friendly & Cheap
Got a stash of 2‑liter soda bottles? Turn them into a tiered herb garden that sits on your kitchen island. Each bottle becomes a self‑watering pot using the wick method.
Materials:
- Four 2‑L PET bottles – free.
- Scissors, drill, and a hot‑glue gun.
- Coir fiber wicks (½ inch diameter) – $8 for a pack of 10.
- All‑purpose potting mix – $5 for a 5‑qt bag.
Construction:
- Cut the bottle in half; keep the bottom as the reservoir.
- Drill two ¼‑inch holes near the rim of the top half for airflow.
- Insert a coir wick through the bottom opening, letting the lower end sit in the reservoir.
- Fill the top half with soil, plant herbs, and nest it back onto the reservoir.
- Stack the bottles in a pyramid; secure with zip ties.
Pros:
- Almost zero cost – uses waste material.
- Self‑watering wicks reduce daily attention.
- Customizable height – fits any counter.
Cons:
- Plastic may leach if exposed to high heat; keep away from stove.
- Limited aesthetic appeal – may need decorative paint.
One mistake I often see is using garden soil that retains too much water; a light mix with perlite prevents the wicks from becoming saturated.
7. Kitchen Herb Wall – A Living Backplash
Turn an empty wall near your prep area into a living herb mural. I installed a 4‑ft × 2‑ft modular grid from WallyGro ($79 per panel) with built‑in irrigation.
Components:
- Four WallyGro panels – $316 total.
- Drip irrigation kit – $45 from Home Depot.
- Herb plugs (basil, rosemary, sage, thyme) – $2 each.
Installation:
- Mount the panels on the wall using the supplied brackets.
- Connect the drip tubing to a 1‑L reservoir under the counter.
- Insert herb plugs into each pocket; set the timer for 5 minutes twice daily.
- Prune regularly to keep growth tidy.
Pros:
- High visual impact – becomes a kitchen focal point.
- Large herb capacity – up to 12 varieties.
- Efficient water use – drip system recycles excess.
Cons:
- Higher initial investment – > $400.
- Requires wall mounting; not ideal for renters.
In my experience, the biggest payoff is the convenience of snipping fresh rosemary while the sauce simmers, without ever leaving the stove.
Final Verdict
Choosing the right indoor herb garden ideas kitchen setup depends on your space, budget, and how hands‑on you want to be. If you crave simplicity and a low price tag, the window‑sill mini‑farm or mason‑jar hanging garden are unbeatable. For tech‑savvy cooks who want year‑round consistency, the LED grow‑light shelf or AeroGarden Harvest deliver reliable yields at a moderate cost. And for eco‑conscious households, the recycled bottle garden offers a sustainable, almost free solution.
My personal favorite is a hybrid: a small LED shelf for heat‑loving herbs paired with a window‑sill tray for sun‑loving basil. This combo gives me the best of both worlds – consistent growth regardless of season and the satisfaction of watching seedlings push through soil.
How much light do kitchen herbs really need?
Most culinary herbs thrive with 4–6 hours of direct sunlight daily. If you can’t provide that, a full‑spectrum LED delivering 200–300 µmol·m⁻²·s⁻¹ for 12–14 hours will substitute effectively.
Can I use regular garden soil for indoor herb pots?
It’s better to use a light, well‑draining potting mix (e.g., 1 part peat moss, 1 part perlite). Garden soil tends to compact and hold too much moisture, leading to root rot.
How often should I fertilize indoor herbs?
A balanced 20‑20‑20 liquid fertilizer diluted to ¼ strength every two weeks works for most herbs. For hydroponic systems, follow the manufacturer’s dosage – usually 2 ml per litre of water.
Is it safe to grow edible herbs near a stove?
Yes, as long as the pots are placed at least 12 inches away from direct heat. Excess heat can cause rapid water loss and stress the plants.
1 réflexion au sujet de « How to Indoor Herb Garden Ideas Kitchen (Expert Tips) »