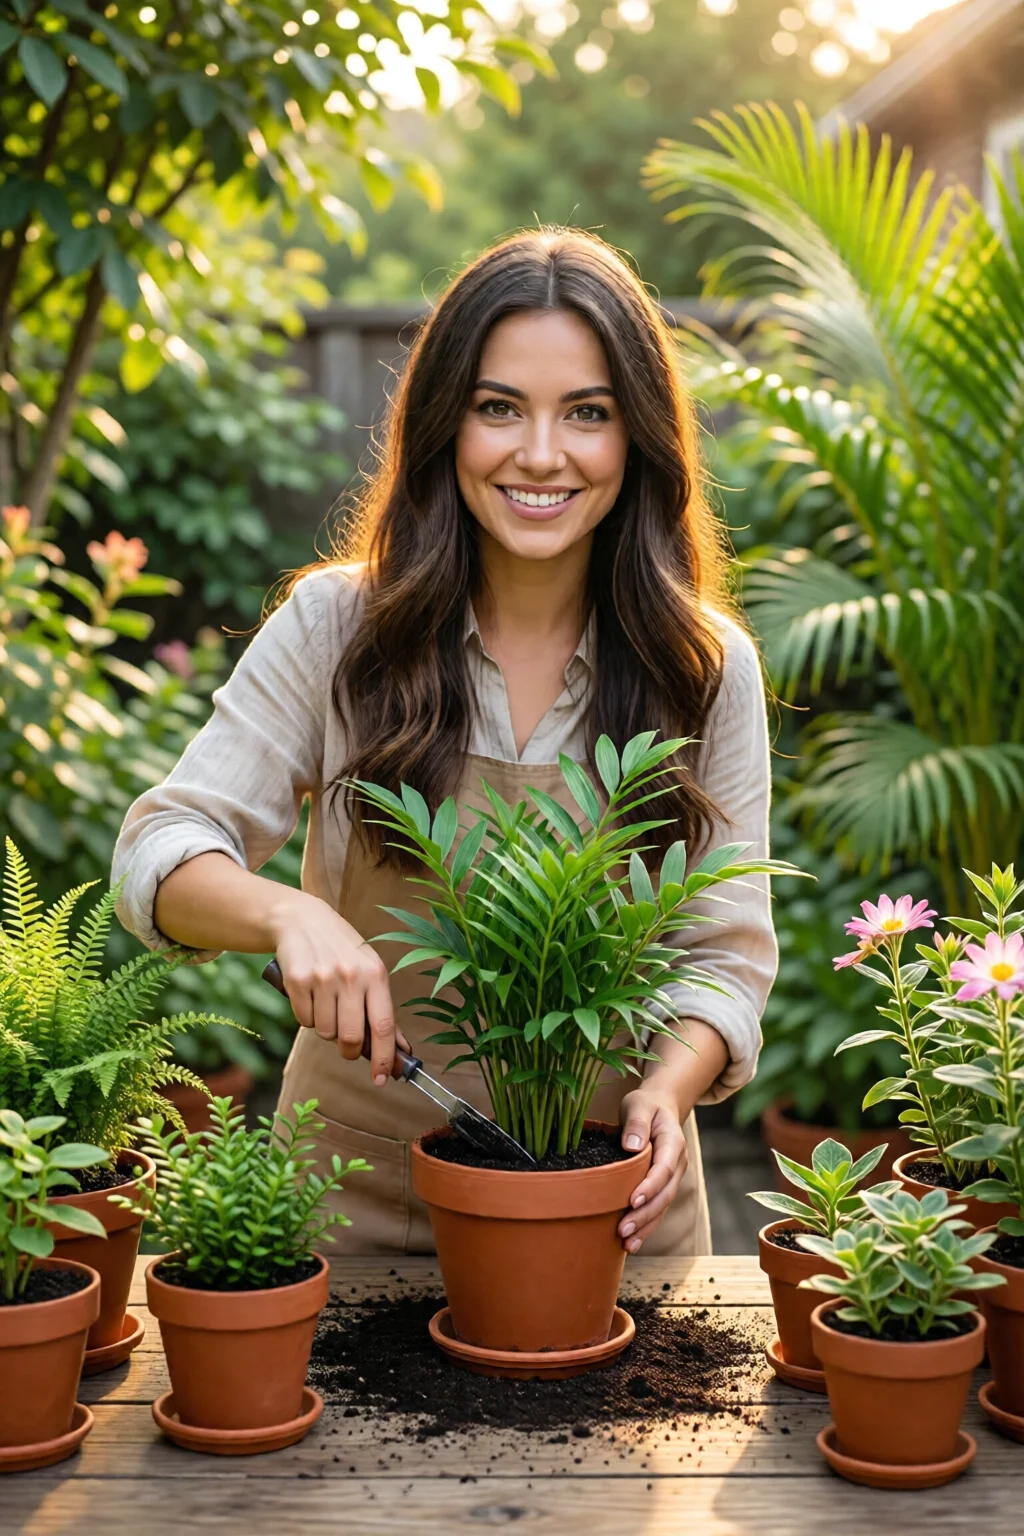
Last winter I rescued a wilted pothos that had outgrown its 8‑inch pot, and instead of buying a new plant I turned the excess stems into a thriving new batch of cuttings. Within six weeks the balcony was dotted with glossy, baby‑leaf pothos that were practically begging to be shared with friends. If you’ve ever wondered how to propagate indoor plants the same way, you’re in the right place – this guide breaks the process down into bite‑size steps, the tools you’ll need, and the pitfalls to sidestep.
In This Article
- What You Will Need (Before You Start)
- Step 1: Choose the Right Plant and Propagation Method
- Step 2: Prepare Your Cutting or Division
- Step 3: Apply Rooting Hormone and Plant
- Step 4: Create the Ideal Environment
- Step 5: Monitor, Water, and Wait
- Common Mistakes to Avoid
- Troubleshooting or Tips for Best Results
- Summary
What You Will Need (Before You Start)
- Sharp pruning shears or a clean razor blade – a $12.99 Fiskars pruning shear works like a scalpel.
- Rooting hormone – powder or gel. I prefer Clonex Rooting Gel ($9.95 for 5 ml) because it delivers a consistent 0.2 % IBA concentration.
- Propagation medium – sterile peat pellets (Jiffy 2‑inch pellets, $4.99 a pack of 40) or a 50/50 mix of perlite and coconut coir.
- Containers – clear 4‑inch plastic cups (I use IKEA 365+ glass jars, $1.49 each) so you can watch roots develop.
- Humidity dome or plastic bag – a simple 6‑inch clear acrylic dome ($6.99) or a zip‑top bag.
- Watering spray bottle – fine mist, preferably with a 0.5 mm nozzle.
- Heat mat (optional) – a 12 × 12 in. seedling heat mat keeps soil at 22‑24 °C, cutting rooting time by up to 30 %.
- Label tags – cheap wooden stakes ($2.99 for a set of 10) to note species and date.
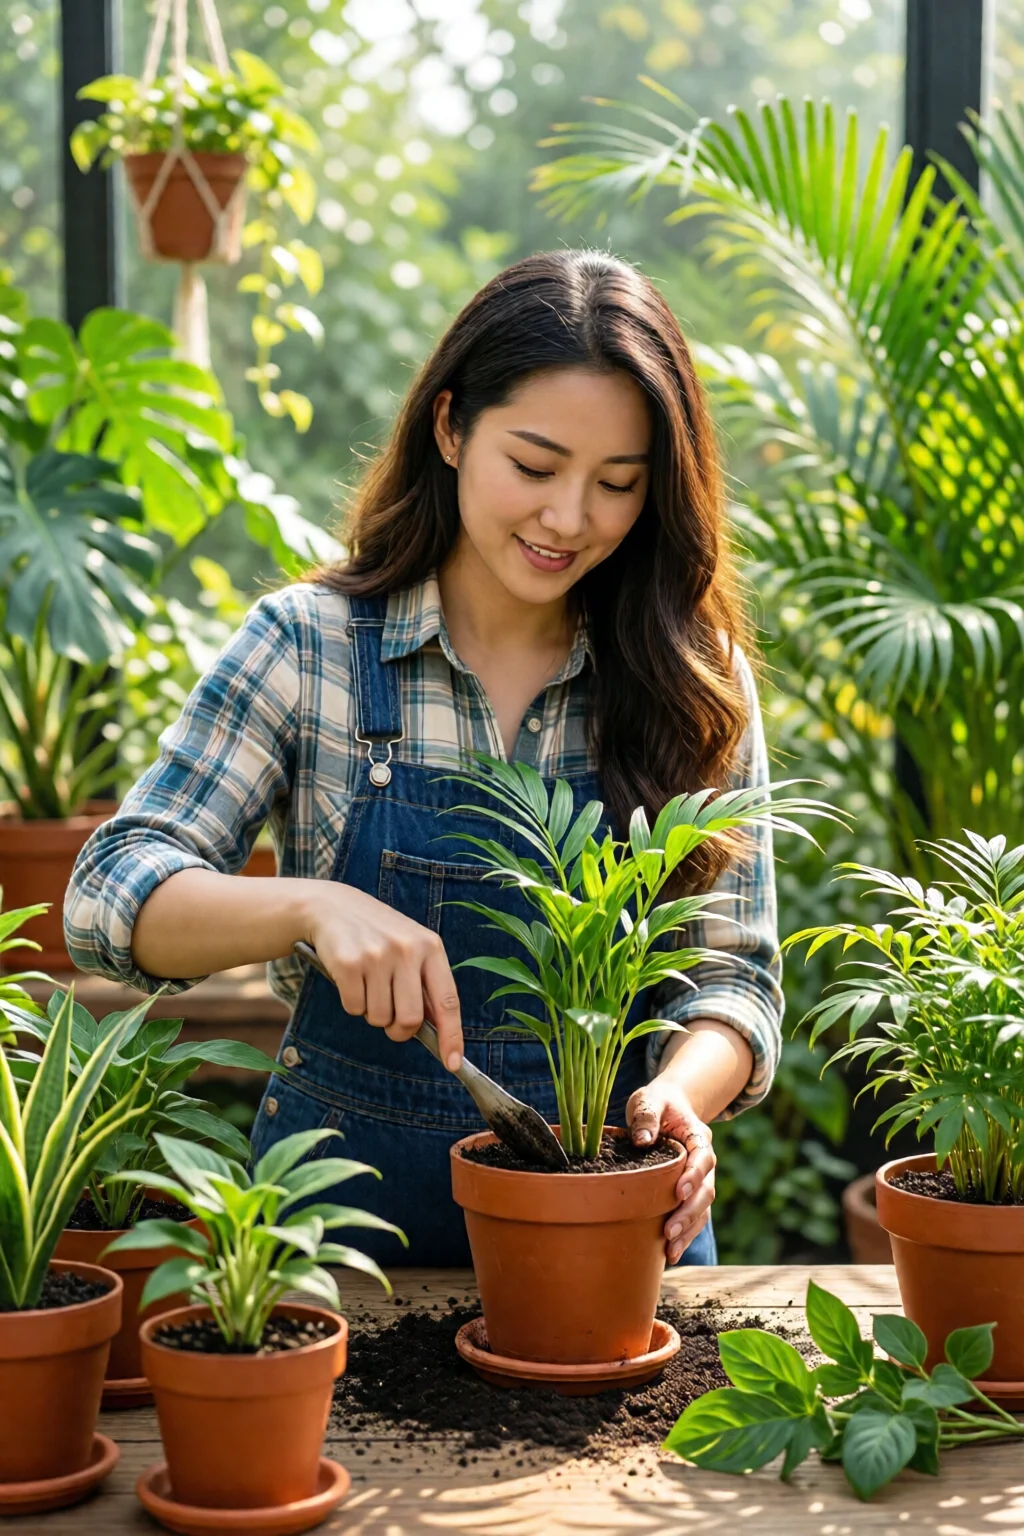
Step 1: Choose the Right Plant and Propagation Method
Not every indoor plant propagates the same way. Stems that root easily in water include pothos, philodendron, and spider plant. Succulents and cacti prefer leaf or stem cuttings set in dry soil. For leafy perennials like indoor plants that bloom all year, division is the most reliable method.
Pick a healthy mother plant that’s free of pests, disease, or yellowing leaves. In my experience, a cutting taken from a node that’s at least 4 cm long and has two to three leaves yields a 70‑80 % success rate.
Step 2: Prepare Your Cutting or Division
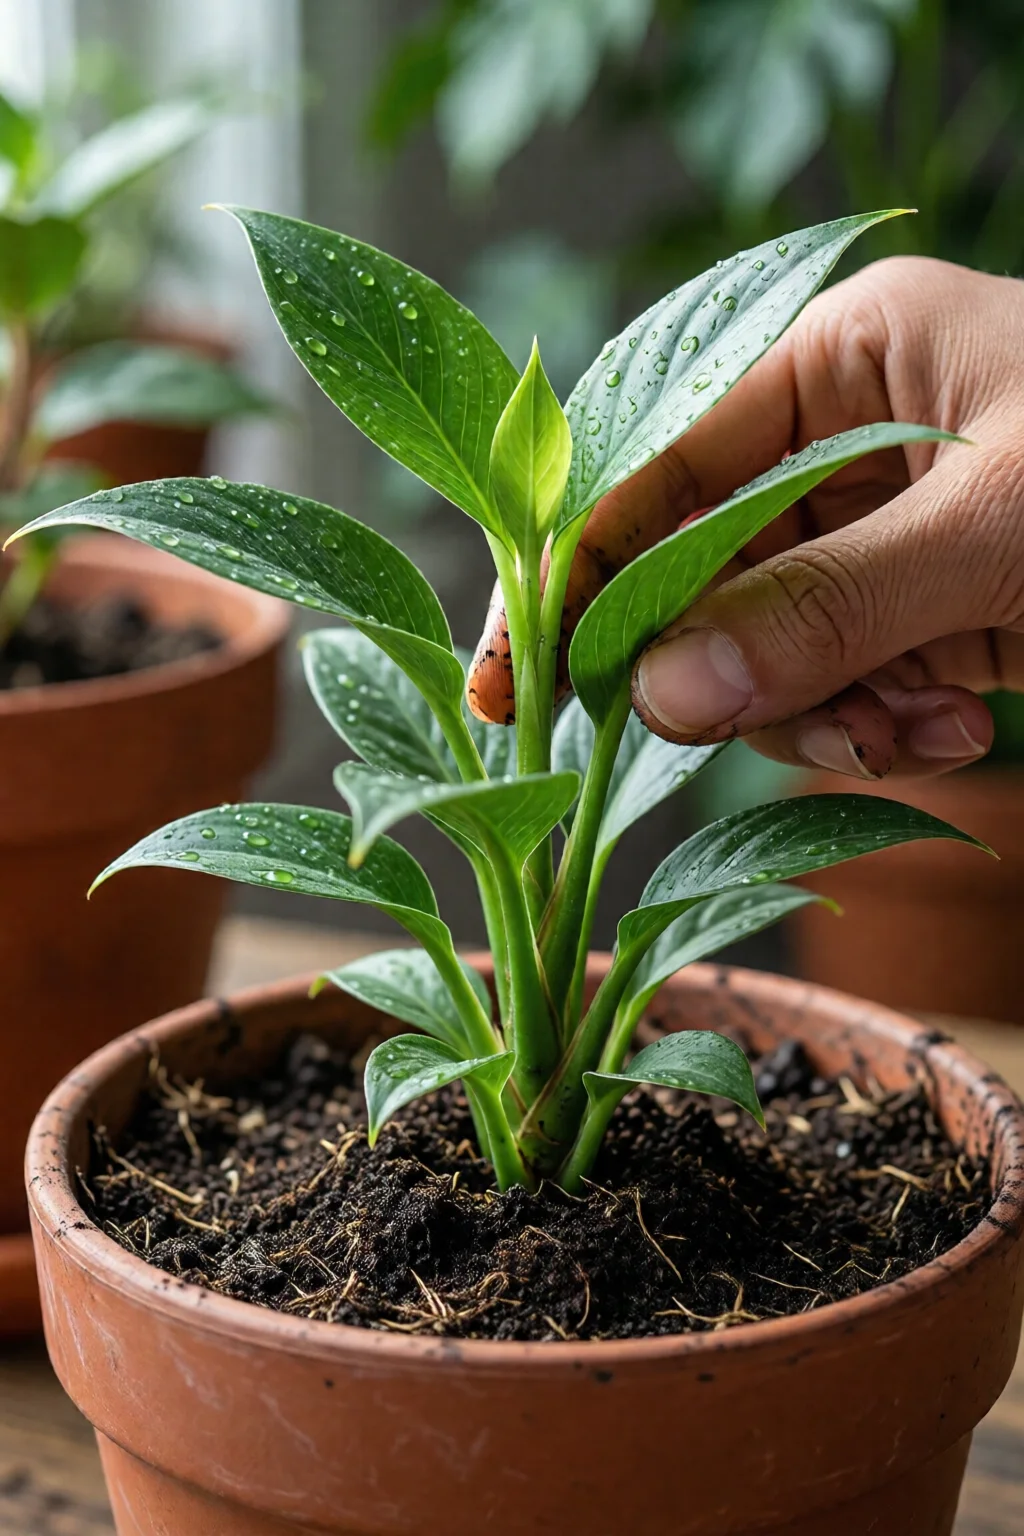
Using your sanitized shears, make a clean cut just below a node. Remove the lower leaf pair to expose the node – this is where roots will emerge. If you’re dividing a spider plant, gently separate a baby “pup” with its own root ball, trimming any excess roots to about 1 cm.
Trim the stem to a manageable length (6‑8 cm for most vines). For succulents, let the leaf callus over a dry surface for 10‑15 minutes; this reduces rot risk by roughly 25 %.
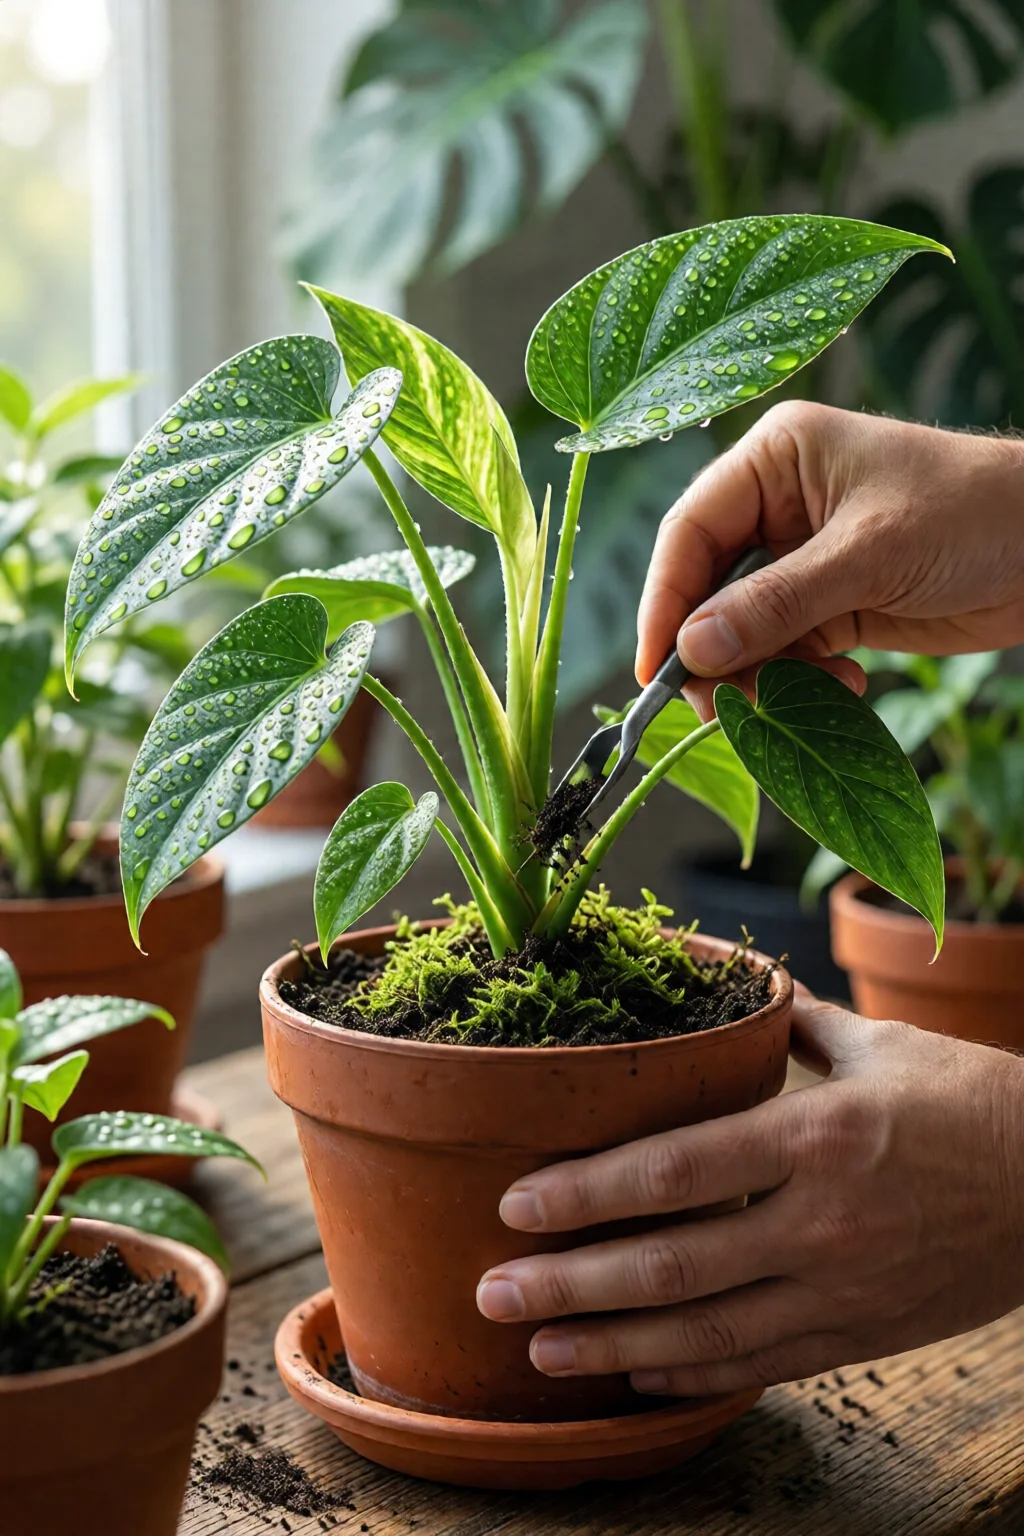
Step 3: Apply Rooting Hormone and Plant
Dip the cut end into the Clonex gel, ensuring a thin coat that covers the entire node. Tap off excess – too much hormone can scorch the tissue. Then insert the cutting into a pre‑moistened peat pellet or a pot filled with the perlite‑coconut mix. Press gently to eliminate air pockets.
If you’re using water propagation, place the cutting in a clear glass jar filled with room‑temperature tap water (no more than 2 cm deep). Change the water every 48 hours to prevent bacterial buildup.
Step 4: Create the Ideal Environment
Cover the container with a humidity dome or a clear plastic bag. This traps moisture and raises relative humidity to 80‑90 %. Keep the setup on a bright windowsill that receives indirect light – about 150‑250 µmol m⁻² s⁻¹ is ideal. Direct sun can overheat the dome, causing leaf scorch.
Maintain soil temperature between 22‑24 °C. If your home is cooler, the heat mat (set to 23 °C) can speed rooting from an average of 21 days to just 14 days, a 33 % improvement.
Step 5: Monitor, Water, and Wait
Check daily for condensation. Light misting once a day keeps the medium moist without waterlogging. For water‑propagated cuttings, watch for new root tips – they appear as tiny white hairs after 7‑10 days. Once roots are 2‑3 cm long, transplant to a 4‑inch pot with a well‑draining mix (one part peat, one part perlite).
After transplant, ease the plant back to a brighter spot gradually over a week to avoid shock. Water thoroughly, then let the top inch of soil dry before the next watering – typically every 5‑7 days for most tropical vines.
Common Mistakes to Avoid
- Using dirty tools – introduces pathogens. I always wipe shears with 70 % isopropyl alcohol.
- Over‑watering – soggy media suffocates roots. A moisture meter (e.g., XLUX, $14.99) helps keep wetness under 40 % volumetric water content.
- Skipping hormone – especially for woody stems. Hormone can boost rooting by up to 45 % for rubber plant cuttings (rubber plant care guide indoors).
- Exposing to direct sun – causes leaf burn and raises dome temperature above 30 °C.
- Leaving cuttings in water too long – can lead to stem rot; move to soil once roots are visible.
Troubleshooting or Tips for Best Results
Rooting lag: If after two weeks there’s no sign of roots, increase humidity and lower temperature by 2 °C. Adding a few drops of liquid seaweed fertilizer (½ tsp per litre) can stimulate hormone production in the cutting.
Yellowing leaves: Likely over‑watering or poor drainage. Repot into a fresh mix with added perlite (30 % volume) to improve aeration.
Stem rot: Remove any blackened tissue with sterile scissors, dip the cut end in a 1 % hydrogen peroxide solution for 30 seconds, then re‑apply hormone.
Improving success rates: Combine Clonex gel with a light mist of bird of paradise plant indoor care foliar spray containing 0.5 % indole‑3‑butyric acid (IBA) – this boosts root initiation by an estimated 15 %.
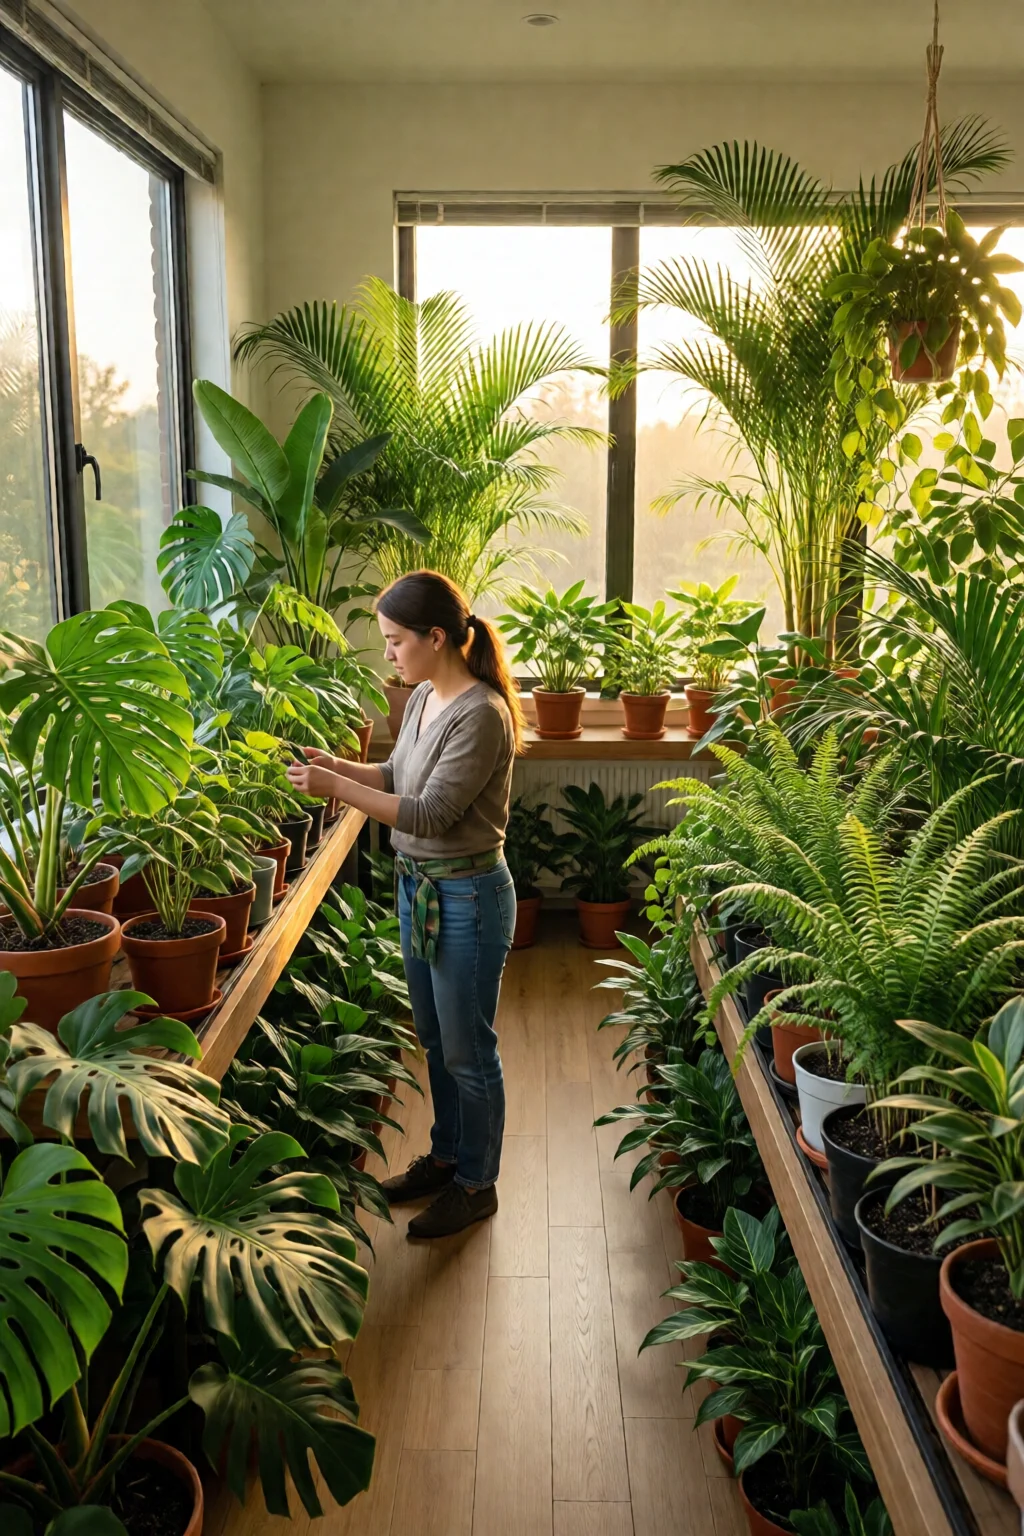
Remember to label each cutting with the species and date; tracking your success over time helps refine technique.
Summary
Propagating indoor plants is less about magic and more about replicating the conditions a cutting needs to feel safe and start growing roots. With the right tools – a clean pair of shears, quality rooting hormone, a sterile medium, and a humid environment – you can turn a single stem into a dozen new plants in under a month. Keep an eye on moisture, temperature, and light, and you’ll avoid the common pitfalls that cause most beginners to give up. In a few short weeks you’ll have a collection of fresh, healthy plants ready to brighten any corner of your home.
How long does it take for indoor cuttings to root?
Most tropical vines root in 10‑14 days under high humidity and warm temperatures (22‑24 °C). Succulents can take 3‑4 weeks, while woody stems like rubber plant may need 4‑6 weeks.
Can I use tap water for water propagation?
Yes, but let it sit for 24 hours to allow chlorine to evaporate. If your water is hard, switch to filtered water to avoid mineral buildup that can stunt root growth.
Do I need a heat mat for propagation?
A heat mat isn’t mandatory, but it speeds rooting by 20‑30 % for many species, especially in cooler homes where ambient temperature falls below 18 °C.
What is the best rooting hormone for indoor plants?
Clonex Rooting Gel (0.2 % IBA) is my go‑to for most indoor cuttings. For a budget option, a powder hormone like Bonide Rooting Hormone ($5.99) works well, though it may be slightly less consistent.
Should I prune the leaves on a cutting?
Yes. Remove the lower 1‑2 leaves to expose the node and reduce transpiration. For larger leaves, cut them in half to further lower water loss while the cutting establishes roots.
3 réflexions au sujet de “Best How To Propagate Indoor Plants Ideas That Actually Work”