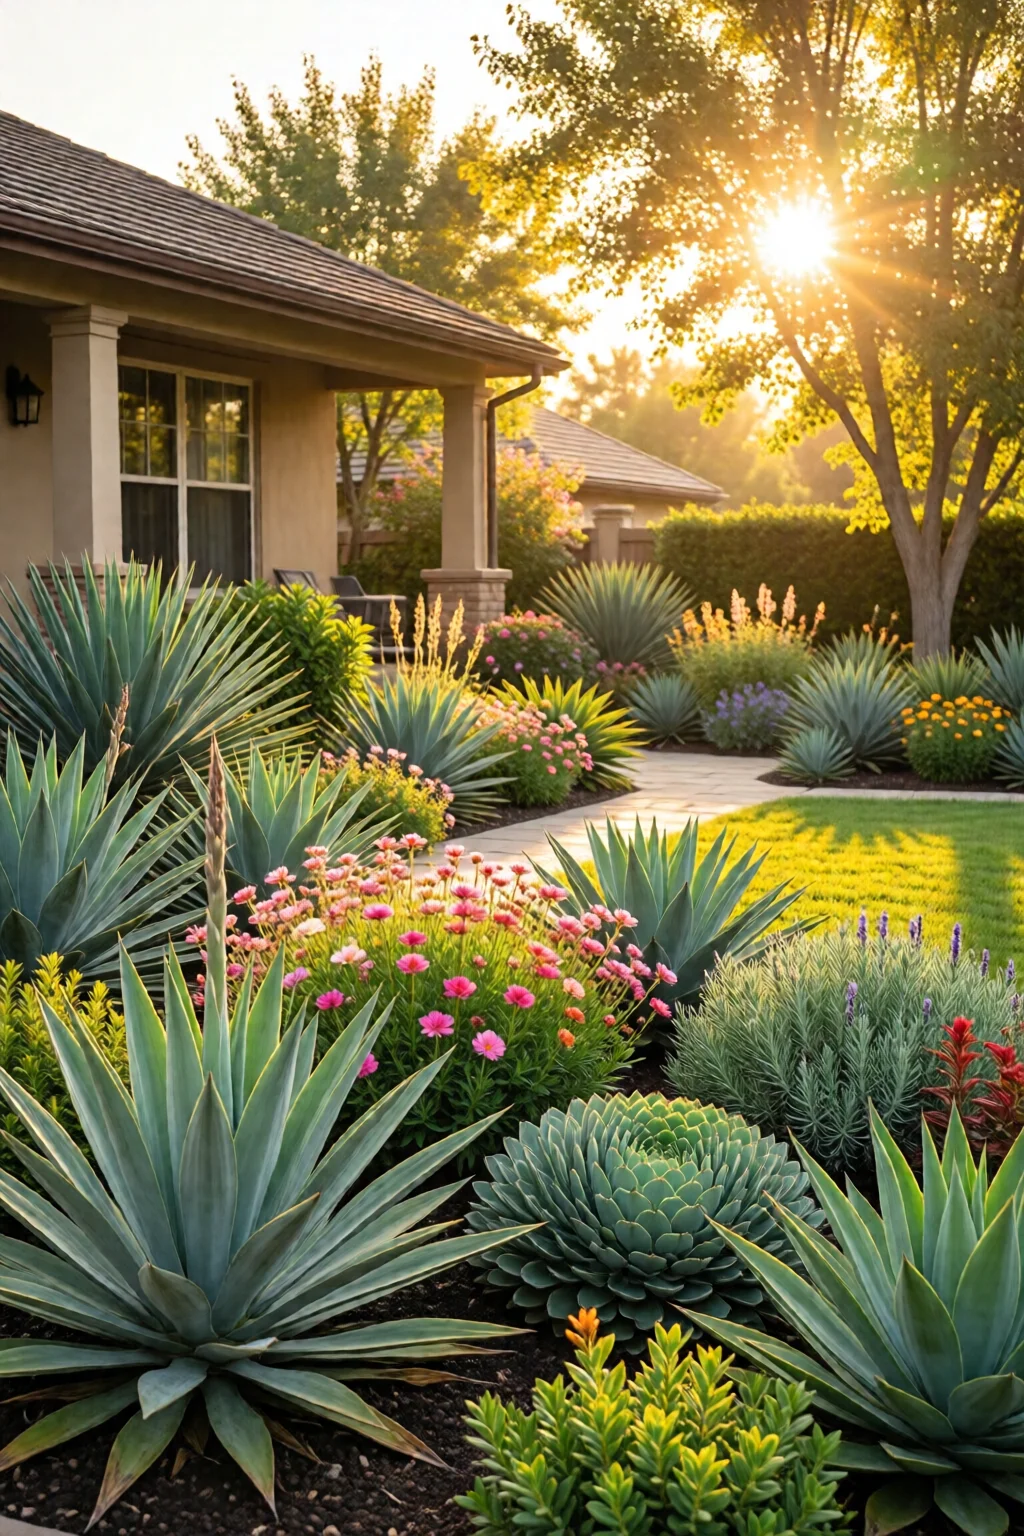
When the forecast shows another month of triple‑digit highs and the water bill climbs into the double figures, I remember the first time I tried a drought tolerant landscape design on my own front yard. I swapped out a thirsty lawn for a mix of native grasses, stone pavers, and a drip‑irrigated lavender border. Within weeks the garden stayed green, the curb appeal shot up, and my water usage dropped by roughly 45 %.
In This Article
- 1. Start with Soil Conditioning and Mulching – The Foundation of Every Drought‑Tolerant Landscape
- 2. Choose Native Grasses and Succulents – Low‑Maintenance, High‑Impact Plantings
- 3. Install a Smart Drip Irrigation System – Deliver Water Directly Where It’s Needed
- 4. Integrate Hardscape Elements – Gravel Paths, Pavers, and Rock Gardens
- 5. Plant Drought‑Tolerant Trees and Shrubs – The Long‑Term Backbone
- 6. Design for Microclimates – Group Plants by Water Needs and Sun Exposure
- 7. Adopt a Maintenance Routine That Saves Water – Prune, Weed, and Monitor
- Comparison Table – Top Picks for a Drought Tolerant Landscape Design
- Final Verdict – Your Path to a Beautiful, Water‑Smart Garden
If you’re staring at a dry backyard and wondering how to keep it beautiful without the constant sprinkler, this list will give you the exact steps, products, and budgeting tips you need. Each item is a proven piece of a water‑wise design puzzle, and together they form a landscape that thrives on minimal moisture.

1. Start with Soil Conditioning and Mulching – The Foundation of Every Drought‑Tolerant Landscape
Healthy soil holds water like a sponge, so it’s the first place you cut water waste. In my experience, adding a 2‑inch layer of organic mulch (such as shredded bark) reduces evaporation by up to 30 % and keeps soil temps 5‑10 °F lower.
What to use:
- Scotts Turf Builder Moisture Retention Mix – $12.99 for a 5‑lb bag. Mix it into the top 6 inches of soil before planting.
- Hydroponic Soil Conditioner – $14.49 per 4‑lb bag, enriched with bio‑char for extra porosity.
- Mulch options – Shredded hardwood bark ($3.75 per cubic foot), river rock mulch ($2.90 per cubic foot), or pine straw ($4.20 per bale, 30 lb).
Pros: Immediate moisture retention, reduces weed competition, improves soil structure.
Cons: Requires an upfront labor investment; organic mulch needs annual replenishment.
Tip: Lay mulch in a donut shape around the base of trees and shrubs, leaving a 2‑inch gap from the trunk to prevent rot.
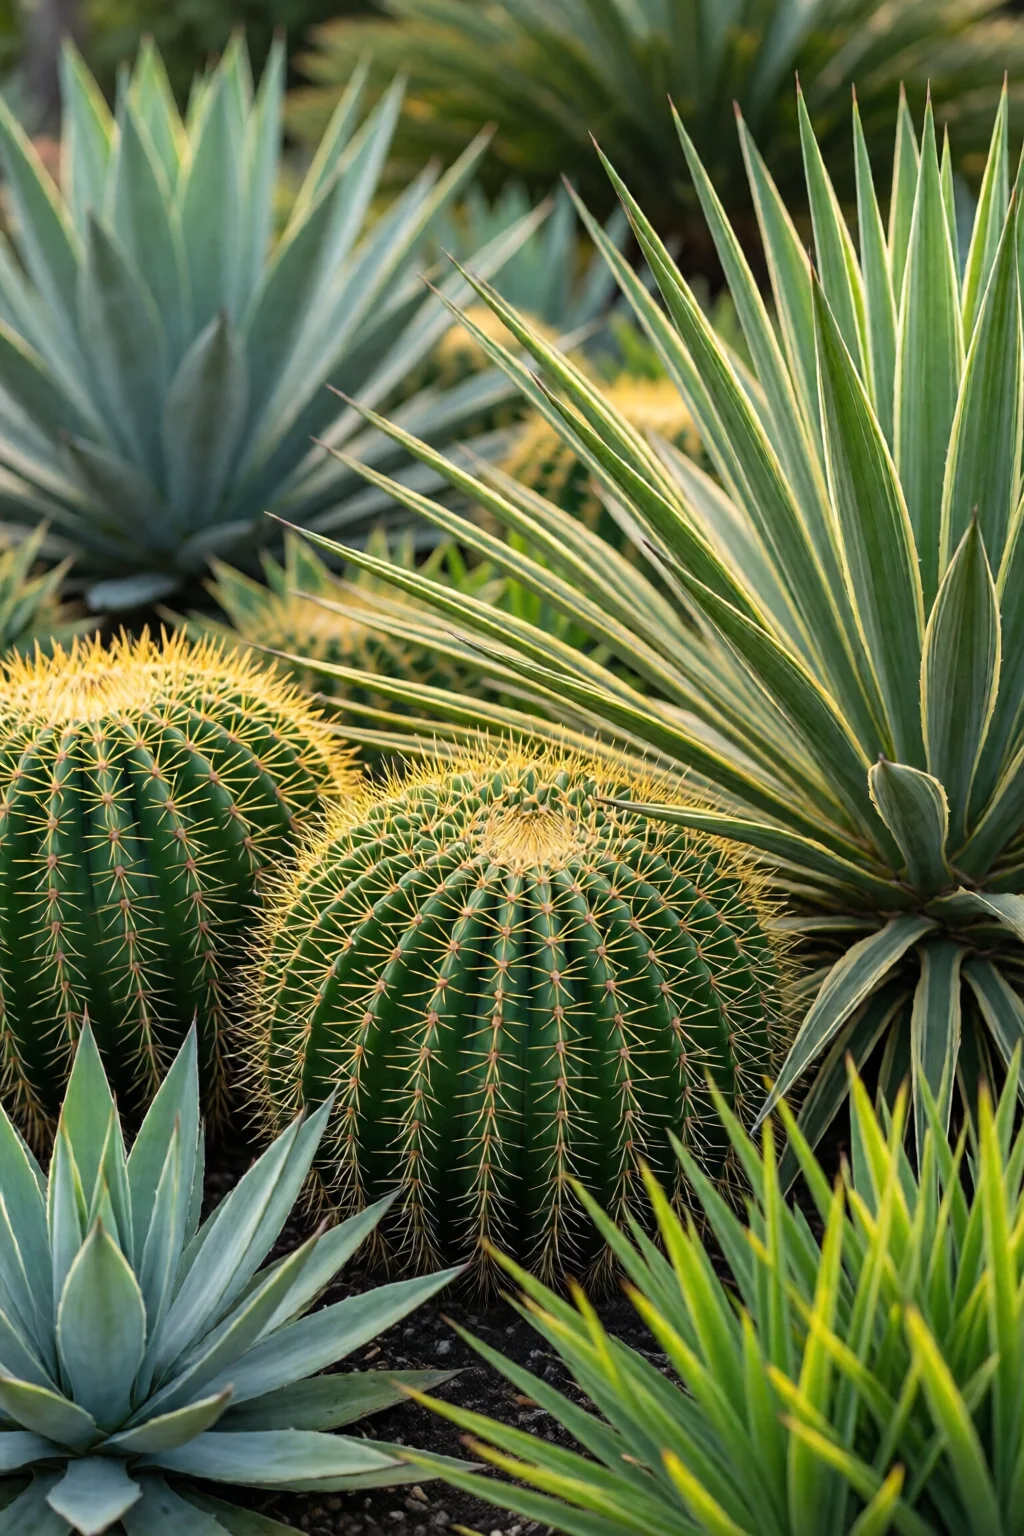
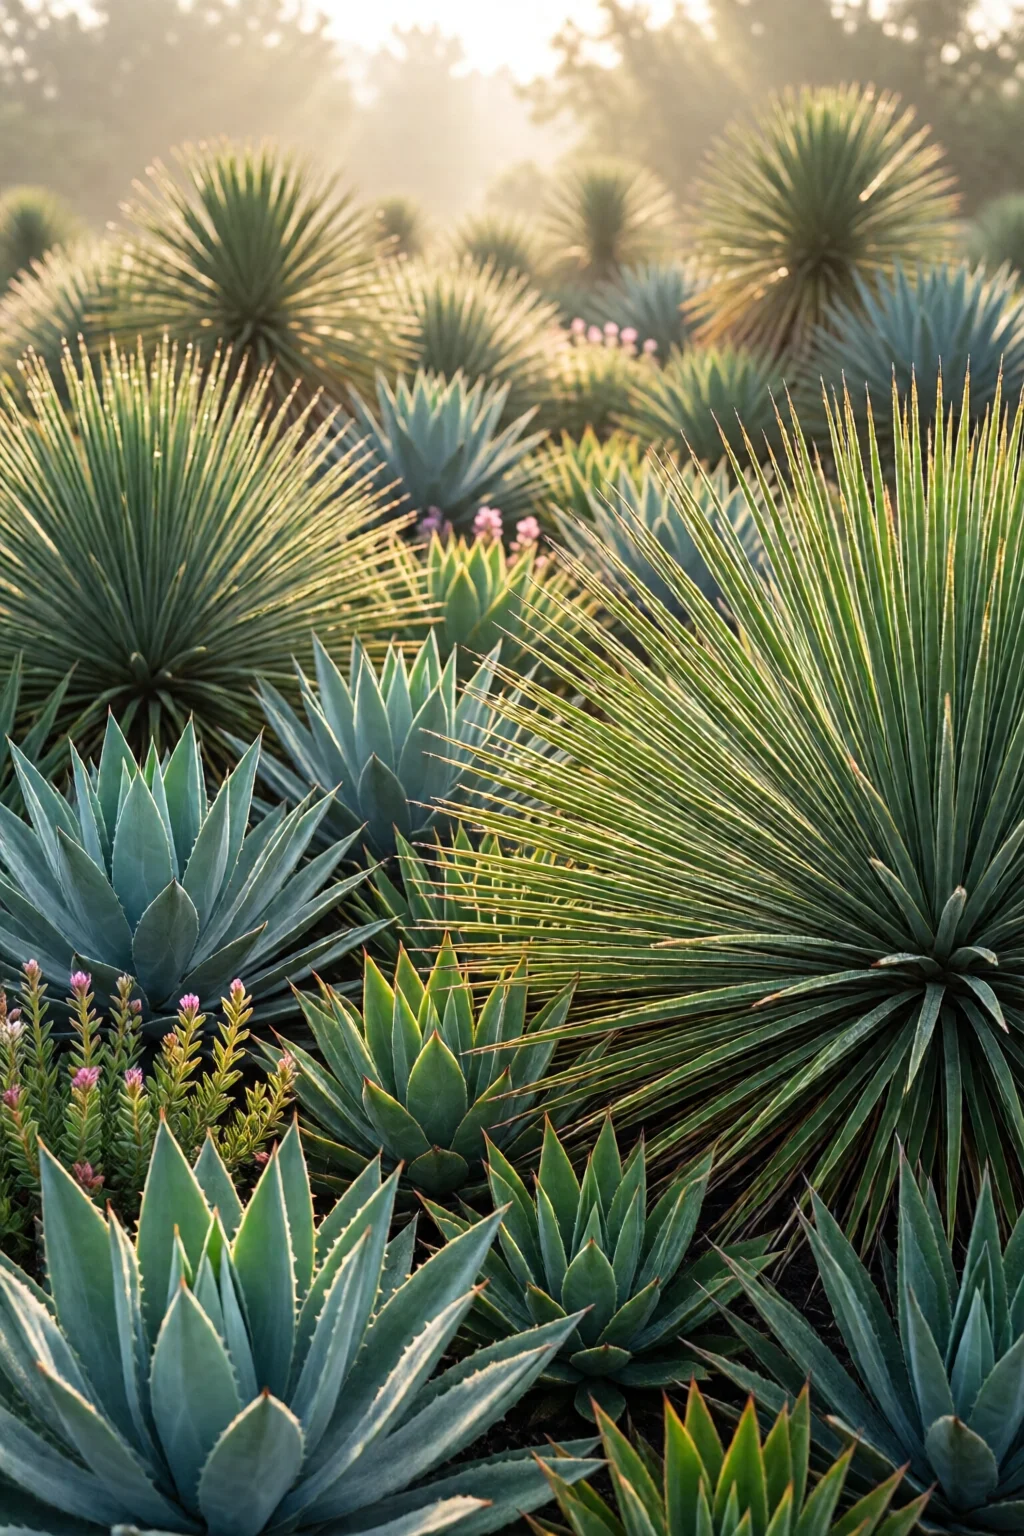
2. Choose Native Grasses and Succulents – Low‑Maintenance, High‑Impact Plantings
Native species are adapted to local rainfall patterns, so they need far less supplemental water. I’ve planted Festuca glauca (blue fescue) and Sedum ‘Dragon’s Blood’ in many projects, and they stay vibrant even during a three‑month drought.
Top picks (prices from reputable nurseries):
| Plant | Water Use Reduction | Cost (per plant) | Height | Pros | Cons |
|---|---|---|---|---|---|
| Blue Fescue (Festuca glauca) | 80 % | $7.99 | 6‑12 in | Fine texture, year‑round color | Requires well‑drained soil |
| Red Agave (Agave americana) | 90 % | $22.50 | 3‑5 ft | Architectural focal point | Sharp leaves – handle with gloves |
| Lavender ‘Munstead’ | 70 % | $9.95 | 18‑24 in | Fragrant, attracts pollinators | Needs full sun |
| Yarrow (Achillea millefolium) | 75 % | $5.20 | 24‑36 in | Long blooming period | Can self‑seed aggressively |
One mistake I see often is planting too many water‑loving perennials in a dry zone. Stick to a 70‑90 % drought‑tolerant mix, and you’ll cut irrigation time dramatically.
3. Install a Smart Drip Irrigation System – Deliver Water Directly Where It’s Needed
Drip irrigation can reduce water use by 40‑60 % compared to overhead sprinklers. I installed a Rain Bird 5‑Zone Drip Kit for $49.99, which includes pressure regulators, timers, and 200 ft of ¼‑inch tubing.
Key components and costs:
- Timer with rain sensor – $34.95 (e.g., Orbit 62061)
- Pressure regulator – $12.45
- Emitters (1‑gallon/hour) – $0.15 each; average garden needs 30‑40 emitters.
- Rain barrel (55 gal) – $79.99 (e.g., Good Ideas 55‑gal) for supplemental storage.
Pros: Precise water delivery, programmable schedules, reduces runoff.
Cons: Initial installation takes a weekend; occasional clogging requires maintenance.
My best practice: Set the timer for early morning (5‑7 am) in 10‑minute bursts, then pause for 30 minutes. This mimics natural rainfall and allows soil to absorb water without surface runoff.
4. Integrate Hardscape Elements – Gravel Paths, Pavers, and Rock Gardens
Hardscapes cut down the area that needs watering and provide visual interest. I love the Unilock 12‑in. Concrete Paver at $3.25 each for creating a patio that doubles as a gathering space and a heat‑reflective surface that keeps the surrounding soil cooler.
Consider these options:
- River rock (½‑inch to 2‑inch) – $2.90 per cubic foot; perfect for dry riverbeds.
- Decomposed granite – $1.75 per sq ft; compacts well for walkways.
- Recycled glass mulch – $4.20 per bag (20 lb); adds a splash of color.
Pros: Reduces water demand, low maintenance, extends usable living space.
Cons: Higher upfront cost; may increase surface temperature if not shaded.
Pro tip: Use a 3‑inch deep base of crushed stone beneath pavers to improve drainage and prevent water pooling.
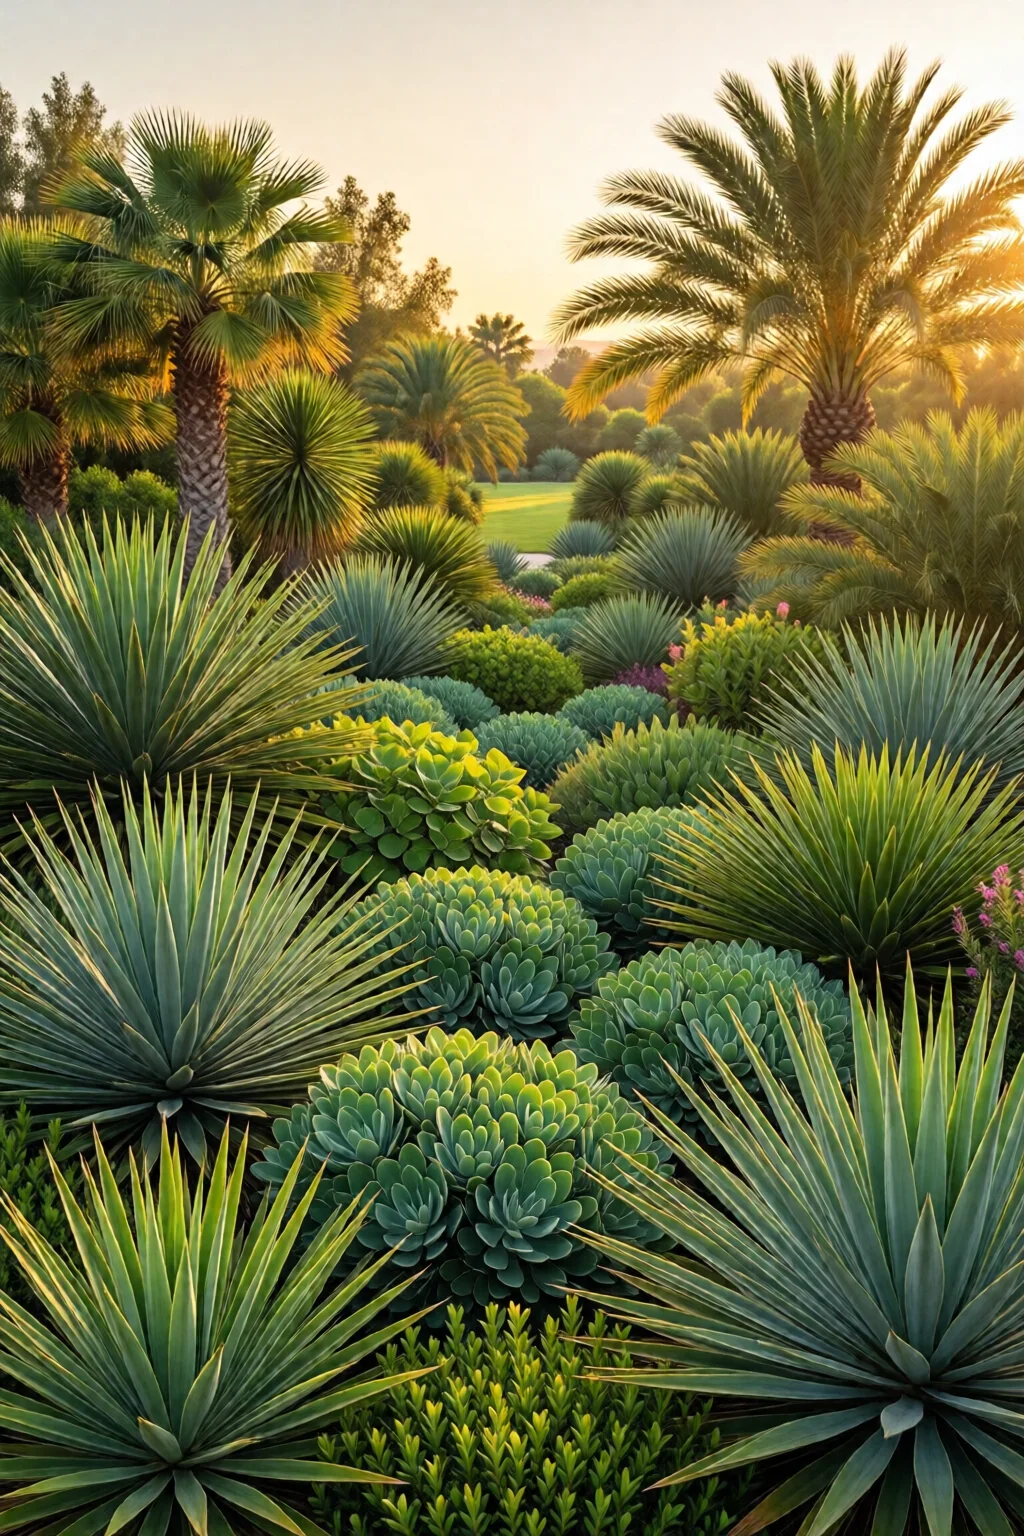
5. Plant Drought‑Tolerant Trees and Shrubs – The Long‑Term Backbone
Trees provide shade, which can lower nearby ground temperature by up to 15 °F, further reducing evaporation. My go‑to selections are:
- Desert Willow (Chilopsis linearis) – $24.99 per 6‑ft container; tolerates full sun and needs only occasional deep watering.
- Olive Tree ‘Arbequina’ – $39.95 for a 5‑gal pot; thrives in poor soils and yields olives after 3‑4 years.
- Juniper ‘Blue Star’ – $18.50 for a 4‑ft tall specimen; evergreen, great for windbreaks.
Pros: Provides shade and habitat, long lifespan, high resale value.
Cons: Larger spacing requirements; initial planting cost can be $30‑$80 per tree.
When planting, dig a hole twice as wide as the root ball but no deeper. Backfill with a 1‑to‑1 mix of native soil and compost, then water thoroughly once.
6. Design for Microclimates – Group Plants by Water Needs and Sun Exposure
Every yard has sunny spots, shade pockets, and wind‑exposed edges. By clustering plants with similar water requirements, you avoid over‑watering delicate species.
Example layout:
- South‑facing wall: Succulents (e.g., Echeveria), lavender, and ornamental grasses.
- North‑facing border: Ferns, hostas, and shade‑loving heucheras (cost about $6.75 each).
- Center island: Drought‑tolerant trees with drip lines, surrounded by a gravel moat.
Pros: Optimizes irrigation, enhances aesthetic cohesion.
Cons: Requires careful site analysis; may limit design flexibility.
In practice, I draw a simple sun‑path diagram on graph paper, marking the high‑sun zone (8+ hours) and the low‑sun zone (under 4 hours). Then I assign plant groups accordingly.
7. Adopt a Maintenance Routine That Saves Water – Prune, Weed, and Monitor
Even the best drought‑tolerant design needs regular care. A few habits keep water use low:
- Weed early – Weeds compete for moisture; pull them before they seed.
- Prune dead foliage – Improves airflow and reduces transpiration loss.
- Use a soil moisture meter – The Hydrofarm 2‑in‑1 Moisture Meter costs $34.95 and tells you when the soil is truly dry at 6‑inch depth.
- Mulch refresh – Add a 1‑inch layer annually in spring.
- Seasonal adjustment – Reduce irrigation by 20 % in cooler months; increase by 10 % during extreme heat spikes.
Pros: Extends plant health, maximizes water efficiency.
Cons: Time commitment; may require a small tool investment.
One mistake I see often is “set it and forget it.” A quick 10‑minute walk each week catches issues before they become costly water waste.
Comparison Table – Top Picks for a Drought Tolerant Landscape Design
| Element | Water Use Reduction | Cost Range | Installation Time | Rating (out of 5) |
|---|---|---|---|---|
| Soil Amendment & Mulch | 30‑45 % | $0.50‑$4 per sq ft | 4‑6 hrs | 4.5 |
| Native Grasses & Succulents | 70‑90 % | $5‑$25 per plant | 2‑3 hrs | 4.7 |
| Drip Irrigation System | 40‑60 % | $150‑$300 total | 1‑2 days | 4.6 |
| Hardscape (Pavers, Rock) | 0 % (replaces water‑intensive lawn) | $2‑$5 per sq ft | 2‑4 days | 4.3 |
| Drought‑Tolerant Trees | 15‑25 % (via shade) | $25‑$80 per tree | 1‑2 hrs | 4.4 |
| Microclimate Grouping | 10‑20 % | Design cost only | Variable | 4.2 |
| Maintenance Routine | 5‑15 % | $30‑$100 tools | Ongoing | 4.5 |
Final Verdict – Your Path to a Beautiful, Water‑Smart Garden
Creating a drought tolerant landscape design isn’t about sacrificing beauty; it’s about being clever with resources. By conditioning the soil, choosing native plants, installing precise drip irrigation, adding hardscape features, and maintaining a disciplined routine, you can slash water use by more than half while boosting curb appeal.
My own backyard now requires just two 15‑minute watering sessions per month during peak summer, and the neighbors keep asking for my secret. The upfront cost averages $2,200‑$3,500 for a 1,200‑sq‑ft yard, but the savings on the water bill (often $150‑$250 per year) pay for the investment in under five years.
Ready to start? Grab a shovel, a moisture meter, and a good plan, and you’ll see that a resilient, gorgeous garden is well within reach.
How much water can I actually save with a drought tolerant landscape?
Most homeowners see a 40‑60 % reduction in outdoor water use after implementing soil amendment, native plantings, and drip irrigation. In dry climates, savings can exceed 70 %.
Do I need professional help to install a drip irrigation system?
A basic 5‑zone kit can be DIY‑installed in a weekend with a modest learning curve. For larger properties or complex terrain, a professional can optimize pressure and layout for an extra $200‑$400.
What are the best low‑maintenance plants for a sunny, dry backyard?
Blue fescue, lavender ‘Munstead’, red agave, and yarrow are top choices. They require minimal watering after establishment and provide year‑round interest.
How often should I replace mulch?
Refresh a 1‑inch layer of organic mulch every spring (about every 12‑18 months). Inorganic options like gravel last much longer but may need occasional cleaning.
Can I combine drought‑tolerant design with other garden styles?
Absolutely. Look at rock garden landscaping ideas for a Mediterranean feel, or blend with English garden design ideas by using classic plant forms in water‑wise groupings.
2 réflexions au sujet de “Drought Tolerant Landscape Design – Everything You Need to Know”