Creating a beautiful garden pathway with stepping stones is one of the most rewarding ways to add structure, charm, and functionality to your outdoor space. Whether you’re working with a compact backyard, a sprawling suburban yard, or a rustic rural garden, stepping stones can guide visitors, define planting beds, and highlight your favorite landscape features. In this comprehensive guide we’ll explore a wide range of garden pathway ideas, practical tips, and expert advice to help you design and install stepping stone paths that are both stunning and durable.
Why Choose Stepping Stones for Your Garden Pathway?
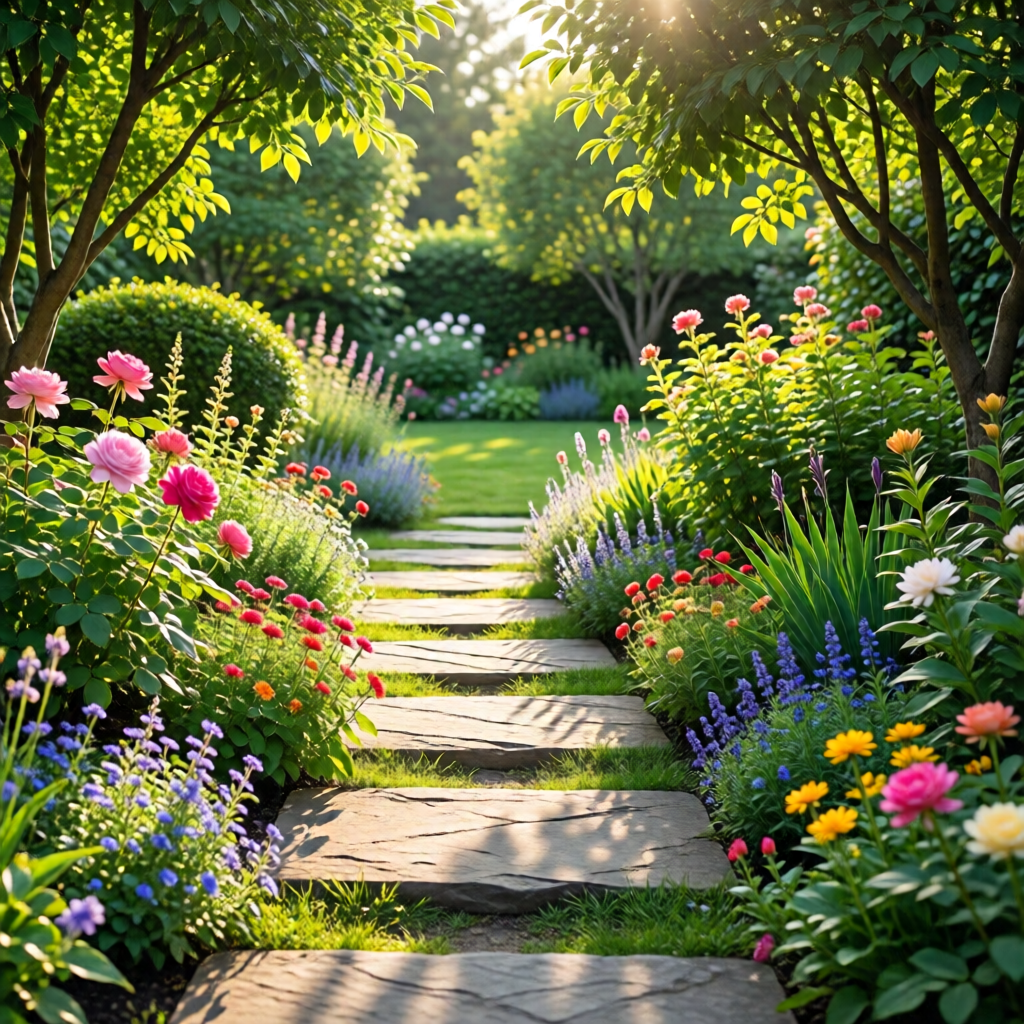
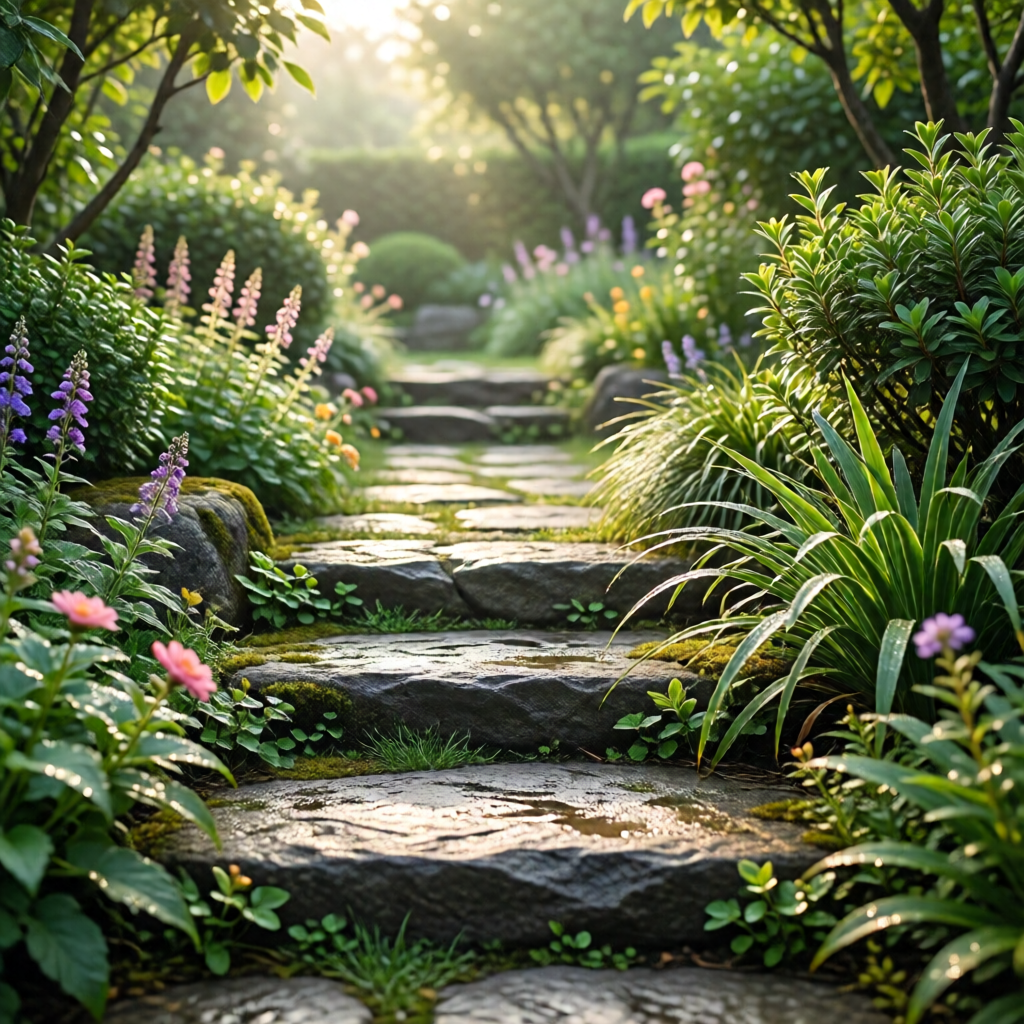
Stepping stones offer a unique blend of flexibility and aesthetic appeal that many other pathway materials simply can’t match. Unlike continuous pavers or gravel, individual stones allow you to create irregular, organic patterns that mimic natural stone formations, making your garden feel more harmonious with its surroundings. They’re also easy to replace or rearrange, providing a low‑maintenance solution that can evolve with your garden’s growth. Additionally, stepping stones can be crafted from a variety of materials—such as flagstone, slate, concrete, or reclaimed wood—each bringing its own texture, color, and personality.
Beyond visual benefits, stepping stones improve accessibility by providing stable, slip‑resistant surfaces for foot traffic, especially in wet or uneven terrain. They also help protect delicate planting areas from compaction, allowing roots to breathe while keeping visitors on a defined route. For gardeners looking to integrate functional design with artistic flair, stepping stones are an ideal choice.
Planning Your Garden Pathway
Before you lift the first stone, thoughtful planning ensures your pathway serves both practical and aesthetic purposes. Begin by mapping out the desired route, considering the flow of traffic, the focal points you want to highlight, and any obstacles such as trees, garden beds, or existing structures. Sketch a rough layout on graph paper or use a simple garden design app to visualize the spacing and direction of each step.
Determine Stone Size and Spacing
Standard stepping stones range from 12 to 24 inches in diameter, but you can customize size to suit your design vision. Larger stones create a bold, statement look, while smaller stones lend a delicate, whimsical feel. Aim for a consistent spacing of 12 to 18 inches between stones, adjusting for foot traffic and the natural stride length of your household. If you have children or elders, slightly larger stones spaced closer together provide added stability.
Consider Path Width and Edge Definition
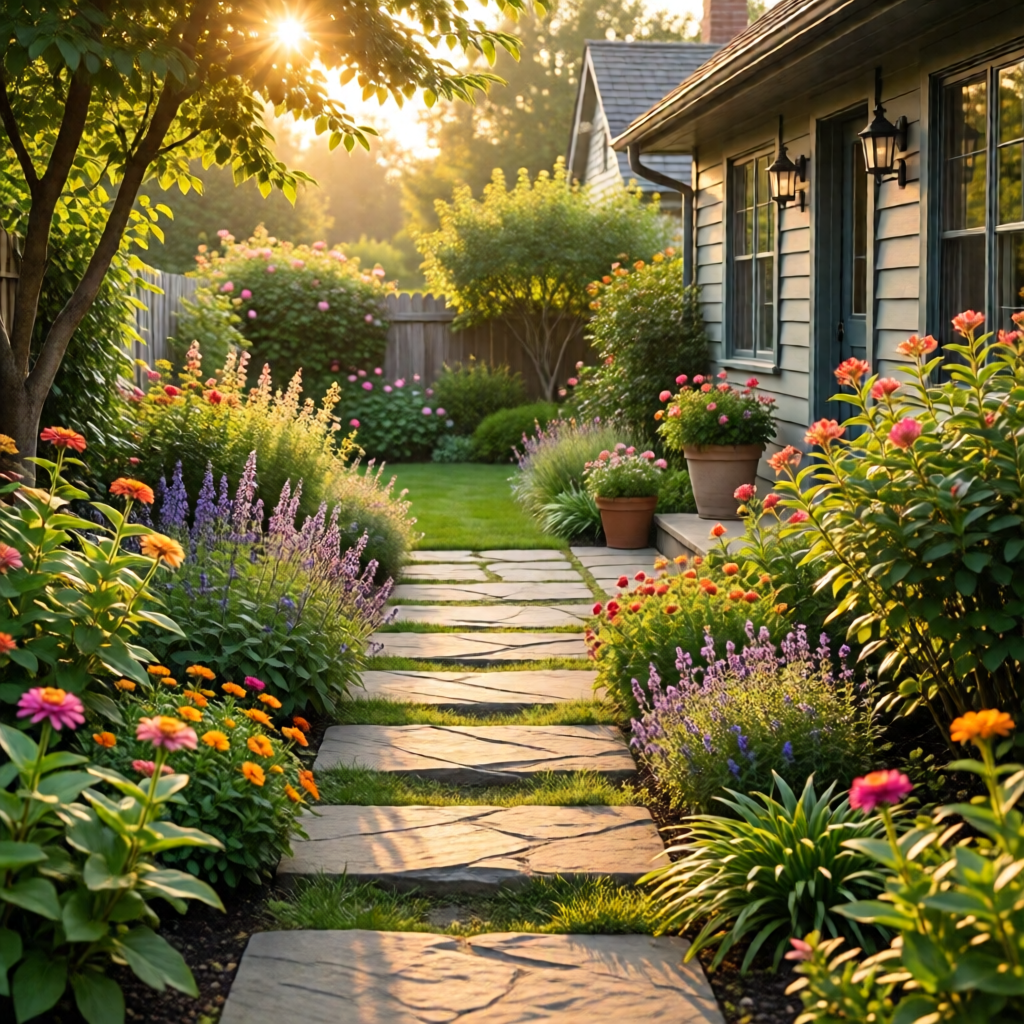
Most garden pathways are 2 to 3 feet wide, allowing comfortable passage while still feeling intimate. For wider paths, you can flank the stepping stones with low edging—such as crushed stone, mulch, or decorative metal strips—to keep the surrounding soil in place and define the walkway’s boundaries. Incorporating a subtle border also helps guide foot traffic and prevents stones from shifting over time.
Integrate Plantings and Landscape Features
Stepping stone pathways shine when they weave through or around existing plantings. Choose low‑growing groundcovers—like creeping thyme, sedum, or moss—to soften the stone edges and add fragrance. For a seasonal touch, plant shade‑loving perennials such as hostas or ferns along the sides. If you’re interested in a more sustainable approach, explore native plant garden design to select species that thrive in your region with minimal water and maintenance.
Materials and Styles for Stepping Stones
Choosing the right material sets the tone for your garden pathway. Below, we explore popular options and the design styles they best complement.
Natural Stone
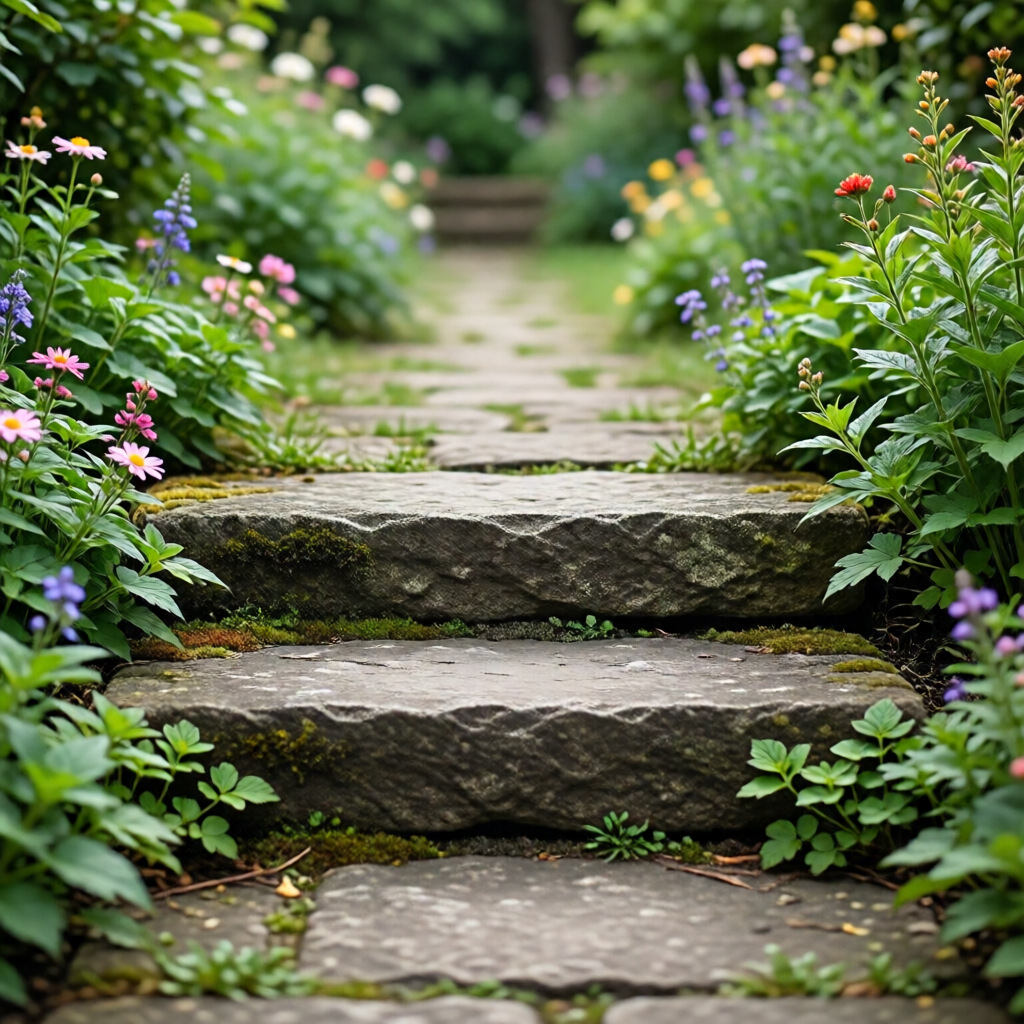
Flagstone, slate, and basalt are timeless choices that blend seamlessly with almost any garden aesthetic. Their irregular shapes and earthy hues create a rustic, natural look. For a more polished appearance, consider honed or tumbled finishes that still retain a tactile feel underfoot.
Concrete and Poured Stone
Concrete stepping stones offer versatility in shape, size, and color. You can embed decorative elements like river rocks, glass beads, or mosaic tiles for a personalized touch. Stamped concrete mimics the appearance of natural stone while providing a uniform surface that’s easy to clean.
Reclaimed Materials
Using reclaimed bricks, old paving stones, or even reclaimed wood adds character and sustainability to your design. Weathered bricks bring a vintage feel, while reclaimed wood—treated for outdoor use—creates a warm, inviting pathway that’s especially suited to cottage or farmhouse gardens.
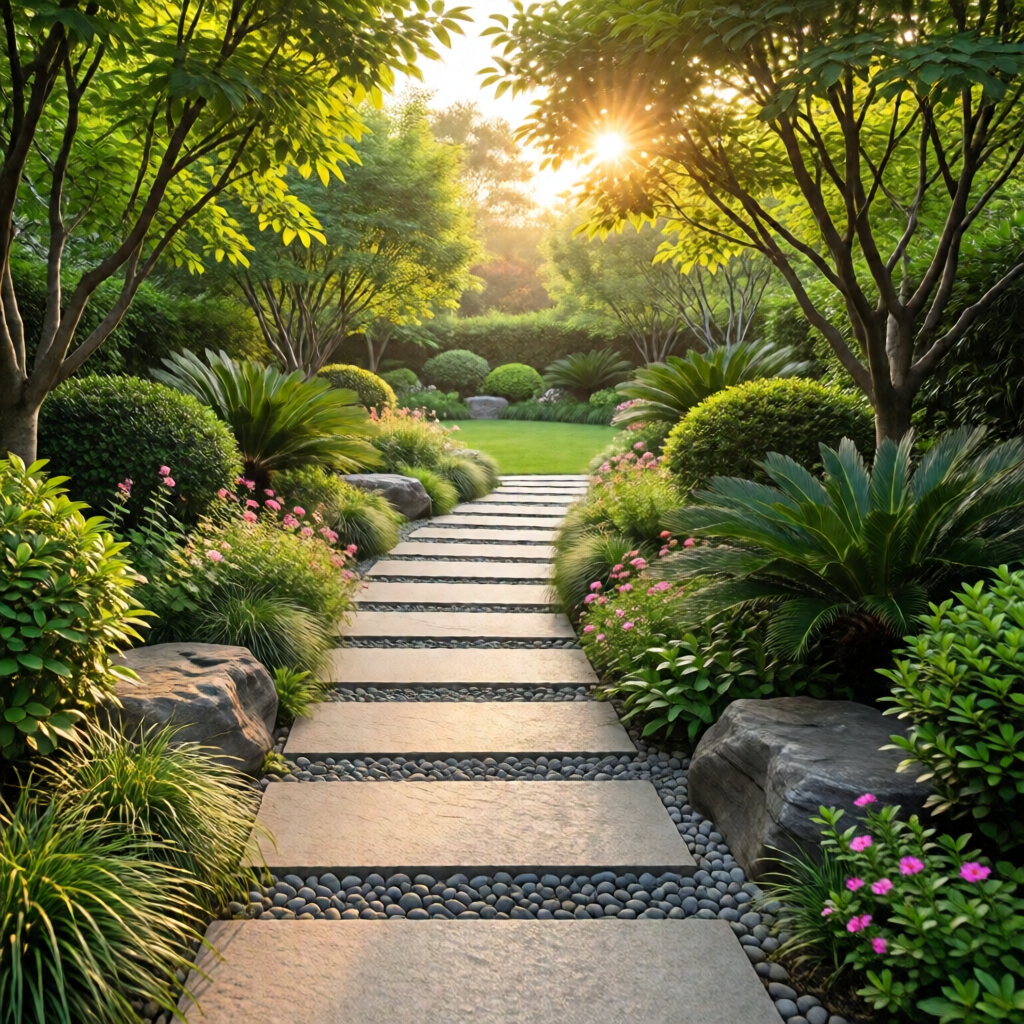
Modern Minimalist
For a sleek, contemporary garden, opt for large, flat concrete slabs or smooth granite tiles arranged in geometric patterns. Pair these with clean lines and minimal planting to achieve a maximalist garden design trends twist that balances bold stonework with subtle greenery.
Design Layout Ideas
Now that you’ve selected your materials, it’s time to explore creative layout ideas that transform stepping stones from functional walkways into focal points.
Meandering Curves
Instead of a straight line, allow your pathway to curve gently through the garden. Curved paths feel organic and encourage visitors to linger, discovering hidden plantings or garden sculptures along the way. Use larger stones at turning points to emphasize the direction change.
Patterned Arrangements
For a more formal garden, arrange stones in repeating patterns such as circles, diamonds, or a simple grid. This structured approach works well in symmetrical garden layouts or near architectural features like pergolas and patios.
Stepping Stone Mosaic
Create a mosaic by embedding colored glass, sea glass, or ceramic tiles into concrete stones. This artistic touch adds visual interest and can reflect personal themes—like a family crest, a favorite quote, or a seasonal motif.
Integrated Water Features
Combine stepping stones with a small water element, such as a shallow basin or a narrow creek. Position a stone next to a bubbling fountain or a rain garden to enhance the sensory experience. For guidance on water‑wise landscaping, check out our rain garden design for drainage article.
Seasonal Color Highlights
Incorporate stones with subtle color variations—like warm amber sandstone or cool blue slate—to echo seasonal palettes. Pair these with planting schemes that change throughout the year, ensuring your pathway remains a dynamic feature from spring blossoms to autumn foliage.
Step‑by‑Step Installation Guide
With a clear plan and chosen materials, you can now bring your stepping stone pathway to life. Follow these detailed steps for a sturdy, long‑lasting installation.
1. Prepare the Site
Mark the intended path using a garden hose, string, or spray paint. Remove any existing grass, weeds, or debris to a depth of about 4‑6 inches. For areas with poor drainage, consider adding a thin layer of coarse sand or gravel to improve water flow.
2. Lay a Base Layer
Spread a 2‑inch layer of crushed stone or decomposed granite across the entire pathway area. Use a hand tamper or plate compactor to firmly compact the base. This layer provides stability and helps prevent stones from sinking over time.
3. Position the Stepping Stones
Place each stone on the prepared base, ensuring they sit level and are spaced evenly. Use a level to check that each stone is flat, adjusting the base material as needed. For a natural look, allow slight variations in height, but keep the overall surface safe for walking.
4. Secure the Stones
Fill the gaps between stones with sand, fine gravel, or polymeric sand. Sweep the material into the joints, then mist with water to activate the binding agents (if using polymeric sand). This locks the stones in place and reduces weed growth.
5. Add Edge Detailing
Install edging material—such as metal strips, low bricks, or a border of mulch—to frame the pathway. This prevents the base material from spilling onto adjacent garden beds and adds a finished look.
6. Plant Around the Path
Introduce low‑growing groundcovers or ornamental grasses along the edges of the pathway. Planting not only softens the stone edges but also helps retain moisture and suppress weeds. Consider drought‑tolerant varieties if you’re in a dry climate.
7. Final Touches
Walk the path to test stability. Make any necessary adjustments by adding or removing base material. Clean the surface of each stone with a garden hose or a soft brush to remove dust and reveal the stone’s natural beauty.
With these steps completed, your stepping stone pathway will be ready to enjoy year after year, providing a functional route and a visual centerpiece for your garden.
Maintenance Tips for Longevity
Even the most durable stepping stones benefit from regular care. Here are actionable maintenance practices to keep your pathway looking pristine.
Seasonal Cleaning
In spring and fall, sweep away leaves, twigs, and debris to prevent mold and moss growth. For stone surfaces that become slippery when wet, a gentle pressure wash can restore traction without damaging the stone.
Weed Control
Inspect the joints between stones regularly. Pull any emerging weeds by hand or use a natural weed suppressant. If you used polymeric sand, re‑activate it with a light mist of water after the first few weeks to ensure a solid seal.
Repairing Shifts
Over time, some stones may settle unevenly. To correct this, lift the affected stone, add or remove base material as needed, and reseat it level. Re‑fill the joints with fresh sand to maintain stability.
Protecting Against Freeze‑Thaw
In colder climates, water can seep into stone cracks and expand when frozen, causing damage. Apply a breathable stone sealant in late summer to reduce water absorption while allowing moisture to escape.
Integrating Seasonal Plantings
Refresh the surrounding plantings each season to keep the pathway vibrant. For winter interest, plant evergreen shrubs or ornamental grasses that provide texture when other plants go dormant. Our winter vegetable gardening guide offers ideas for edible options that can thrive alongside your pathway.
Enhancing Privacy and Comfort
While stepping stone pathways are primarily functional, they can also contribute to a sense of enclosure and comfort. Consider adding outdoor curtain ideas for patio privacy near the path’s entrance to create a cozy nook, or install low lattice panels with climbing vines for a natural screen. These elements not only provide privacy but also add layers of texture and scent to your garden experience.
Conclusion: Crafting Your Perfect Pathway
Designing a garden pathway with stepping stones is a rewarding project that blends creativity, practicality, and sustainability. By carefully planning the layout, selecting the right materials, and following a thoughtful installation process, you can create a pathway that enhances your garden’s beauty and functionality for years to come. Remember to maintain your stones regularly, integrate complementary plantings, and explore design variations that reflect your personal style. Whether you opt for a rustic meandering trail or a sleek modern walkway, stepping stones will guide you—and your guests—through a garden that feels both inviting and uniquely yours.
What types of stone are best for garden stepping stones?
Natural stones like flagstone, slate, and basalt provide an authentic look and durability, while concrete and reclaimed bricks offer versatility and the ability to customize shapes, colors, and embedded designs.
How far apart should stepping stones be placed?
A spacing of 12 to 18 inches between stones works well for most adults, allowing a comfortable stride. Adjust the distance for children, seniors, or high‑traffic areas by reducing the gap to 10‑12 inches.
Do I need a base layer beneath the stepping stones?
Yes, a 2‑inch layer of crushed stone or decomposed granite provides stability, improves drainage, and helps prevent the stones from sinking or shifting over time.
Can I incorporate plantings directly around the stepping stones?
Absolutely. Low‑growing groundcovers, herbs, or ornamental grasses can be planted between and around the stones to soften edges, add color, and enhance the overall garden ecosystem.
How do I maintain stepping stones in winter climates?
Clear debris regularly, use a breathable sealant to reduce water absorption, and monitor for any shifting or cracking caused by freeze‑thaw cycles. Re‑apply sand to joints as needed to keep stones stable.
1 réflexion au sujet de « Garden Pathway Ideas With Stepping Stones – Expert Guide and Ideas »