Knowing the exact pH of your garden soil is the secret weapon that separates a thriving landscape from a struggling one. Whether you’re a seasoned horticulturist or a weekend‑warrior planting tomatoes on a balcony, testing soil pH at home gives you the data you need to make informed decisions about fertilization, plant selection, and soil amendments. In this comprehensive guide we’ll walk you through the science behind soil pH, show you three reliable DIY testing methods, explain how to interpret the numbers, and provide expert tips for adjusting pH safely and sustainably. By the end, you’ll have a step‑by‑step plan you can follow each season to keep your garden soil in the sweet spot for optimal plant health.
Understanding Soil pH and Its Impact on Plant Growth
Soil pH is a measure of how acidic or alkaline the soil is on a scale of 0 (most acidic) to 14 (most alkaline), with 7 being neutral. Most garden plants thrive in a pH range of 6.0 to 7.5, but specific crops have narrower preferences. For example, blueberries love acidic soils (pH 4.5‑5.5), while lilacs prefer slightly alkaline conditions (pH 7.0‑7.5). The pH influences nutrient availability, microbial activity, and the chemical form of minerals. In overly acidic soils, essential nutrients like phosphorus, calcium, and magnesium become less accessible, while toxic metals such as aluminum may become soluble and damage roots. In overly alkaline soils, iron, manganese, and zinc can become locked away, leading to chlorosis and stunted growth.
Because pH can change over time due to rainfall, fertilizer use, and organic matter decomposition, regular testing is essential. The best part? You don’t need a professional lab to get accurate readings—home testing kits and simple household items can give you reliable results.

Choosing the Right Soil pH Test Method for Your Home Garden
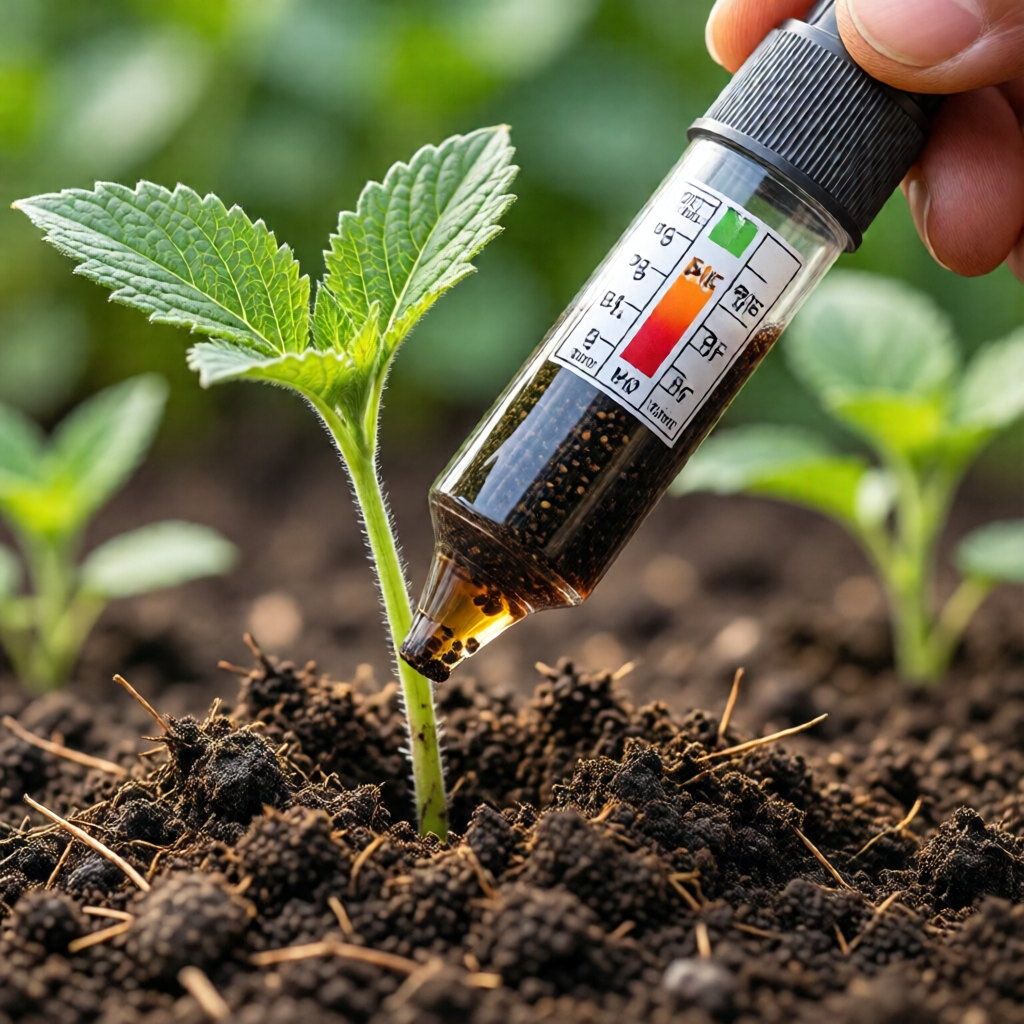
1. Commercial Soil Test Kits (Color‑Chart Kits)
These kits are the most popular among DIY gardeners because they’re inexpensive, easy to use, and provide a visual color chart for quick interpretation. A typical kit includes a small plastic scoop, a test tube or vial, a dropper, and a color‑coded chart ranging from 3.0 to 9.0. The chemistry behind the kit usually involves a pH‑sensitive dye that changes hue when mixed with a soil‑water slurry.
2. Digital Soil pH Meters
Electronic meters give you a numeric readout within seconds and are especially handy if you test frequently or need precise measurements for a large property. Modern handheld meters feature a stainless‑steel probe, a calibration button, and a LCD screen. They often require calibration with standard buffer solutions (pH 4.0, 7.0, and 10.0) before each use to maintain accuracy.
3. Homemade Vinegar and Baking Soda Test
When you’re on a tight budget, the vinegar‑baking soda method provides a quick, qualitative check for extreme pH conditions. It won’t give you an exact number, but it tells you whether your soil is strongly acidic or alkaline—a useful first screen before investing in a kit.
Each method has strengths and limitations. Commercial kits are great for most home gardeners, digital meters excel for precision but cost more, and the homemade test is a handy backup.
Step‑by‑Step Guide: Testing Soil pH with a Commercial Kit
Gather Your Materials
- Soil test kit (including test tube, dropper, and color chart)
- Clean plastic or glass container (½ cup capacity)
- Distilled or de‑chlorinated water (room temperature)
- Small trowel or spoon
- Clean gloves (optional)
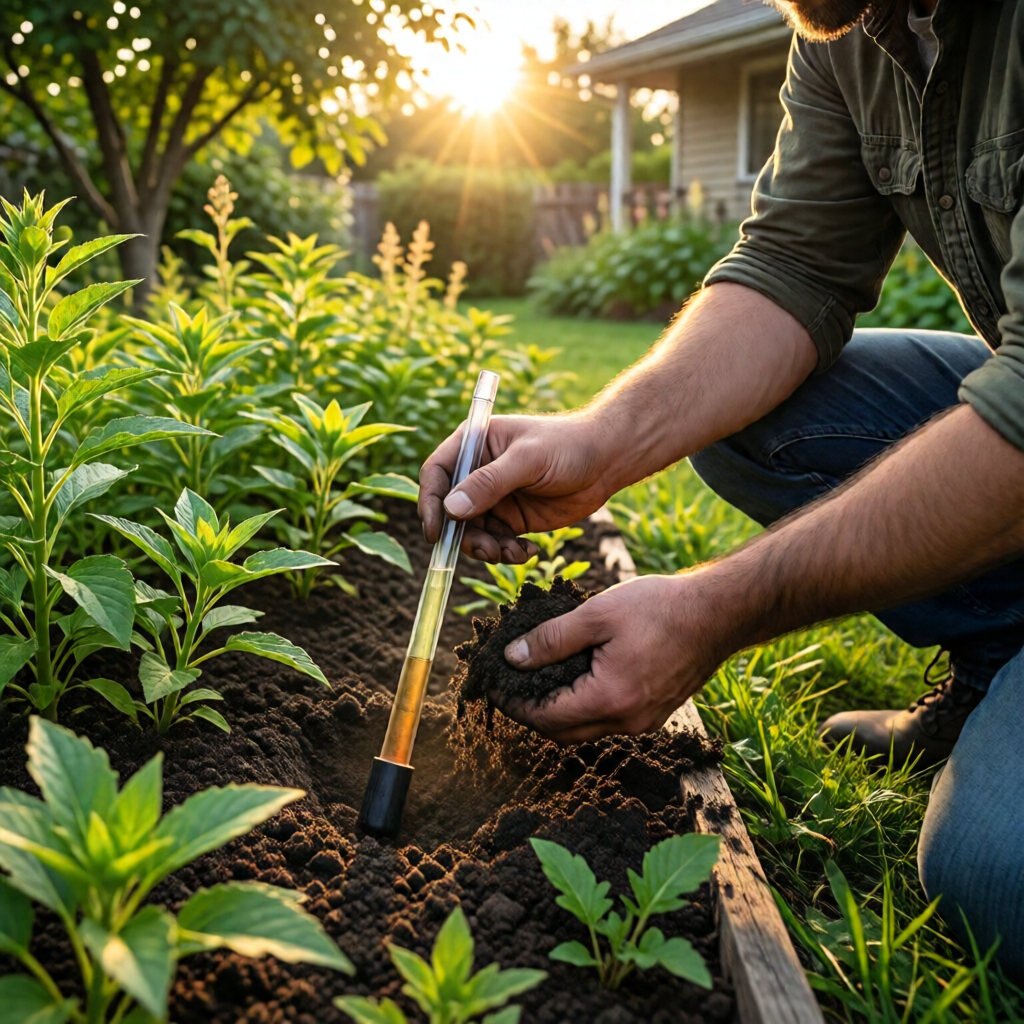
Collect a Representative Soil Sample
For accurate results, you need a composite sample that represents the area you’re testing. Follow these steps:
- Clear the surface of mulch, leaves, or debris.
- Using a trowel, dig a small hole 4‑6 inches deep (the root zone for most vegetables).
- Take a thin slice of soil from the side of the hole, avoiding the topmost organic layer.
- Repeat this at 5–7 locations across the planting area, placing each scoop into a clean bucket.
- Mix the soil thoroughly in the bucket, then remove any stones or roots.
- Take a handful (about ½ cup) of the mixed soil for testing.
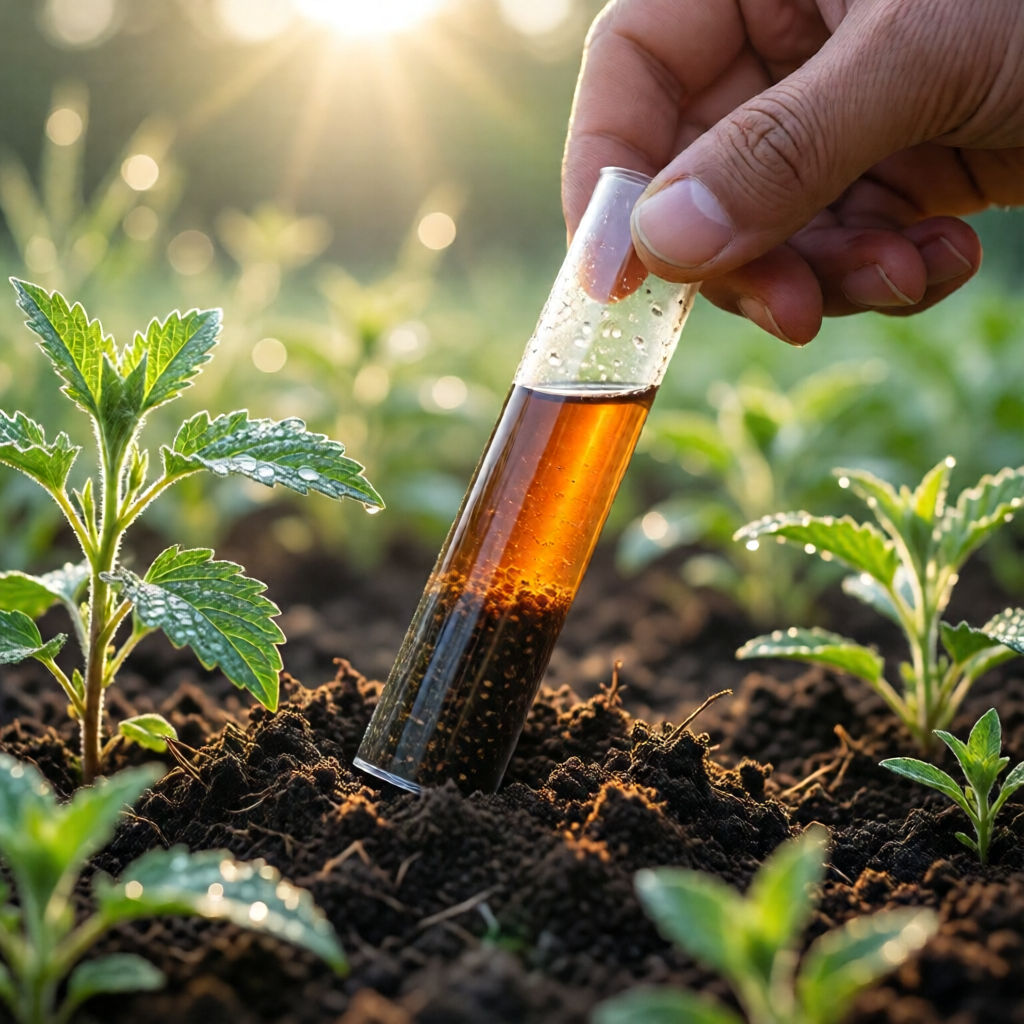
Prepare the Soil‑Water Slurry
Place the soil sample into your container and add 5 ml of distilled water for every gram of soil (approximately a 1:1 ratio). Stir vigorously for 30 seconds to create a uniform slurry. Let the mixture settle for 5 minutes; the liquid will clear, leaving fine particles at the bottom.
Perform the Test
- Using the dropper, add the recommended number of drops (usually 3‑5) of the test solution to the clear liquid.
- Shake the tube gently for the time specified in the kit instructions (usually 30 seconds).
- Observe the color change and compare it immediately to the provided chart.
- Record the pH value and the location of the sample for future reference.
Interpret the Results
If your reading falls within the ideal range (6.0‑7.5 for most garden plants), you’re good to go. If it’s outside, note whether you need to raise or lower the pH and plan your amendment strategy accordingly.
Step‑by‑Step Guide: Using a Digital Soil pH Meter
Calibration is Key
Before each testing session, calibrate your meter using the buffer solutions that came with the device. Follow the manufacturer’s instructions, typically involving immersing the probe in the 7.0 buffer solution, waiting for the reading to stabilize, and then pressing the calibration button. Repeat with the 4.0 or 10.0 buffer if your meter offers a two‑point calibration for increased accuracy.
Sampling Technique
Digital meters require a firm, direct contact with the soil. Insert the probe about 2‑3 inches deep into a moist soil area (soil that has been watered a day before testing works best). If the soil is dry, lightly moisten it with a spray bottle and wait a few minutes for the moisture to penetrate.
Reading the pH
Turn on the meter and wait for the display to settle—usually a few seconds. The reading will appear as a numeric value (e.g., 6.3). Record the result, and repeat the process at several points in the garden to get an average pH for the area.
Maintenance and Care
After testing, rinse the probe with distilled water and store it according to the manufacturer’s guidelines (often in a protective case with a moist cotton swab to keep the sensor hydrated). Regular maintenance ensures long‑term accuracy.

Step‑by‑Step Guide: The Homemade Vinegar & Baking Soda Test
Materials Needed
- White distilled vinegar (5% acetic acid)
- Baking soda (sodium bicarbonate)
- Two clean containers
- Distilled water
- Soil sample (same collection method as above)
Testing for Acidity
- Place 1 cup of soil in a container and add enough distilled water to make a muddy slurry.
- Add ½ cup of vinegar to the mixture and stir.
- If the mixture fizzes vigorously, your soil is alkaline (pH above ~7).
Testing for Alkalinity
- In a separate container, mix another 1 cup of soil with distilled water to create a slurry.
- Add ½ cup of baking soda and stir.
- If you see strong bubbling, the soil is acidic (pH below ~7).
This method won’t give you a precise number, but it quickly tells you whether you need to amend the soil upward or downward before you invest in a more accurate test.
How to Adjust Soil pH Safely and Effectively
Raising pH (Making Soil More Alkaline)
If your test shows a pH below the desired range, you can raise it using the following amendments:
- Lime (calcitic or dolomitic): The most common amendment. Apply 5 lb per 100 sq ft to raise pH by roughly 0.5 units. Dolomitic lime also adds magnesium.
- Wood ash: Adds calcium carbonate and potassium; use sparingly (1 lb per 100 sq ft) as it can raise pH quickly.
- Ground limestone: A finely ground form that works faster than pelletized lime.
Incorporate the amendment into the top 6‑8 inches of soil and water thoroughly. Re‑test after 2‑3 weeks to gauge the change.
Lowering pH (Making Soil More Acidic)
For soils that are too alkaline, consider these options:
- Sulfur: Elemental sulfur is the most effective; apply 1 lb per 100 sq ft to lower pH by about 0.5 units over 6‑8 weeks.
- Aluminum sulfate: Works faster (within weeks) but can be harsh on plants if over‑applied.
- Organic mulches: Pine needles, oak leaves, and peat moss gradually acidify the soil as they decompose.
Always follow label recommendations and avoid drastic pH changes in a single season, as rapid shifts can stress plant roots.
Integrating Soil Amendments with Your Garden Routine
Plan pH adjustments during the seasonal garden maintenance checklist—ideally in early spring before planting or in fall after harvest. This timing allows amendments to fully integrate before the growing season begins.
Special Considerations for Different Garden Types
Vegetable Gardens
Most vegetables prefer a slightly acidic to neutral pH (6.0‑7.0). Tomatoes, peppers, and beans are sensitive to high pH, which can cause blossom end rot and nutrient deficiencies. Regular testing every 2‑3 years, combined with a soil amendment guide for healthy plants, keeps your vegetable beds productive.
Fruit Trees
Apple and pear trees thrive at pH 6.0‑7.0, while stone fruits (peaches, plums) prefer 6.5‑7.5. Adjust pH in the orchard’s drip line area to ensure uniform nutrient uptake.
Acid‑Loving Plants
Plants like rhododendrons, azaleas, and blueberries demand lower pH (4.5‑5.5). Use sulfur or acidic organic mulches and test annually to maintain the right environment.
Container and Balcony Gardens
In containers, pH can shift quickly due to watering and fertilizer use. Test the potting mix before each planting cycle and adjust with liquid amendments (e.g., liquid lime or sulfur). Check out our balcony garden ideas for apartments for container‑friendly pH management tips.
Indoor Houseplants
Most indoor plants are tolerant of neutral pH, but some, like African violets and orchids, prefer slightly acidic conditions. The how to propagate indoor plants guide includes a brief note on maintaining ideal substrate pH for successful propagation.
Seasonal Timing for Soil pH Testing
Testing at the right time maximizes accuracy. Conduct tests when the soil is moist but not saturated—early spring after the last frost is ideal for most regions. In arid climates, testing after a light rain ensures the soil moisture level mimics field conditions. Fall testing helps you plan amendments before winter, giving them time to react before the next growing season.
Common Mistakes and How to Avoid Them
- Testing dry soil: Dry soil can give falsely high pH readings. Lightly moisten the sample before testing.
- Using tap water with high mineral content: Hard water can alter pH results. Always use distilled or de‑chlorinated water for slurry preparation.
- Skipping calibration on digital meters: Ignoring calibration leads to drift and inaccurate readings.
- Relying on a single sample: Soil pH can vary across a garden. Take multiple samples and average the results.
- Over‑amending: Adding too much lime or sulfur at once can shock plants. Apply amendments gradually and retest.
Keeping Records and Tracking Progress
Maintain a simple garden journal—digital or paper—where you log the date, location, pH reading, amendment applied, and any observations on plant performance. Over several seasons, you’ll spot trends, such as a gradual rise in pH due to repeated use of alkaline fertilizers, allowing you to adjust your management plan proactively.
Tools and Resources to Make Soil Testing Easy
Investing in a few quality tools can streamline the process:
- Soil probe or trowel: For consistent sample depth.
- Clean plastic containers: To avoid cross‑contamination.
- Digital timer: For precise waiting periods during kit tests.
- Protective gloves: To keep hands clean while handling soil and chemicals.
For deeper analysis—such as micronutrient levels—consider sending a sample to a cooperative extension lab. Their comprehensive reports complement your DIY pH tests and guide precise fertilization.
Putting It All Together: A Quick Action Plan
- Schedule a test: Mark early spring on your calendar.
- Gather tools and materials: Choose a commercial kit or digital meter.
- Collect composite samples: 5–7 spots per garden bed.
- Perform the test: Follow the step‑by‑step guide for your chosen method.
- Interpret the results: Compare to plant preferences.
- Amend as needed: Apply lime, sulfur, or organic mulches.
- Retest: After 2–3 weeks, confirm the pH shift.
- Record and repeat: Keep notes and test again every 2–3 years.
By integrating these steps into your garden’s routine, you’ll create a stable, nutrient‑rich environment that supports robust growth and abundant harvests.
How often should I test my garden soil pH?
Testing every 2‑3 years is sufficient for most gardens, but if you’re actively amending soil or growing pH‑sensitive plants, test annually, preferably in early spring.
Can I use tap water for soil pH testing?
It’s best to use distilled or de‑chlorinated water. Tap water, especially if hard, can contain minerals that skew the pH reading.
What’s the difference between calcitic and dolomitic lime?
Calcitic lime is pure calcium carbonate, while dolomitic lime contains both calcium and magnesium carbonate, making it a good choice for soils that are low in magnesium.
Will the vinegar and baking soda test tell me the exact pH?
No. The homemade test only indicates whether the soil is strongly acidic or alkaline. For precise numbers, use a commercial kit or a digital meter.
How can I raise soil pH without using chemical lime?
Organic options include adding well‑aged wood ash (in small amounts) or incorporating compost made from alkaline materials. These methods work slower than lime but improve soil structure simultaneously.
1 réflexion au sujet de « How To Test Soil Ph At Home – Expert Guide and Ideas »