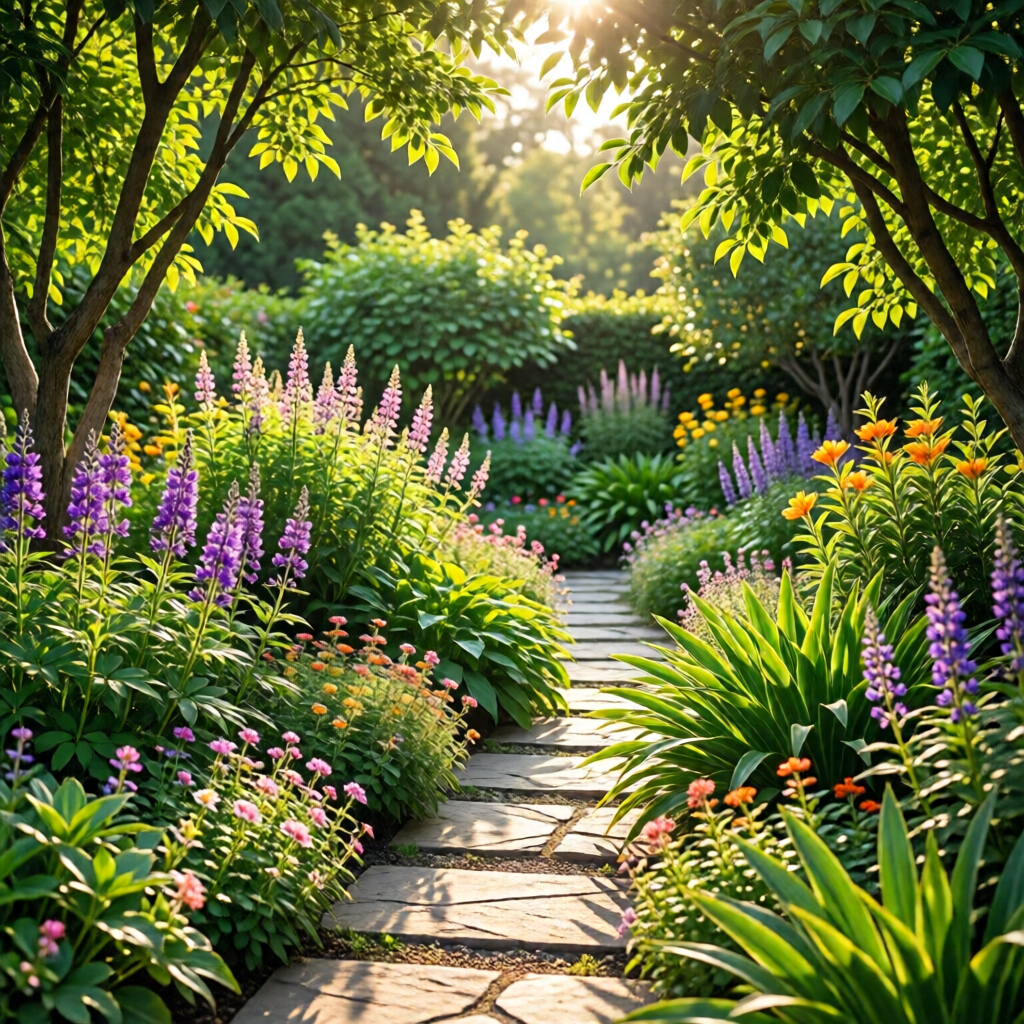
Designing a native plant garden is one of the most rewarding ways to create a beautiful, resilient landscape that supports local wildlife, conserves water, and reduces maintenance. By carefully selecting plants that have evolved to thrive in your region’s climate, soil, and pollinator community, you can craft a garden that looks effortless while delivering lasting ecological benefits. In this guide, we’ll walk you through every step of the process—from site assessment and design principles to planting, care, and long‑term stewardship—so you can confidently create a native garden that flourishes year after year.
Why Choose Native Plants?
Native plants are the cornerstone of sustainable gardening in the United States. Because they are adapted to local conditions, they typically require less fertilizer, fewer pesticides, and far less irrigation than exotic species. This translates into lower water bills, healthier soil, and a thriving habitat for bees, butterflies, birds, and beneficial insects. Moreover, native gardens often receive accolades from local conservation groups and can increase property values by showcasing a thoughtfully designed, eco‑friendly landscape.
Step 1: Assess Your Site
Before you pick any plants, conduct a thorough site analysis. Take note of the following factors:
Sunlight Exposure
Observe the garden throughout the day to map out full sun (6+ hours), partial shade (3‑6 hours), and full shade (under 3 hours) zones. This information will guide your plant selections and ensure each species receives the light it needs.
Soil Type and Drainage
Perform a simple soil test by digging a small hole, filling it with water, and timing how long it takes to drain. Sandy soils drain quickly, while clay soils retain water. Knowing your soil texture helps you amend the planting beds appropriately, whether you add organic matter to improve drainage or incorporate compost to boost fertility.
Microclimates
Microclimates—such as wind‑protected corners, heat‑reflecting walls, or low‑lying frost pockets—can dramatically affect plant performance. Map these nuances on a site plan so you can place moisture‑loving plants in cooler, shadier spots and drought‑tolerant species in the hottest, most exposed areas.
Step 2: Define Your Garden Goals
Clear objectives will shape every design decision. Consider the following common goals for native plant gardens:
- Wildlife Habitat: Attract pollinators, birds, and beneficial insects.
- Low Maintenance: Minimize mowing, pruning, and watering.
- Seasonal Interest: Provide color, texture, and scent throughout the year.
- Edible Landscaping: Incorporate native fruiting shrubs and herbs.
- Water Conservation: Design a garden that thrives on natural rainfall.
By prioritizing these goals, you can select plant groups that align with your vision. For instance, if low maintenance is paramount, focus on drought‑tolerant natives that need minimal irrigation.
Step 3: Choose the Right Native Plants
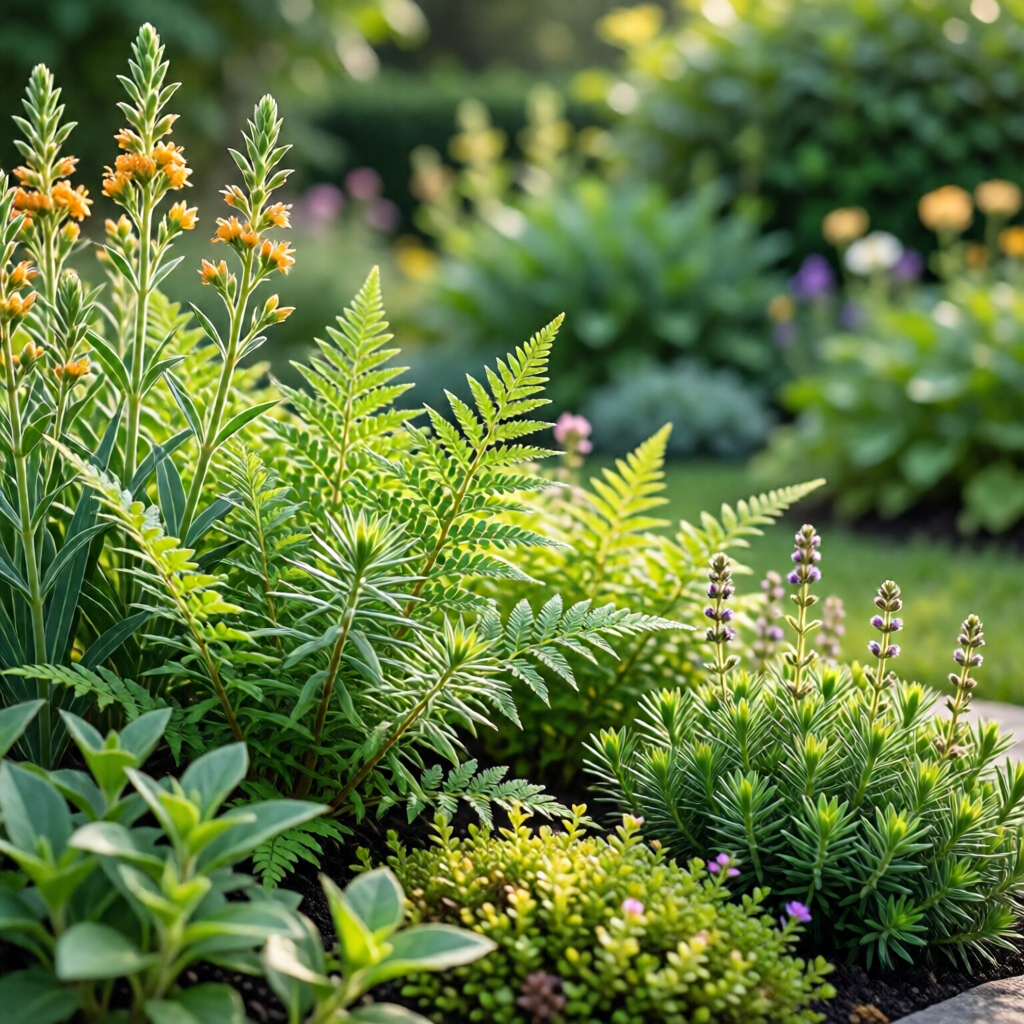
When selecting plants, aim for a balanced palette that includes trees, shrubs, perennials, grasses, and groundcovers. This diversity creates structural layers, supports varied wildlife, and ensures visual interest across seasons.
Tree Layer
Native trees such as Quercus alba (white oak), Juglans nigra (black walnut), or Liriodendron tulipifera (tulip poplar) provide canopy cover, shade, and large food sources for birds and mammals.
Shrub Layer
Consider Viburnum dentatum (arrowwood viburnum), Rhus aromatica (fragrant sumac), or Symphoricarpos albus (common snowberry). These shrubs offer berries, shelter, and structural form.
Herbaceous Perennials
Plants like Echinacea purpurea (purple coneflower), Rudbeckia hirta (black-eyed Susan), and Asclepias tuberosa (butterfly weed) bloom profusely, attracting pollinators and adding vibrant color.
Grasses and Sedges
Native grasses such as Schizachyrium scoparium (little bluestem) and Carex stricta (tussock sedge) provide movement, texture, and winter interest while offering nesting material for birds.
Groundcovers
Low‑growing species like Gaultheria procumbens (wintergreen) or Phlox stolonifera (creeping phlox) fill gaps, suppress weeds, and create a lush carpet.
For region‑specific plant lists, consult local extension services or native plant societies. Remember to source plants from reputable nurseries that specialize in native stock to ensure genetic integrity.
Step 4: Design Principles for Native Gardens
Effective design blends aesthetics with ecological function. Below are key principles to guide your layout.
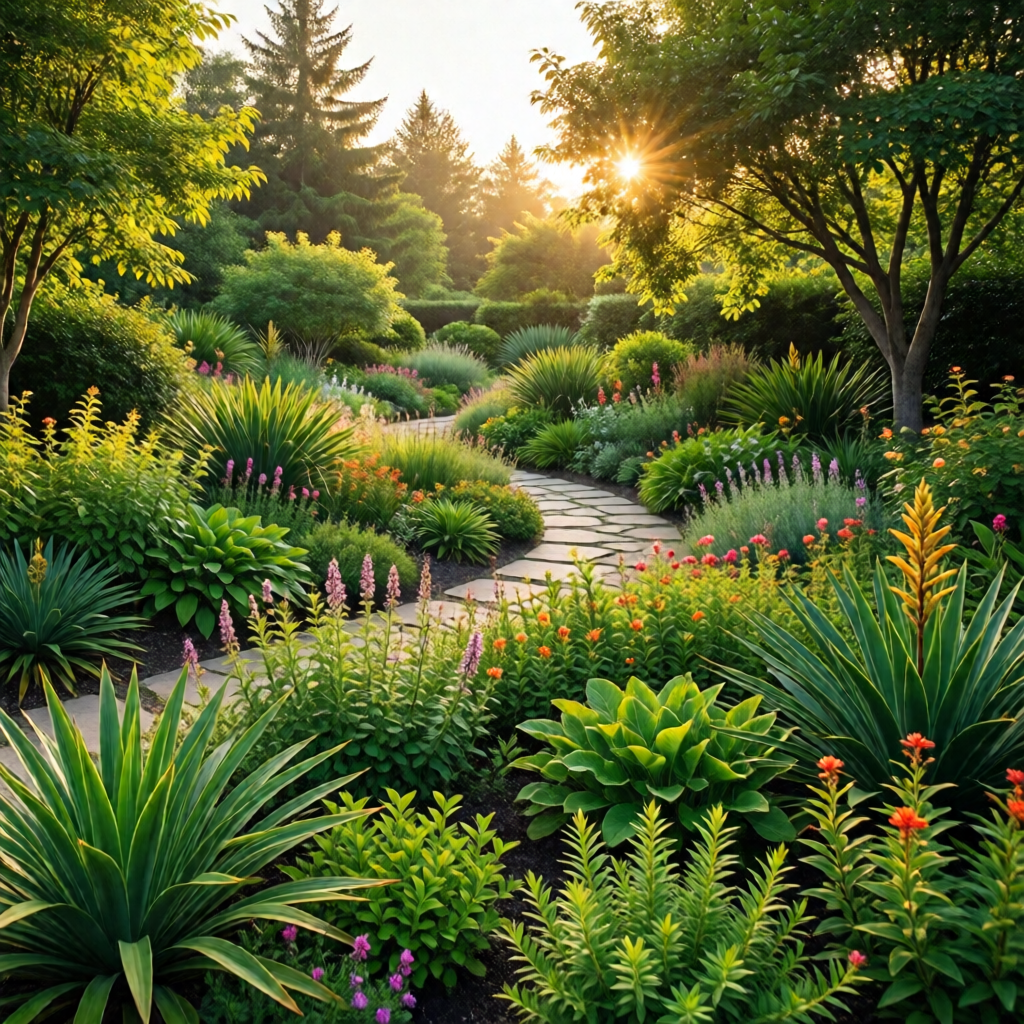
1. Mimic Natural Communities
Study the native plant communities in nearby prairies, woodlands, or wetlands. Replicating these groupings—such as planting a cluster of meadow species together—creates a sense of place and supports the same insects and animals that thrive in those habitats.
2. Use Layers and Vertices
Arrange plants in vertical layers—groundcover, herbaceous, shrub, and canopy—so each tier provides resources at different heights. This layering is essential for pollinators that forage at varying levels.
3. Create Seasonal Sequences
Choose species that bloom or display foliage at different times. For example, early spring Symphytum canadense (Canada comfrey) sets the stage for summer coneflowers, followed by fall‑coloring asters and winter‑hardy grasses.
4. Incorporate Water‑Wise Features
Integrate rain gardens, swales, or permeable pathways to capture runoff and feed plant roots. These features reduce irrigation needs and improve water quality.
5. Provide Habitat Structures
Install birdhouses, bee hotels, and log piles. Native plants alone are powerful, but adding nesting sites amplifies wildlife benefits.
Step 5: Preparing the Soil and Planting Beds
Healthy soil is the foundation of any thriving garden. Follow these steps to prepare your beds for native planting.
Clear Existing Vegetation
Remove invasive species, annual weeds, and non‑native grasses. Hand‑pulling or using a sod cutter works well for small areas, while larger sites may benefit from solarization or targeted herbicide application—always follow local guidelines.
Amend the Soil
Based on your soil test, incorporate organic matter such as compost, leaf mold, or aged manure to improve structure and nutrient availability. For clay soils, add coarse sand or fine gravel to enhance drainage; for sandy soils, increase organic content to retain moisture.
Shape the Beds
Define planting zones with gentle curves rather than straight lines. Curvilinear beds mimic natural patterns and help guide water toward plant roots.
Mulch Generously
Apply a 2‑3 inch layer of shredded bark, leaf mulch, or wood chips. Mulch conserves moisture, suppresses weeds, and gradually adds organic matter as it breaks down.
Step 6: Planting Techniques for Success
Correct planting ensures strong establishment. Follow these guidelines:
- Timing: Plant in early fall or early spring when temperatures are moderate and rainfall is more predictable.
- Spacing: Respect each species’ mature width to avoid overcrowding. Overly dense planting can lead to competition for water and nutrients.
- Depth: Dig a hole twice as wide as the root ball but no deeper than the root crown. Backfill loosely, firming gently to eliminate air pockets.
- Watering In: After planting, water deeply to settle the soil around roots. For the first 4‑6 weeks, keep the soil consistently moist but not soggy.
Step 7: Water Management and Irrigation
One of the greatest advantages of native plants is their ability to thrive on natural precipitation. However, establishing a garden often requires supplemental watering.
Drip Irrigation
Install a low‑volume drip system with pressure regulators and timers. Drip irrigation delivers water directly to the root zone, reducing evaporation and runoff.
Rain Gardens and Swales
Design low‑lying depressions (rain gardens) to capture roof runoff or driveway flow. Fill these areas with moisture‑loving natives like Iris fulva (copper iris) and Sarracenia purpurea (purple pitcher plant).
Mulch as a Moisture Retainer
Keep mulch layers intact and replenish annually. This practice can cut water use by up to 50% compared to bare soil.
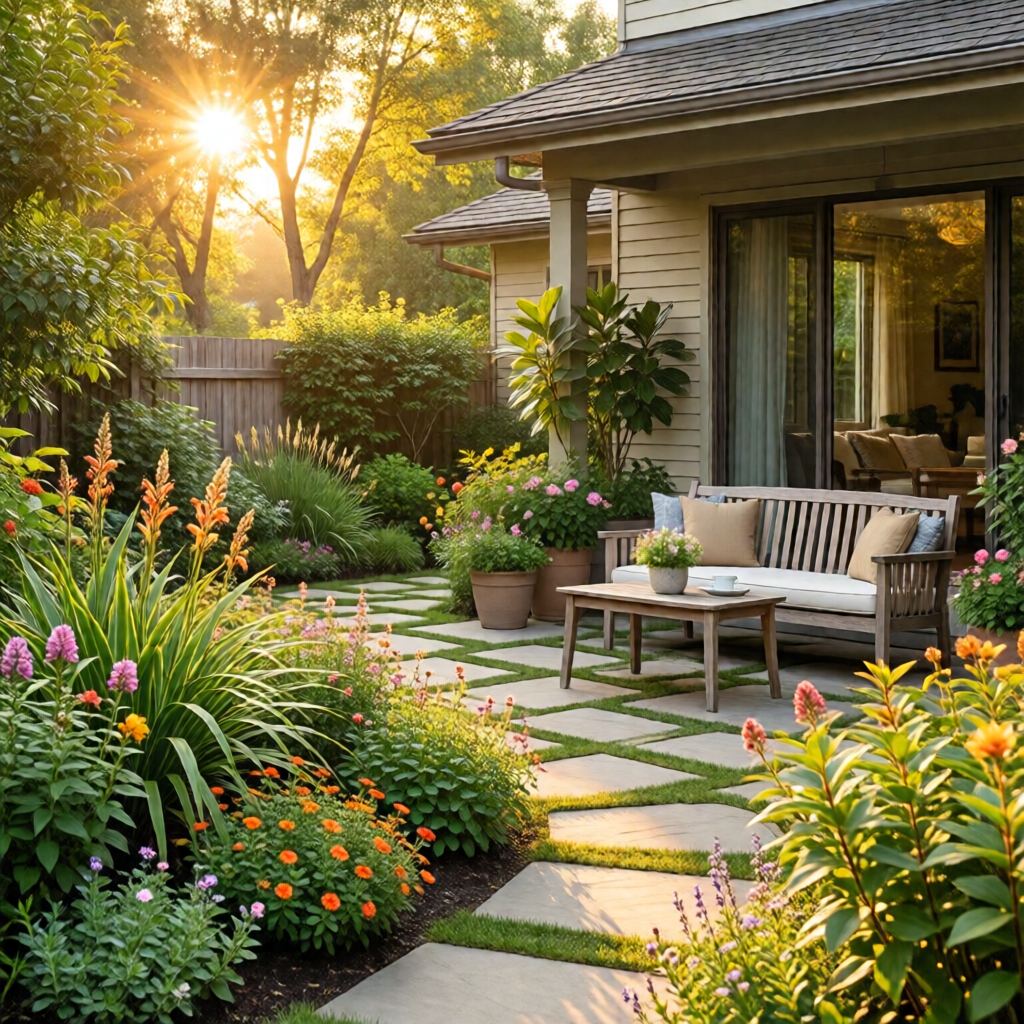
Step 8: Integrating Hardscape Elements
Hardscape features such as pathways, patios, and seating areas can enhance both aesthetics and functionality. Choose materials that complement the natural setting.
Natural Stone or Recycled Gravel
Using local stone or recycled gravel creates a seamless transition between garden and hardscape. Pair these with native plant borders to soften edges.
Gravel Patios on a Budget
For an affordable, low‑maintenance patio, explore gravel patio ideas on a budget. A simple gravel surface surrounded by low‑growing natives offers a tranquil spot for contemplation.
Wooden or Recycled Decking
Elevated decks made from reclaimed lumber can provide a platform for potted native containers, allowing you to add height variation without permanent planting.
Step 9: Maintenance Best Practices
While native gardens are easier to maintain than conventional lawns, a few routine tasks keep them healthy and vibrant.
Weed Management
Mulch heavily and hand‑pull any invasive weeds before they set seed. Early‑season weed removal is crucial to give natives a competitive edge.
Pruning and Deadheading
Remove spent blooms to encourage repeat flowering, especially on perennials like coneflowers. Light pruning of shrubs in late winter maintains shape and stimulates new growth.
Fertilization
Native plants generally require little to no fertilizer. If soil nutrients are deficient, apply a thin layer of compost in early spring rather than synthetic fertilizers.
Monitoring for Pests
Beneficial insects such as lady beetles and parasitic wasps usually keep pest populations in check. If you notice significant damage, opt for targeted, organic controls like neem oil or insecticidal soap.
Step 10: Enhancing Wildlife Habitat
A well‑designed native garden becomes a bustling ecosystem.
Pollinator Plantings
Group nectar‑rich plants in blocks of at least 3‑5 square feet to create efficient foraging zones for bees and butterflies.
Bird Feeding and Nesting
Install native seed feeders and birdhouses near shrub layers. Provide water sources such as shallow birdbaths with gently sloping sides.
Amphibian and Reptile Refuge
Leave a few logs, flat stones, and leaf piles undisturbed. These micro‑habitats offer shelter for frogs, salamanders, and beneficial lizards.
Step 11: Seasonal Care Calendar
Below is a month‑by‑month checklist to keep your native garden thriving.
- January–February: Prune dormant shrubs, inspect mulch depth, plan spring planting.
- March–April: Soil testing, bed preparation, early‑spring planting of cool‑season perennials.
- May–June: Install irrigation, mulch fresh layers, deadhead blooming perennials.
- July–August: Monitor for drought stress, water deeply during heatwaves, control invasive weeds.
- September–October: Plant fall‑blooming natives, add compost, clean up spent annuals.
- November–December: Mulch for winter protection, prune dead wood, order seeds for next year.
Step 12: Budget-Friendly Tips
Creating a native garden doesn’t have to break the bank. Consider these cost‑saving strategies:
- Seed Over Plants: Purchase native seed mixes and sow directly in prepared beds for large areas.
- Community Plant Swaps: Join local gardening clubs or native plant societies that host plant exchanges.
- DIY Hardscape: Use reclaimed bricks, stones, or timber for pathways and borders.
- Phased Installation: Break the project into stages, starting with high‑impact areas first.
Step 13: Resources and Further Reading
To deepen your knowledge, explore these reputable sources:
- USDA NRCS Native Plant Resources
- Native Seed Initiative
- University Extension Programs for region‑specific plant guides.
- Low maintenance front yard landscaping for ideas on reducing upkeep.
- Corner garden ideas for backyard to make the most of small spaces.
- Drought tolerant landscape design for water‑wise planting strategies.
- How to care for monstera plant for indoor native-inspired foliage tips.
Step 14: Real‑World Example – A Mid‑Atlantic Native Garden
Let’s walk through a case study of a 500‑square‑foot backyard in Pennsylvania transformed into a thriving native garden.
Design Brief
Homeowner wanted a low‑maintenance yard that attracted pollinators, reduced water use, and provided a small seating area.
Implementation
- Site Preparation: Removed an old lawn, added 4 inches of compost, and installed a drip irrigation line.
- Plant Palette: Planted Quercus rubra (red oak) as a canopy tree, Liatris spicata (blazing star) in a meadow strip, Vaccinium corymbosum (highbush blueberry) as a shrub, and Carex pensylvanica (Pennsylvania sedge) as groundcover.
- Hardscape: Added a 10‑ft gravel patio using local river rock, surrounded by low‑growing Phlox subulata (creeping phlox).
- Wildlife Features: Installed a bee hotel, birdbath, and a log pile for salamanders.
Results After One Year
The garden required less than 10 gallons of supplemental water per week, attracted dozens of native bee species, and provided a vibrant display of color from early summer through fall. Maintenance time dropped from 8 hours per week to under 2 hours.
Step 15: Maintaining Long‑Term Resilience
As your garden matures, it will become more self‑sustaining. To ensure continued health:
- Periodically thin out overly dense plantings to improve airflow.
- Refresh mulch every 2‑3 years to sustain moisture retention.
- Monitor for invasive species and remove them promptly.
- Adjust irrigation schedules based on seasonal rainfall patterns.
Conclusion
Designing a native plant garden is an investment in beauty, biodiversity, and sustainability. By following the systematic steps outlined above—site analysis, goal setting, thoughtful plant selection, soil preparation, smart watering, and ongoing stewardship—you can create a landscape that not only looks stunning but also supports the local ecosystem and reduces your maintenance burden. Embrace the unique character of native flora, and watch your garden evolve into a living tribute to the natural heritage of your region.
What are the biggest benefits of using native plants in my garden?
Native plants are adapted to local climate and soil, which means they require less water, fertilizer, and pesticide inputs. They provide essential food and habitat for native pollinators, birds, and beneficial insects, helping to restore local biodiversity while reducing maintenance costs.
How do I choose the right native plants for a sunny versus a shady spot?
First, map the sun exposure of each area. For full‑sun zones, select drought‑tolerant species like Echinacea purpurea or Rudbeckia hirta. In partial or full shade, opt for shade‑loving natives such as Aster novae-angliae or Trillium grandiflorum. Always check the mature height and spread to ensure proper spacing.
Can I incorporate a small patio or pathway without compromising the native garden feel?
Yes. Use natural materials like locally sourced stone, river rock, or reclaimed wood that blend with the surrounding vegetation. Edge the hardscape with low‑growing native groundcovers such as creeping phlox or wintergreen to soften transitions and maintain ecological continuity.
How much water will my new native garden need during the first year?
During establishment, water newly planted natives deeply once a week if there is no rainfall, keeping the soil moist but not soggy for the first 4‑6 weeks. After that, most native plants can survive on natural precipitation, especially if you mulch well and use drip irrigation wisely.
Where can I find affordable native plants and seeds?
Look for local native plant nurseries, botanical garden sales, or community plant swaps. Many states have native seed programs that sell certified seed mixes at reduced prices. Ordering in bulk and sowing directly can also cut costs while giving you a diverse, resilient planting palette.
1 réflexion au sujet de « Native Plant Garden Design – Expert Guide and Ideas »