Imagine you’ve just bought a batch of heirloom tomatoes, rolled up your sleeves, and are ready to nurture them in a raised bed you built last summer. You plant the seedlings, water them, and within weeks the leaves turn a dull yellow and the growth stalls. The culprit? Soil pH. Knowing how to test soil pH at home can save you time, money, and a lot of frustration, and it’s easier than you think.
In This Article
- What You Will Need (Before You Start)
- Step 1 – Choose the Right Sampling Spot
- Step 2 – Collect and Prepare the Sample
- Step 3 – Test the Soil with a Liquid Kit
- Step 4 – Test the Soil with a Digital Meter (Optional)
- Step 5 – Interpret Your Results and Plan Amendments
- Common Mistakes to Avoid
- Troubleshooting or Tips for Best Results
- Summary Conclusion
- Frequently Asked Questions
What You Will Need (Before You Start)
- pH testing kit – the classic liquid test kit (e.g., Rapitest Soil Test Kit, $12.99 for 30 tests) or a digital handheld meter (Sonkir Soil pH Meter, $19.95, measures pH from 3.5‑9.5).
- Distilled water – tap water can skew results; a 1‑liter bottle costs about $0.99.
- Clean plastic or glass containers – 250 ml beakers or wide‑mouth jars (set of 6 for $8.50).
- Garden trowel or soil probe – a 12‑inch stainless steel probe works well, roughly $7.
- Label stickers or a waterproof marker – to note sample locations.
- Notebook or digital spreadsheet – to log pH values, dates, and amendments.
- Optional: pH buffering solution (provided in many kits) for calibration of digital meters.
Having these items on hand turns a vague idea into a concrete plan. In my experience, the most reliable results come from using a digital meter calibrated with the supplied buffer solution, but the liquid kits are perfectly adequate for most home gardeners.
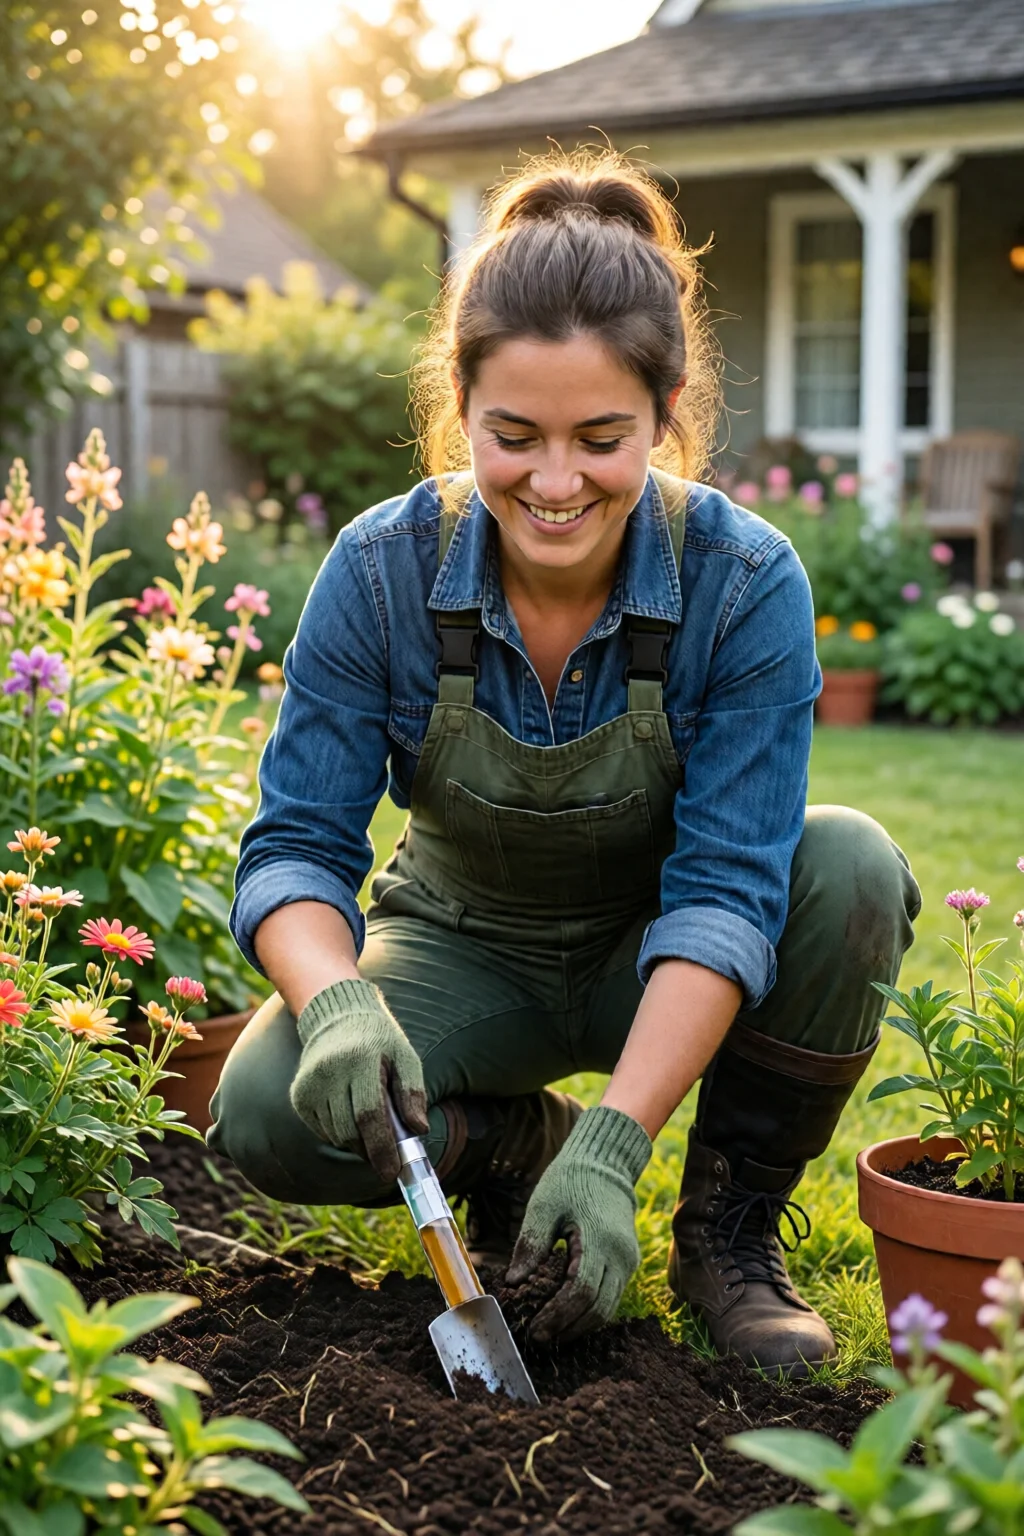
Step 1 – Choose the Right Sampling Spot
Soil pH can vary dramatically across a single garden. A sunny, well‑drained corner may sit at 6.2, while a shaded, compacted area could be as low as 5.0. To get a representative reading:
- Identify the area you intend to plant (e.g., a 4‑ft × 8‑ft vegetable bed).
- Mark three to five points in a zig‑zag pattern, roughly 12‑inches apart.
- Remove any surface mulch, leaf litter, or fertilizer granules – they can artificially raise or lower the reading.
One mistake I see often is testing only the top 1‑inch of soil. Roots generally explore the 6‑12‑inch zone, so dig a shallow pit (about 2‑inches deep) at each marked spot and collect soil from that depth.
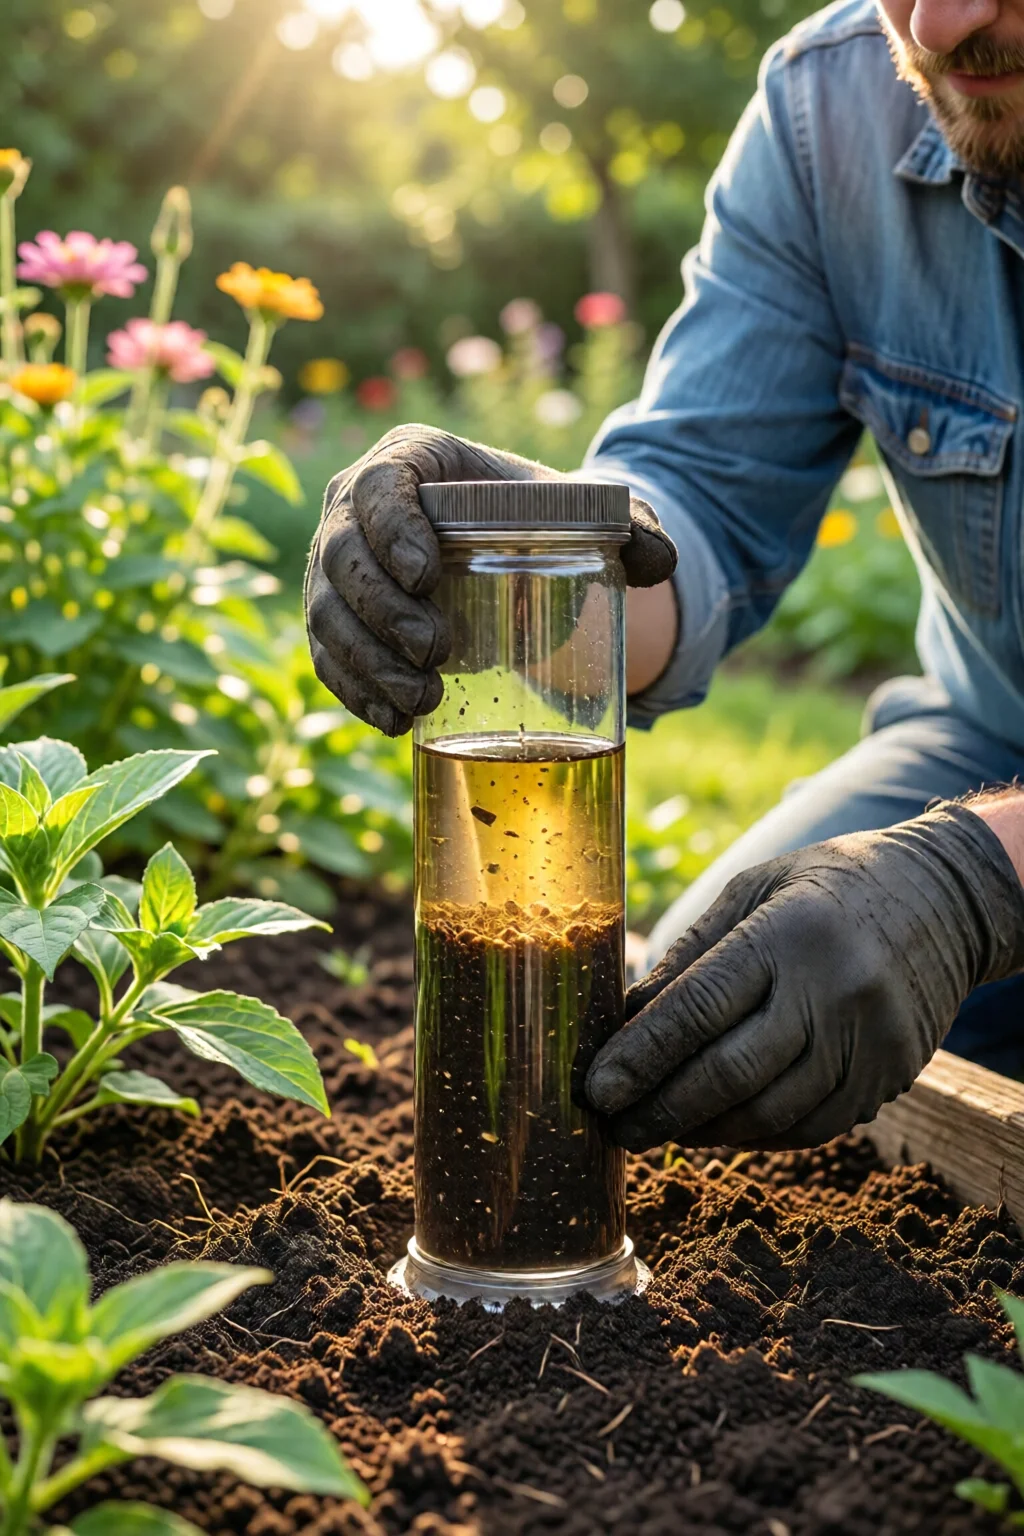
Step 2 – Collect and Prepare the Sample
Using your trowel, scoop about a half‑cup (≈120 ml) of soil from each spot. Place the soil into a clean bucket, break up clods, and discard stones or roots. Mix the soil thoroughly – you’re aiming for a composite sample that represents the whole area.
For the most accurate pH, let the soil air‑dry for 24 hours if it’s damp. Moist soil can give a reading that’s 0.3–0.5 units higher than the true value. If you’re in a hurry, spread the soil thinly on a tray and let it dry for 6‑8 hours under indirect sunlight.
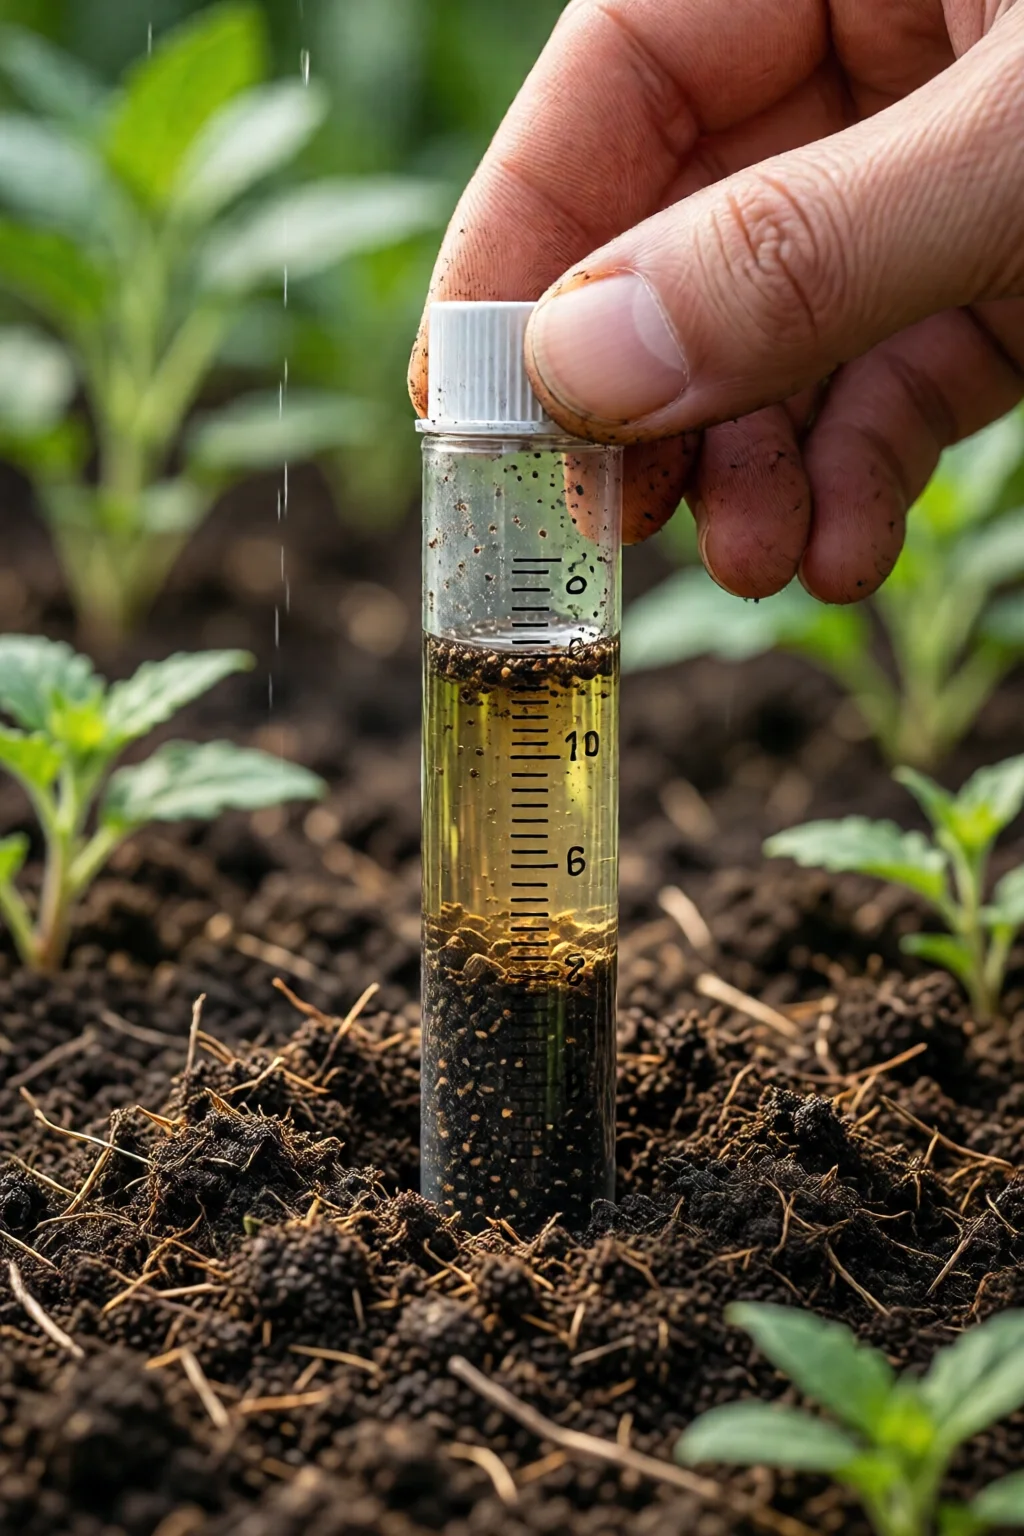
Step 3 – Test the Soil with a Liquid Kit
- Fill a 250‑ml container with 50 ml of distilled water.
- Add 1 teaspoon (≈5 g) of the dried, ground soil to the water. Stir vigorously for 30 seconds.
- Let the mixture settle for 2 minutes, then add the test solution (usually a few drops) as instructed by the kit.
- After the recommended reaction time (typically 3‑5 minutes), compare the color of the solution to the pH chart provided.
The chart will show a range from about 3.0 (acidic) to 10.0 (alkaline). For most vegetables, aim for 6.0‑6.8; blueberries love 4.5‑5.5, while lavender thrives around 6.5‑7.0. If you need a visual reference, see the lavender care and pruning guide for optimal pH ranges for aromatic herbs.
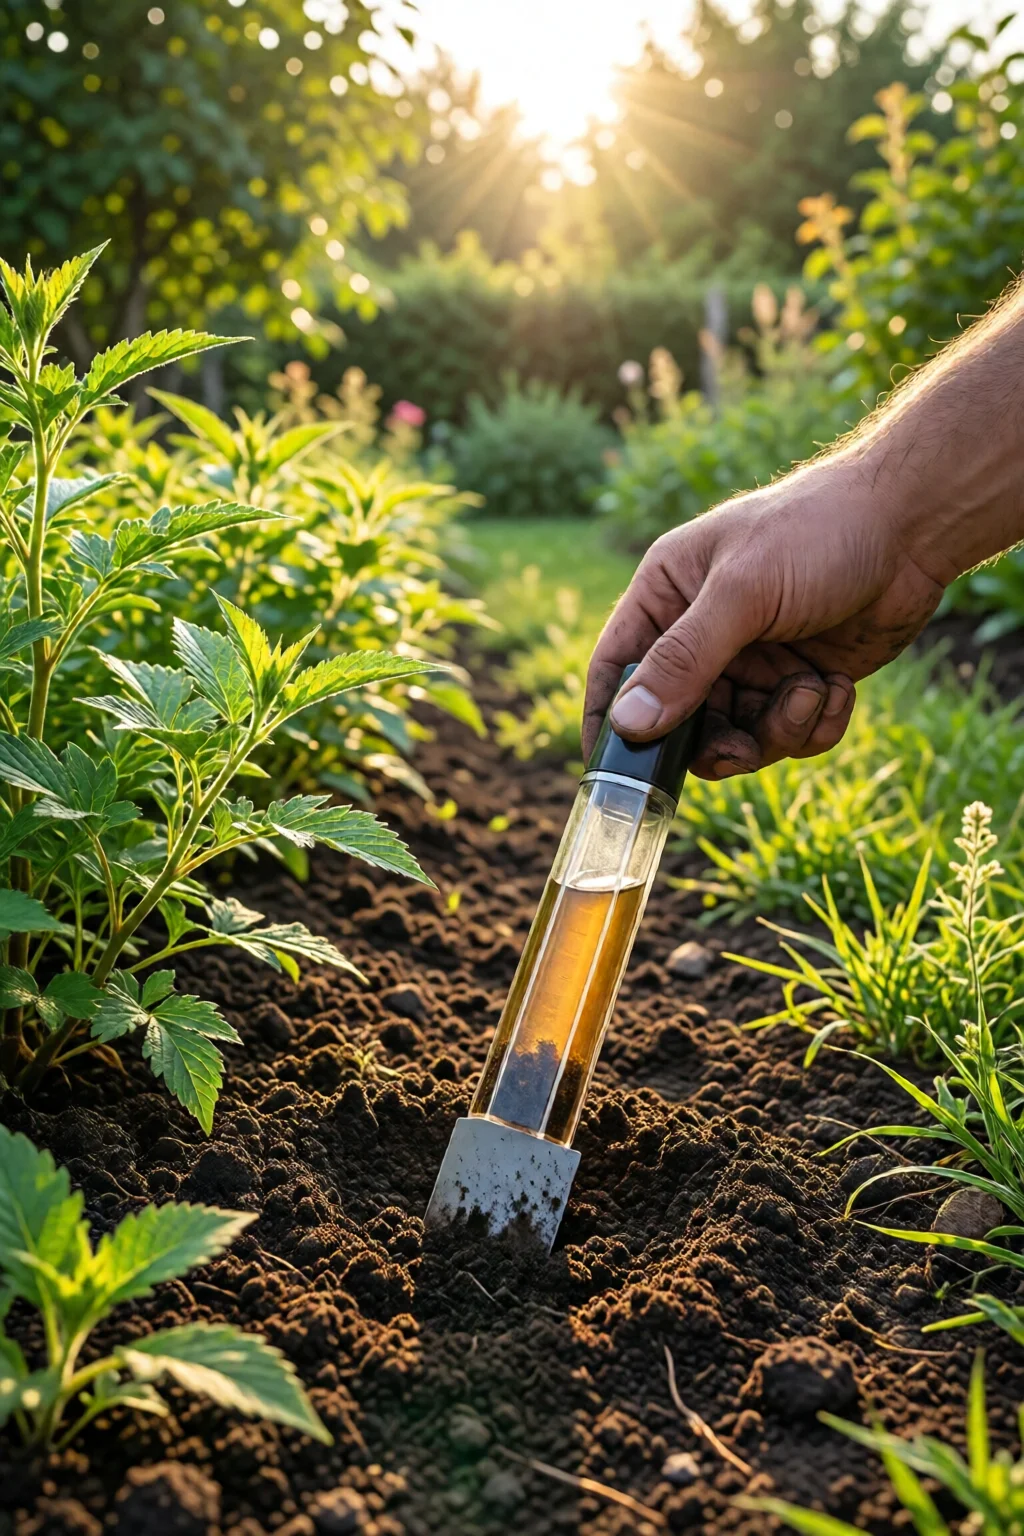
Step 4 – Test the Soil with a Digital Meter (Optional)
If you prefer a quick readout, follow these steps with a handheld meter:
- Calibrate the meter using the supplied buffer solution (usually a pink solution representing pH 7.0).
- Insert the probe 2‑inches deep into the moist soil (if the soil is dry, add a few drops of distilled water).
- Wait for the reading to stabilize – most meters take about 10 seconds.
- Record the value and repeat at each sampling point to verify consistency.
Digital meters can be reused for years, but they do need occasional replacement of the probe (about $4 per replaceable tip). For a garden under 500 sq ft, a single meter is usually enough.
Step 5 – Interpret Your Results and Plan Amendments
Once you have your pH numbers, compare them to the preferred range of your intended crops. Here’s a quick reference:
- Acid‑loving plants (blueberries, azaleas, rhododendrons): 4.5‑5.5
- Most vegetables (tomatoes, carrots, beans): 6.0‑6.8
- Alkaline‑tolerant plants (lavender, rosemary, lilacs): 6.5‑7.5
If your soil is too acidic, incorporate garden lime (calcitic or dolomitic). A typical recommendation is 50 lb of lime per 1,000 sq ft to raise pH by 0.5 units. For a 100‑sq‑ft raised bed, that’s about 5 lb (≈2.3 kg), costing roughly $3.50 at a local nursery.
If the soil is too alkaline, elemental sulfur works well. Apply 1 lb per 100 sq ft to lower pH by 0.5 units – expect a cost of $2.20 for a 5‑lb bag.
Mix amendments into the top 6‑inch layer and water thoroughly. Re‑test after 2‑3 weeks; you’ll often see a shift of 0.2‑0.4 units, which is enough to fine‑tune your soil.
Common Mistakes to Avoid
- Using tap water for testing – chlorine and minerals can push the pH reading up to 0.3 units.
- Testing only one spot – leads to a false sense of uniformity; always sample multiple points.
- Skipping calibration on digital meters – a drift of 0.2‑0.5 pH points is common if you ignore the buffer solution.
- Applying amendments without re‑testing – over‑liming can push pH above 8, harming most garden plants.
- Testing wet soil directly from after rain – water dilutes acids and bases, giving an artificially high pH.
Troubleshooting or Tips for Best Results
Tip 1 – Test at the Same Time of Year: Soil pH can fluctuate with seasonal moisture. For consistency, test in early spring before major fertilization.
Tip 2 – Use a Soil Moisture Meter alongside pH testing. If your soil is consistently dry, the pH may read higher; moisture content helps interpret results.
Tip 3 – Record Depth: When testing a deep garden bed, note the depth of each sample. Many gardeners discover that the top 4 inches are more acidic than the subsoil.
Tip 4 – Combine with Nutrient Testing: pH affects nutrient availability. Pair a pH test with a basic N‑P‑K kit (e.g., Leisure Gardener Soil Test Kit, $15) for a holistic view.
Tip 5 – Adjust Gradually: Add half the recommended lime or sulfur, mix, water, and re‑test after two weeks. Slow adjustments prevent shock to the soil microbiome.
If you find that your soil remains stubbornly acidic despite liming, consider adding organic matter like compost or aged bark mulch. These materials can buffer pH over time and improve structure – a win‑win for both pH and drainage. For more on improving heavy soils, see our how to improve clay soil for gardening guide.
Summary Conclusion
Testing soil pH at home is a simple, low‑cost practice that empowers you to make informed decisions about fertilization, plant selection, and amendment application. By gathering the right tools, sampling thoughtfully, and interpreting the results against the needs of your crops, you can fine‑tune your garden’s chemistry and watch your plants thrive. Remember to re‑test after each amendment, keep a log of changes, and adjust gradually. With a little routine, you’ll never wonder why a plant is underperforming again.
Frequently Asked Questions
How often should I test my garden soil pH?
Test at the start of each growing season (early spring) and after any major amendment (lime, sulfur, compost) to confirm the pH shift.
Can I use a home coffee maker to test pH?
No. Coffee makers are not calibrated for pH measurement and will give inaccurate results. Use a dedicated soil pH kit or digital meter.
What pH range is best for a fall vegetable garden?
Most fall vegetables (broccoli, kale, carrots) prefer a pH of 6.0‑6.8. For specific planting dates and varieties, check our fall vegetable garden planting guide.
Is distilled water necessary for liquid pH kits?
Yes. Distilled water eliminates minerals that could skew the color chart, ensuring a more accurate pH reading.
Can pH affect the color of my hostas?
Absolutely. Hostas thrive in slightly acidic to neutral soils (pH 6.0‑7.0). Extreme pH can cause yellowing and reduced vigor. For detailed care, see our hostas care guide for shade gardens.
4 réflexions au sujet de “How To Test Soil Ph At Home: Complete Guide for 2026”