Turn your kitchen countertop into a fresh‑food factory with this step‑by‑step growing microgreens at home tutorial. In just a week you’ll have nutritious, restaurant‑quality greens ready to toss into salads, smoothies, or garnish a steak. All you need is a little space, a few dollars, and the right know‑how.
In This Article
- What You Will Need (Before You Start)
- Step 1: Choose Your Seeds and Prepare the Growing Medium
- Step 2: Set Up Your Tray or Container
- Step 3: Sow the Seeds
- Step 4: Provide Light, Water, and Temperature
- Step 5: Harvest Your Microgreens
- Common Mistakes to Avoid
- Troubleshooting and Tips for Best Results
- Summary
- FAQ
What You Will Need (Before You Start)
- Growing trays: I recommend the Bootstrap Farmer 10‑inch seedling tray ($14.99) with a clear lid. The lid helps retain humidity during germination.
- Growing medium: A 1‑liter bag of FoxFarm Happy Frog Potting Soil ($7.95) works well, but for a sterile option use Jiffy peat pellets ($5.99 for 10 pellets).
- Seeds: Choose fast‑growing varieties like radish, broccoli, or sunflower. A 2‑ounce packet of Radish Microgreen Seeds from True Leaf Seed Co. costs $3.49 and yields ~3 harvests.
- Lighting: A 12‑inch, 45‑watt LED grow light such as the VIPARSPECTRA V600 ($39.99) provides the full spectrum needed for rapid growth.
- Watering tools: A fine‑mist spray bottle (≈$4) or a small hand‑pump mister ensures you don’t wash the seeds away.
- pH test strips (optional but handy): $2.99 for a pack of 100.
- Scissors or a clean kitchen knife for harvesting.
All of these items together cost roughly $90, but you’ll reuse the tray, light, and watering tools for months, bringing the per‑harvest cost well under $5.
Step 1: Choose Your Seeds and Prepare the Growing Medium
First, decide what flavor profile you want. Radish gives a peppery bite; broccoli offers a milder, nutty taste; sunflower adds a crunchy, nutty texture. In my experience, mixing two seeds (e.g., 50% radish, 50% broccoli) yields a more complex flavor and improves visual appeal.
Spread a 1‑inch layer of the chosen growing medium across the bottom of the tray. Press lightly with a clean hand or a piece of cardboard to create a smooth, even surface. If you’re using Jiffy peat pellets, soak them in water until they fully expand (about 10 minutes), then crumble them into a thin layer.
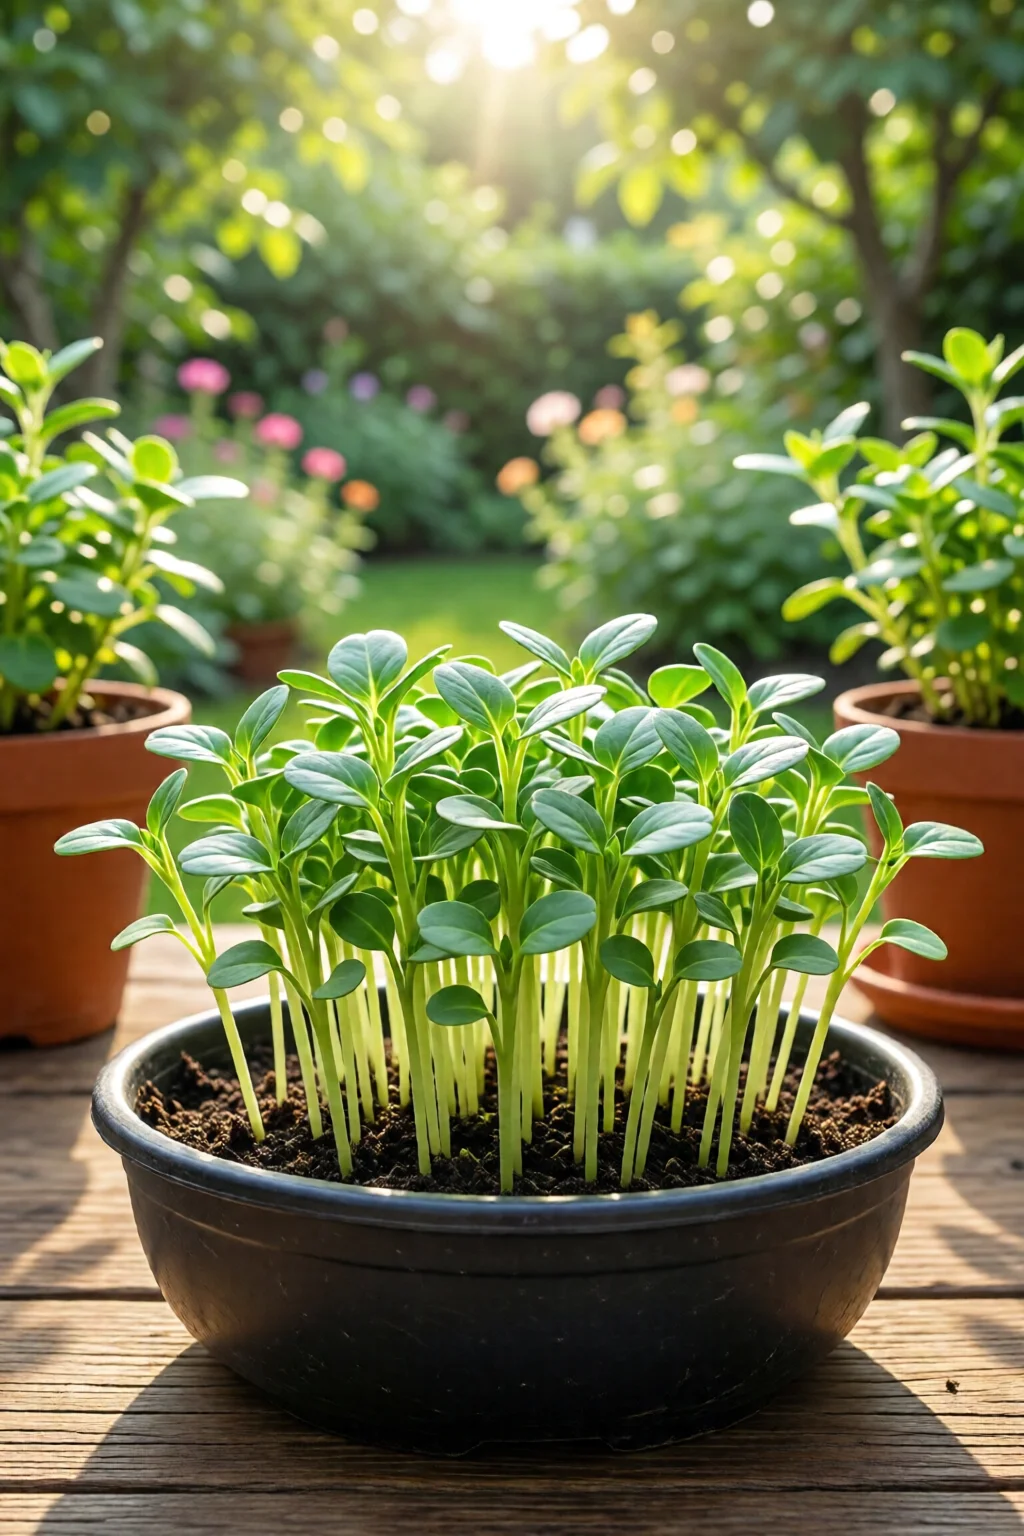
Step 2: Set Up Your Tray or Container
Place the tray on a flat surface that receives indirect natural light or under your LED panel. I hang my LED about 12 inches above the tray; this distance prevents scorching while delivering ~200 µmol m⁻² s⁻¹ of PAR, ideal for microgreens.
Cover the tray with the clear lid to maintain humidity (around 80‑90%). This mimics a mini greenhouse and speeds germination to 2‑3 days.
Step 3: Sow the Seeds
Even distribution is key. Sprinkle the seeds by hand, aiming for a density of roughly 1 gram per square foot. One mistake I see often is over‑sowing, which leads to thin, leggy shoots.
After sowing, gently tap the tray to settle the seeds onto the medium. If you’re using a finer seed like broccoli, you can lightly mist with water to help them adhere.
Leave the lid on for the first 48 hours. Keep the medium moist but not soggy—check daily with the mist bottle.
Step 4: Provide Light, Water, and Temperature
Once the seeds have sprouted (usually 2‑4 days), remove the lid. Position the LED light on a 12‑hour photoperiod (12 hours on, 12 hours off). A simple timer (e.g., Honeywell mechanical timer, $9.99) automates this.
Maintain a temperature between 65°F and 75°F (18‑24°C). In cooler homes, a small seedling heat mat (VIVOSUN 4×4 Heat Mat, $13.99) placed under the tray helps keep roots warm.
Watering schedule: mist twice daily, or use a bottom‑watering method by filling the tray’s reservoir (if it has one) with ½ inch of water and allowing it to soak up for 5‑10 minutes, then drain excess. Consistent moisture prevents “damping‑off” disease, which appears as a white, fuzzy coating on seedlings.
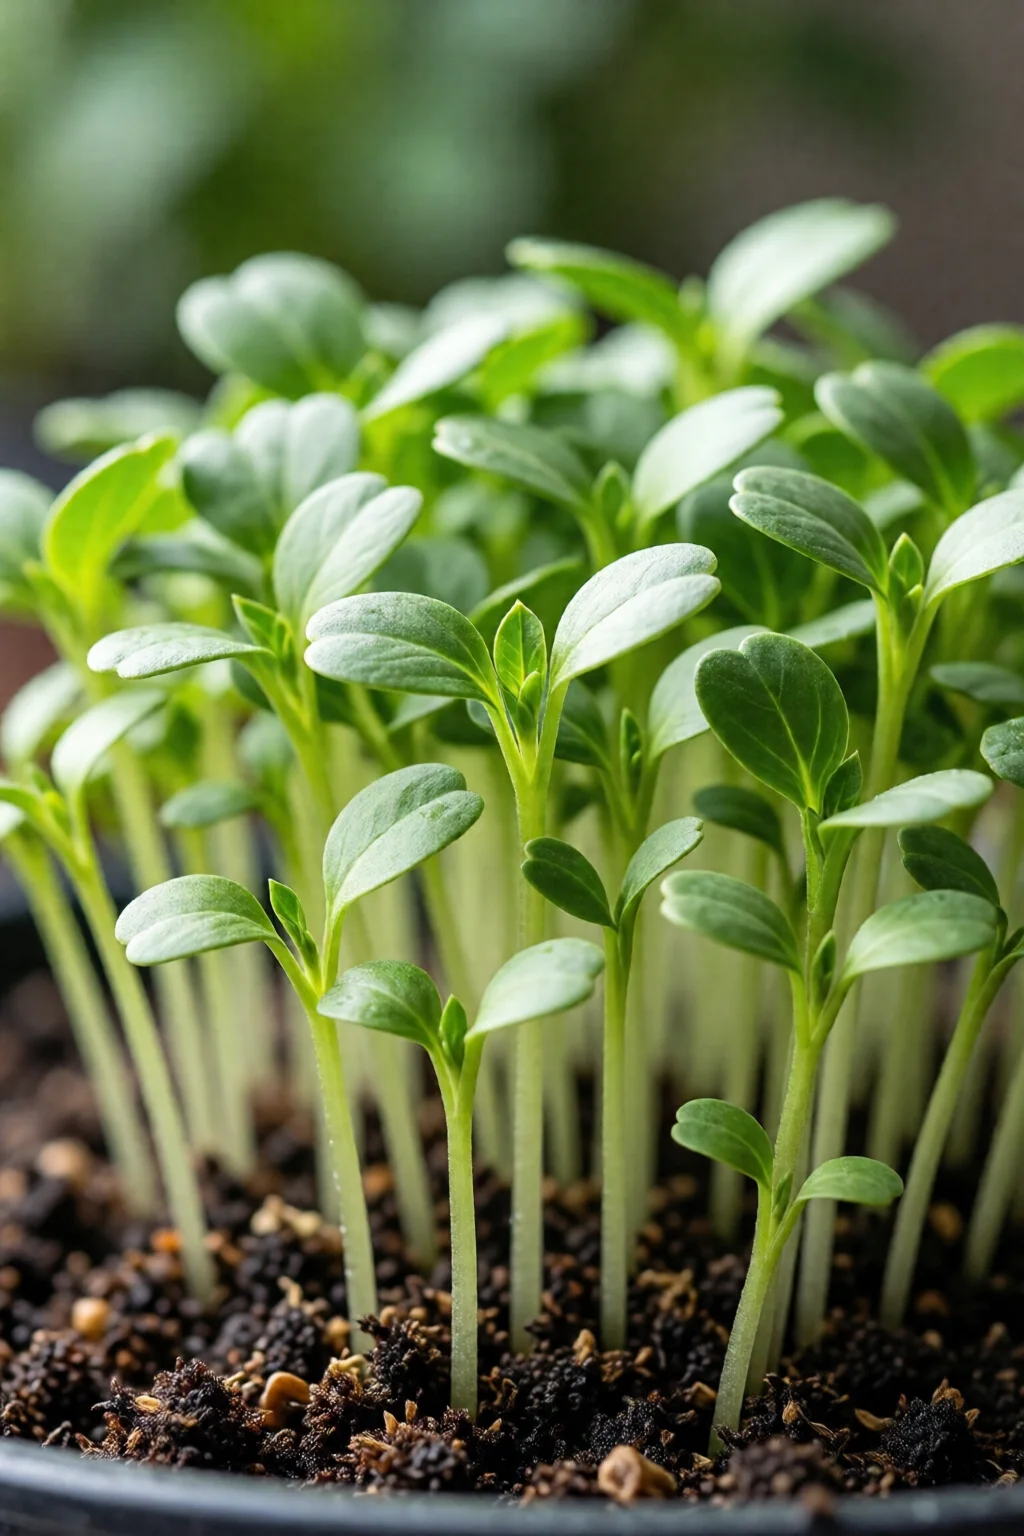
Step 5: Harvest Your Microgreens
Harvest occurs when the first true leaves appear, typically 7‑14 days after sowing depending on the variety. Use clean scissors to cut just above the growing medium line.
Rinse the greens gently in a colander, spin dry with a salad spinner, and store in a zip‑top bag in the fridge. Freshness lasts 5‑7 days; the flavor is most vibrant the day after cutting.
After harvest, you can reuse the same medium for a second “cut” if you sow a denser batch next time. Alternatively, compost the spent medium and start anew.
Common Mistakes to Avoid
- Over‑watering: Waterlogged media suffocates roots. Use a spray bottle and check that the surface feels damp, not soggy.
- Insufficient light: Dim lighting leads to elongated, weak stems. Aim for at least 150 µmol m⁻² s⁻¹; my LED delivers 200 µmol m⁻² s⁻¹ at the recommended height.
- Wrong seed depth: Planting too deep (more than ¼ inch) blocks light. Seeds should sit on the surface or be lightly pressed in.
- Ignoring temperature: Below 55°F germination slows dramatically. A heat mat can raise the temperature by 5‑10°F.
- Using contaminated soil: Commercial potting mixes are usually sterile, but if you reuse soil, sterilize it in the oven at 180°C for 30 minutes.
Troubleshooting and Tips for Best Results
- Yellowing leaves: Often a sign of nitrogen deficiency. Add a pinch of liquid fish fertilizer (Alaska Pure, $8 per quart) once a week.
- Fungal growth: Increase airflow by opening a window or using a small clip‑on fan (e.g., Honeywell Turbo, $24.99). Reduce humidity by removing the lid for longer periods.
- Poor germination: Test seed viability with a paper towel test: place 10 seeds between damp paper towels, keep in a warm spot; if less than 6 sprout, the seed batch is weak.
- Flavor boost: Harvest just before the “first true leaf” stage for a sweeter taste, or let them grow an extra day for a more robust, slightly bitter profile.
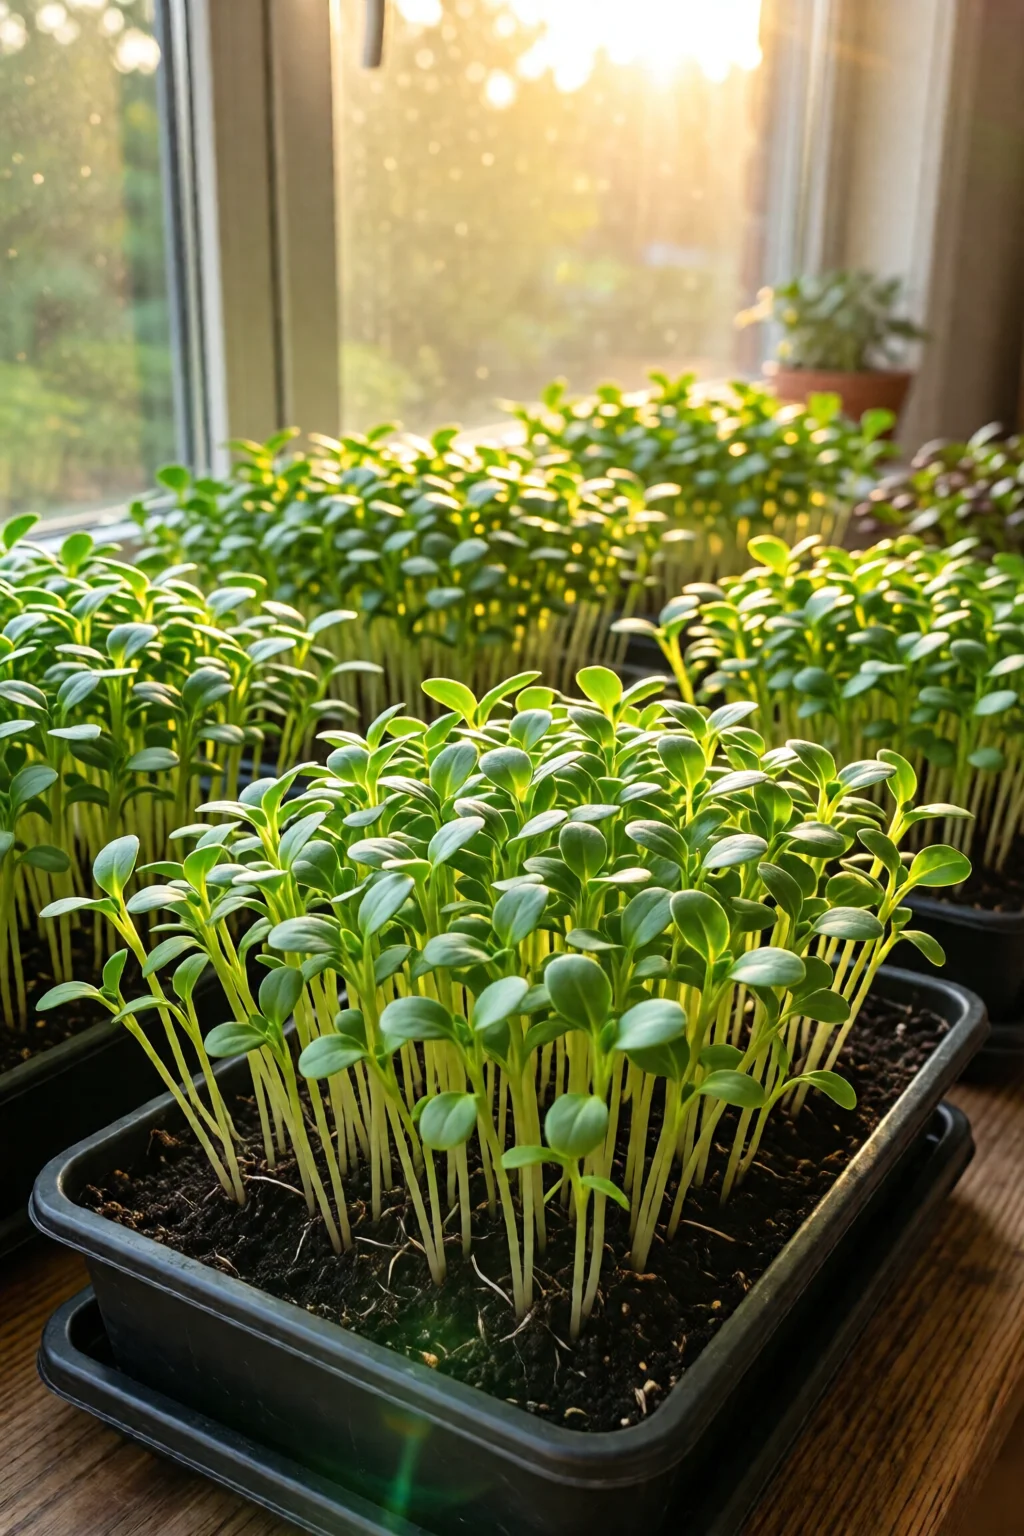
- Scaling up: For larger families, stack two trays on a tiered rack and use a single 24‑inch LED panel ($69.99). The cost per tray drops to under $2 per harvest.
Summary
This growing microgreens at home tutorial shows that with a modest investment—about $90 for the initial kit—you can produce fresh, nutrient‑dense greens every week. By selecting the right seeds, maintaining proper moisture, light, and temperature, and avoiding common pitfalls, you’ll enjoy harvests that are both tasty and economical. Plus, the process is rewarding: you watch a tiny seed transform into a vibrant garnish in less than two weeks.
Ready to start? Grab your tray, seed packet, and LED light, and let the garden adventure begin right on your countertop.
FAQ
How long does it take to grow microgreens from seed to harvest?
Most varieties are ready in 7‑14 days after sowing, depending on the seed type and growing conditions. Radish and mustard are on the fast end (7‑9 days), while sunflower and pea take closer to 12‑14 days.
Can I grow microgreens without an artificial grow light?
Yes, if you have a sunny windowsill that receives at least 4‑6 hours of direct sunlight. However, natural light often lacks the intensity and spectrum needed for optimal growth, so yields may be lower and growth slower.
What are the best containers for indoor microgreen production?
Shallow, food‑grade plastic trays (10‑12 inches wide) with a clear dome lid work best. They are inexpensive, easy to clean, and fit under most LED panels. For a more sustainable option, recycled glass jars with a breathable mesh cover can be used.
Do I need to fertilize microgreens?
Generally, no. The seed contains enough nutrients for the short growth cycle. If you notice pale or stunted growth, a light dose of diluted liquid fertilizer (¼ teaspoon per gallon) once during the growth period can help.
How can I store harvested microgreens to keep them fresh?
Rinse gently, spin dry, and place in a perforated zip‑top bag or a container lined with paper towels. Store in the refrigerator’s crisper drawer; they stay crisp for 5‑7 days.
For more garden inspiration, check out our guides on heirloom tomato varieties to grow, how to grow potatoes in containers, growing strawberries in raised beds, wildflower garden ideas, and garden gazebo ideas and designs.